


DIY Pine Cone Wreath Using Chicken Wire

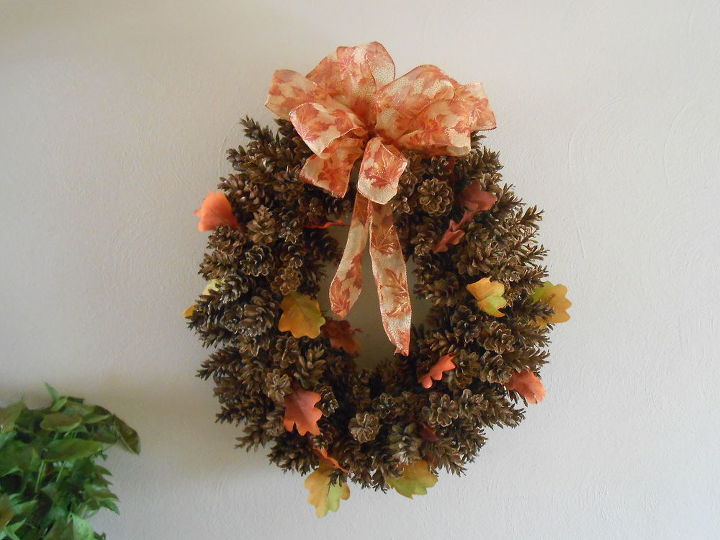
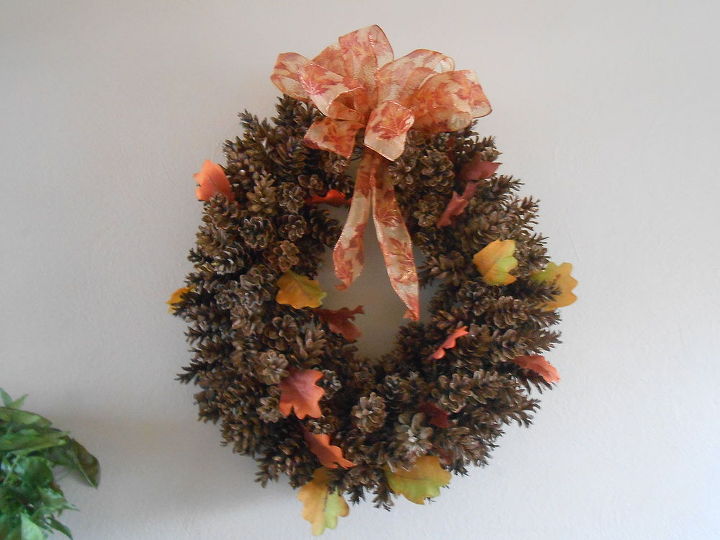
Every Fall my pine trees gift me with a large amount of pine cones and every year I bag them up and take them to the city compost. Not this year. This year my goal was to use at least some of those pine cones. I did do a few other projects put it didn't put a dent in the piles I have so I decided to try and make a wreath. Of course, I had to do it on the cheap so I used chicken wire instead of a wire wreath form (which would have worked nicely for this). Here is a picture of the end project:
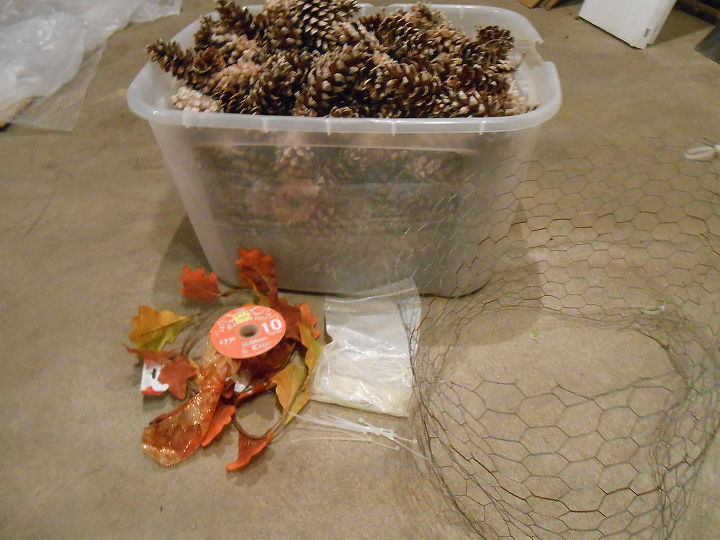
For this project you will need:
1. A length of chicken wire-mine was 4 ft by 1 ft (you can also use a wire wreath frame for this)
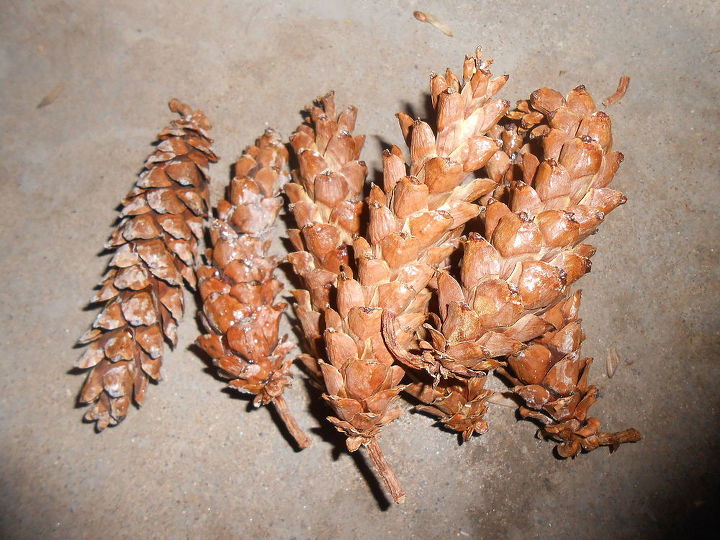
2. Pine cones (I used about two-thirds of what is in the plastic tub in the picture below)
3. Nylon Ties (zip ties)
4. Ribbon and any thing you want to decorate the wreath. I used a fake leaf garland I picked up at Dollar Tree.
I started this project by baking my pine cones in the oven at 250 degrees for 1 hour (to kill the bugs). I bake them on aluminum sheets I purchased from Dollar Tree for-that way I can keep reusing them.
After they are baked let them cool and then you need to re-wet them so they close back up. I threw them in a plastic tub and poured water on them-I then stirred them up then removed them. You don't want them to soak in the water. You just want them to get damp. They should close up by the time you get the next step done.
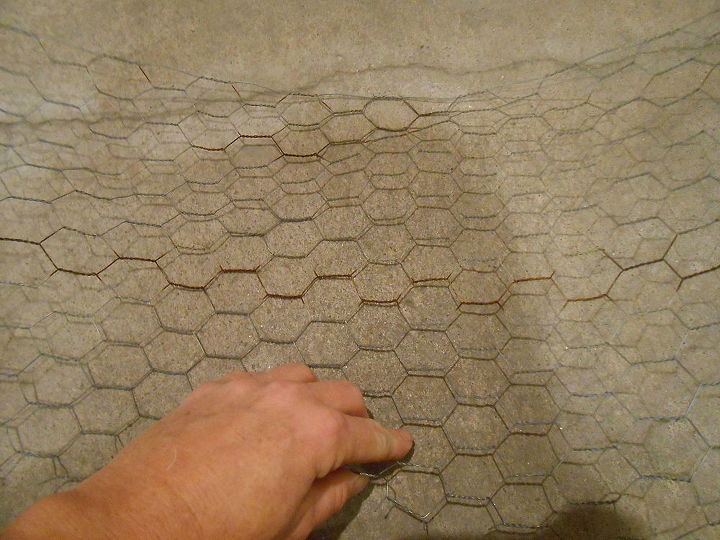
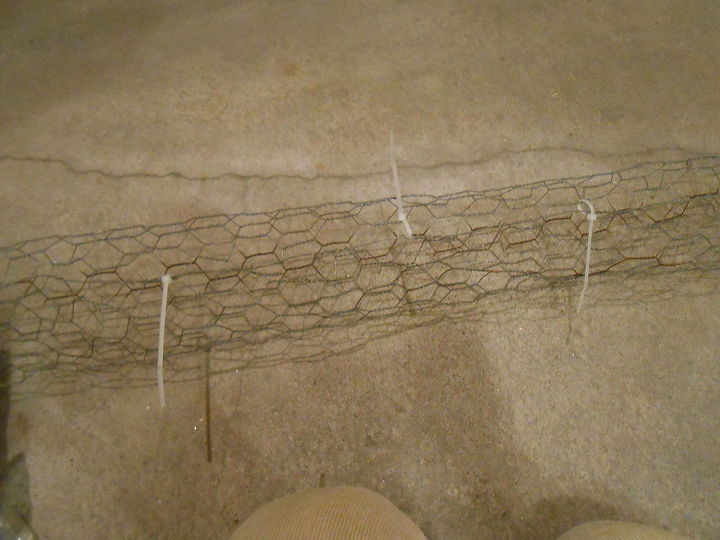
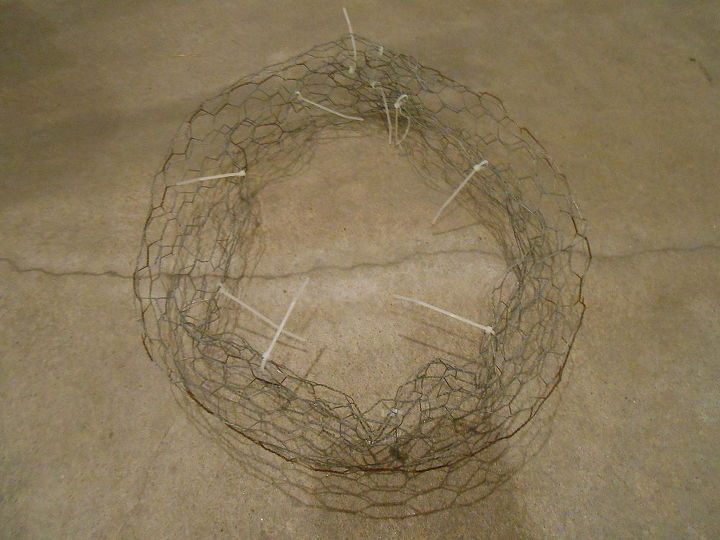
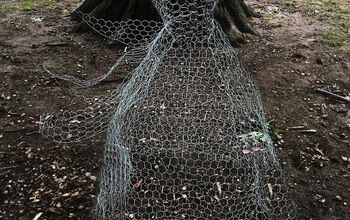
To begin making the wreath lay your chicken wire out flat (as best you can) then roll it up to make a long tube (you might want to wear gloves for this part-chicken wire can be sharp). Hold it in place then take your nylon ties and start securing it like this:
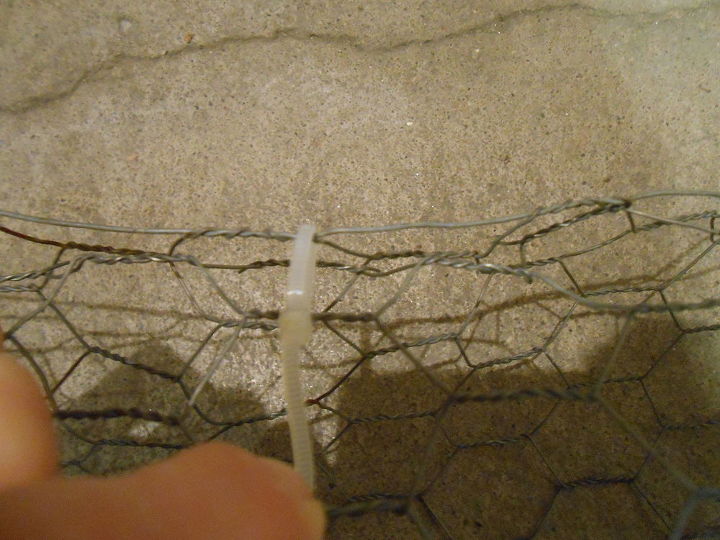
Secure it with a nylon tie every so often (as many as you think it needs to stay in place). It should look like this:
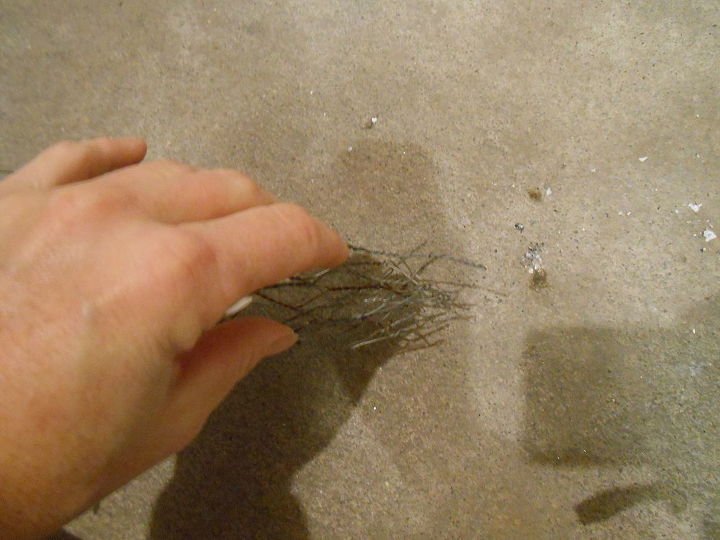
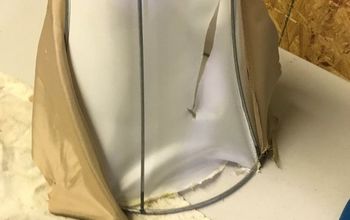
Now "squish" one end of the tube like this:
After you squish one end insert it into the other open end like this:
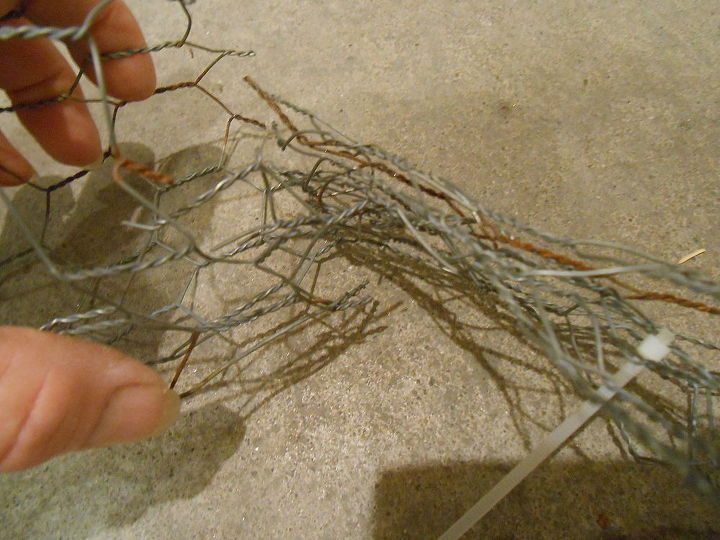
Secure it together with nylon ties.
It should look similar to this:
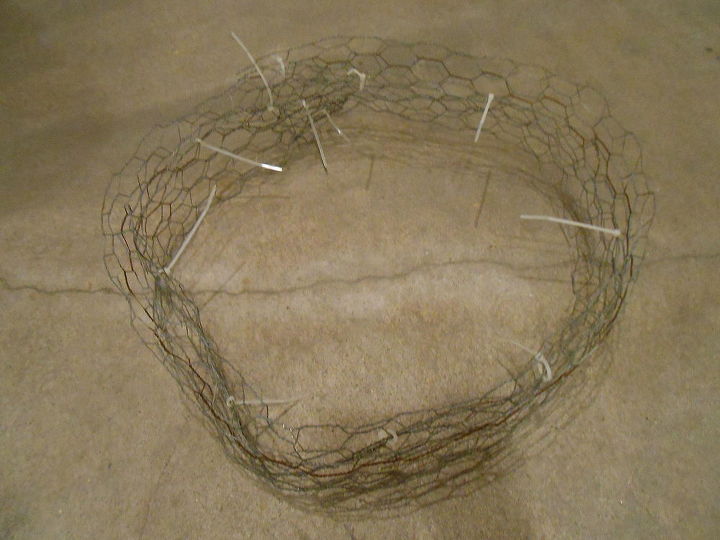
It doesn't look like much at this point-don't worry. Trust me:-)) At this point you need to go back and "fluff" up the chicken wire. To "fluff" it just pull it apart gently where it is smashed. You can also give it a more round shape by bending it a little.
We are ready to start adding the pine cones if they are closed up. When they are closed they look like this:
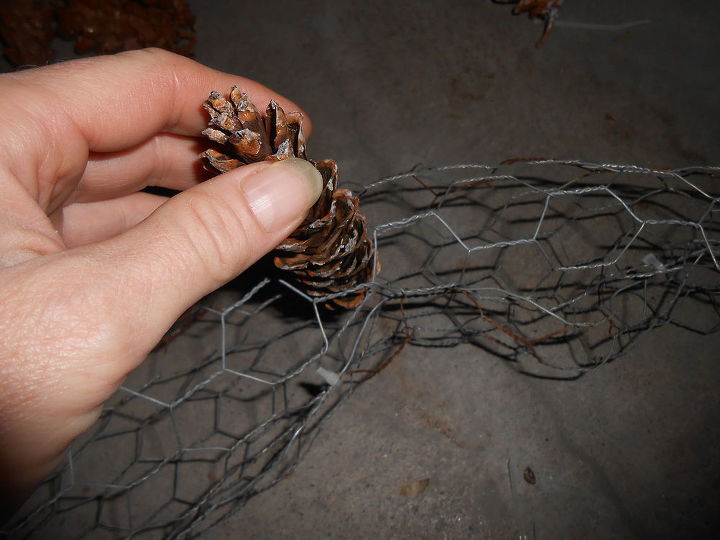
Begin sticking the pine cones in the holes in the chicken wire. You do not need to stick them in too far-just enough so that when they open back up the will be secure. Also remember it is not necessary to do the back of the wreath and also leave a spot to hang the ribbon. I used the area where I connected the two ends of chicken wire together. Here is a pic of a pine cone being inserted. This is about how far they need to go in:
Add as many pine cones as you need for it to be full. Remember the pine cones will expand when they dry and that you can also add pine cones later if you find a bare spot.
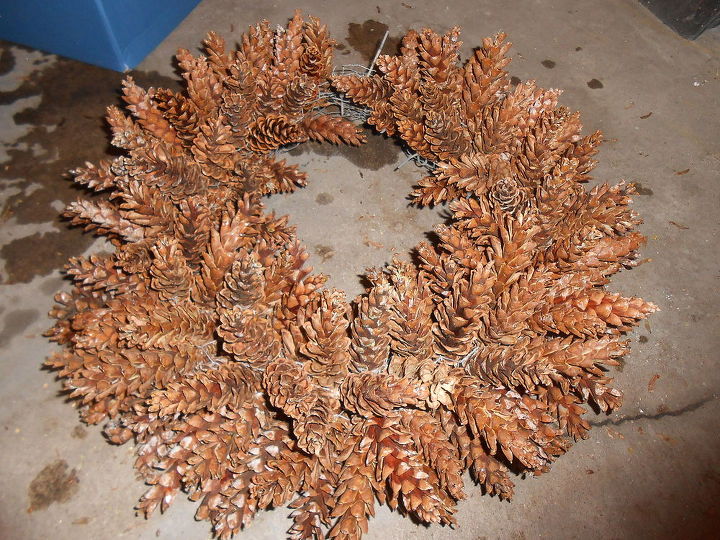
Remember to leave a spot empty for the ribbon and you don't need to fill the bottom. When the wreath is full of pine cones flip it up and press the chicken wire to flatten it up against the pine cones.
Here is a picture of the wreath with the pine cones in place:
At this point you can play with the wreath to kind of shape it. You can also check for bare spots. I added my fake leaf garland and just weaved it into the front of the wreath and then attached it with the nylon ties. I then added a ribbon I made-I just attached it with a nylon tie. I am not a ribbon tying kind of girl and it took me a while to get it to look decent:-)) After I added the ribbon I let it dry for a day so that the pine cones would open up all the way. I then checked it for bare spots and added a few more pine cones. Here it is hanging on my wall:
The best part about this wreath is I can change it over to Christmas whenever I feel the urge. All I have to do is take off the bow and leaf garland and replace them. Easy! You can also spray the pine cones with a sealer if you would like-I did not. I like them just the way they are. Just remember to not get the wreath wet or the pine cones will close back up:-))
I hope you give this project a try-it is easy and would be even easier if you use a metal wreath form. To see more picture visit my blog.
DIY fall project ideas
Comments
Join the conversation
-
This project is simply genial! I love pine cones. I will certainly try to make this wreath. Thanks.

-
YES BUT MY PINE CONES ARE ROUND
THANK FOR THE IDEA LYNDIA


Frequently asked questions
Have a question about this project?
what is the diameter of the wreath you made?