


DIY Raffia Wreath
I made this quick DIY Raffia Wreath last week. It was easy, fun and inexpensive to make. Here is how I did it.
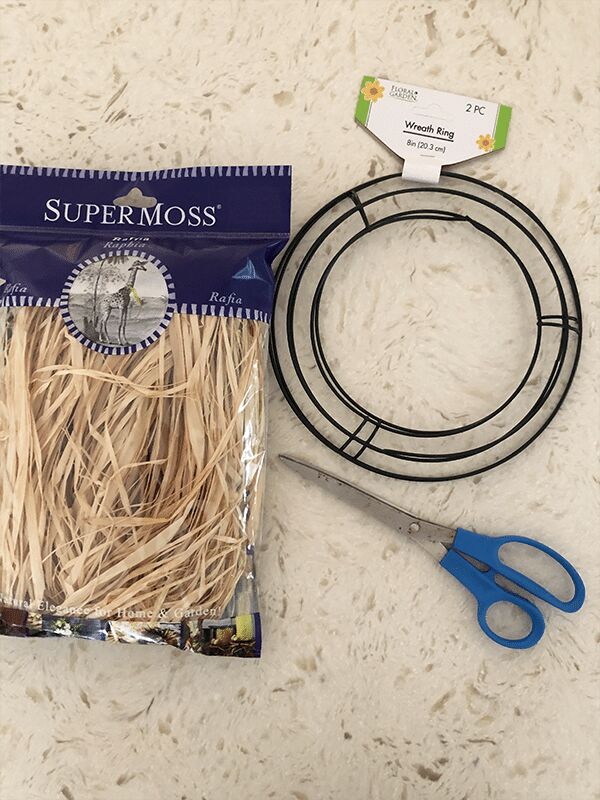
Steps in making this DIY Raffia Wreath…
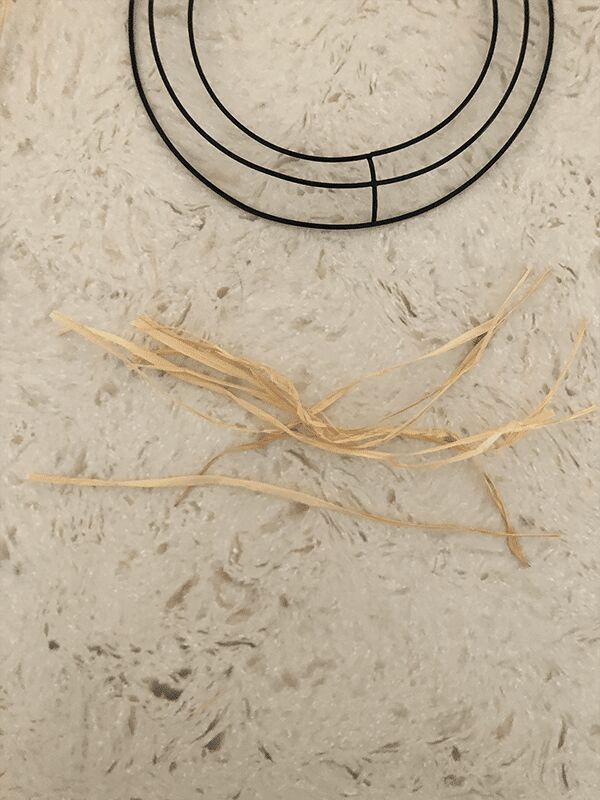
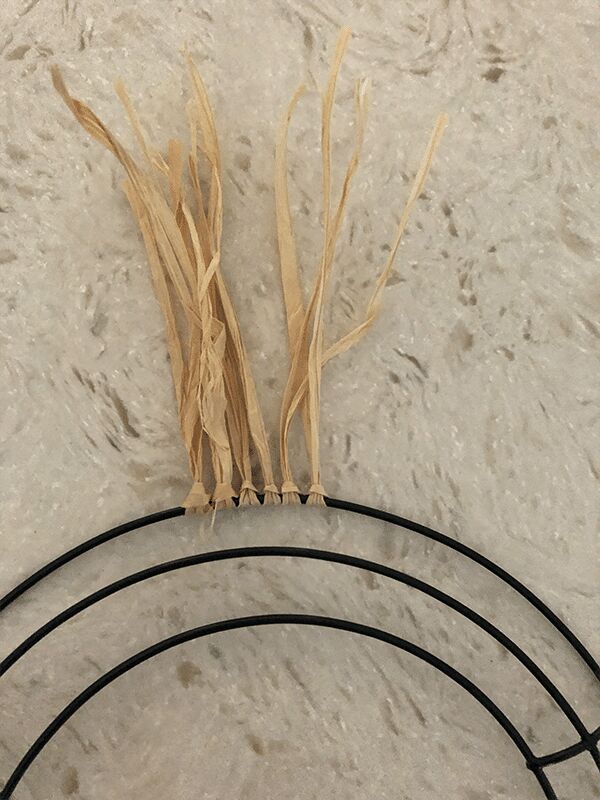
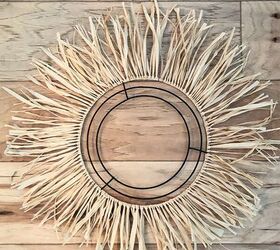
Start cutting the raffia into approx 8 inch stripes. Then begin tying them around the wreath.
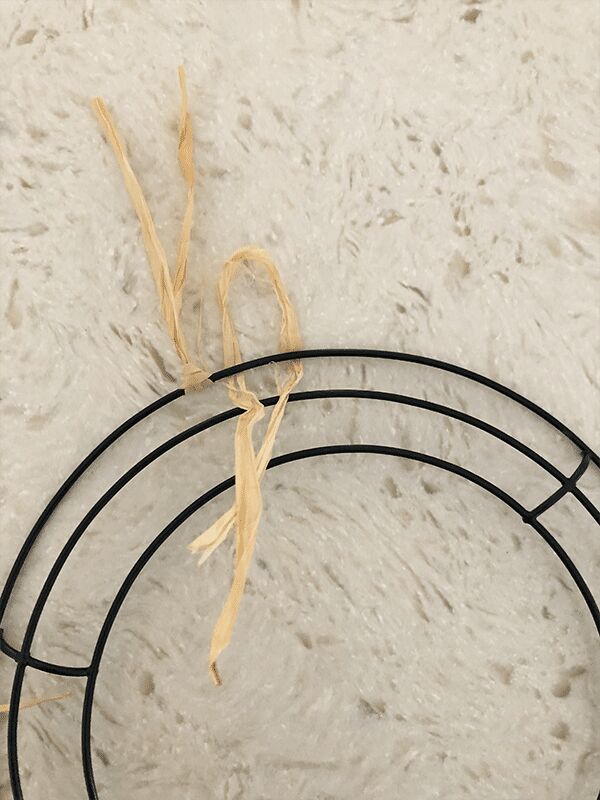
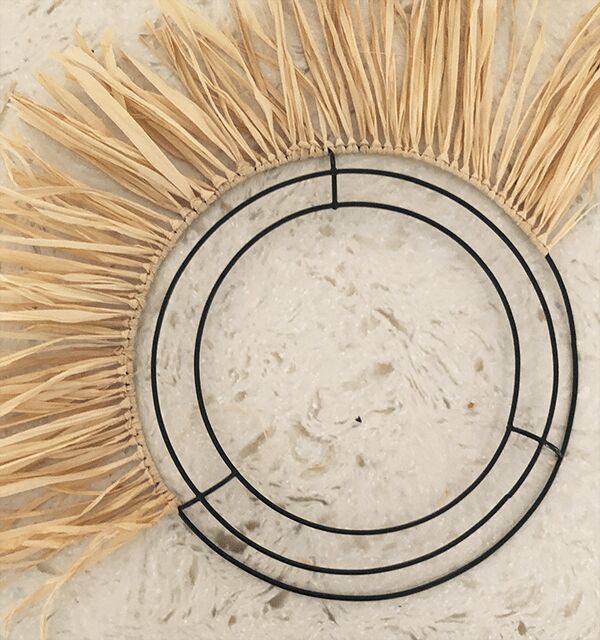
Continue tying all the way around the wreath form until you are done with one row. Then you can start on the next row.
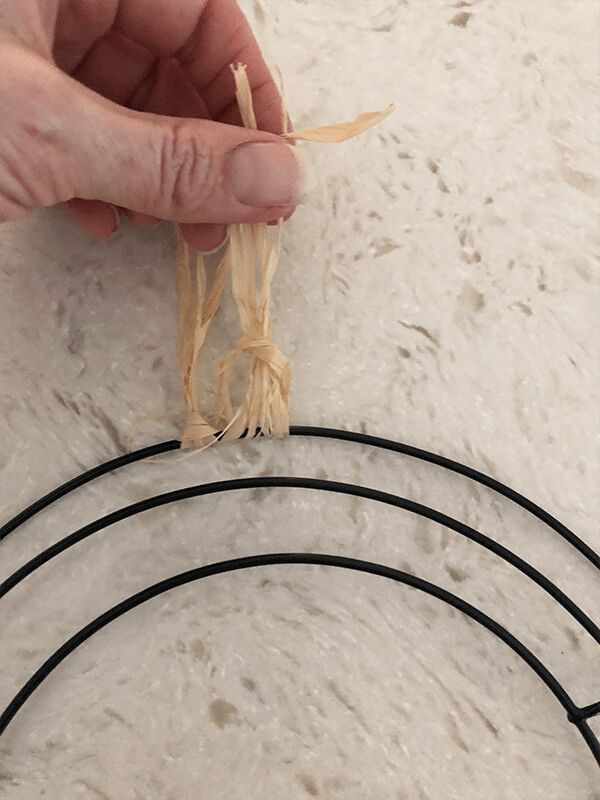
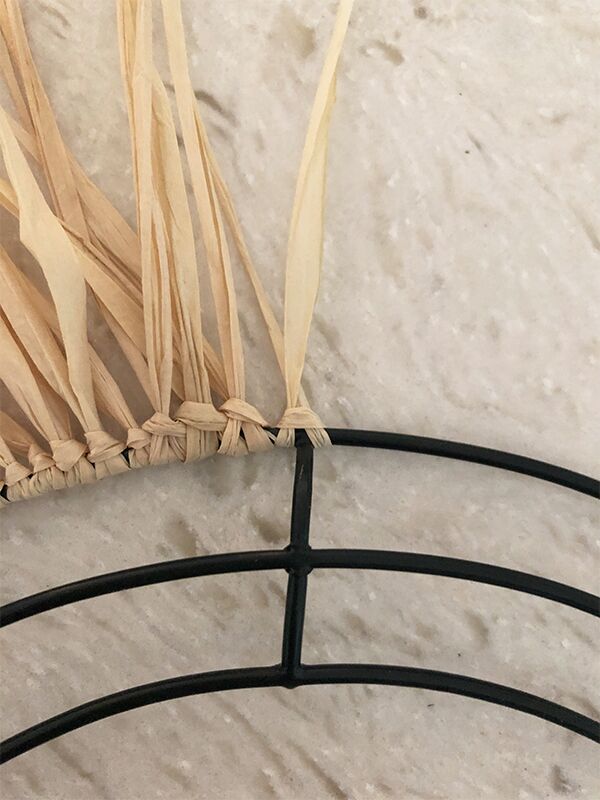
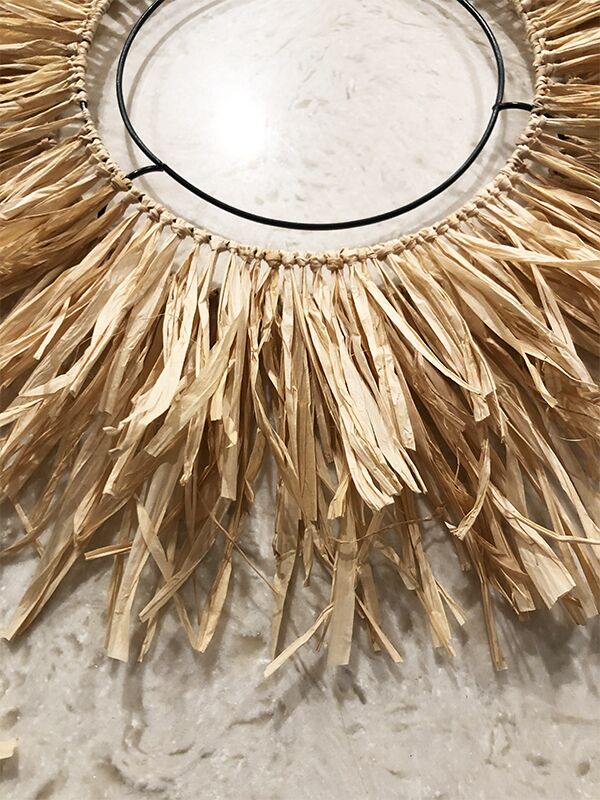
When you get to this part of the wreath tie as shown below…this will hide the metal.
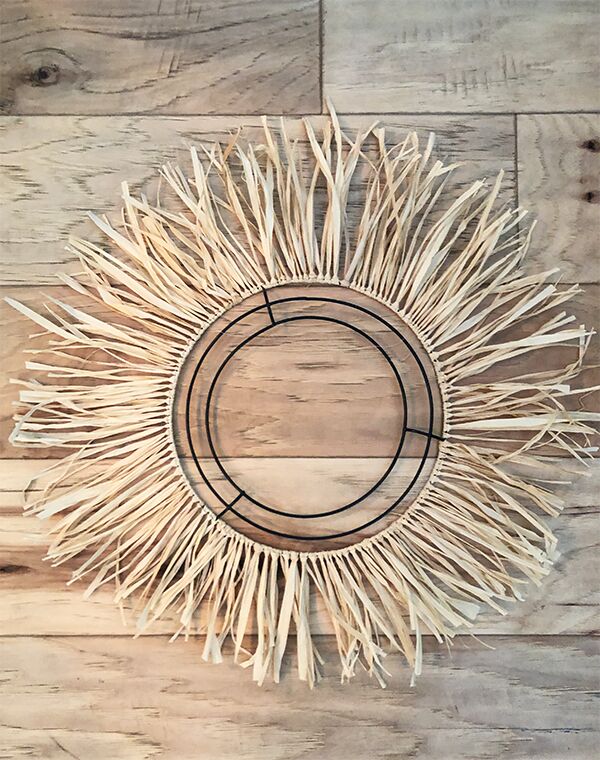
Continue tying all the layers of the wreath until you are done. Once all the tying is done you can trim any excess pieces all the way around.
Once you are done tying, you may need to trim the edges a bit to make it look even all the way around.
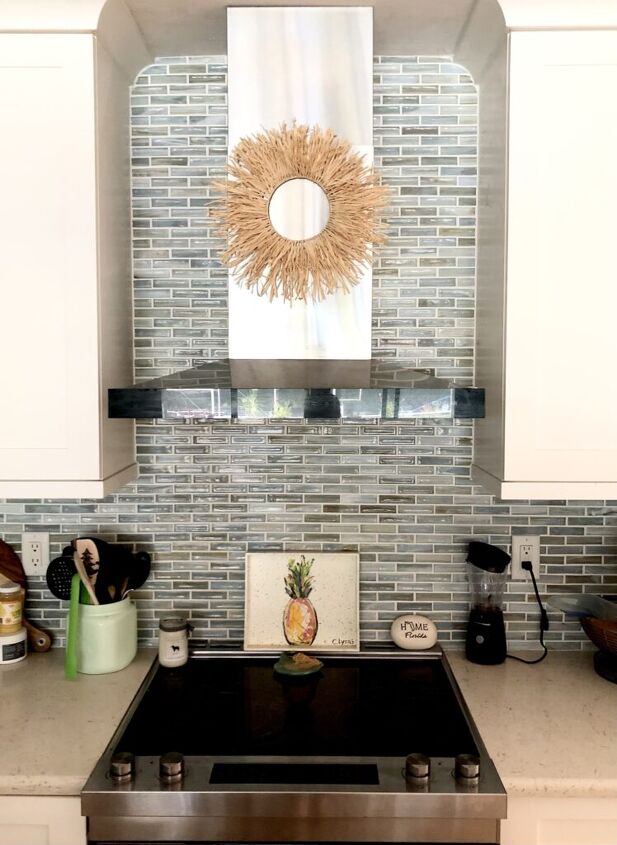
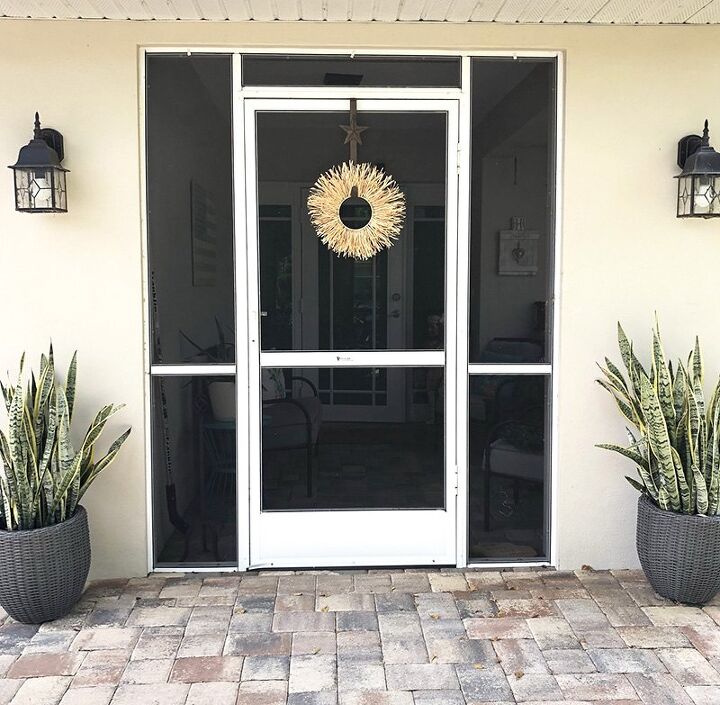
That is it. This project is easy peasy, it just takes a bit of patience as the tying takes a while. I hung it in a few spots in my home just to see where I liked it best.
Optional….You could add a mirror to the middle of this and make it into a mirror as well.
Watch the video….


Comments
Join the conversation
-
Really cute idea
-
Love this! Maybe I missed something but did you glue the two wreaths together? Thank you!


Frequently asked questions
Have a question about this project?
How much rafia did you use for the wreath you made, which looks like a medium size?