


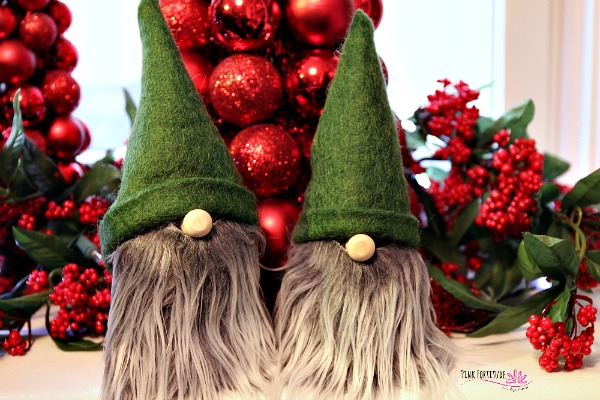
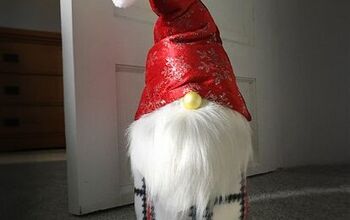
Christmas Gnome DIY (with Upcycled Pill Bottles)
There is nothing more adorable than a Christmas Gnome. They are soooo stinkin cute! You can make one in 10 minutes easy peezy and with this DIY tutorial, we use upcycled pill bottles! It’s a win for your holiday decorations and a win for the environment.

When the holidays roll around, I pine after these adorable Christmas Gnomes. But I was always scared to make them because they look… so… complicated!
This year, I pulled up my big girl pants and gave it a whirl and I even surprised myself with how easily they came together. You can do it too!
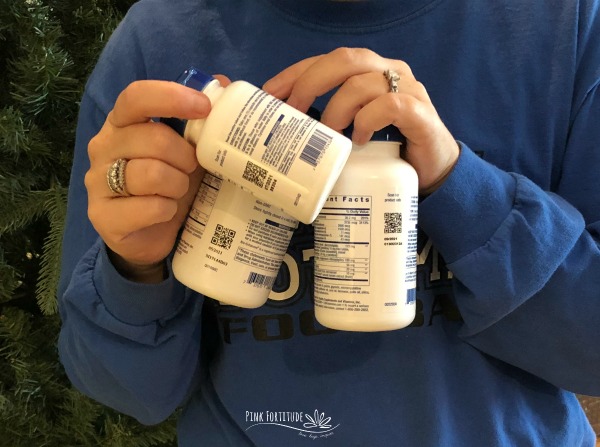
I’ve seen them made in various ways with wood slices and wine corks. But being one of those people who had to fight against cancer, autoimmune disease, and chronic fatigue, I have my share of supplements and pill bottles. What a fun way to upcycle them!
PS - you will want to use Mongolian or long-pile faux fur as it is the most beard-like fur.
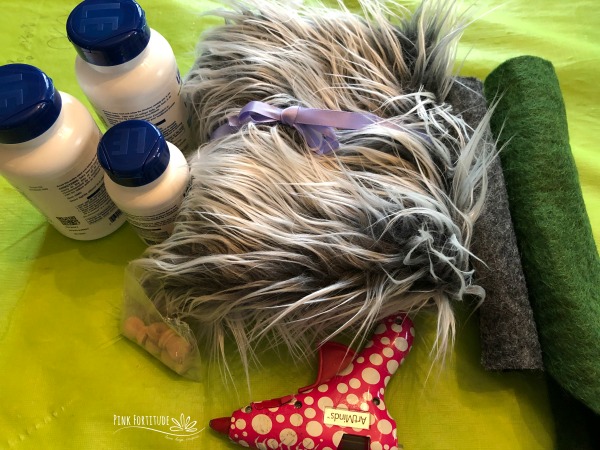
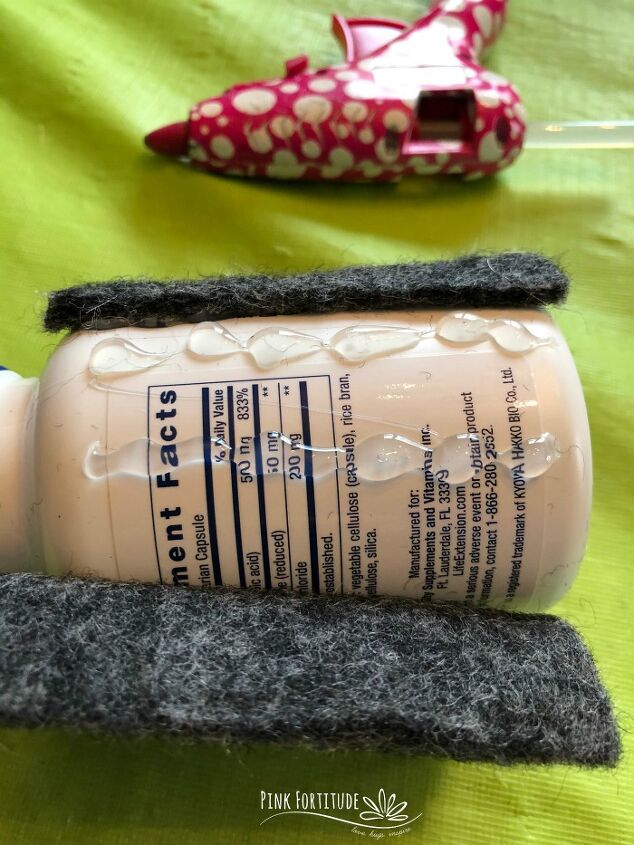
1. Measure the felt to roll around the bottle. You can either stop at the groove by the lid or go the whole way up to the top of the lid.
2. Cut to fit.
3. Using hot glue, glue the felt onto the pill bottle.
4. Wait a few minutes to let it dry.
5. Glue the nose knob right at the top groove. Let it dry.
6. Cut the fur. Be careful to only cut the fabric. If you have a craft knife, it might be easier than scissors. You will want the fur to be enough for a little on each side of the nose, and the entire length down of the bottle. Let it dry.
7. Cut a wedge or pie-slice piece in the other color felt for the hat. It doesn’t have to go the entire way around the head. No one will see the back.
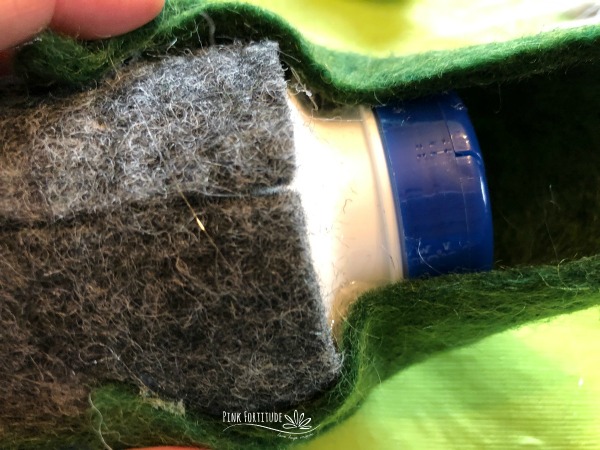
8. I like a little roll-up with the hat (so much cuter!) so if you want, you can hot glue the bottom and roll a little piece over and glue tight.
9. Glue the hat against the nose and beard at a slight downward angle.
10. Turn to the back and glue it tight. Let it dry.
11. Shape the top of the hat and glue the top together. You don’t want it pointed, just shaped. Let it dry.
12. Finally, remove all of the “cobwebs.” I’m not sure what the official name is for them, but those loose stringy things that are leftover from the hot glue gun.
Do you want to see the entire article and tutorial? Click on over to the blog post and check it out! I would love for you to stop by and say hello and let me know what you think!
PS - we have some super cool free printables for you too!
DIY pill bottle ideas
Resources for this project:
See all materials


Comments
Join the conversation
-
I've been saving pill bottles, I didn't know what for . Thanks for the ideas.
-
Loved ALL of them


Frequently asked questions
Have a question about this project?