


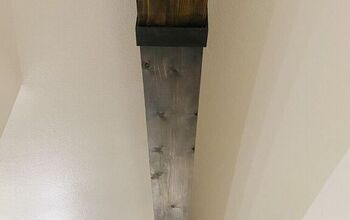
DIY Giant Wood Star

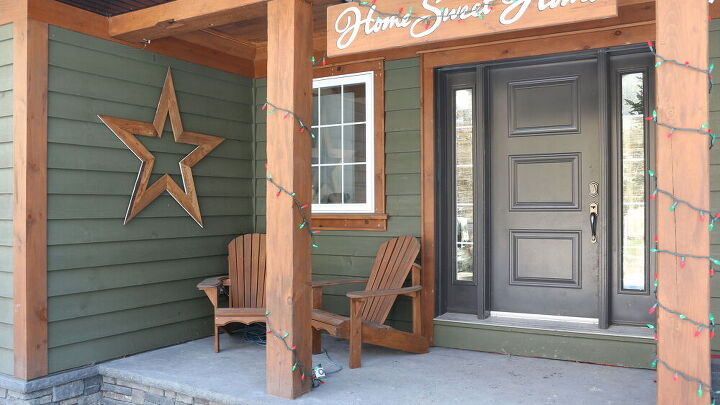
I actually filmed this giant wood star video about 2 years ago, but I had published it as a compilation video of "5 Christmas Decorations you can Make at Home", but I love this particular holiday DIY so much, I thought it deserved a video of its own. I actually keep this giant wood star up on my house year round I love it so much.
Click here so you don't miss a video! https://bit.ly/2Xe639L
JOIN ME ONLINE:
Instagram: https://www.instagram.com/timberandtea_
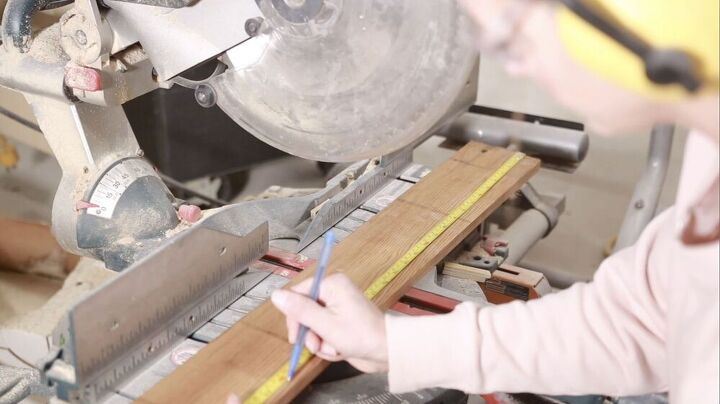
First thing I did was cut 10 pieces at 2'. Size of wood doesn't really matter as long as the cut measurements are all the same. I'm using 4"x1/2" cedar.
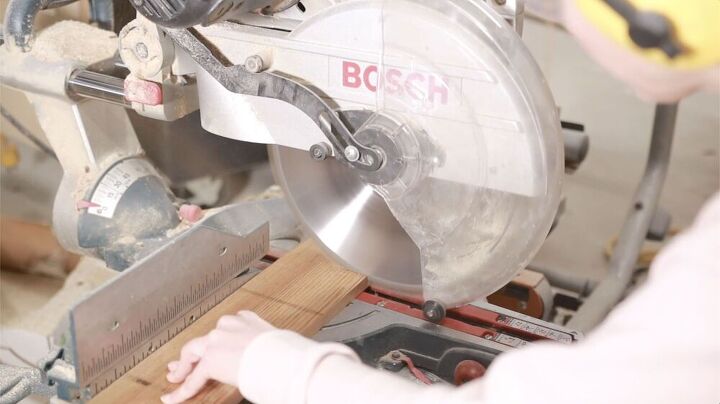
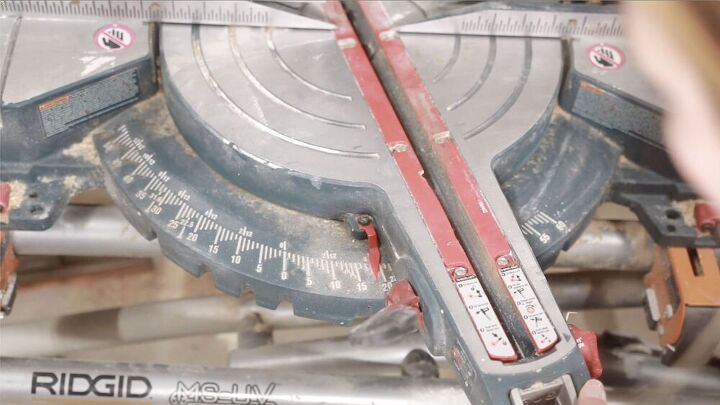
Then turn your saw to 18 degrees and cut your first angles with your board perpendicular to your body.
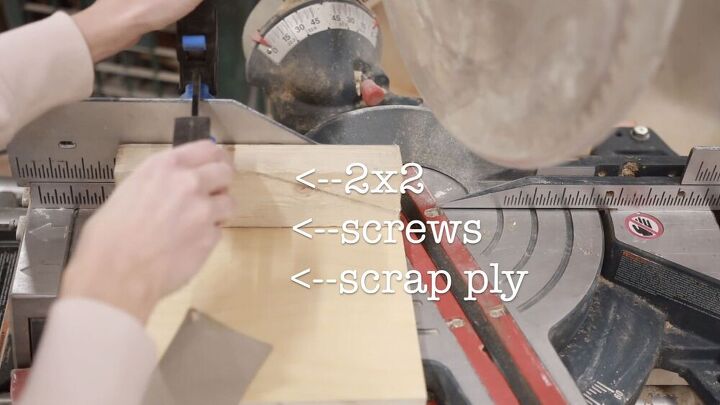
I made a little jig to help keep my board nice and straight and then made all my cuts.

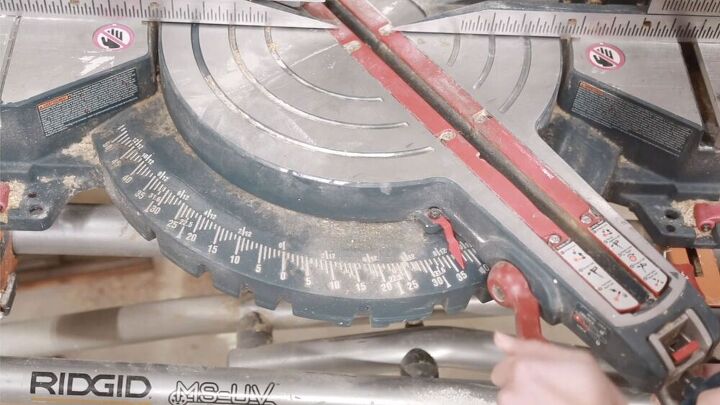
Then turn your saw to 36 degrees and make all your cuts on the other end. The longest side of the board should be closest to your body.

After you've got all your angles cut, use a pocket hole jig and put two holes in one end of each of your boards as shown in the picture.
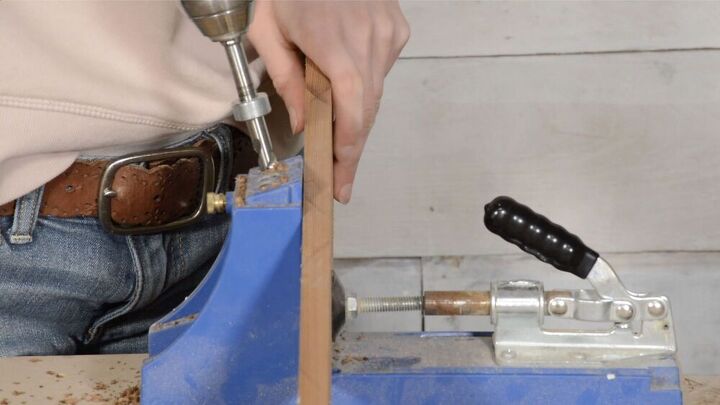

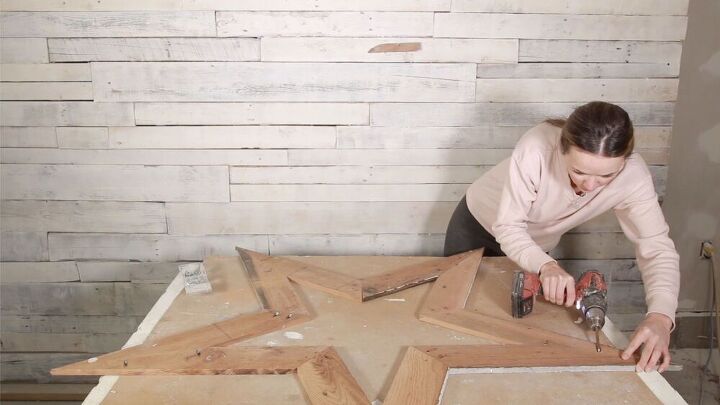
Using 1" pocket screws, assemble your star!
DIY Christmas Ideas
Comments
Join the conversation
-
Yours is, the best wooden star on, DIY! I can hardly wait to make it.


Frequently asked questions
Have a question about this project?
When cutting the angles at 36 degrees....how do you know where to place the board? As in I get the long side closest to you...but meaning where to place blade on board....I’ve watched your video and can’t tell if the edge of the board goes to edge of cut slot or if you just eye ball it. Thank you!