


Tide Pod Container Craft | How to Quickly DIY a Santa Gnome
Don't toss that laundry pod container!
Get ready to embark on a fun and festive DIY journey with my step-by-step guide on creating adorable Santa gnome crafts using Tide Pod containers.
This simple and delightful project will not only repurpose your plastic containers but also add a touch of homemade charm to your holiday decor.
This post was transcribed by a member of the Hometalk editorial team from the original HometalkTV episode.
Tools and Materials:
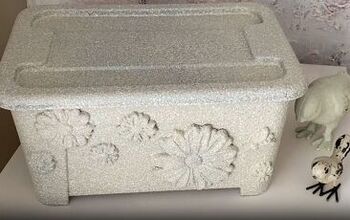
- Tide Pod container
- Santa hats
- Hot glue gun and glue sticks
- Mini ornament
Hometalk may receive a small affiliate commission from purchases made via Amazon links in this article but at no cost to you.
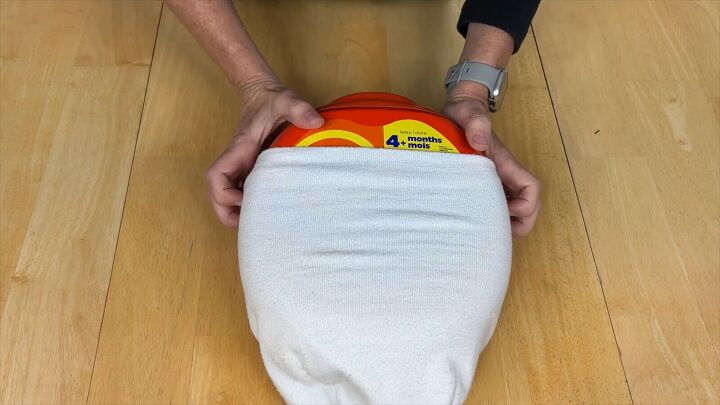
1. Transforming the Base
Place the first Santa hat at the base of the Tide Pod container.
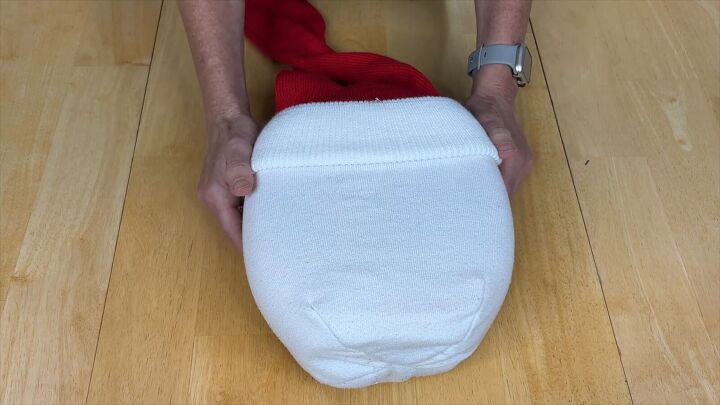
2. Adding the Top Hat
Take the second Santa hat and stretch it over the top of the pod container, ensuring it covers the bottom hat. Secure it in place by applying hot glue to attach the hat firmly to the container.
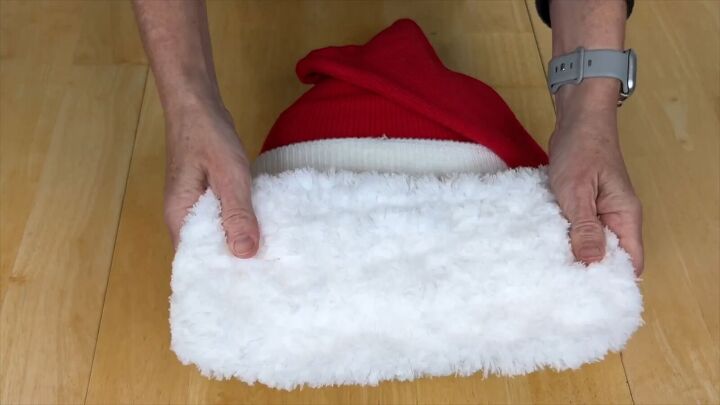
3. Gnome Beard
To create the gnome's iconic beard, grab some faux fur or a mop as an alternative.
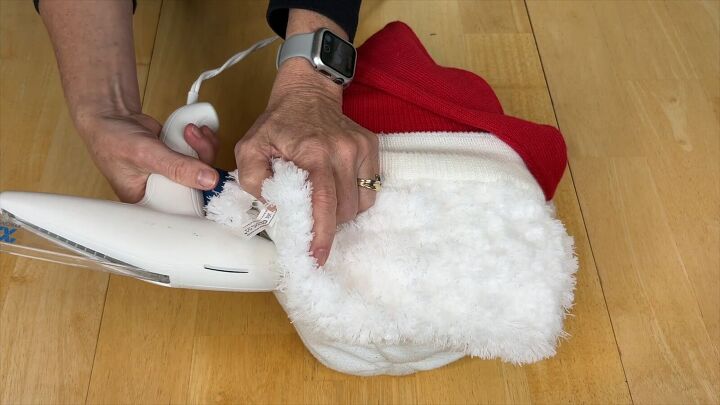
Apply hot glue generously to the top hat and stick the mop piece on top, allowing it to cascade down like a fluffy white beard.
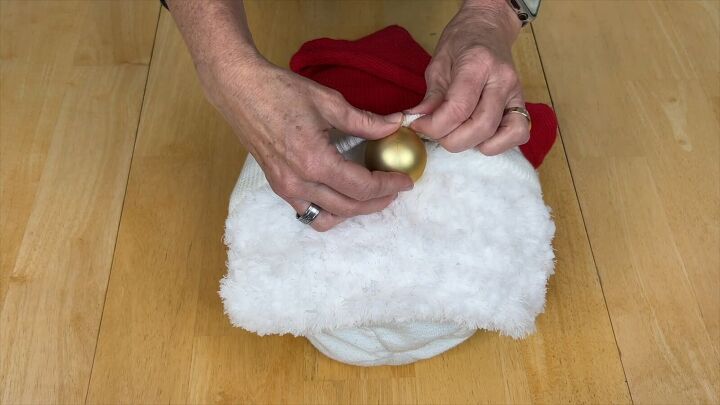
4. End With a Nose
Place the mini ornament underneath the top hat and add some hot glue to secure it in place.
More Christmas Decorations

Tide Pod Container Craft: Santa Gnome DIY
Your DIY Tide Pod container Santa gnome is ready to spread holiday cheer! Display it anywhere in your home to enjoy the festive spirit it brings.
Don't let your empty laundry pod containers go to waste – turn them into adorbale holiday decorations with these simple steps.
Try out this DIY project and share your thoughts in the comments below.
I would love to have you stop by my blog Chas' Crazy Creations for the full tutorial as well as sign up for my latest creations, posts, recipes, exclusives, and more…
I would love for you to subscribe to my YouTube channel to see more of my crazy creations - https://www.youtube.com/c/chascrazycreations

Comments
Join the conversation
-
What a cute & versatile idea for my mt TIDE container! Thanks for sharing!
-
Cute


Frequently asked questions
Have a question about this project?