


How to Make a Gingerbread Garland With Dictionary Pages.
A quick tutorial that takes you step by step how to make a gingerbread garland with dictionary paper.
Plus, I am including a FREE printable for the gingerbread garland.
The FREE printable can be printed as is or as a template.
Push gingerbread printable, right click and choose print.

I love this time of year!
Each year there are those special things that brings joy to my heart.
Like the sweet taste of peppermint bark, the smells of a fresh cut Christmas tree or making this simple gingerbread garland.
It all speaks of a time when there is cheer of being together, and sharing well thought out gifts with each other, that brings squeals of excitement from the littles who get their favorite toy.
Or the well up of emotion when a gift is unexpected.
Those are the best kind of gifts.
Do you feel the same way?
Along with the hustle and bustle of the holidays, there are the simple things we can do to bring Christmas cheer to our home.
One of those ways is creating something with our own hands out of paper and twine like this gingerbread garland.
Today I’m taking you step by step how to make this sweet gingerbread garland.
It can be as short or as long as you like.
This is only a guide.
I’m making 7 gingerbread men for this project.
You can use any type of paper you like for your gingerbread garland.
I’ve become fond of dictionary pages and music sheets lately to make unique things.
I love the nostalgic look it creates when using old pages of books or sheets of music.
It’s not my practice to cut up books.
But after seeing some gorgeous creations at gift shops and specialty stores, it inspired me to make my own.
So, that how this passion for using dictionary paper began.
Did I mention the dictionary cost me $3.99 at Goodwill?
That was a score.
Now onto the project.
What you will need for this project:
- FREE Gingerbread Template
- Dictionary paper (can be found at thrift stores)
- Twine ( link)
- Mini squares (2×2)- ( link to cheap card stock to cut down to make small mini squares.)
- Hot glue gun – (full size link)
- Full size Gorilla glue sticks – (full size link)
- Hole puncher – (can be found at any office or drug store)
- Vintage keys – ( link)
Here are the simple steps how to make a Christmas Gingerbread Garland.
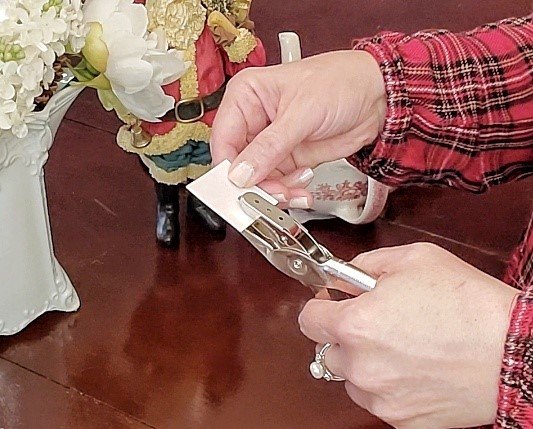
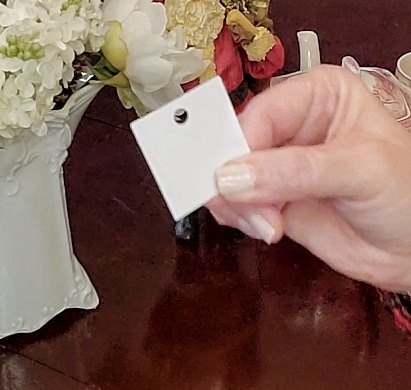
Step One:
Punch a hole at the top of each 2×2 square card stock.
This will be where the twine goes through.
See the photo below.
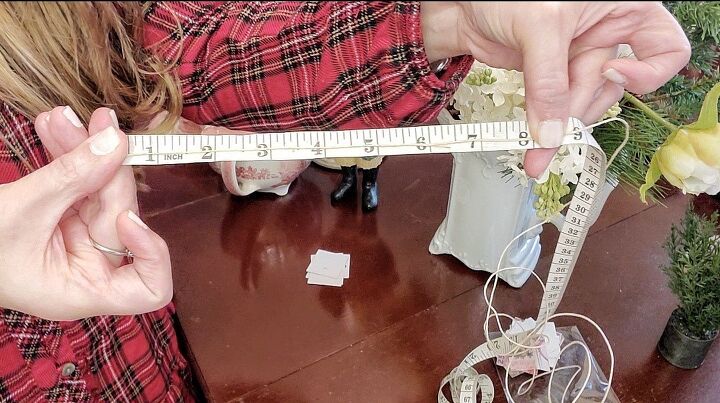
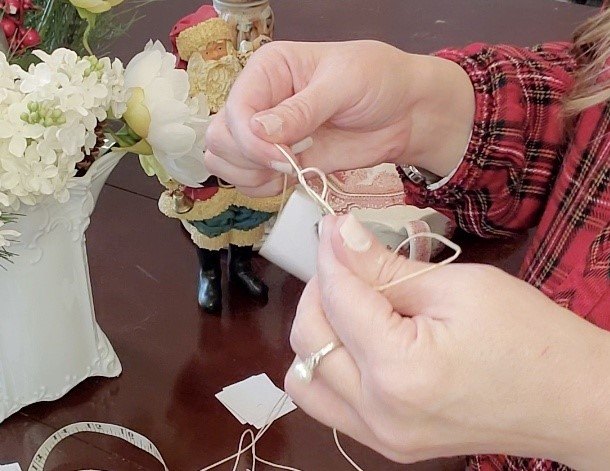
Step Two:
Measure 8 inches between each gingerbread.
To measure the twine, you will need to take the amount of gingerbread men you will be stringing times 8 inches.
Plus add 8 inches to each side.
So, that’s a total of 72 inches.
Or just eyeball it.
You don’t have to measure.
But for those that like numbers, here it is.
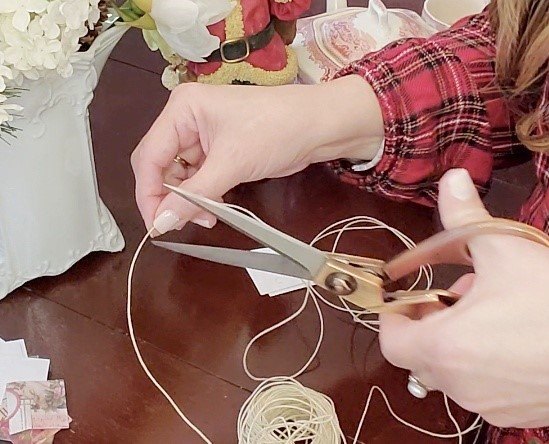
Step Three:
When done measuring, cut the twine.
Step Four:
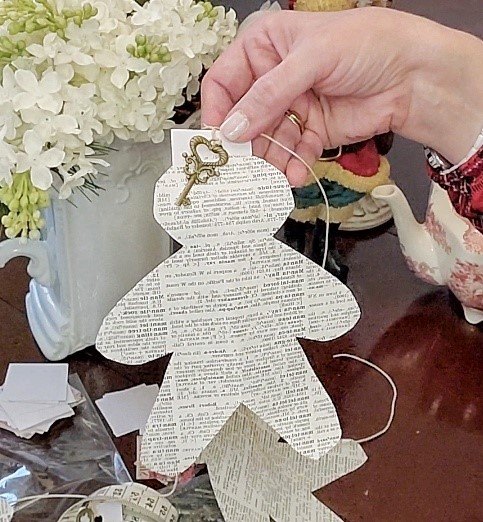
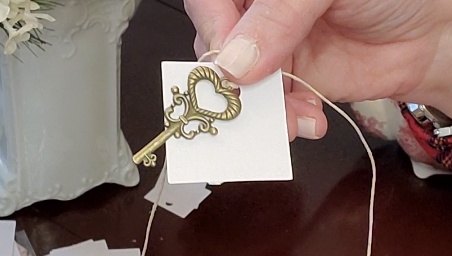
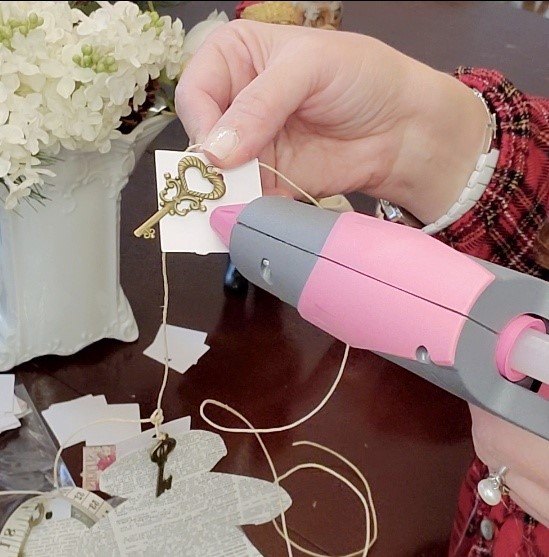
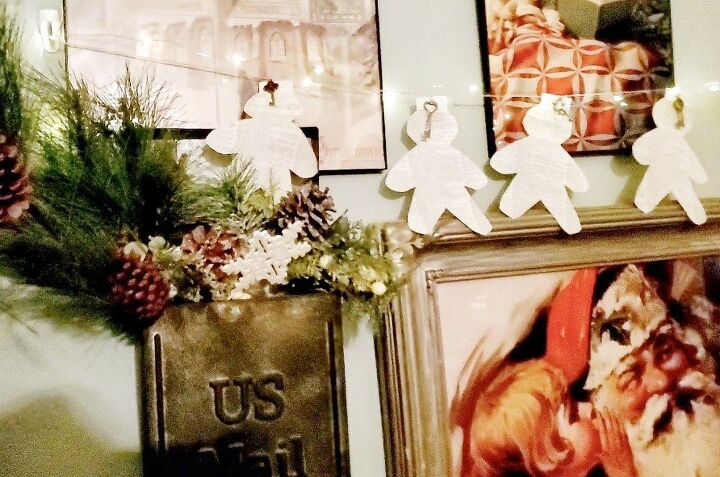
Now, add the key.
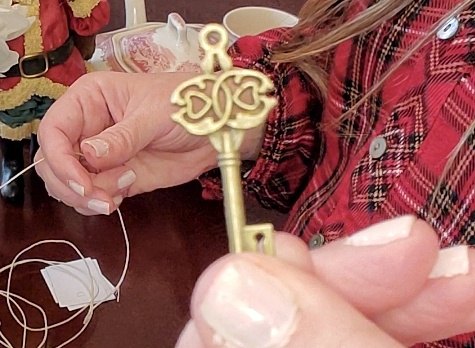
Put the tip of the twine through the hole of the key.
Take your measuring tape and measure 8 inches.
Slide it to the measured eight inches.
Make a knot to secure it.

Step Five:
Now, put the tip of the twine into the hole of the square and align it behind the key.
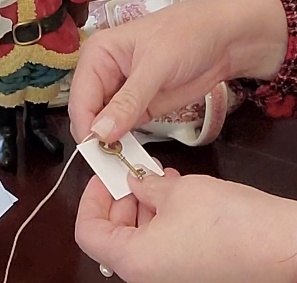
Tie another knot to secure it.
It will look like this. See photo below.
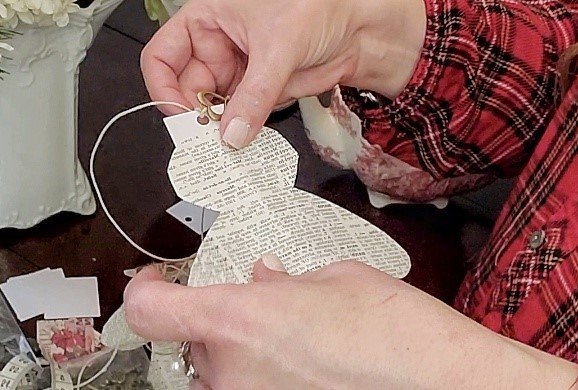
Step Six:
Place a small amount of hot glue at the bottom of the square card stock.
Step Seven:
Take the gingerbread cut out and put the tip on top of the glue and press firmly.
Step Eight:
Repeat this 7 more times.
Or however long you want your garland.
You are now done!!
Wasn’t that easy?
Now, go make your very own gingerbread garland!
It’s a lot of fun.

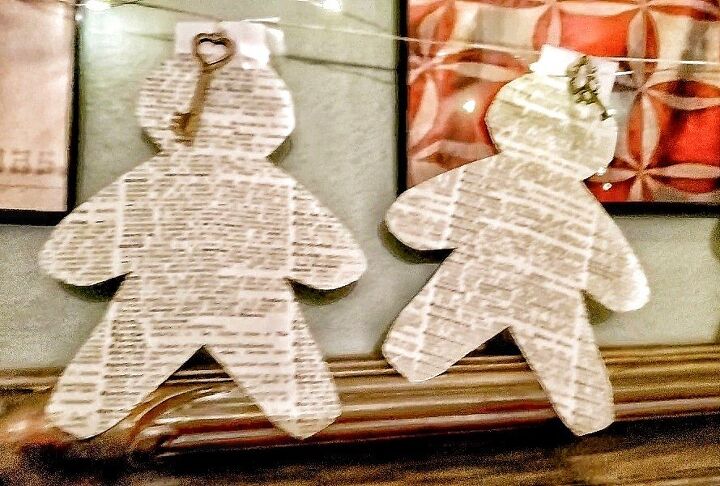
I love how it turned out.
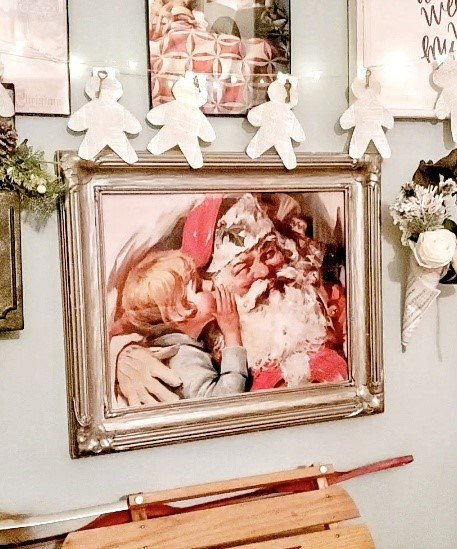
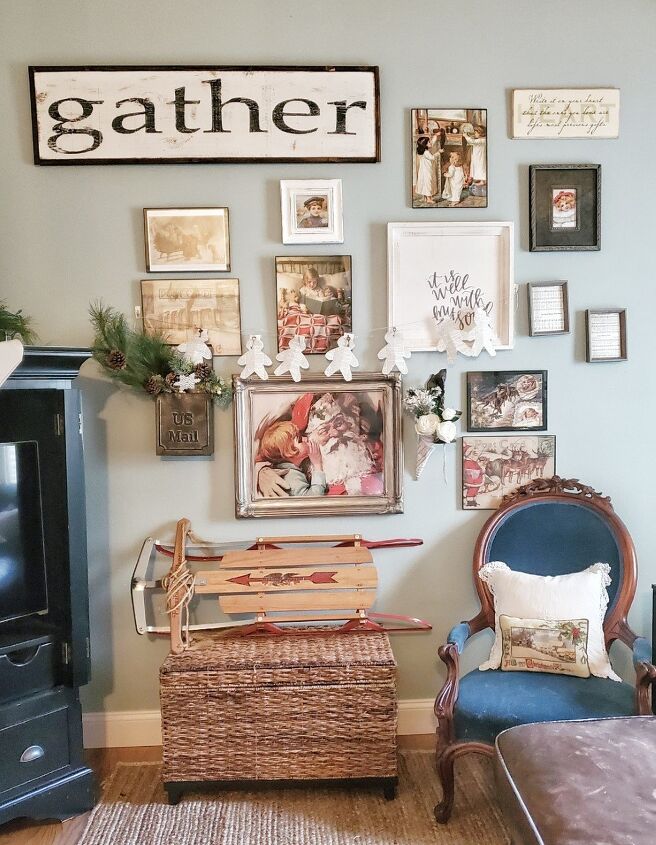
I added this garland to my gallery wall.
It’s such a sweet addition to bring Christmas to my home.
You can get a sneak peak of the new prints I added to replace the original Christmas prints on my gallery wall.
Link is here of my Christmas gallery wall BEFORE.
The AFTER photo will be posted soon.
So, come on back!
I replaced the Christmas prints, as I wanted a nostalgic vintage look.
So, I went all out and put Santa Claus on my wall.
Now, it has the cozy Christmas feels that I was looking for.
I’ve learned over the years, when decorating, that it’s ok to change things I don’t like.
I give you permission to change things, too.
It’s a terrible feeling to put something together and dislike the end result.
That’s happened to me more than once.
It’s liberating to get it right.
After all, home décor is something that bring joy to your everyday life.
I love this time of year (did I already say that?)
Do you?
There are things we love to capture from our childhood.
Or replicate from a time gone by.
No matter how we decorate our home this Christmas season, it is all beautiful.
Your home is your unique sanctuary.
Make it beautiful!
I hope you enjoyed this tutorial.
Please let me know below if you make this gingerbread garland.
Here is a YouTube tutorial for you to watch. You can skip to 3:22 minutes to get to the tutorial.
Wishing you a Merry Christmas!!
May your holidays be filled with all the magic of this season.
For more Christmas DIY inspirations check out these ones below.
Easy Steps to Change Gallery Wall for Christmas
Simple Christmas Wreath made with Dictionary Pages
Thanks for coming by Victorian Lane Farms.
Here is the after photo of the gingerbread garland hung across my gallery wall. I placed some fairy lights along the twine to give it a magical Christmas look.


Frequently asked questions
Have a question about this project?