


How to Frame a Bathroom Mirror
4 Materials
$30
3 Hours
Easy
All of the bathrooms in our home have builder-grade mirrors that are frameless and, well, ugly. I wanted to do something to spruce ours up a bit, so I decided to frame it with a super modern and custom-looking DIY frame. You can see this project and other easy and affordable DIY projects on my blog, Love & Renovations
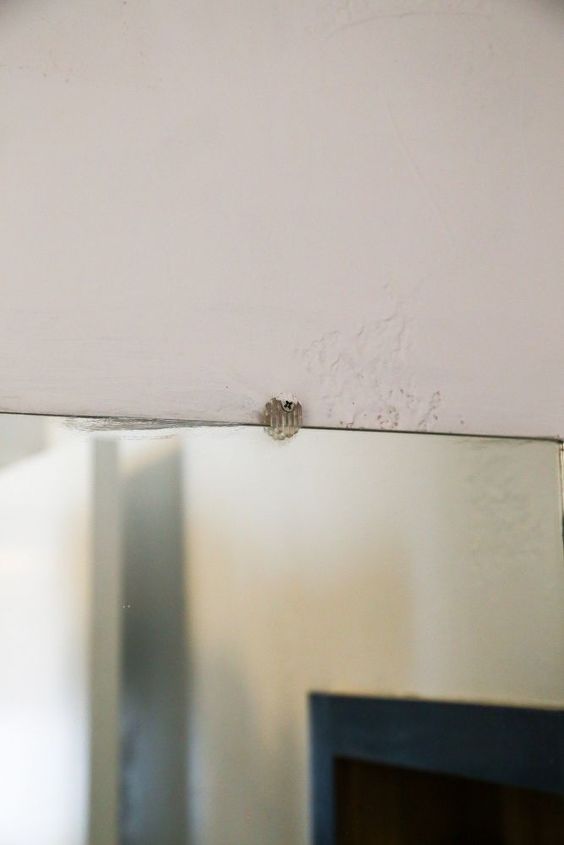
The first thing you'll want to do for this project is replace this old clip that's used to hold the mirror up. These are on most builder-grade mirrors and get in the way of a frame. Luckily, it's a simple fix...

Just grab a small washer and a screw and swap the old clip out for that. It serves the same purpose and takes up a lot less room!
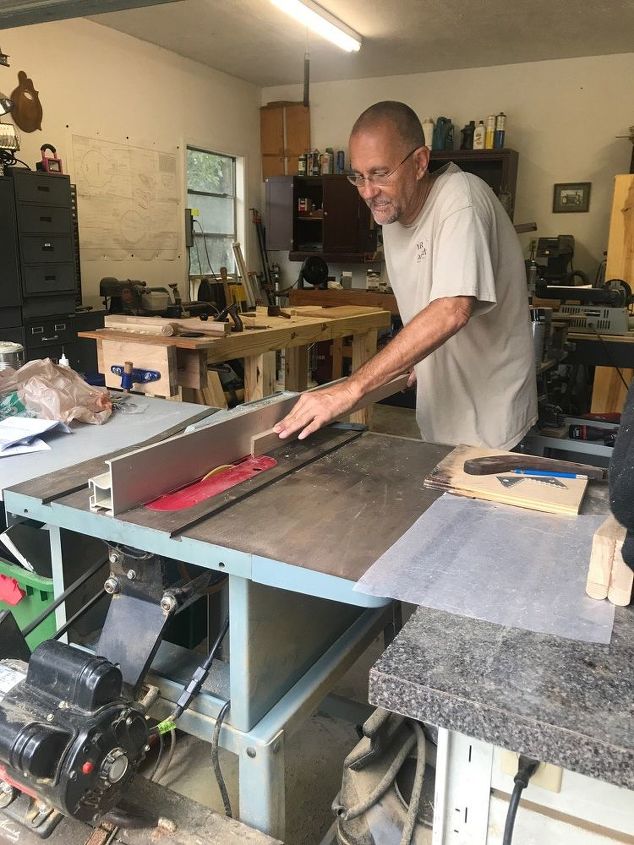
To make the frame, you'll need enough 1X2 boards (I used oak) to cover the perimeter of your mirror. You'll use a table saw to cut a rabbet (or a small notch) in the back of each board (see the next photo to see what that looks like). Once you've cut a rabbet in each board, cut one board for each side of the mirror, and use a miter saw to miter the ends of each board to 45 degrees.
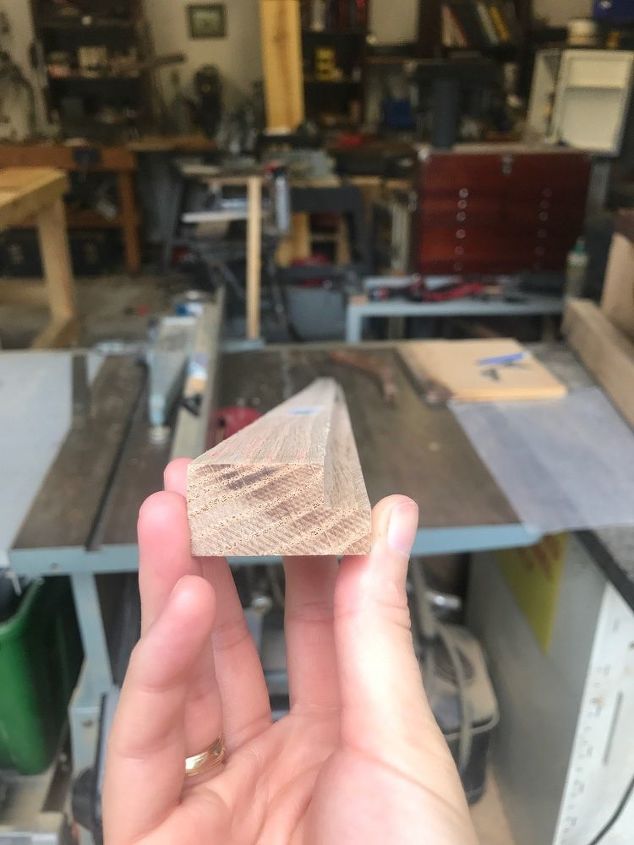
Here's a look at the rabbet - basically, you'll measure the depth of your mirror (how far it sticks out from the wall - mine was 5/ 16 of an inch) and adjust the table saw to cut at that depth - run it through once lengthwise, then turn it and run it through again to create the notch. There are more detailed photos and instructions on the blog post!
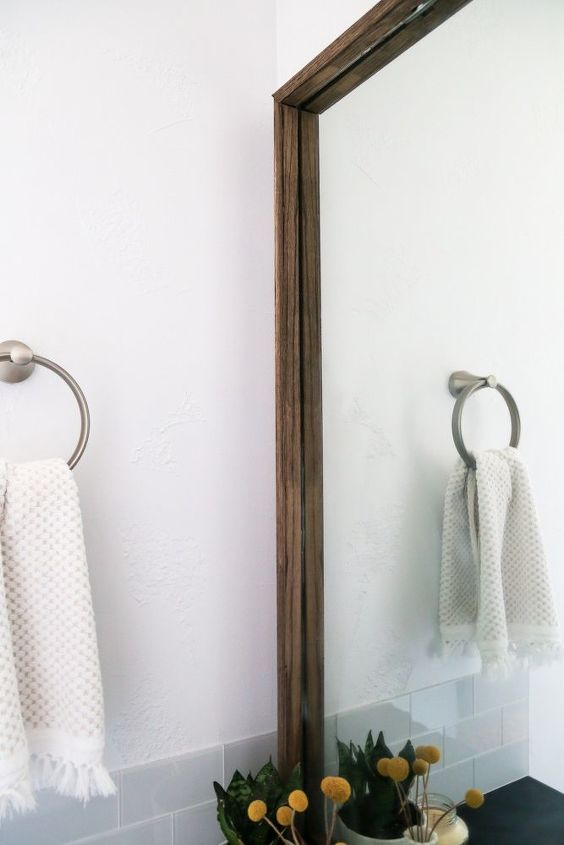
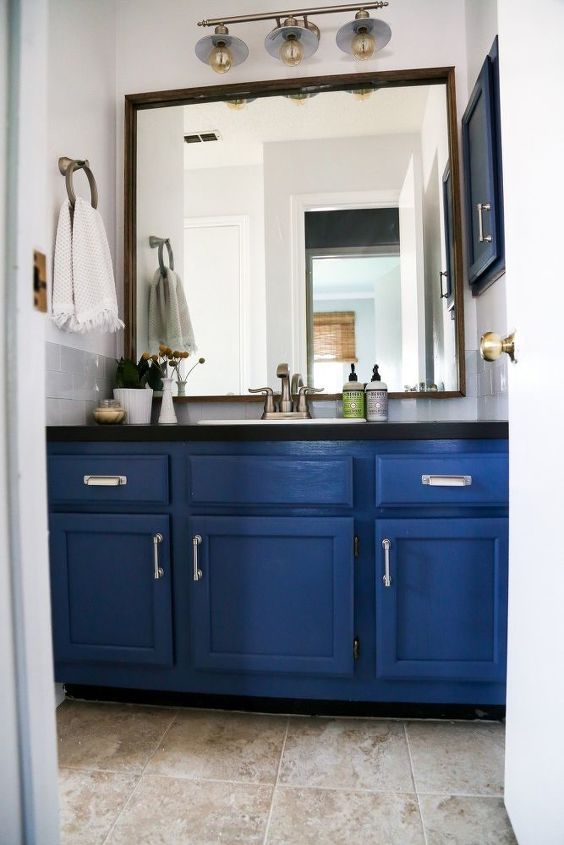
After your wood is cut, stain it and attach it to the wall using wood glue! This creates a really modern, unique look that looks totally custom and gorgeous!

Want more details about this and other DIY projects? Check out my blog post!
Comments
Join the conversation
1 comment
-
Looks beautiful! Thanks for sharing!


Frequently asked questions
Have a question about this project?
very pretty! What shade of Behr paint did you use on the vanity?