


How to Sew a Boxed Cushion
A boxed cushion cover with welt seams like a daunting task, but it's much simpler than you'd think. It only has 5 pieces to the process.

The 5 pieces are...the top and bottom, the band or boxing that goes around the edge, the zipper panel, and the welt aka piping.
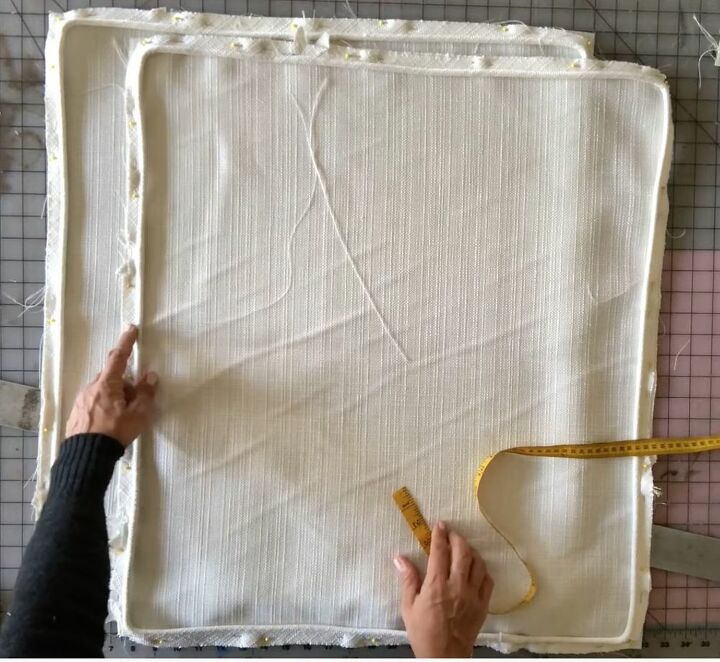
The first step is to measure and determine what size to cut your cushion parts. The top and bottom should be cut to 1" larger than the finished size of your cushion cover, giving you a 1/2" seam allowance. And the boxing should also be cut with 1/2" seam allowance.
Once your top and bottom pieces are cut, attach your welt with pins and sew the welt to your top and bottom platforms. I have a welt making video tutorial here.
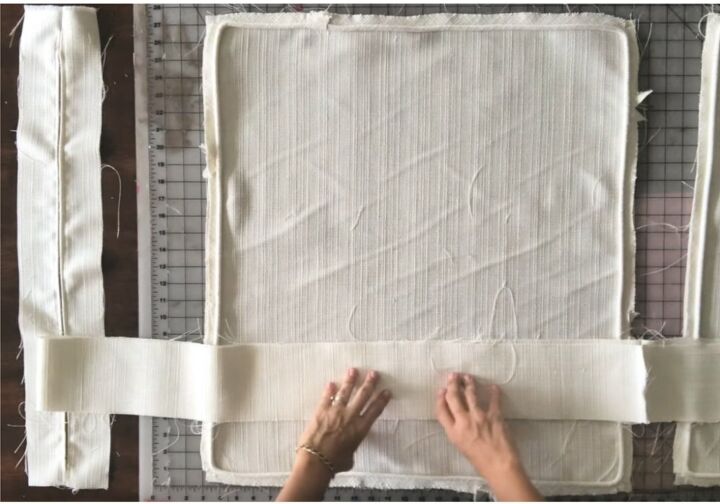
Cut your boxing/banding pieces and assemble the zipper panel. I have zipper panel tutorial here.
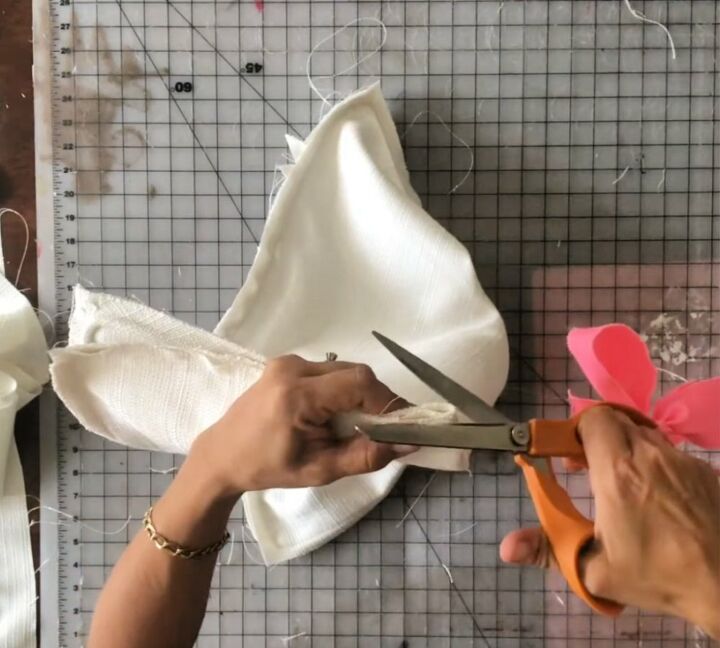
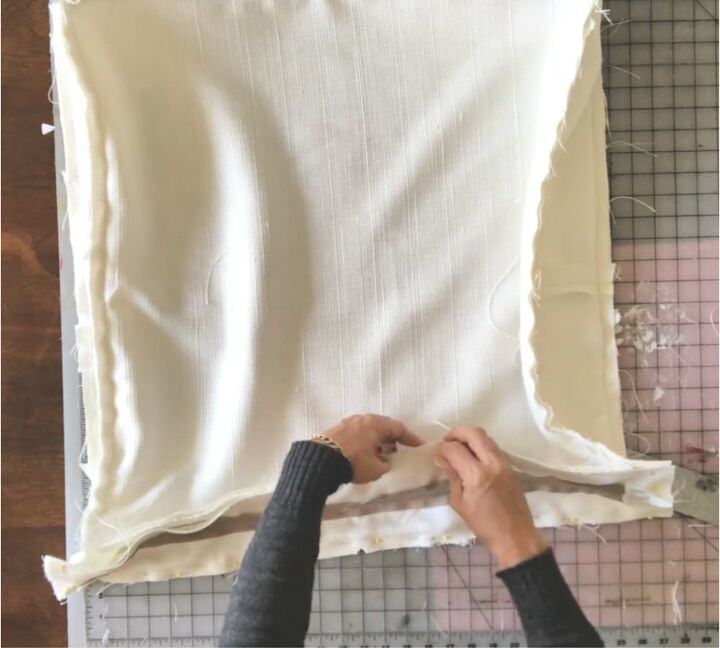
At this point you want to cut V notches to mark the centers of all your pieces. You do this by folding your pieces perfectly in half front to back. On the fold you cut a small notch making sure you don't cut into the stitches. When you open up the piece you'll have a perfect little V cutout. This makes it easy to line up all pieces correctly, so you'll have perfectly square cushions.
Pin the boxing piece all the way around your cushion bottom platform making sure to line up the V notches you snipped in the centers of each piece to ensure you cushion is square.
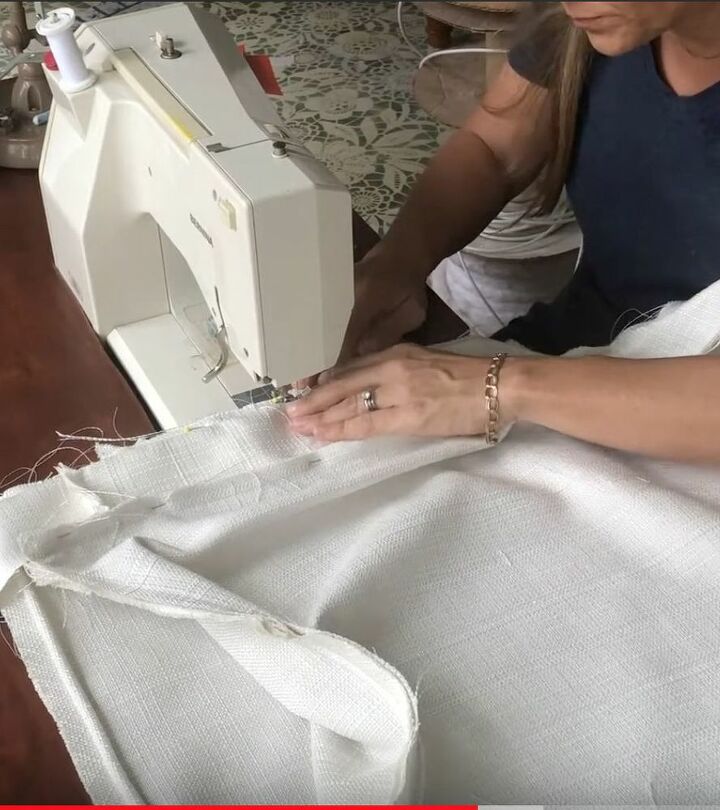
Sew the cushion together with your zipper foot or welt foot. Almost every sewing machine has a zipper foot and you simply run the zipper foot as close to the welt as possible.
The last step is to attach the zipper panel. You treat the zipper panel just like the boxing. First you sew the zipper panel to the boxing on each end, then you line up the center notches of the top and bottom platform to the notches in zipper panel, and then pin it all together. The only part thats a little tricky is the corners and creating the pockets at the edges. Make sure to watch the video for this part.

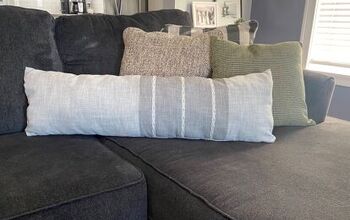
The last step is to turn you cushion cover right side out and stuff your foam into the cover.
You did it!


Comments
Join the conversation
-
Wow! You make this so doable! Thanks for sharing
-
Thanks Kara! It's totally doable and easier than you'd think.


Frequently asked questions
Have a question about this project?