


Easy Fall Cinderella Pumpkin Crafts
I love easy-to-make crafts. All you need for these fall cinderella pumpkin crafts is a plastic pumpkin, fabric, scissors, and glue.
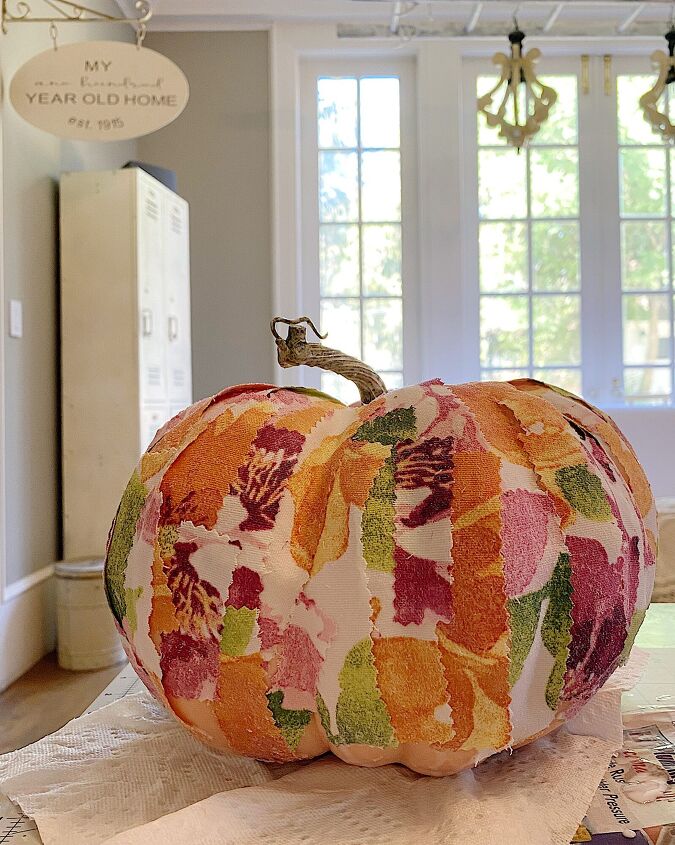
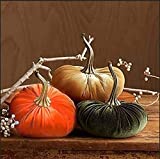
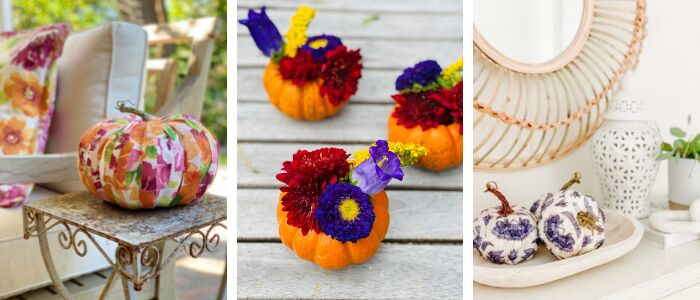
I love fall pumpkin decor and pumpkin crafts. I came up with this project because I had some cinderella pumpkins that needed to different look! And I wanted to do something that wouldn’t take very long. I think this plastic pumpkin covered in very pretty fabric came out great.
Cinderella Pumpkin Crafts
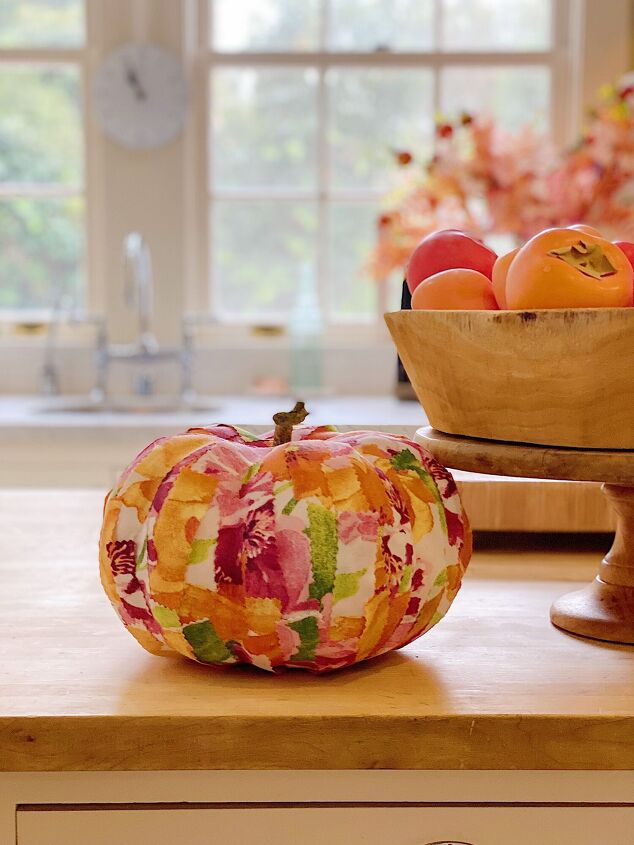
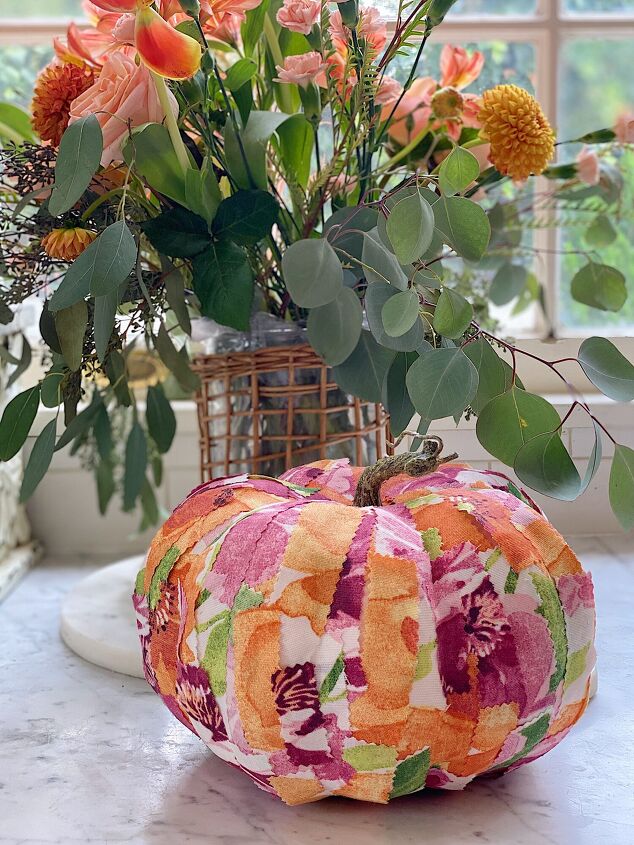
Ok, I think I found the perfect spot for my pumpkin. I love it in our kitchen.
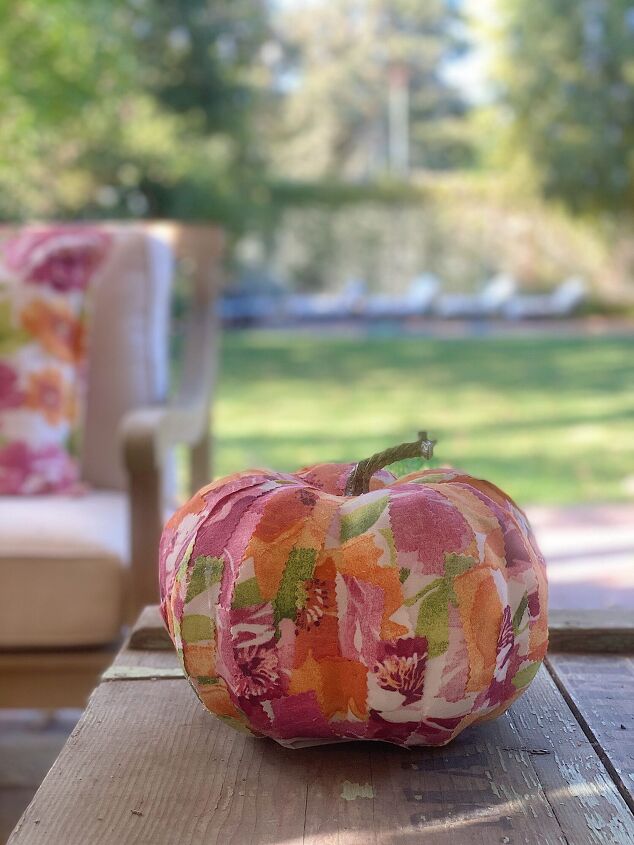
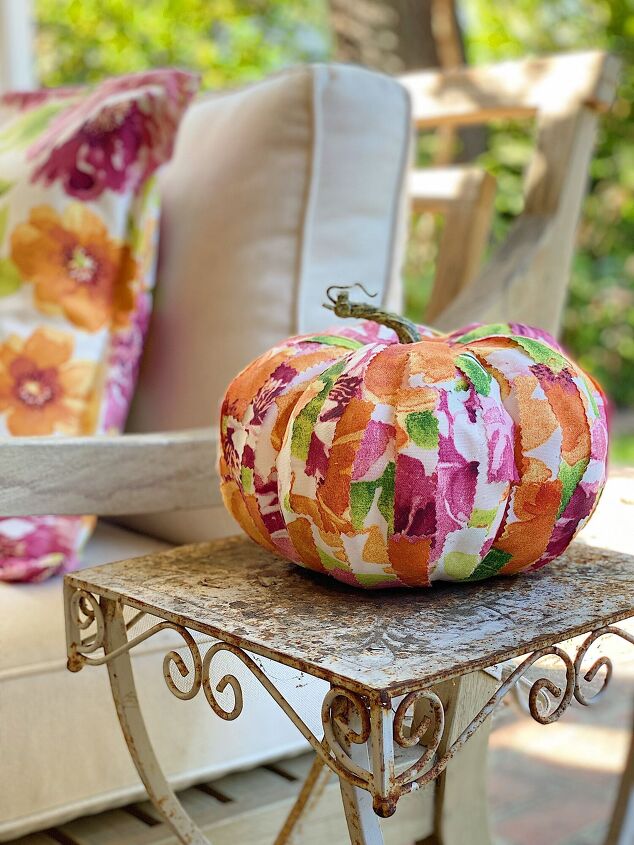
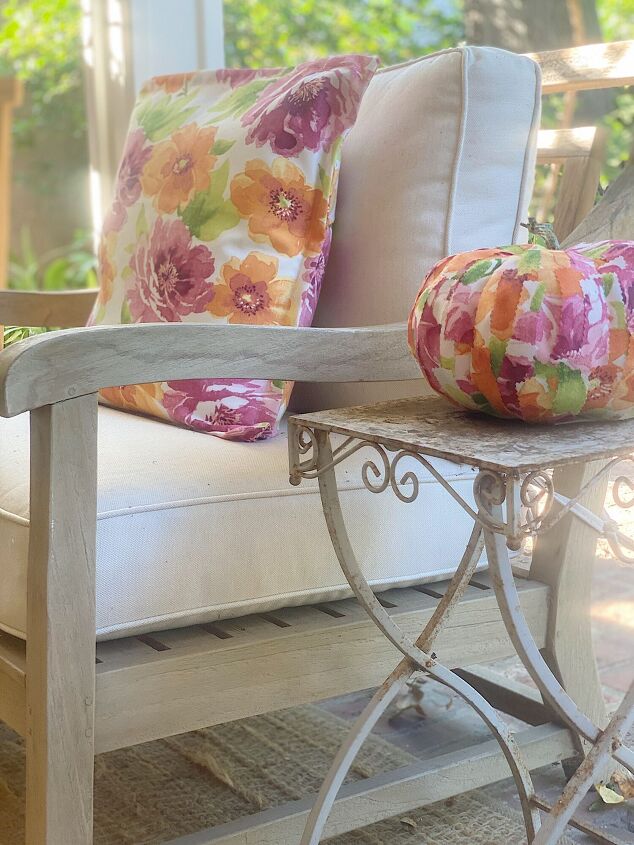
But then again, it looks pretty cute on our back porch. Can you guess where I got the fabric? It was actually leftover from when I made the pillows (which you can see just to the left).
How many people do you know that have pumpkins that match their pillows? Hehe.
Also, I partnered with twelve very talented bloggers who have also shared their pumpkin crafts. Be sure to scroll down to see all of their ideas.
How to Make Easy Fall Cinderella Pumpkin Crafts
Materials List
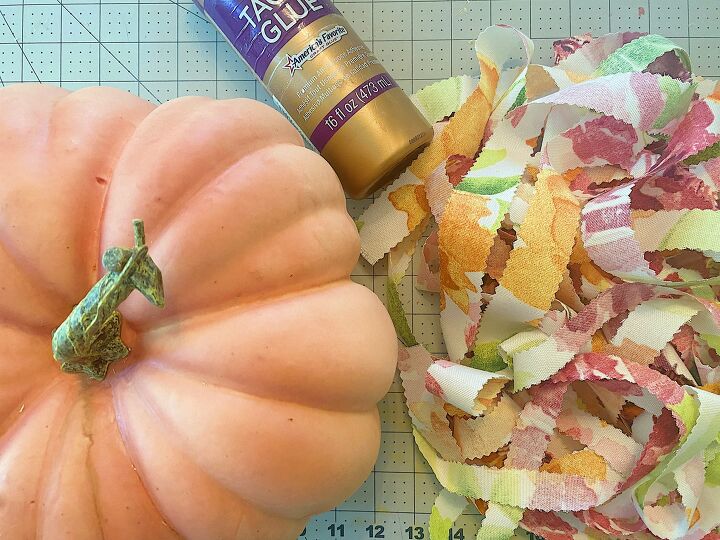
Faux Pumpkin (plastic is good!)
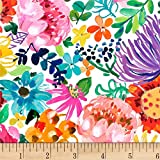
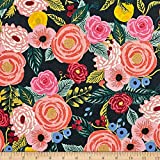
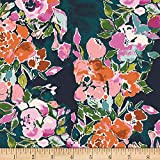
About 1/3 yd of cotton fabric (I used decor fabric which is a bit heavier)
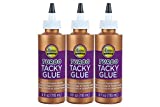
Utility Brush
Step-By-Step Instructions
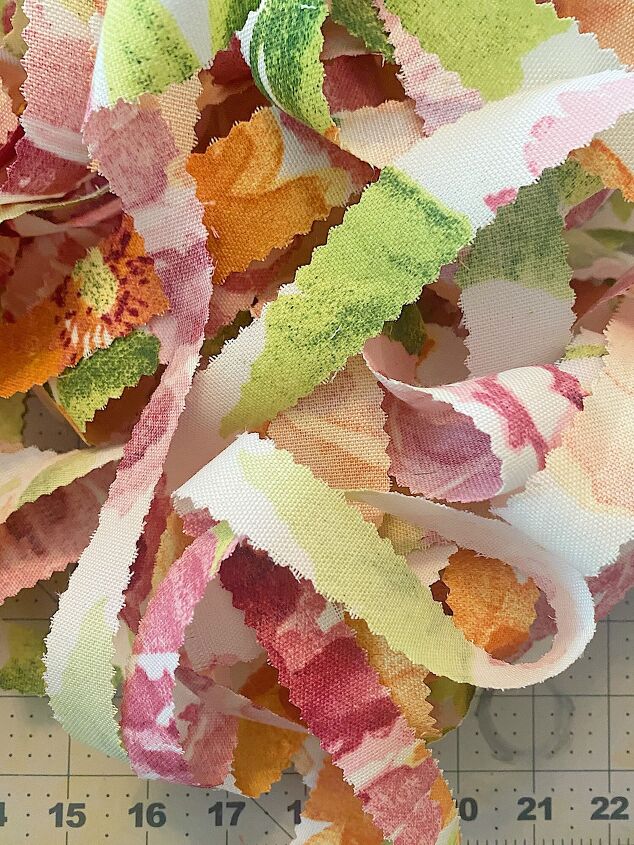
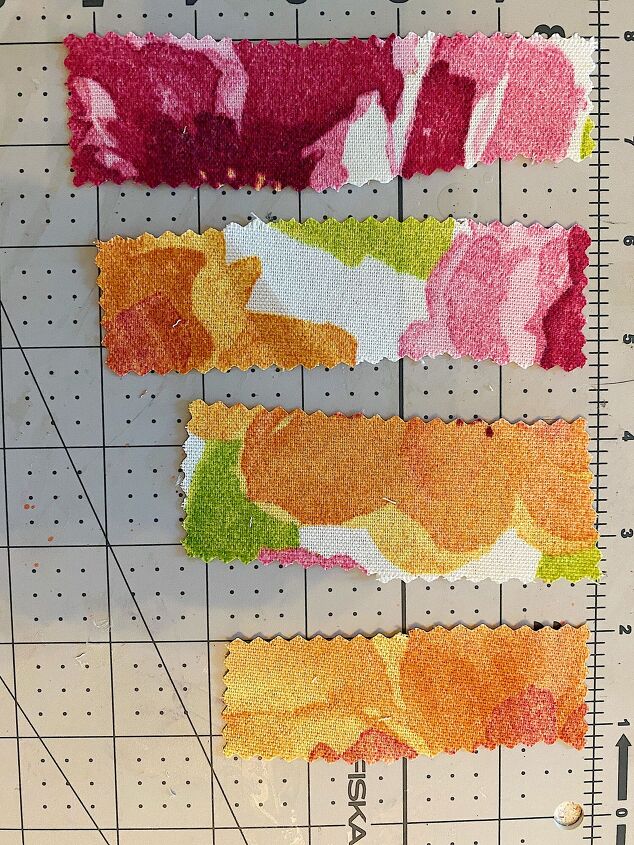
- one – Using a pair of pinking shears, cut strips of fabric about 1″ wide.
- two – Cut the strips into smaller pieces, about 4″ to 5″ long. You can also cut a few longer pieces but they are a bit harder to lay flat on the pumpkin.
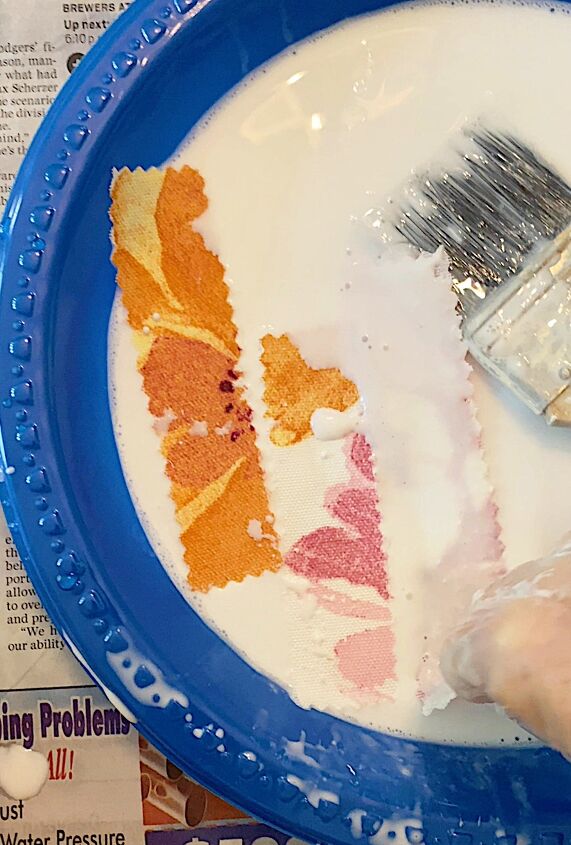
- three – Mix equal parts of tacky glue and water and place in a plastic plate or bowl. Dip pieces of fabric into the glue and coat both sides.
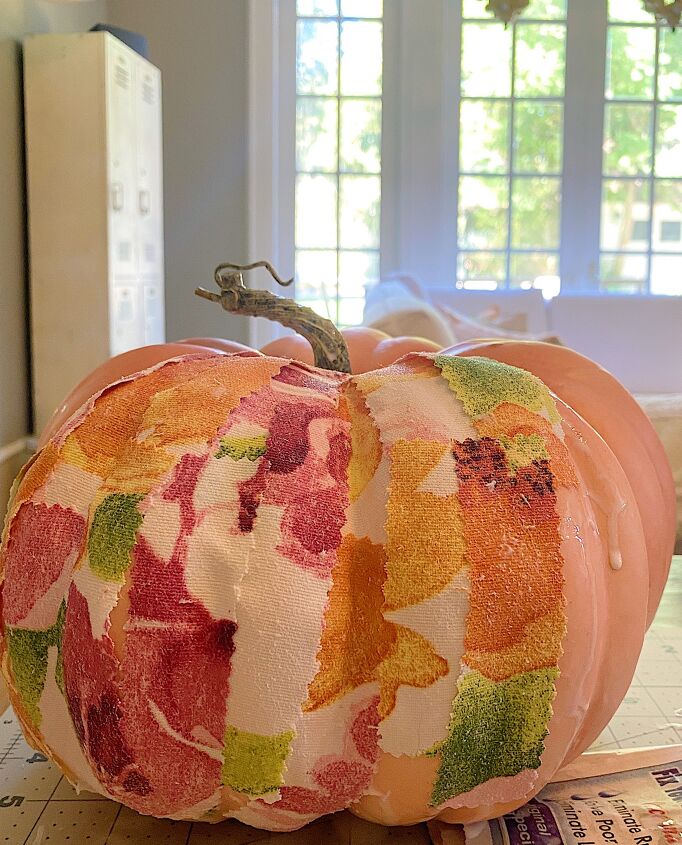
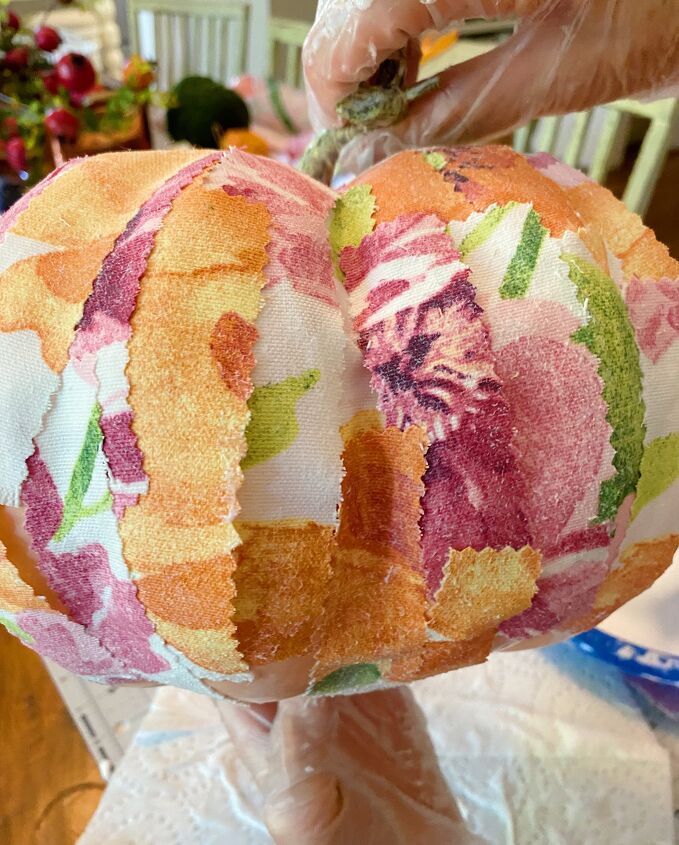
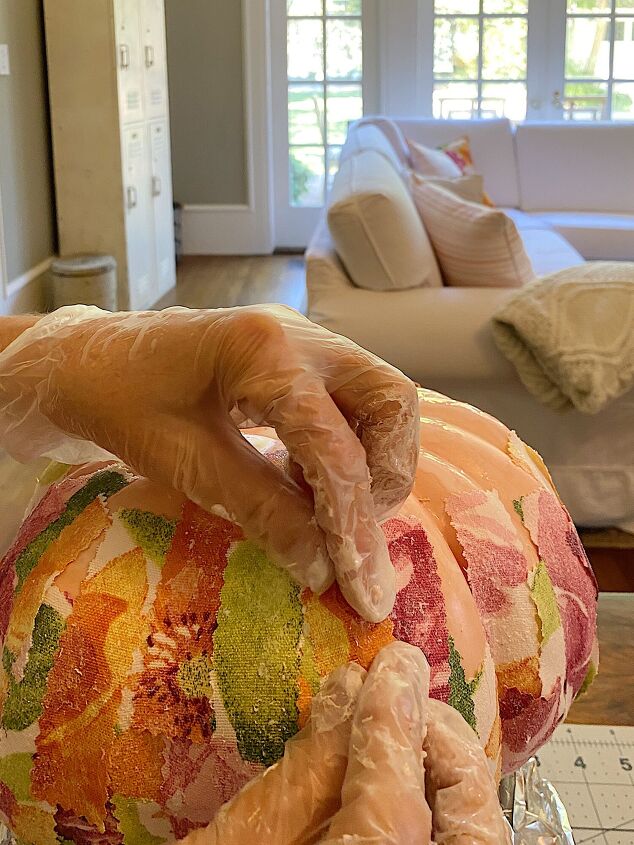
- four – Lay the fabric pieces flat on the pumpkin.
- five – Continue adding strips while rotating the pumpkin
- six – When you are done with the top side, add glue (with the paintbrush) to the top of the fabric to secure the edges of the fabric.

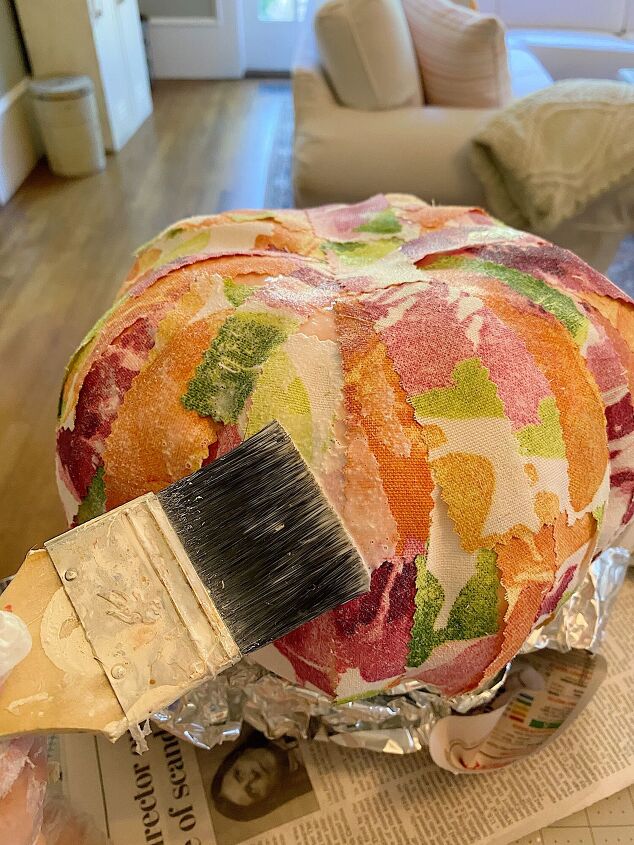
- seven – Take a bowl and line it with aluminum foil. Flip the pumpkin upside down and place the pumpkin on top of the bowl.
- eight – Add more strips of fabric to cover the bottom of the pumpkin.
- nine – Once complete, add glue with the paintbrush to the outside of the pumpkin. This will help the edges lay flat. Flip and let dry.
If you are enjoying my blog, you can sign up to receive my blog updates here. .
Are you ready to make this super easy but amazingly gorgeous craft? Click the photos to purchase the items and get crafting!
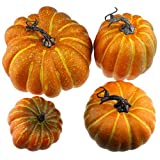
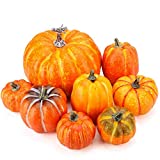
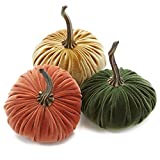
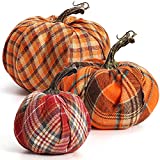
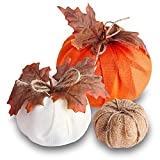
Not a crafter but want to decorate with some cute fabric pumpkins? I’ve got you covered! Click the photos below to buy some already made.
Looking for some fabulous fall decor?


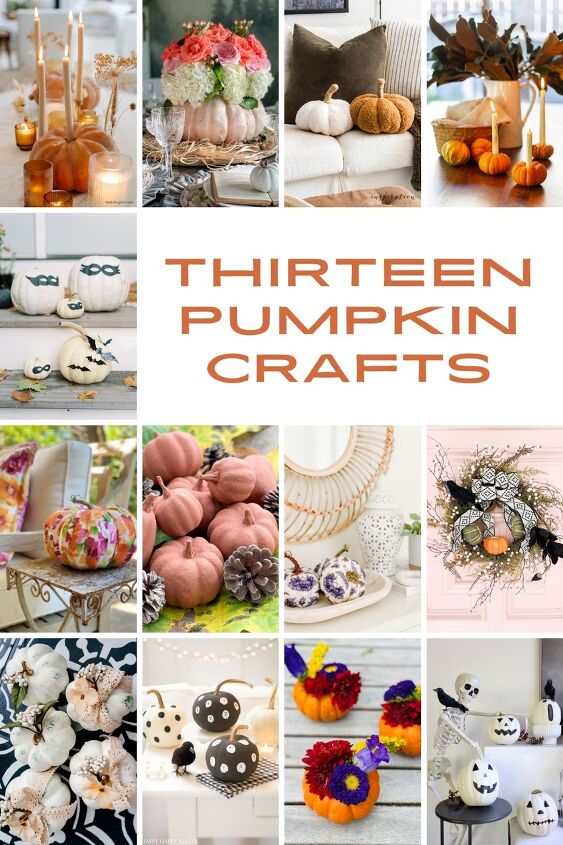
More Pumpkin Crafts Ideas
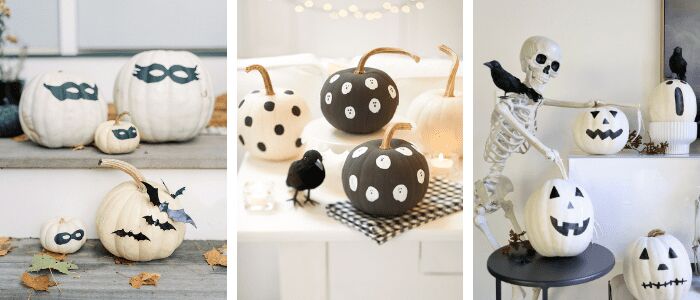
Painted Mask Pumpkins || Finding Lovely
Ghost Painted Pumpkins For Kids || Happy Happy Nester
No-Carve Pumpkin Ideas || My Sweet Savannah
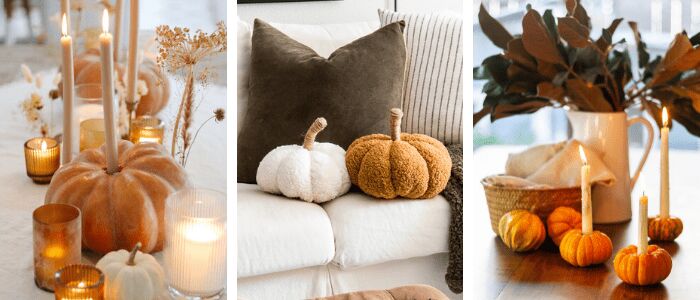
Heirloom Pumpkin Candle Holders || Modern Glam
Cozy Pumpkin Pillows || Inspiration For Moms
DIY Pumpkin Candle Holders || Zevy Joy
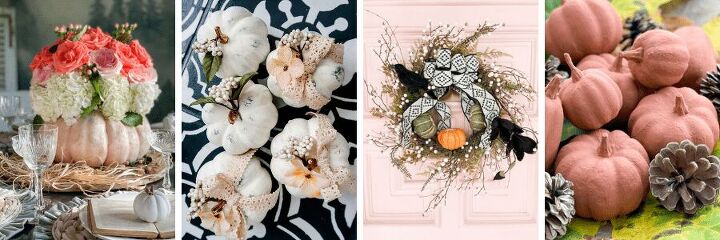
How to Make Easy DIY Floral Pumpkin Vase || The Design Twins
DIY Boho Chic Pumpkin Decor from Dollar Store Pumpkins || The DIY Mommy
Light Up Pumpkin Farmhouse Wreath || Tatertots & Jello
DIY Faux Clay Pumpkins || The Happy Housie
Easy Fall Cinderella Pumpkin Crafts // My 100 Year Old Home
How To Make Pumpkin Planters || Most Lovely Things
Blue and White DIY Pumpkins || Life Is Better At Home
Pin the image below to your decor boards on Pinterest (just click the Pin button in the top left corner). You can also follow along with me on Pinterest!
For more real-time updates, follow me on Instagram @My100YearOldHome

ABOUT LESLIE
Welcome to My 100 Year Old Home. I started my blog so I could share my passion for entertaining, décor, cooking, and crafts. You will find all this and more right here. Read more…


Comments
Join the conversation
-
I would try cutting the fabric on the bias. This would shape to the pumpkin and then enable you to use longer strips.
-
Not usually interested in pumpkins (except for eating) but this one I will definitely be doing. "Thank you for sharing.


Frequently asked questions
Have a question about this project?