


Reversible Dollar Tree Pumpkins Tutorial
with Free Printable Halloween Printed Pages
A few weeks ago I wrote a tutorial for creating reversible faux wood books, for fall and Halloween, that you can put on your tier-tray or in a vignette. I really loved making one project that I can use for two seasons! I mean, come on, who wants to give themselves more work than they have to? So now that Dollar Tree has more of their fall decor out, I picked up those square pumpkins with the little glitter sayings on them and made another project. In this tutorial I will show you how to make reversible Dollar Tree Pumpkins for fall and Halloween. If you don’t decorate for Halloween you can do fall and Thanksgiving.
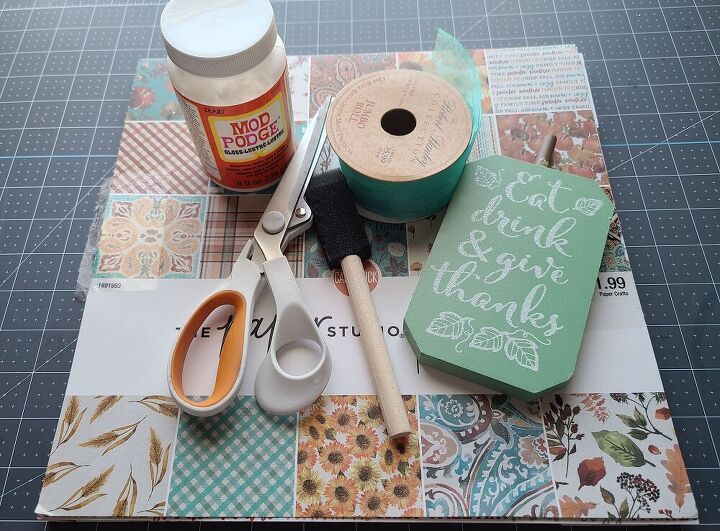
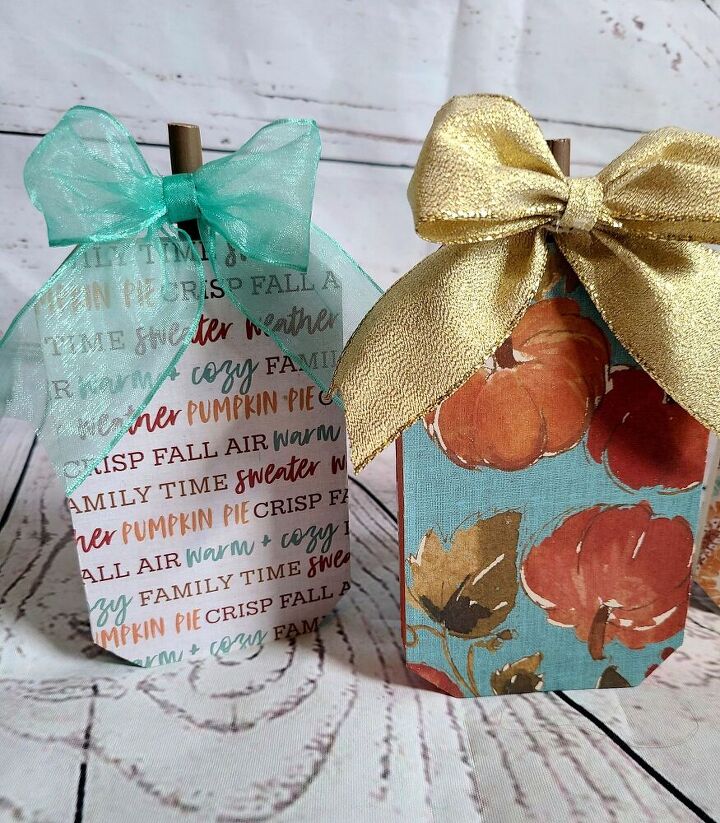
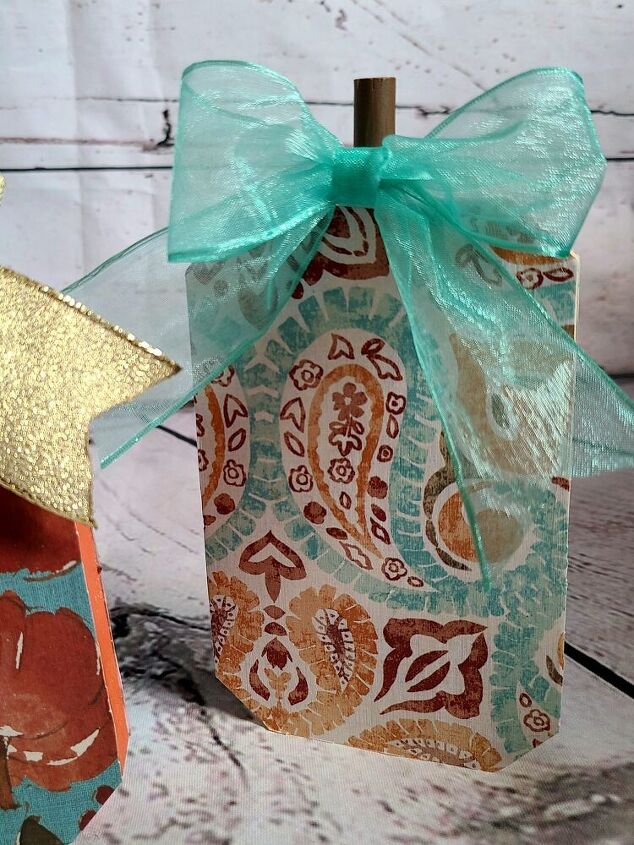
- Supplies for Reversible Dollar Tree Pumpkinsrectangle pumpkins with glitter sayings on them- Use as many as you’d like. I used 3.
- scrapbook paper or designs printed out- one for every fall pumpkin; one for every Halloween pumpkin
- pipe cleaners
- 1.5″ wired ribbon-I used 3 different ribbons, but you can use more or less. If you’d like to use smaller ribbon, that’s fine too.
- scissors
- pencil
- Mod Podge & foam brush
- hot glue gun & glue
Prep the Pumpkins
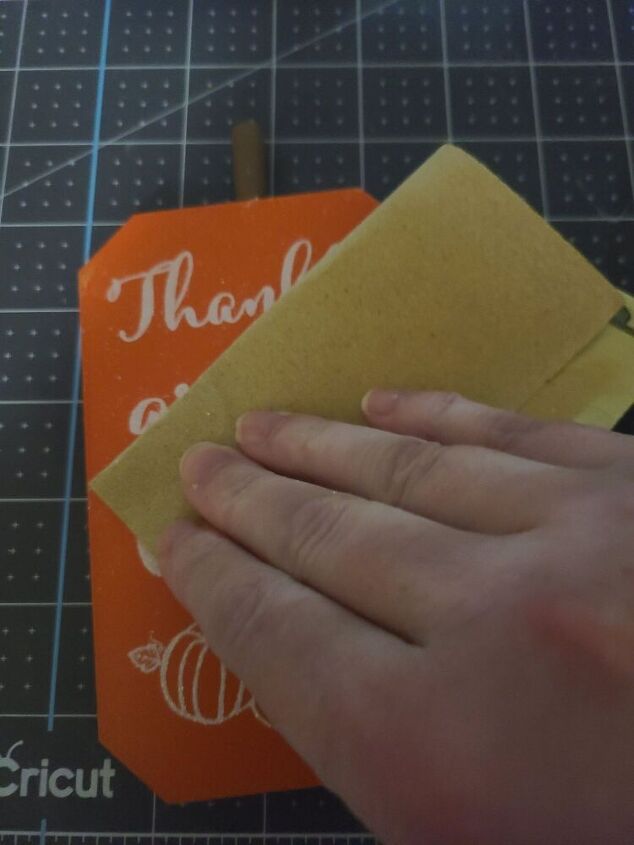
Since you’re going to be using both sides of your reversible Dollar Tree pumpkins, you’ll need to sand down the glitter side. If you don’t, you’ll be able see bumps through the scrapbook papers where the words are. You don’t have to sand down a ton, just enough to get most of the glitter off.
I used scrapbook paper that matched my pumpkins. However if you aren’t, you will want to paint the sides of the pumpkins first. Make sure that paint will match both the fall & the Halloween paper you’re using.
Trace & Cut Pumpkins on Fall Paper
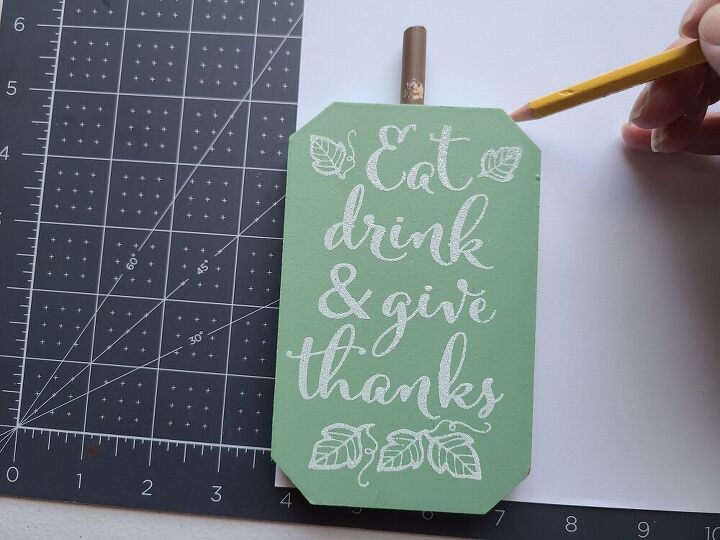
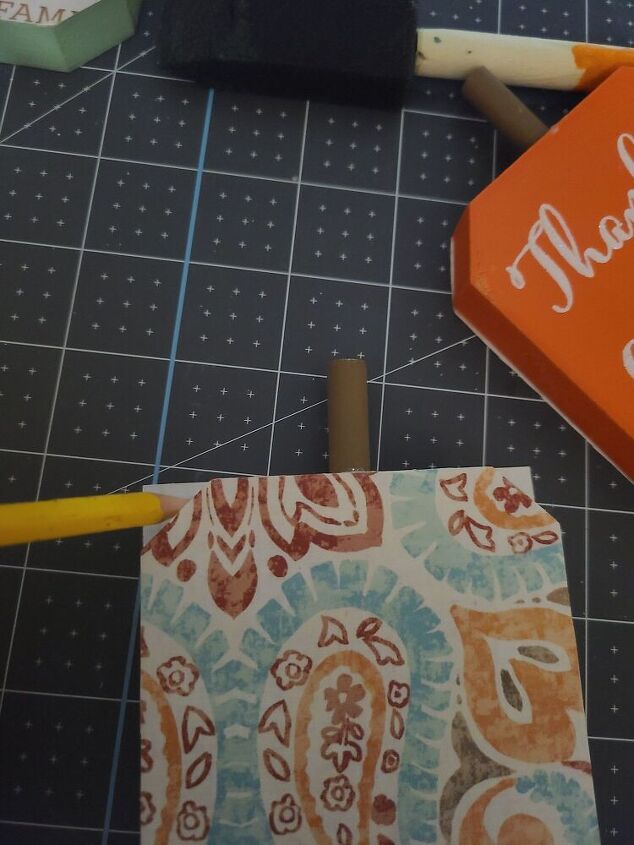
Now that the prepping is out of the way, we can get started. Lay your pumpkin on the back of the scrapbook paper and use your pencil to trace around it.

Using scissors, rotary cutters, or slide slicers (whatever they’re called) cut out the pumpkin you traced. I used a combo of scissors and a slicer. I used the scissors on the tiny corners then the slicer on the longer lines. That’s just because I’m terrible at cutting straight. I didn’t get a picture of me cutting them, but I’m sure you know how to do that!
Use Mod Podge to create the first side of your Reversible Dollar Tree pumpkins.
Use your foam brush and brush a layer of Mod Podge onto the surface of the pumpkin. You can also brush a little on the back of the paper if you wish.
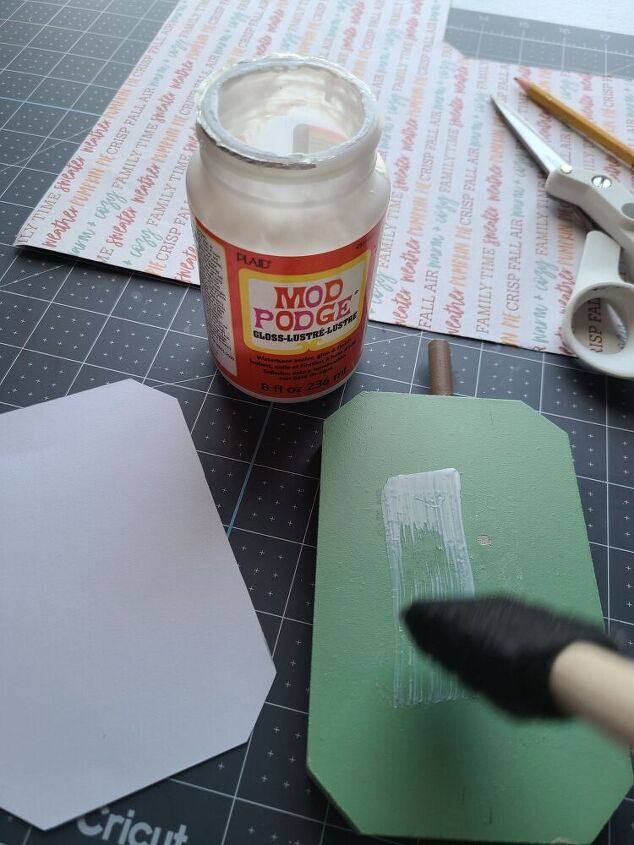
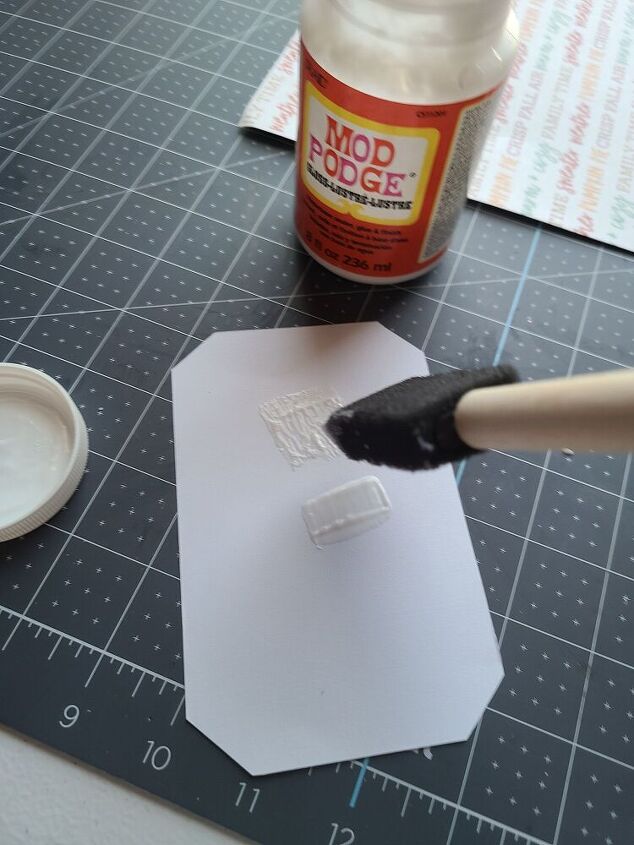
Place your cut paper pumpkin on the wood. Then use your hand to smooth it on and remove any wrinkles and bubbles.
Now put a layer of Mod Podge over the paper to seal it on the wood pumpkin. If you’d like to do two layers, you can. I just used one.
Now repeat this process with each pumpkin that you plan to use on the fall sides.
Make & Add Bows to the Fall Pumpkins
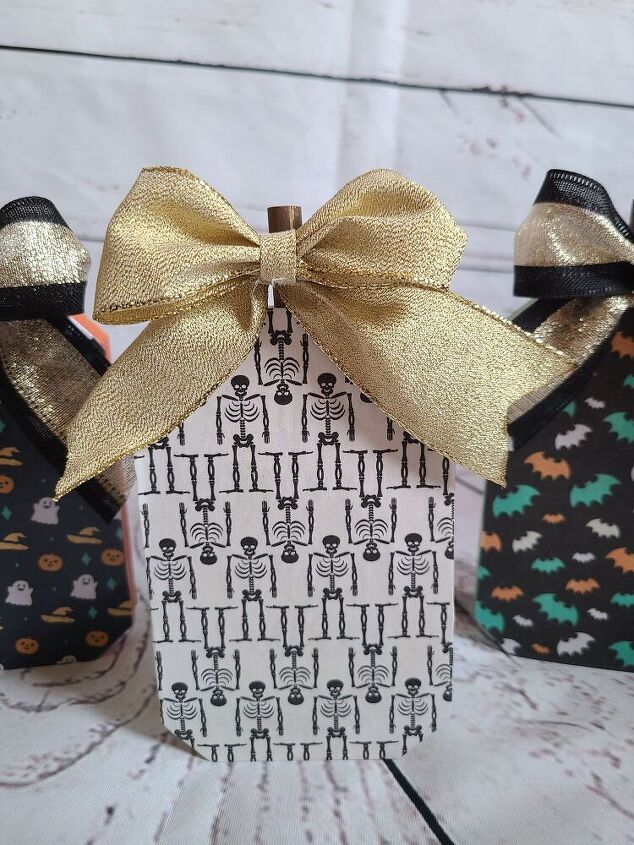
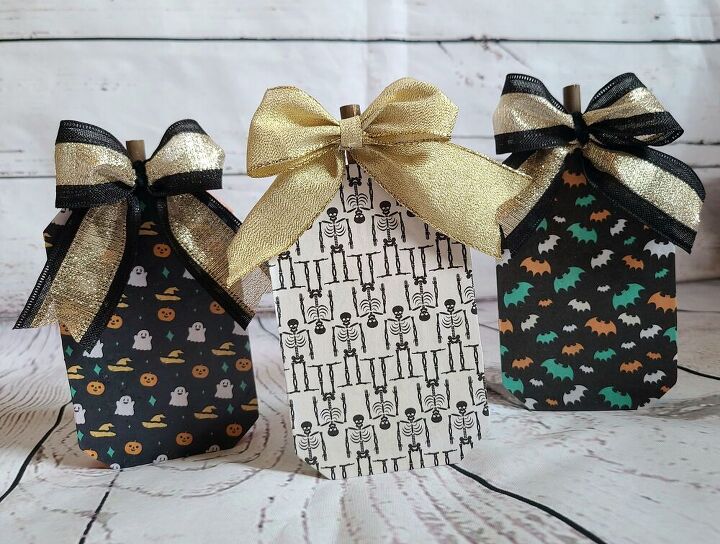
I used 1.5″ wired ribbon to create each of my bows. Since my early fall decor revolves around the colors orange, aqua, and white (and some light sage), I used aqua ribbon on two pumpkins and a gold one on the last pumpkin. I made my bows about 3″ wide. For some reason on one of the scrapbook papers that I used, the main color behind the little orange pumpkins was a really dark teal, whereas every other page in the pack has aqua. So the aqua ribbon didn’t work for that pumpkin. Therefore, the gold. You can use colors to match your pumpkins, one color for all or even a different color for each one. Another option is to use raffia or twine to make the bows. There are raffia bows hot glued on the pumpkins when you get them, but you’ll have to remove them and tie them on so that you can spin them around when you want to switch seasons.
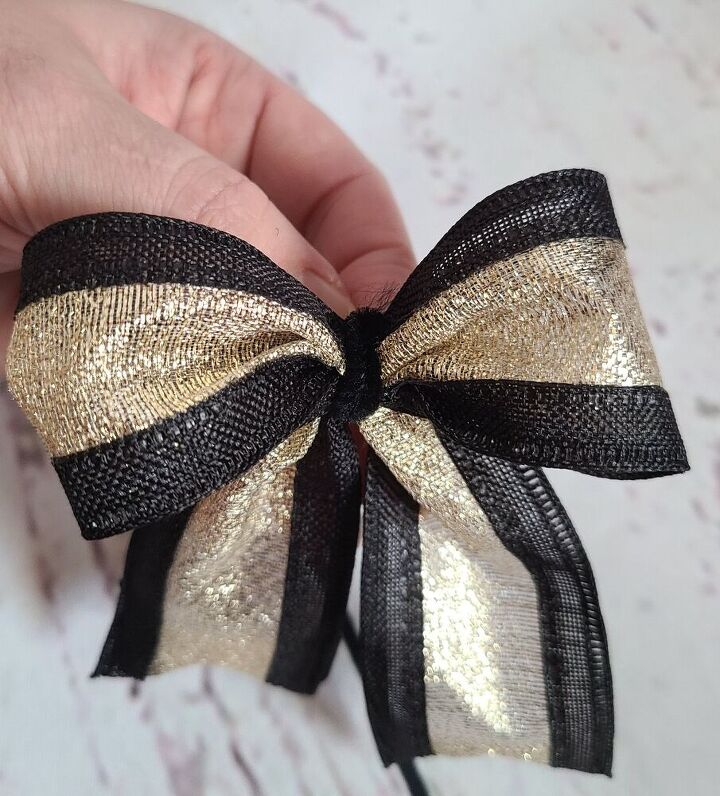
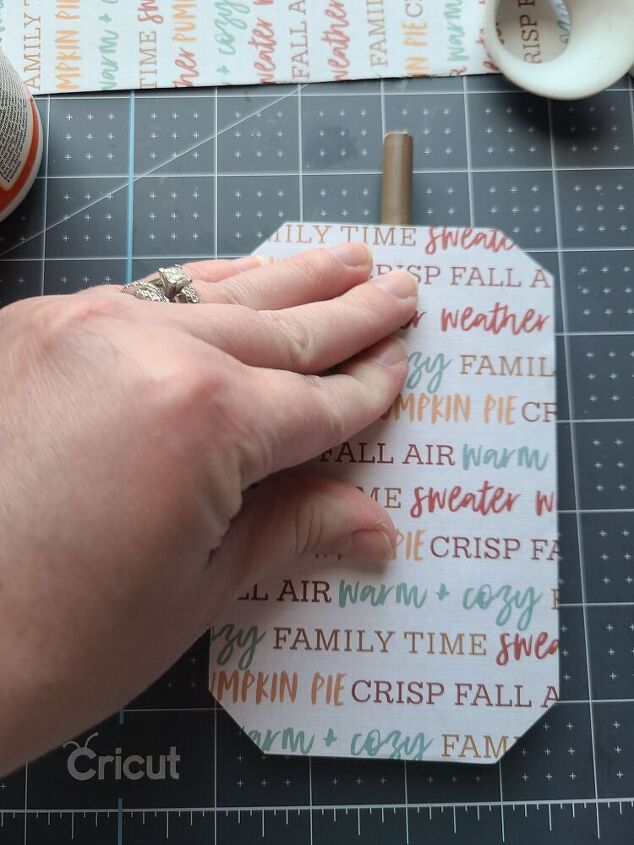
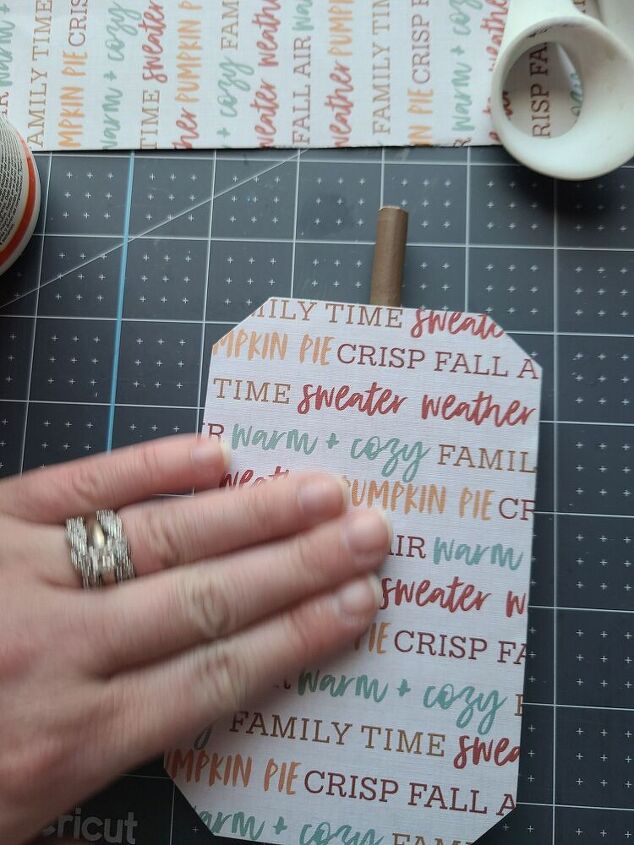
Now that your bow is made, you need to glue a piece of a pipe cleaner on the back. Cut off a 2″ piece, bend it in to a U shape, put a dot of hot glue on the bottom of the U, and place it on the middle of the back of the bow. You can use this to attach it to the stem of your pumpkins. Wrap it around the stem, twist it closed, then trim off any extra. Once you’re ready to switch to the Halloween side, simply slide the ring of pipe cleaner up and off. Then you can slide the Halloween one on just as easily.


Free Halloween Printables for the Halloween Side of the Reversible Dollar Tree Pumpkins!
I didn’t have a pack of Halloween paper, so I checked Michael’s online. They were completely out of every different pack of Halloween paper in every store within 45 minutes of me! I checked Hobby Lobby and they didn’t carry any scrapbook packs in Halloween styles. I could get it shipped from Michael’s, but it would take a week and cost me $7! I’m used to free shipping so that won’t fly with me. I checked Amazon, but they wanted over $20 for the same packs as Michael’s at $9.99. No go.
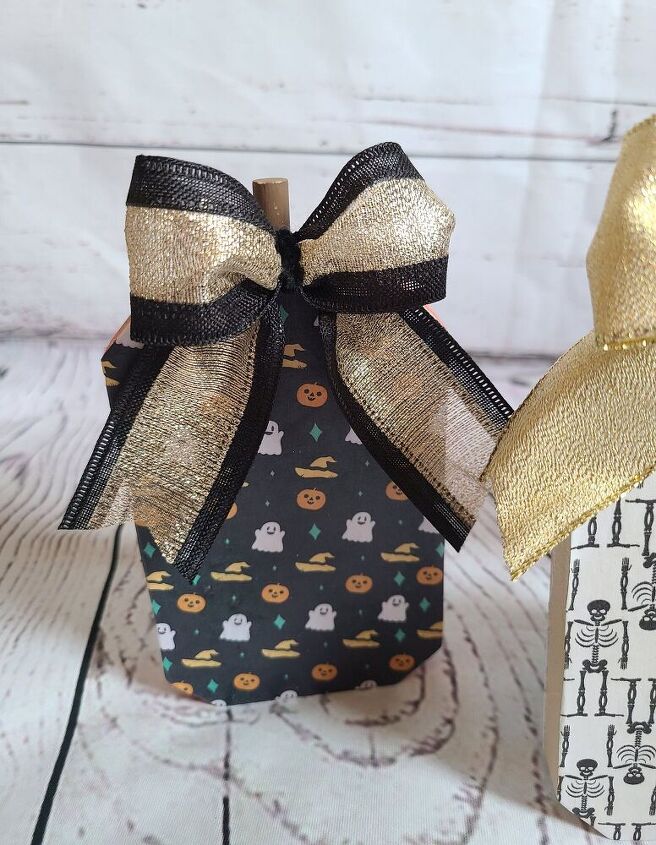
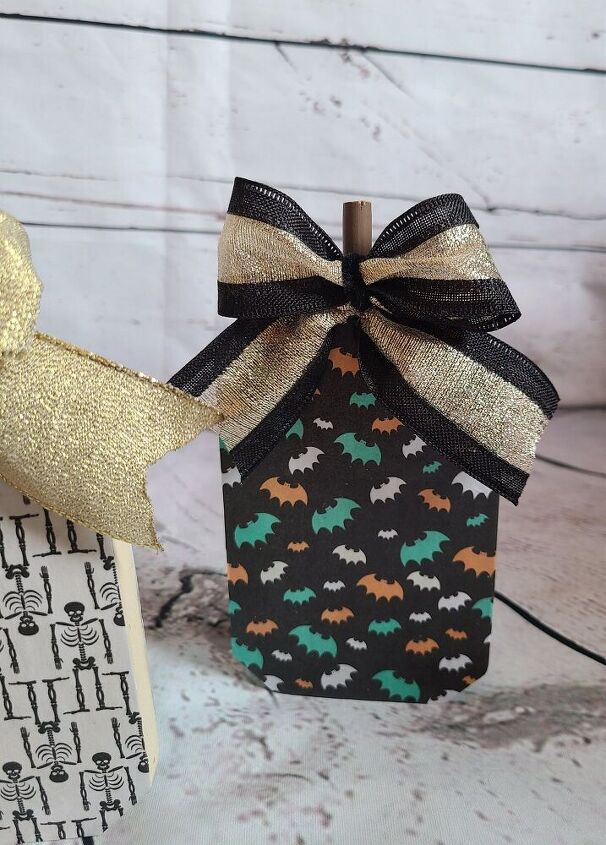
I wanted to get this tutorial out to you so that you can have your early fall decor out at the beginning of September. Since I already had the fall sides complete, I decided to just make my own Halloween printed paper. I used colors that went well with the colors of the pumpkins since the sides of them will still be seen. Making my own designs was probably best since I could make them match! If you’d like to use the designs I did, you can download these free printables below! I know, you love me, right?
Download & Tips on Printing
Head over to LifeasaLEOWife.com to download these patterned paper printables for free!
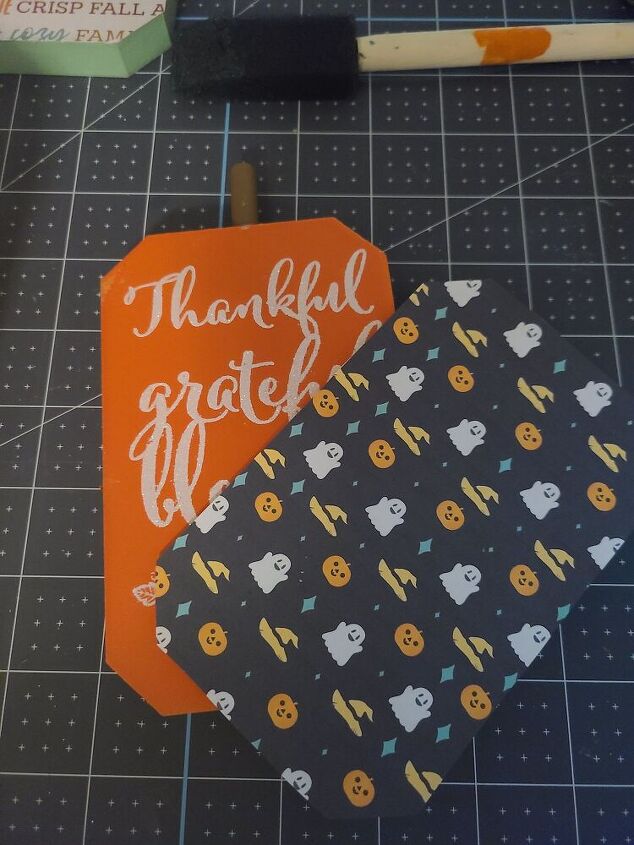
- cream with black skeletons
- Pumpkins, witch hats, & ghosts
- mint, orange, & white bats
Whenever your download the images and open them, they will open in a PDF viewer. When you hit print make sure you hit the additional settings button (or whatever it says in your print options) select the “print in actual size” setting. If not it will be printed over the entire page. I created these images to be 3.5″x5.5″ so they would fit on the pumpkin and not waste a ton of ink. If you want the whole page I guess you can, but I’m not sure that it won’t stretch the image and make it look weird. If you’d like a full-page image of these prints, let me know in the comments, and if there’s enough interest, I can make them that size. Also, if you’d like other colors, mention that as well.
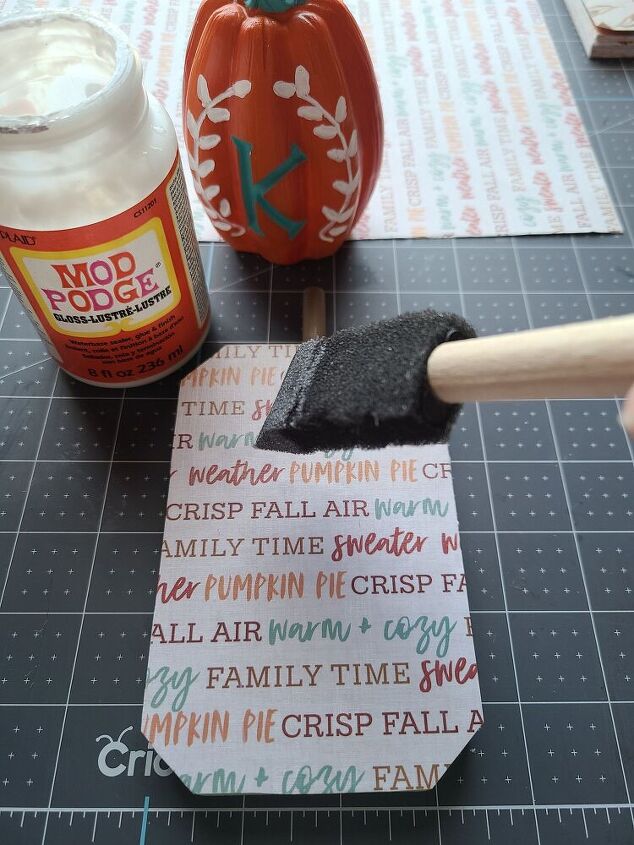
Repeat with the Halloween Paper
Trace and cut the Halloween paper just as you did with the fall paper. I cut the paper to the size I made it (as in the rectangle) then traced the corners and cut them.
Put a layer of Mod Podge on the blank side of the pumpkin and the paper. Place the paper evenly on the pumpkin and smooth out any wrinkles and bubbles just like you did with the fall side. Now put a layer on top of the paper, once attached, to seal it on.
If you are using the same bows for both sides, all you have to do is spin the bow around to the Halloween side. If you are using a different bow, go ahead and make those. Next attach the pipe cleaner to the back of those bows just like you did before so that you wrap it around the stem.
Repeat all these steps with as many pumpkins as you have completed for fall.
Your reversible dollar tree pumpkins are ready!!
You are now ready to display your pumpkins. YAY!! These things are so stinkin’ cute! They match my DIY reversible faux books, which I love. I love having a theme running through my seasonal decor. Sometimes the theme is throughout my whole home, & sometimes I have different themes in different rooms (like at Christmas). This early fall theme runs through my entire home.
This is how my fall sides turned out.
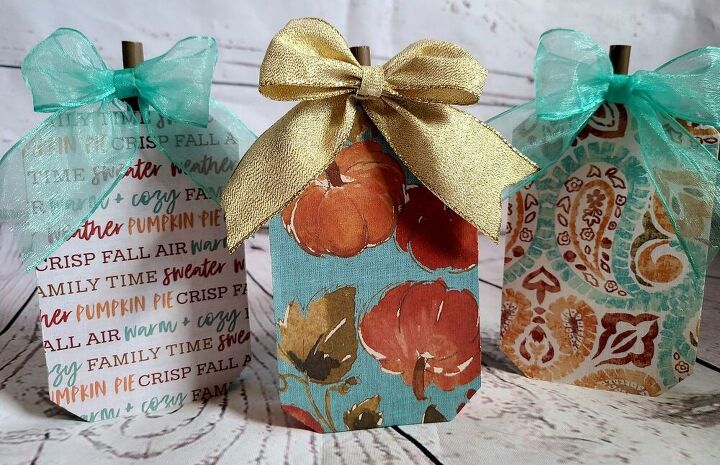
These are so adorable!
I hope that you enjoyed this tutorial. Let me know in the comments if you like having reversible items since decor changes so many times in the last few months of the year.
I am finally trying to grow my social media presence now that I’ve gotten down the more technical side of blogging. I would love for you to follow me on your favorite platform, then let me know if you you do and you’d like me to follow back. I have another beautiful fall decor tutorial that I’m getting ready to post so make sure that you enter your email address below so you don’t miss it! You’ll get an email whenever a new post goes live and never any spam! Share these posts if you have friends and fam who love seasonal home decor. Hit those like and share buttons my dear readers!
Here on Life as a LEO Wife, I have three link parties a week for you to enjoy. On those parties you’ll find inspiration and ideas for recipes, DIYs, family time and other ideas for family life, home and seasonal decor, gardening, crafts, fashion, and much more! If you are one of my blogger friends, make sure you visit each one every week and share your wonderful posts with us! You can widen your audience and get a chance to be featured on next week’s party!
Head over to LifeasaLEOWife.com to get these tutorials! If you don't have time to read them yet, that's ok. Just pin the pinnable image at the top of the post and you have adorable fall decor waiting for you when you get to crafting!
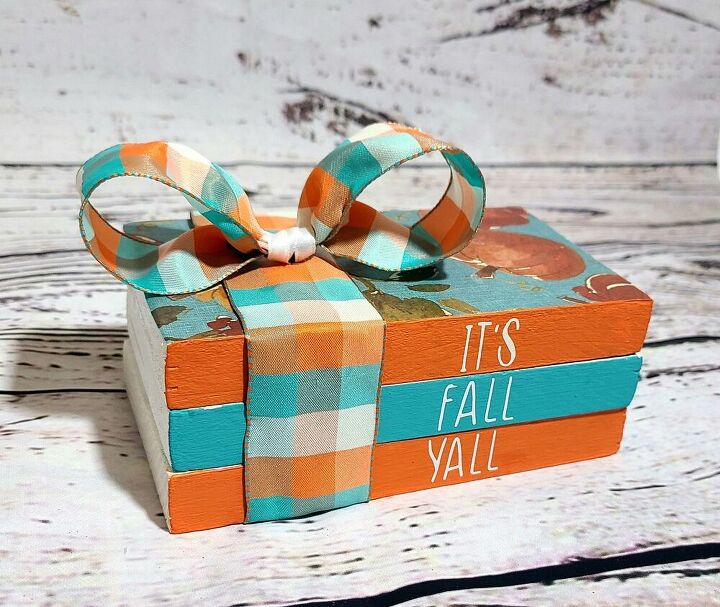
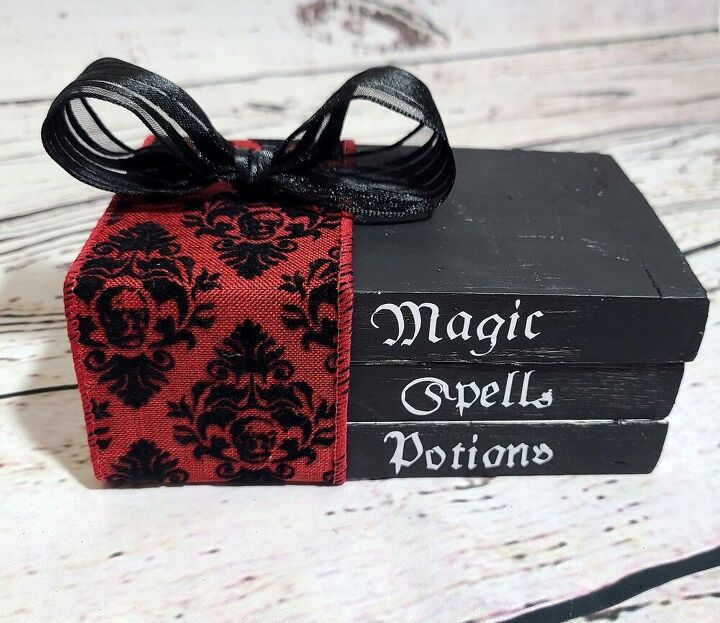
These reversible faux books (which can also match the Halloween side of your pumpkins too). If you don't have a Cricut, visit my blog for a tutorial on how to make beautiful home decor & tons of crafts without one!
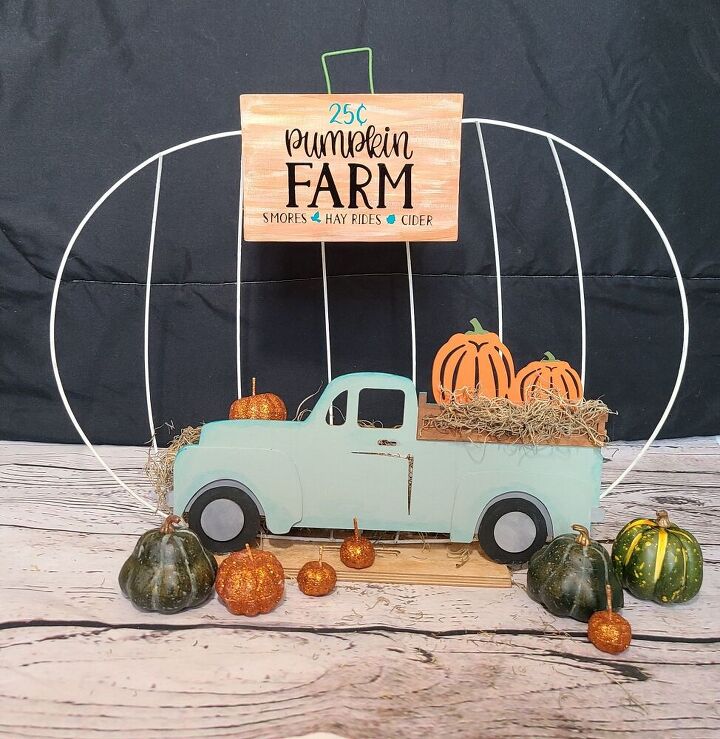
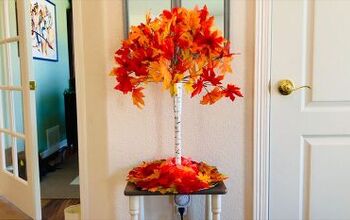
This farmhouse fall centerpiece is over the top cute!
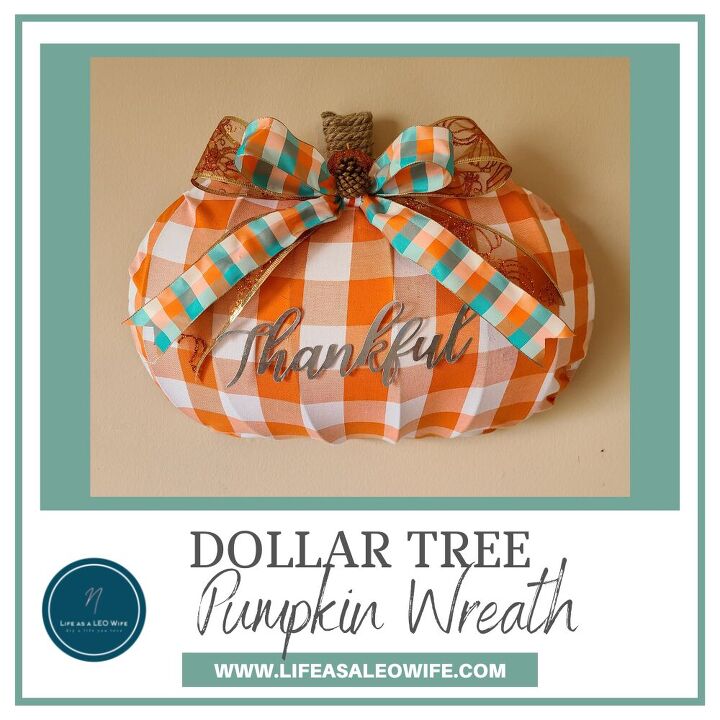
Who doesn't love buffalo check?! Go check out the tutorial on my blog. It's easy & with just a few well placed clips on fabric & ribbon you've got a pumpkin wreath for about $6!

Comments
Join the conversation
-
Too cute, I like the truck and wreath the best.
- See 1 previous
-
I made something like that with the pumpkin at dollar tree.


Frequently asked questions
Have a question about this project?