


Learn How to Create a Calming Ocean Design on a Tumbler With Resin

Do you dream of the ocean? Want to feel the sand in your toes and water on your skin? I can’t take you to the beach, but I can bring some of it into your home. This ocean inspired resin tumbler brings a tiny taste of the beach home for you to enjoy. Take a few minutes out of your day and make one yourself! This project is a great way to get started in the world of resin, and the techniques I teach in my step-by-step tutorial can be applied to countless other DIYs. Check it out below!
Tools and Materials:
- Tumbler
- Isopropyl alcohol
- Cup turner
- Primer
- Spray paint
- Resin
- Dye
- Culinary torch
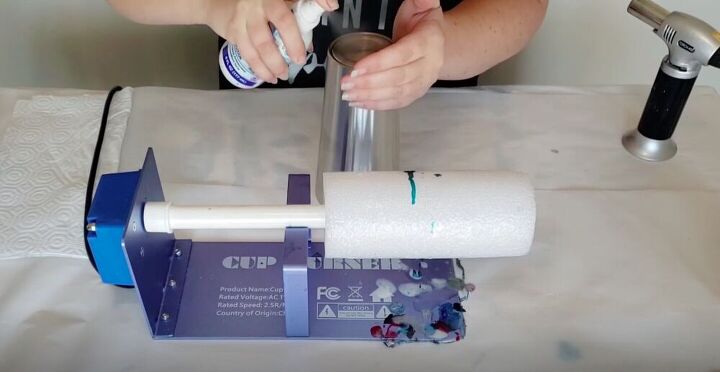
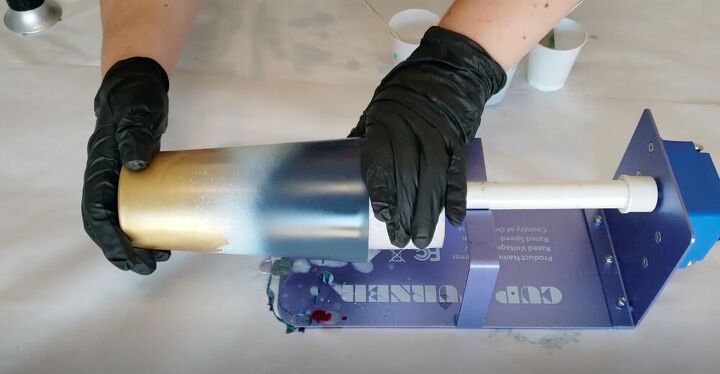
In order to make sure that my paint would stick to the tumbler properly, I started by giving the tumbler a proper cleaning using isopropyl alcohol and a paper towel. Some people also sand their tumblers to help the paint stick, however I haven’t found this to be necessary.
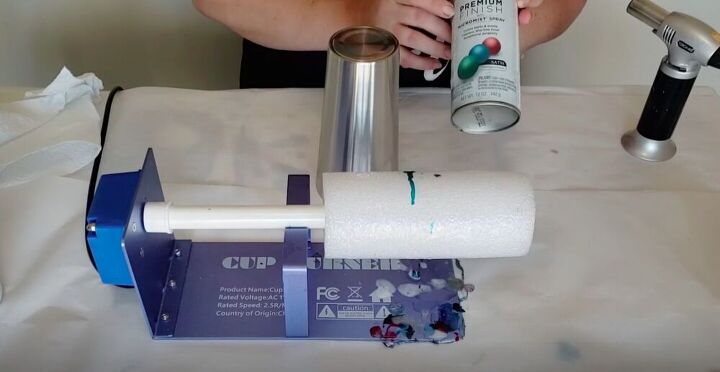
I did this part outside, as you should with all spray paint projects. I sprayed the tumbler with a layer of paint primer and then painted it with gold and blues. This would serve as the background for the ocean scene I wanted to portray. A base layer of color will enhance the colored resin when I add it later on.
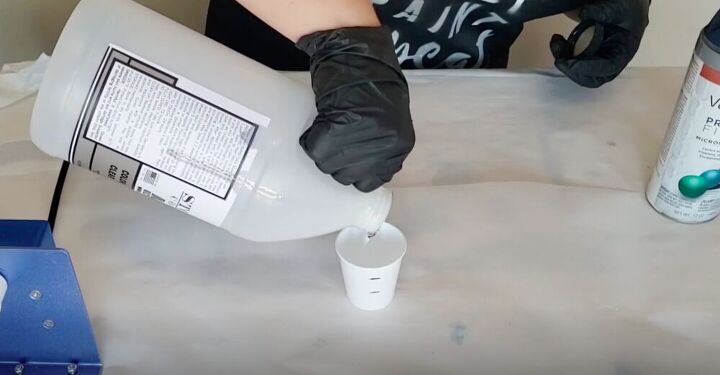
While my tumbler was drying I mixed up the resin. When using resin you need to mix the resin with a hardening agent before using it.
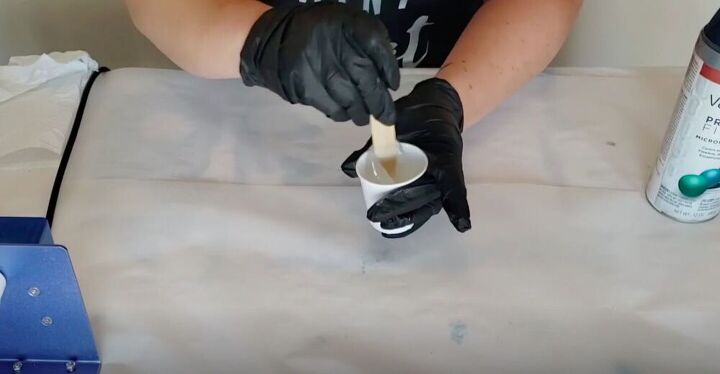
Make sure to stir it for at least two minutes before you mix in the colored dyes.
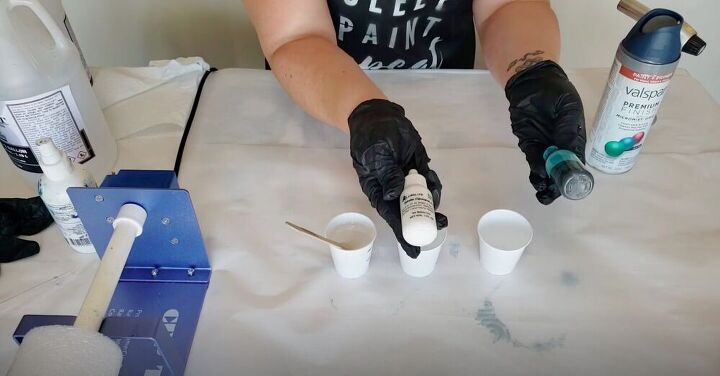
I mixed up two colors for my resin, white and ocean blue. You really only need one or two drops of the dye, they are quite pigmented.
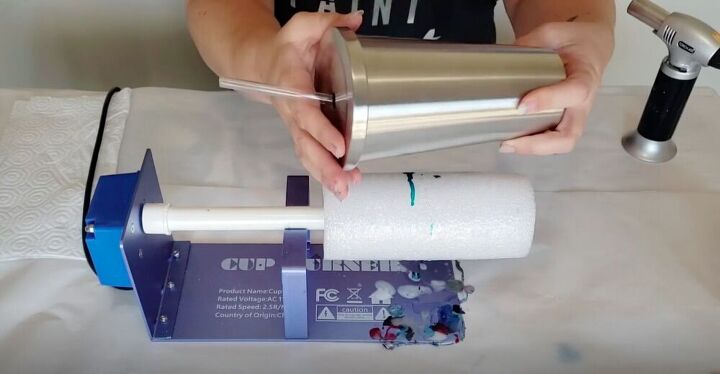
I placed my tumbler onto my cup turner. The cup turned is essential when it comes to covering cups with resin. As it turns it prevents the resin from pooling or dripping, leaving you with an ultra smooth finished product.
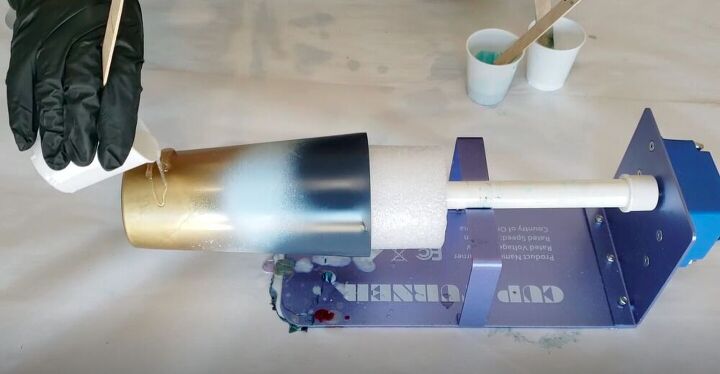
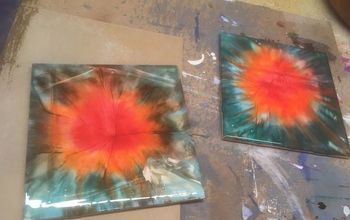
I poured a bit of clear resin onto the gold part of the cup. If you want to, you can even add real sand to this part. In order to do this add a layer of resin, stick the sand on, then add another layer or two of clear resin.
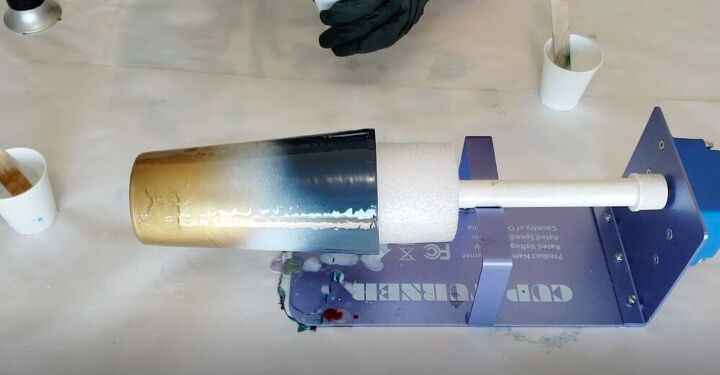
Then I covered the entire cup with the clear resin. I wanted to create a layer for the blue resin to move through.
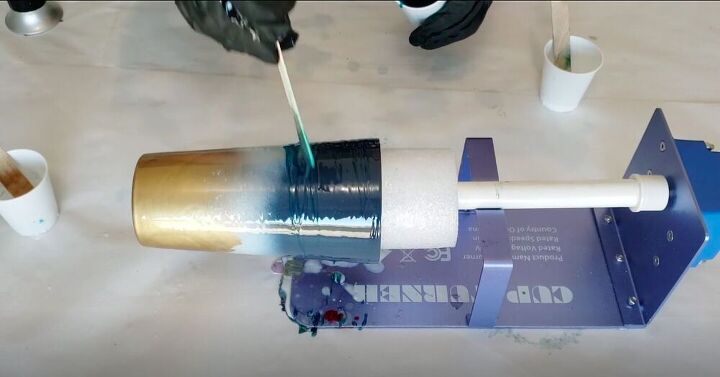
Next I drizzled some of the blue resin onto the blue part of the cup.
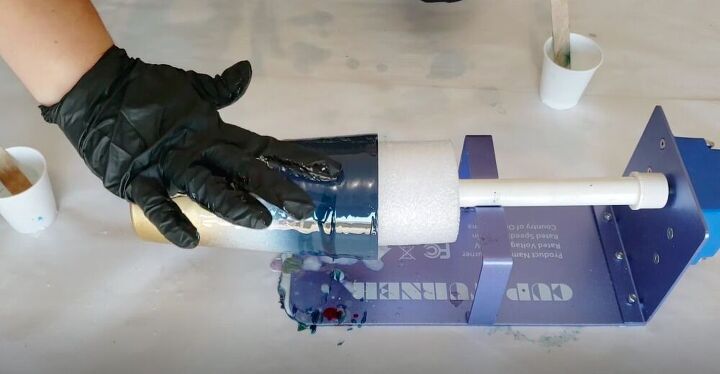
I used my fingers to move the blue resin around a bit.
I repeated this with the white resin and spread it using my finger. As the cup turner rotates, the resin will continue to move.
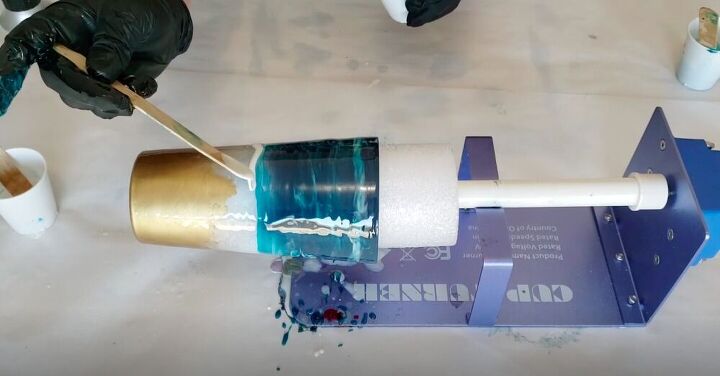
Finally I added another line of white resin right where the water met the sand. Don’t worry about doing a straight line, as the cup turner rotates it will straighten out.
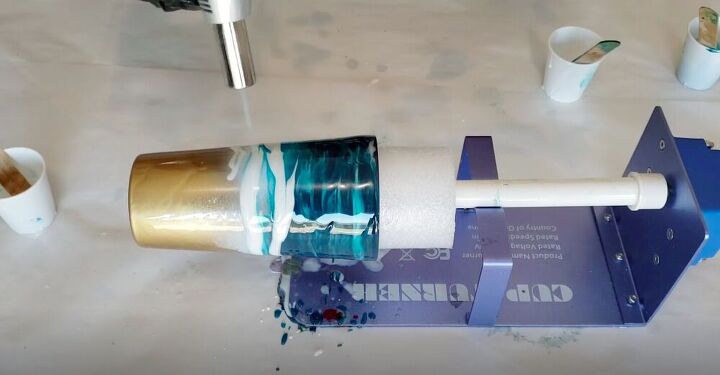
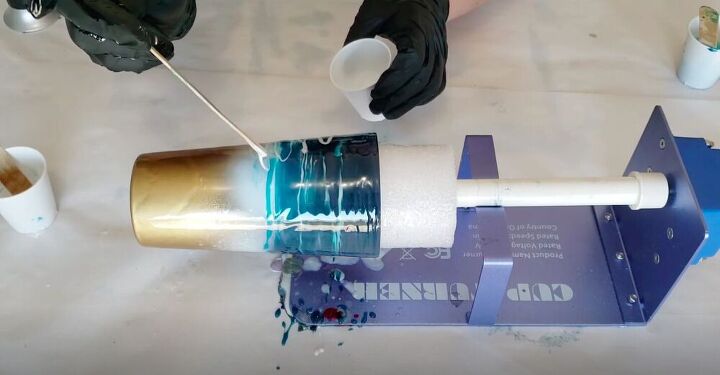
Using a culinary torch I made sure to hit the entire surface with some high heat. This serves two purposes: it gets rid of any air bubbles and blends the colored resin a bit more. If you have a heat gun you can use it instead of a torch, but do not use a hair dryer as it doesn’t get hot enough and blows too much air.
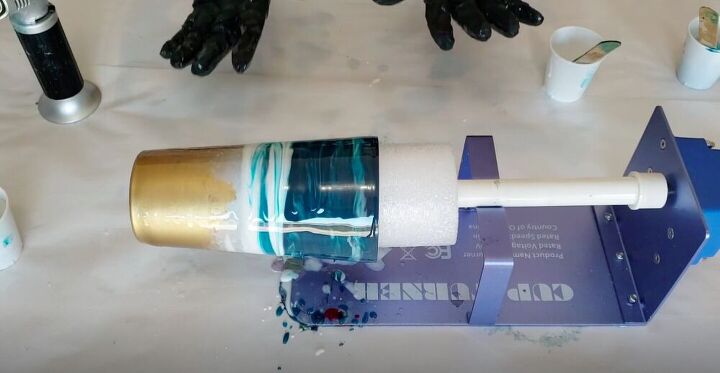
Resin generally dries within eight hours, but I like to let mine dry overnight just to make sure that the epoxy isn’t going anywhere!

Once you’re done you can add some vinyl lettering and add another clear coat of resin, or just leave it as is and enjoy! The technique I showed you can be used in a myriad of different designs. How would you design your resin tumbler? Let me know in the comments below!


Comments
Join the conversation
-
Wow! This is really beautiful.
-
So pretty!


Frequently asked questions
Have a question about this project?
Was the cup turner expensive? Is there anything that could substitute it? Your work is beautiful! You are a talented artist. Do you have any more resin projects you would like to share? Again, beautiful!