


Easy DIY Candleholders
I want to thank Luminara for sponsoring these DIY candleholder projects.
I love having candles in our home but I don't want to have to worry about them. I have fallen in love with flameless candles and all the different options they come with now. Luminara has some beautiful options and they even have scented versions! Today, I am going to show you how I created candleholders to go with the flameless candles I have.
I did a project for the tapered candles I have and the pillar candles I have. Both of these projects are very easy and can be done in a couple of hours on the weekend.
The first project I am going to share with you is for tapered candles.
Affiliate links are used in this post so you can easily find the products used.
I have three sets of the Ivory Flameless Candle Tapers with melted tops from Luminara. They use AA batteries and have a run time of 200+ hours. They have a built-in timer that you can set by pressing the button on the bottom of the candles twice. The first press turns them on and the third press turns them off.
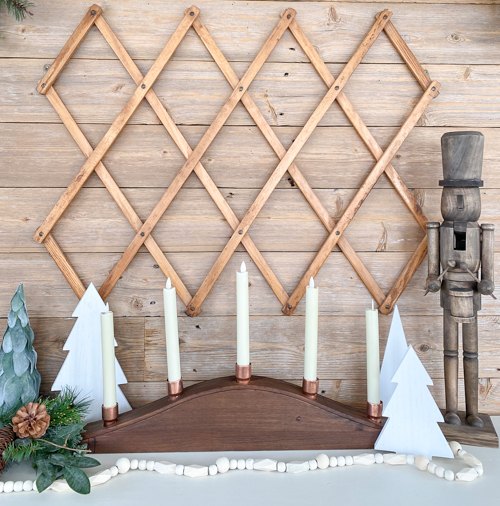
I wanted to create a candleholder for them where I could display a few of them in a grouping.
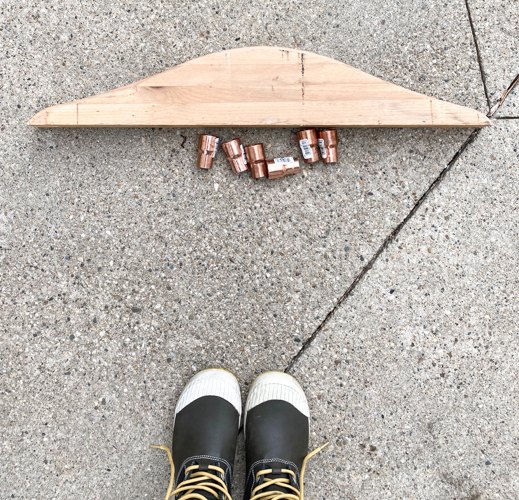
This is what I came up with
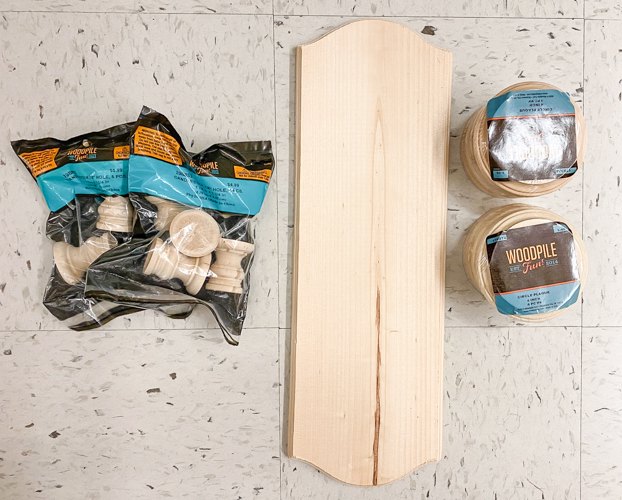
Supplies Used For The Tapered Candle Holder
Wood Piece From Restore
Notes about the supplies we used:
- You can use any color stain or paint you like. I chose the stain color, "Early American" for my candle holder.
- I found two wood pieces at my local Restore. You could use any thicker piece of wood to create this.
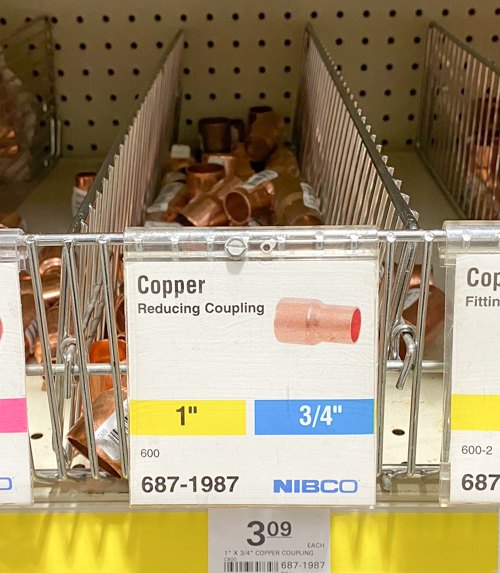
- I wanted the copper color to hold the candles so I chose these copper pipe pieces. The fact that they get smaller at the bottom is perfect for the tapered candles I was putting in them. They get a little smaller at the bottom so these held them perfectly. You could use other pipe options and spray paint them in different colors. Just make sure to take your candle into the hardware store with you so you get something that fits the candle well.
Steps For Creating The Tapered Candle Holder
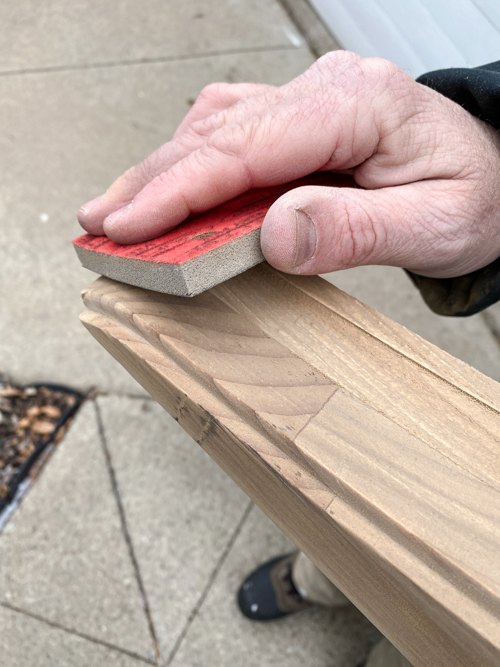
- Whenever you are working with wood pieces for a project, make sure to sand them really well before you stain or paint them. You want your finished project to be smooth and take the paint or stain well. So, we gave the wood pieces a good sanding with fine sandpaper.
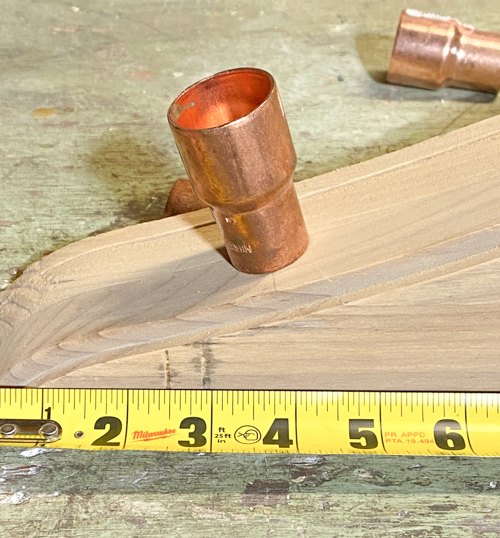
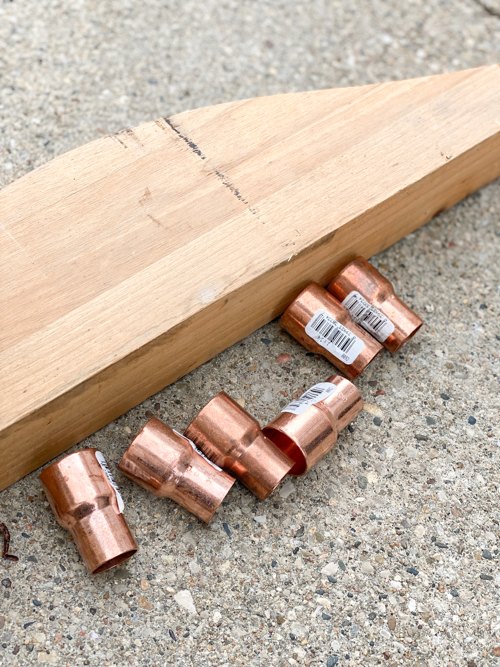
- Then, I laid out the copper pieces where I wanted them on the wood piece. This wood piece fits five tapered candles well.
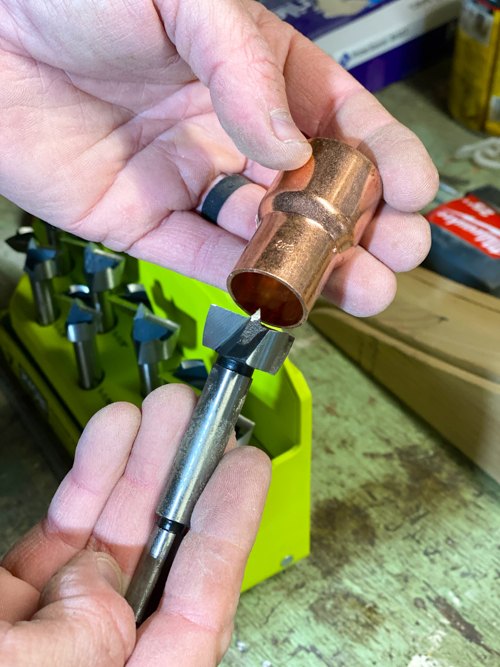
- Once we knew where each copper piece was going to go, we needed to find a drill bit that was the same size as the copper piece.
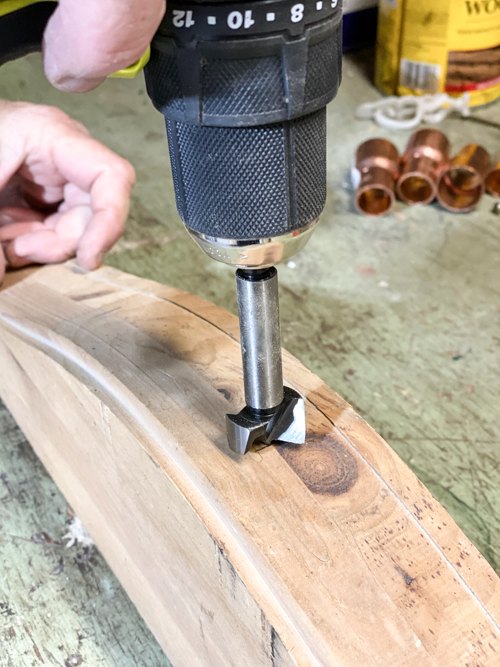
- Once we found the right drill bit, it was time to drill the holes. I wanted the thinner part of the copper pieces to fit down in the wood. Depending on how much of the copper you want to see will determine how far you need to drill down.
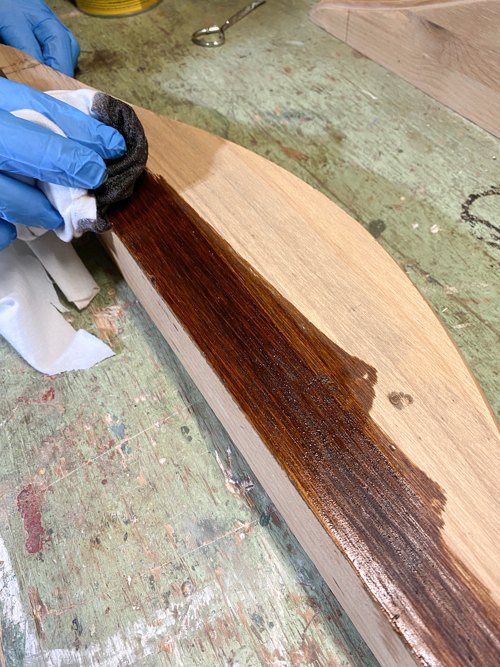
- Once the holes were all done, I stained the entire wood piece. I chose the color "Early American".
- TIP: MAKE SURE TO STAIN INSIDE THE HOLES YOU DRILLED TOO.
- When the stain was dry, I just added the copper pieces to the holes we drilled and then, added the tapered candles!
I love the way the copper looks with the stain color.
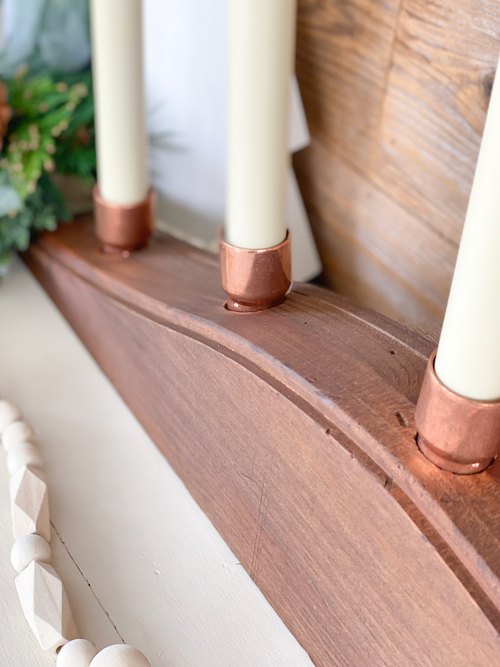
It's a little bit of "bling" the candleholder needed.
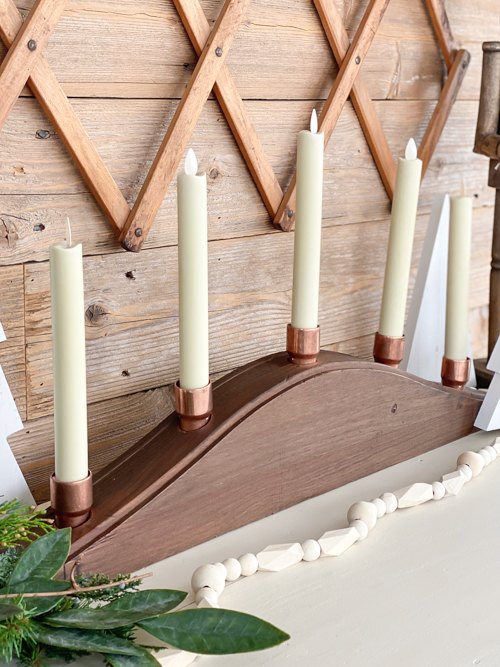
I couldn't be happier with how this one turned out.
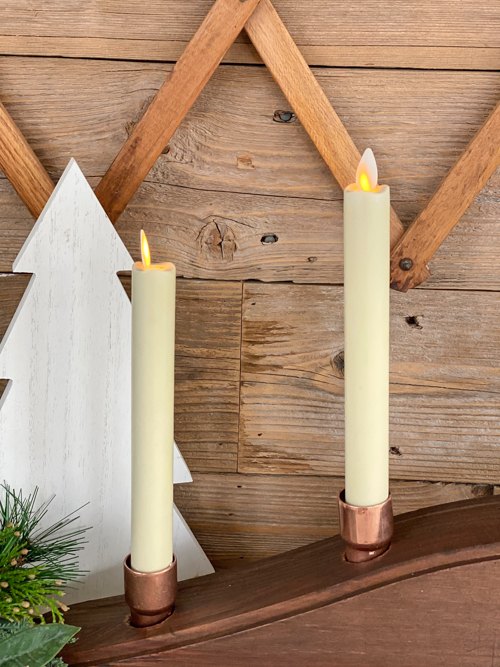
The flames on these candles move just like real candles. I never have to worry about what is around them. Tapered candles are gorgeous but I do worry about them burning in the house without sitting right next to them. This way, I get the exact same look and have no worries when they are on.
Now, on to the pillar candleholder.
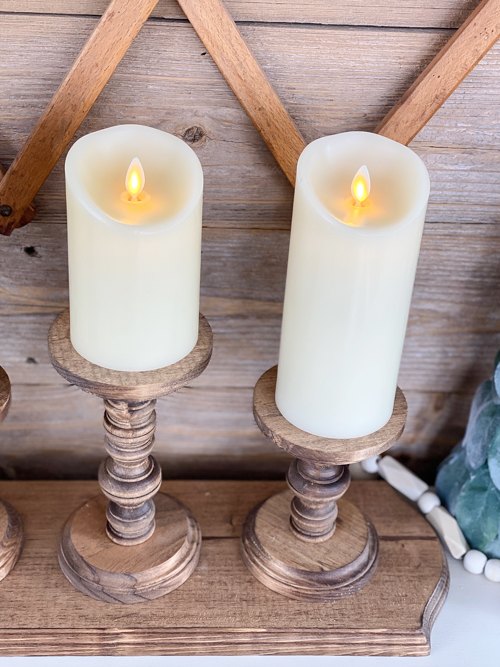
For this candle holder, I wanted to make something that would hold all three of my Luminara pillar candles. I have one of the 3" x 4.5" Ivory Flameless Pillar Candles with a scalloped top. I also have two of the 3" x 6.5" Ivory Pillars. These pillar candles are vanilla-scented! It is a very subtle scent. The pillars use C batteries and have a run time of 600+ hours! You can use the code "MYCREATIVEDAYS10" to save on your order at Luminara.
Supplies Used In The Pillar Candle Holder
Wood Craft Candlestick Holders
Note: I chose the size of the base plaque and the wood rounds based on the size of the candles I had. You may need different sizes if you have smaller or bigger candles.
I had an idea in my head of what I wanted to create but I wasn't sure how I was going to make the "stems" of the holders. After some browsing around the wood aisle in my craft store, I found the perfect solution!
Steps To Make The Pillar Candle Holder
- Give all the wood pieces a good sanding with fine sandpaper.
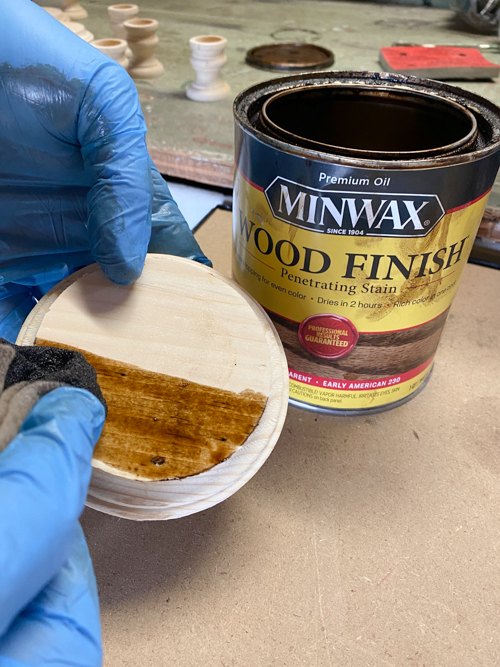
- Next, stain or paint your wood pieces. I chose the "Early American" stain color again for this candleholder.
- Once all the pieces are dry, it is time to assemble the candleholder.
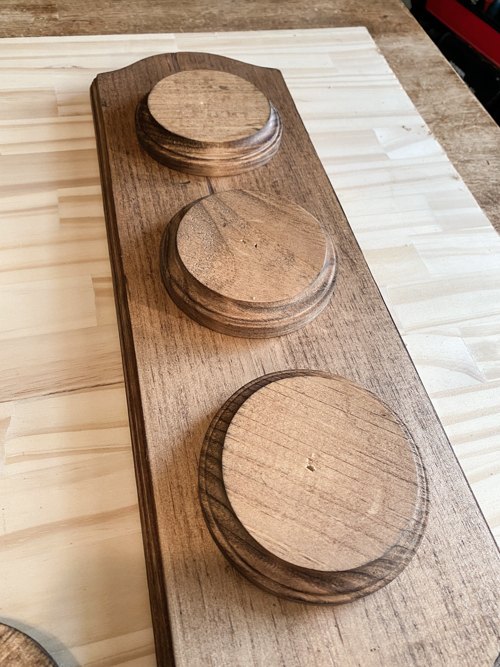
- The first thing you want to do is measure and center three of the 4" round pieces on the base plaque.
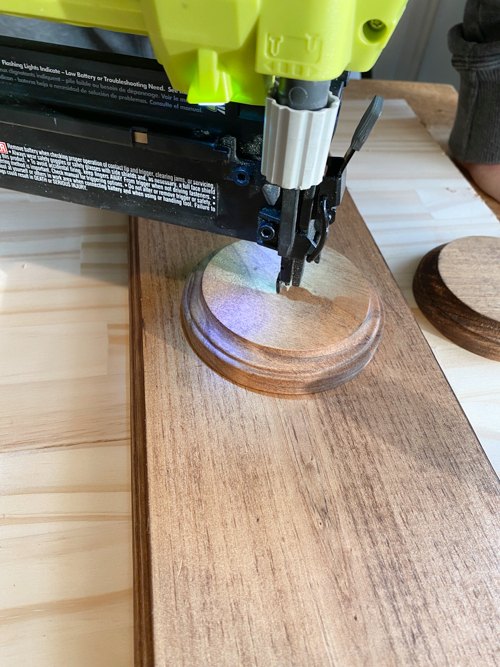
- Secure them with a nail gun.
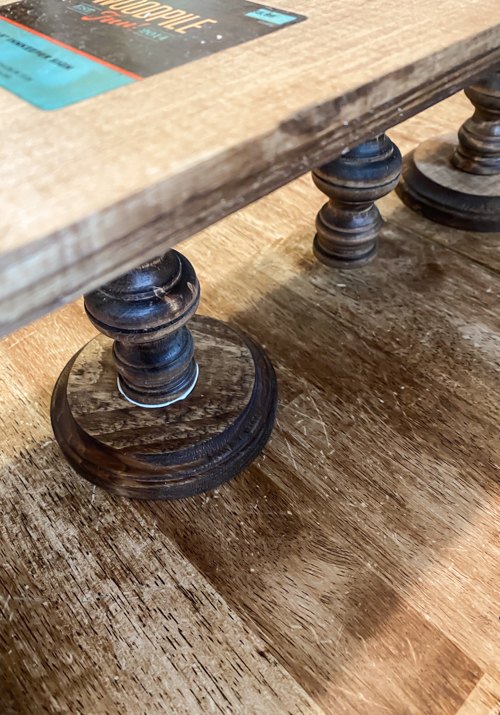
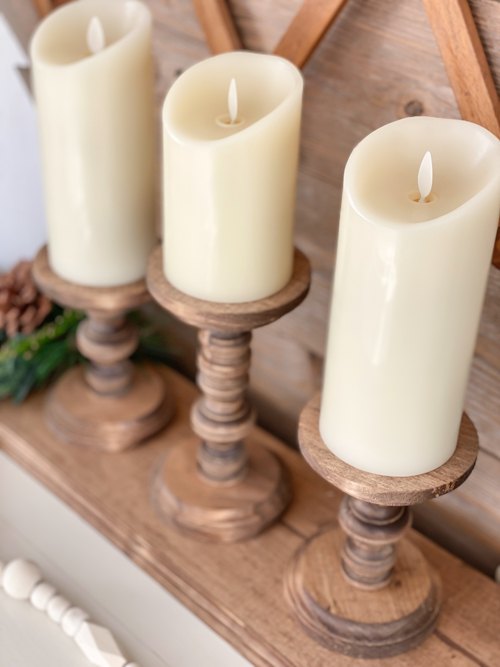
- Next, it is time to create the "stems" of the candleholders. The craft wood candleholders are perfect for this when we stack them. They look just like a taller candlestick when you put them together! Since I had one smaller pillar candle and two taller ones, I wanted the middle candleholder to be taller than the two sides.
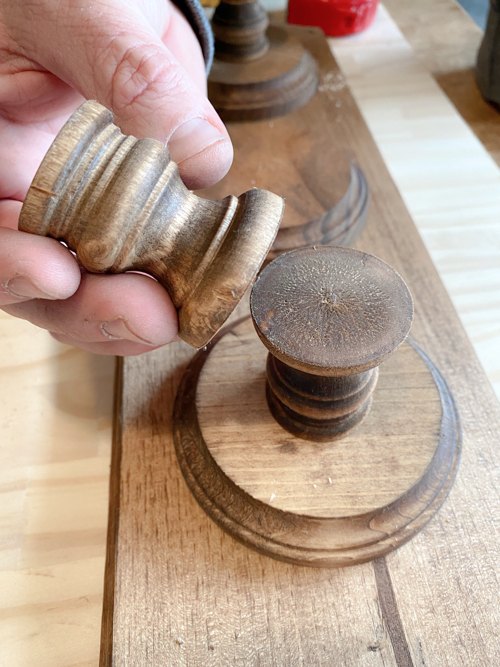
- You can get different looks on the "stems" depending on how you put the wood candleholders together. Once I decided how I wanted them to go, we put them together. I put two together for the side candles and three for the middle one.

- We secured the first two with a screw.
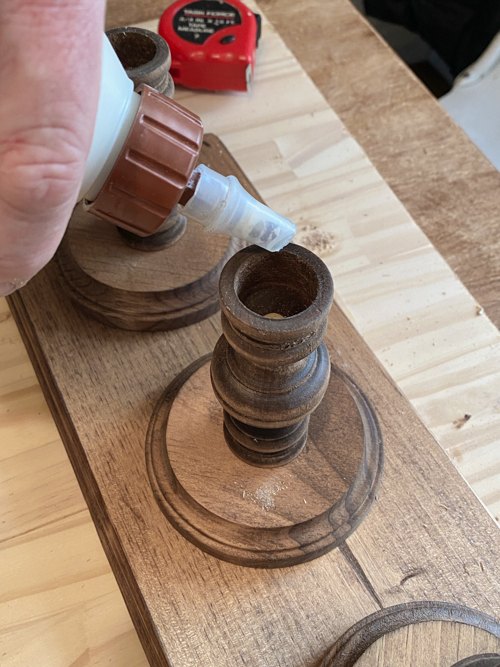
- We glued the third one on for the middle pillar to make it a bit taller.
- Once all the "stems" are put together, give the glue time to dry.
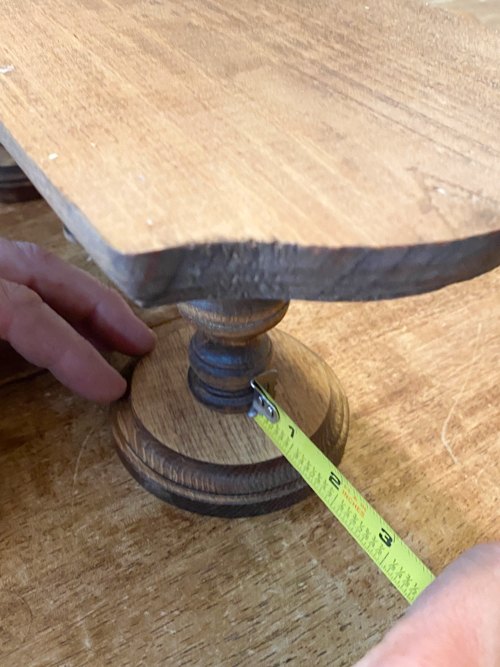
- Next, we flipped the entire piece over and measured the center so we could attach the top rounds to the tops of the "stems" we just created.
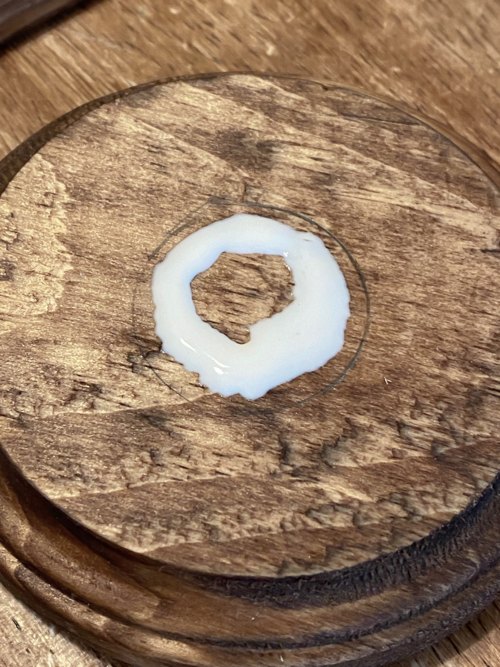
- We added wood glue to the marked area and set the "stems" on the glued area.
- We let it sit overnight to dry fully.
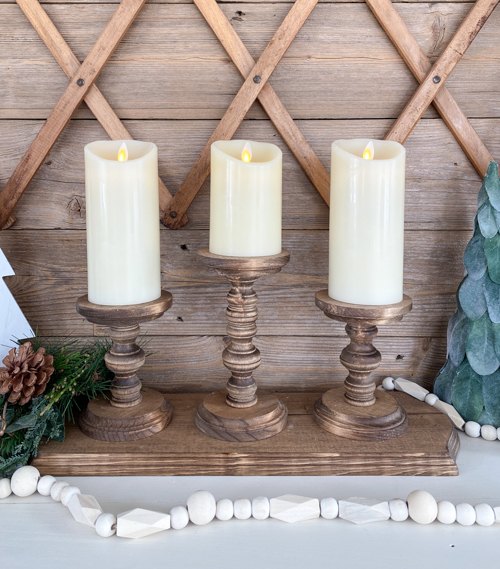
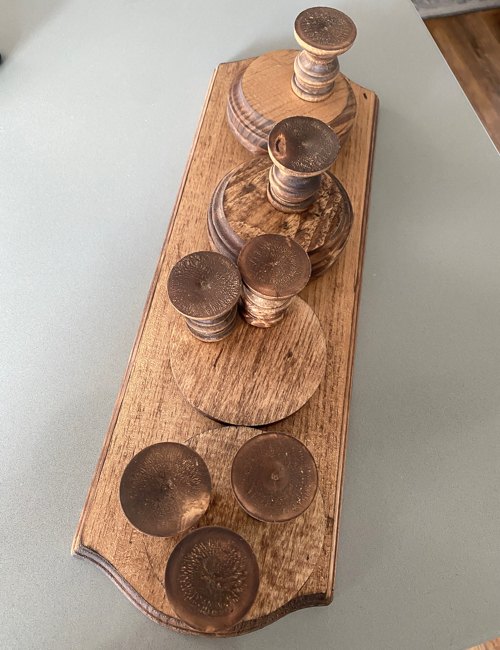
That's it!
I think these look amazing!
In a few short steps, you can create custom candleholders very easily.
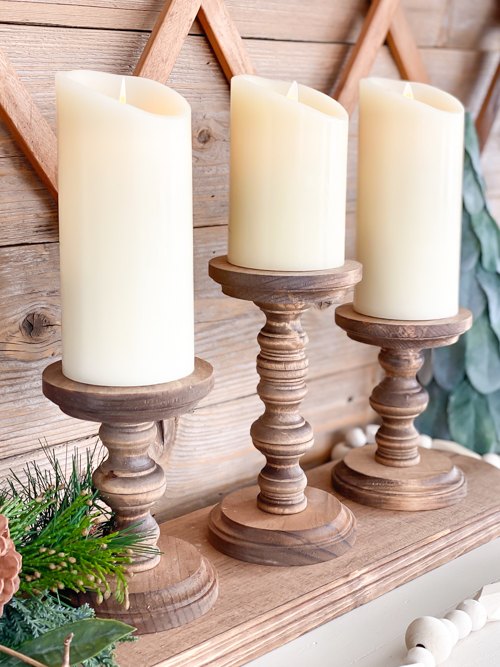
I am glad I don't have to choose a favorite candleholder because they are both so different and serve different candles so I get to love them both equally.
I can't even gauge a better one based on the project because they both were easy to create.
I hope these projects inspire you to create some fun candleholders for your candles.
DIY fall candle holders
Resources for this project:


Comments
Join the conversation
-
I love both you ideas!! Beautiful!! Thanks for sharing!
-
Both are beautiful, once more thanks for sharing 👍


Frequently asked questions
Have a question about this project?