


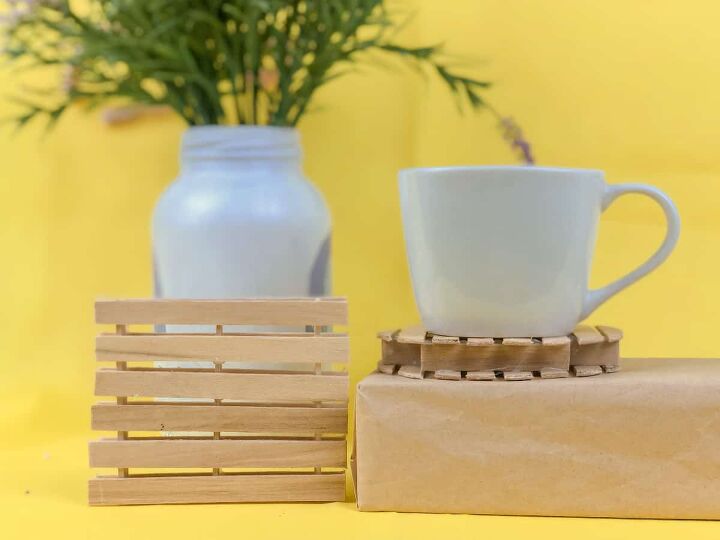
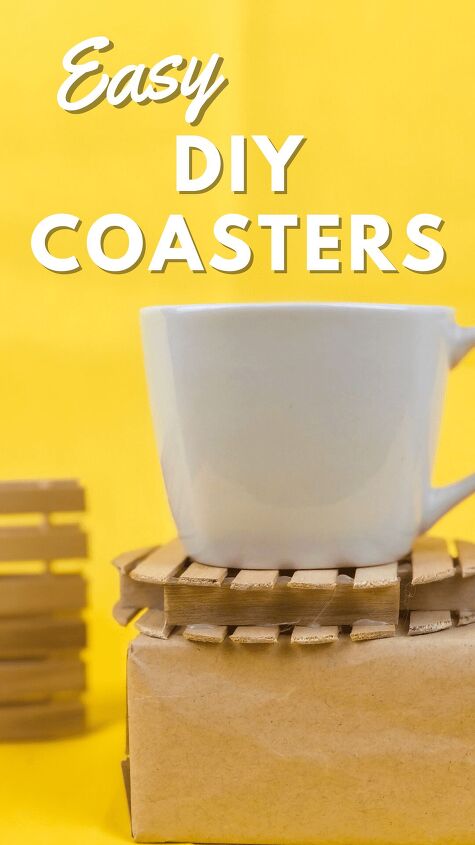
Easy DIY Coasters Made With Popsicle Sticks
These easy DIY coasters made with popsicle sticks are a quick project to make for your home or to give as a gift. Here is how to make them!
Do you like to craft and make some of your own home items and decor? We’ve been getting lots of positive feedback on some of our new craft projects here on Two Kids and a Coupon.
We’ve heard that you love some of the projects we’ve been adding here on the blog and we have some fun new stuff in the works that we think you’ll enjoy.
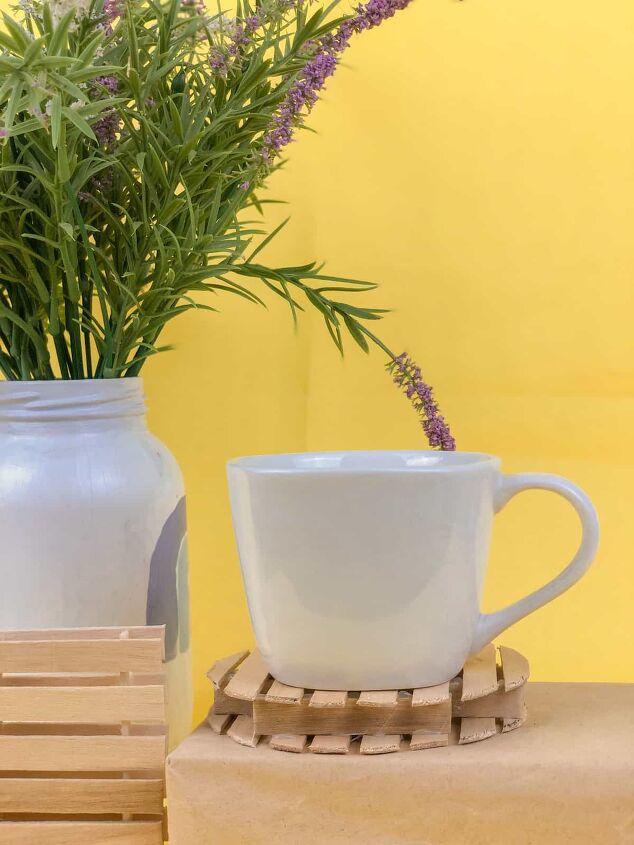
Our next project are easy wood coasters that you can make with popsicle sticks or craft sticks. With scissors and a hot glue gun, you can turn this ordinary craft supply into adorable coasters to use at home or to give as a gift. Here’s how to make them.
Easy DIY Coasters
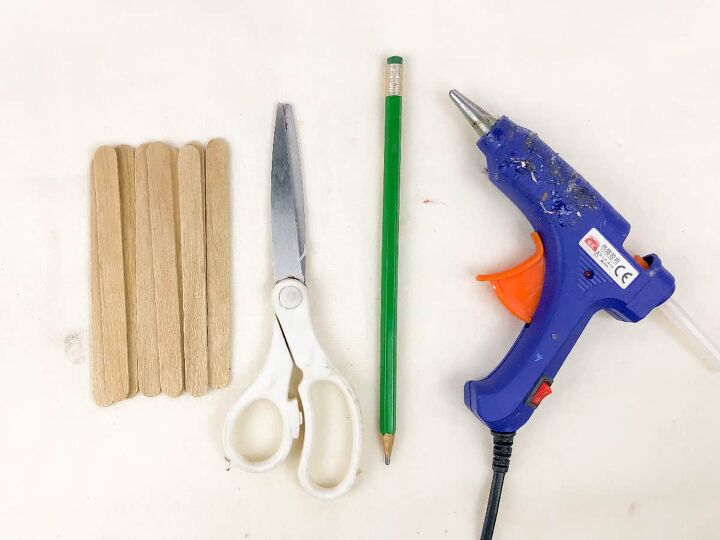
To make this cute wooden coaster craft project, you will need the following items.
- Popsicle sticks
- Glue gun & sticks
- Scissor
- Pencils
The shape of your coasters is up to you. For this how-to, we focus on a round coaster, but you can make square coasters as well (also shown here in our photos).
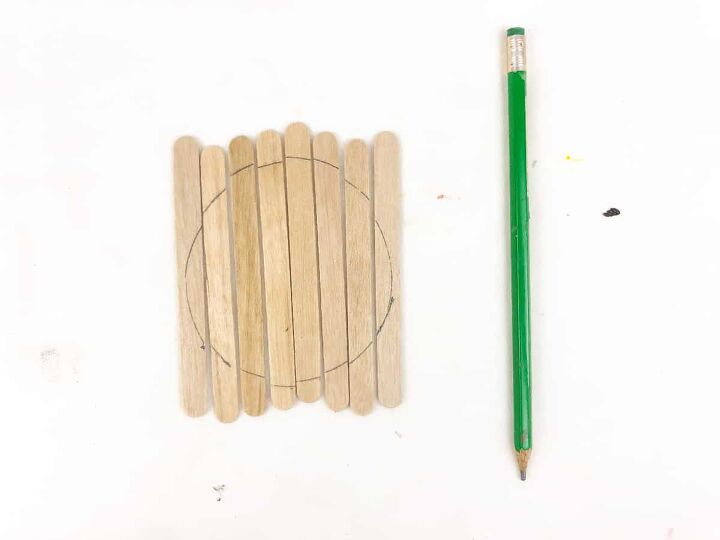
To get started, you can align the craft sticks in a row and draw either a circle, or a square. After your shape is drawn, cut the sticks on the lines making sure you keep them in order.
Important tip: Be sure to note that you will need to do this step twice. Once for the coaster top, and one for the coaster bottom.
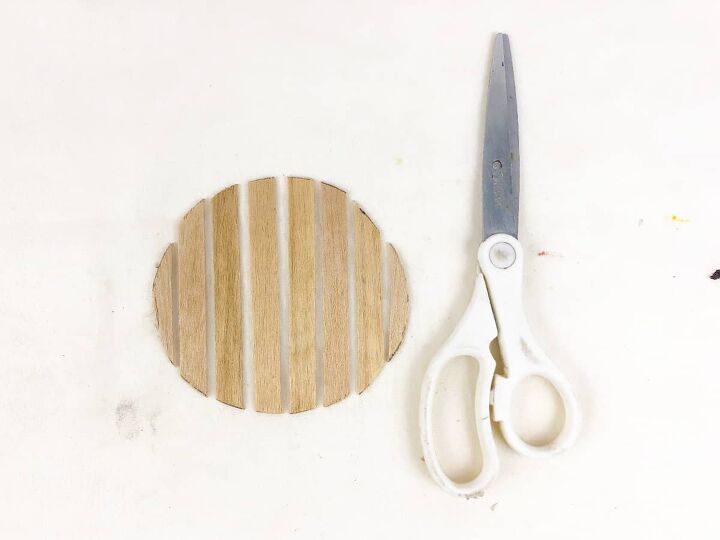
After they are cut, you will want to align the popsicle sticks in order. To help, you can put numbers on them to help you keep them in order. Use pencil so that you can erase the numbers, or put the numbered side on the inside when you are constructing the coaster.
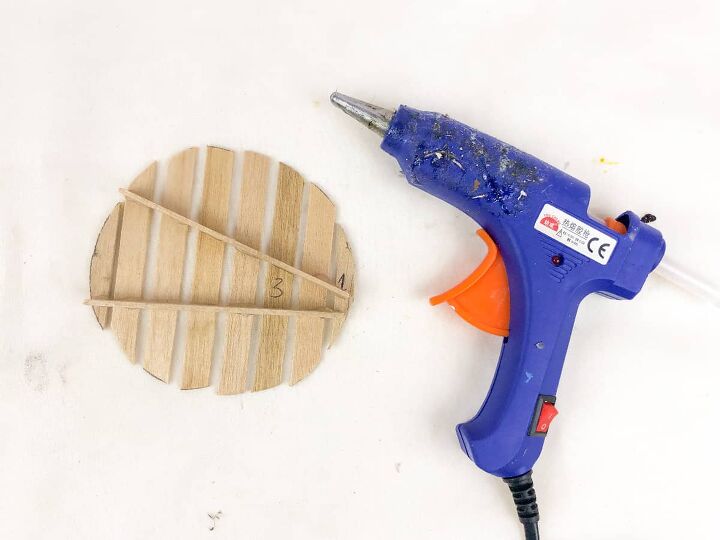
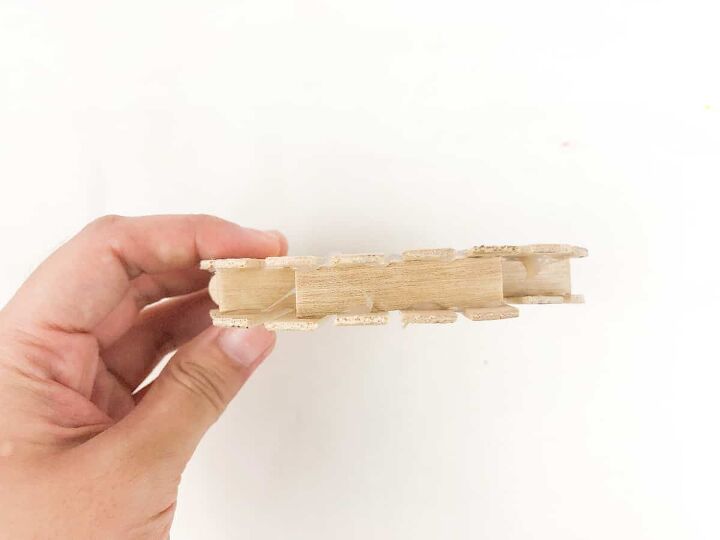
For the next step on your DIY coasters, you will want to add another piece of a popsicle stick and glue it perpendicular to the shape of popsicle sticks to connect them. You will need to trim these sticks to fit within the shape, and also use more than one to keep your coaster strong and balanced.
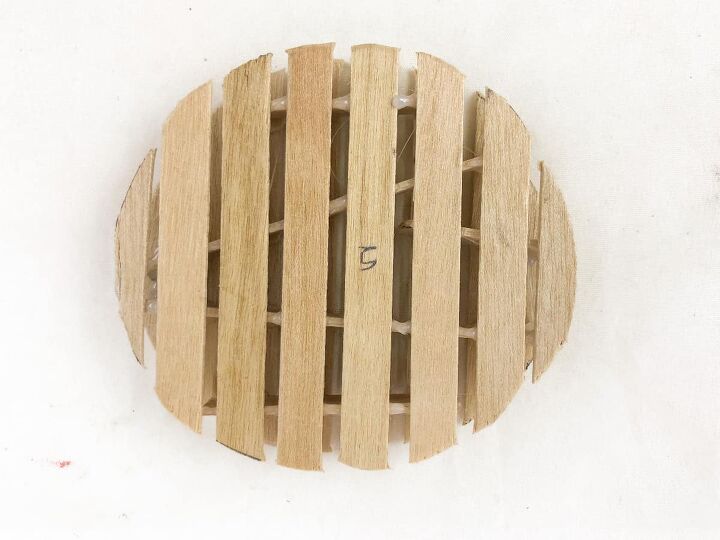
After you have added a couple of sticks internally for support, comes the final step. Add the other set of circle popsicles at the top one by one gluing them together. Allow the coaster to fully dry before using.
These coasters can also be painted if you choose to do so, adding more color. Just be sure to allow the paint to dry before using.
Want to save this DIY for later? Pin it to Pinterest using the graphic above or print it out using the printable project card below.
Prep Time
5 minutes
Active Time
20 minutes
Total Time
25 minutes
Difficulty
Easy
Materials
- Popsicle sticks
- Glue gun & sticks
- Scissor
- Pencils
Instructions
- To get started, you can align the craft sticks in a row and draw either a circle, or a square. After your shape is drawn, cut the sticks on the lines making sure you keep them in order
- After they are cut, you will want to align the popsicle sticks in order. To help, you can put numbers on them to help you keep them in order. Use pencil so that you can erase the numbers, or put the numbered side on the inside when you are constructing the coaster.
- For the next step on your DIY coasters, you will want to add another piece of a popsicle stick and glue it perpendicular to the shape of popsicle sticks to connect them. You will need to trim these sticks to fit within the shape, and also use more than one to keep your coaster strong and balanced.
- After you have added a couple of sticks internally for support, comes the final step. Add the other set of circle popsicles at the top one by one gluing them together. Allow the coaster to fully dry before using.
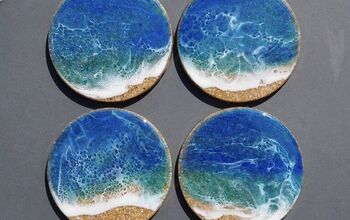
For another fun coasters craft project, be sure to check out our colorful beach inspired DIY coasters.
Do you have recipes or DIY that you would like to see here on Two Kids and a Coupon? We’re always looking for new suggestions! Leave us a comment below!
Disclosure: This post on DIY coasters may contain referral or affiliate links that help support this site at no cost to you. As an Amazon Associate, I earn from qualifying purchases. Shop recommended items in our Amazon store at www.amazon.com/shop/2kidsandacoupon. All opinions and love of saving money are completely and totally our own.
Resources for this project:
See all materials


Frequently asked questions
Have a question about this project?
What happens with the liquid from sweaty glasses from the ice that melted?