


Metal Wall Decor Makeover
Easy
Slowly but surely, our living room makeover is coming together. Over the weekend, while Greg was busy putting the media console together, I tackled the metal wall decor makeover.
I bought these metal tiles from Grandin Road in January 2014. They were on sale for $49 each – down from $90…pretty good deal! Knowing that I would never catch a steal like that again, I bought three of them. Even today, I am not sure why I bought three, but when Greg also wondered about it, my quick response was:
H: Guess why my babes?
G: I don’t know… so we can cover the big empty area on our living room upper wall?
H: Huh?!? Oh yeah…exactly! They are going to look awesome there 😀
Hahahaha… I know, I know… a bit sneaky… but why admit that it was a total impulse buy, or that I never actually had a plan for them, when he comes up with the best idea, right? And guess what? He still thinks it was my great idea. LOL. 😉
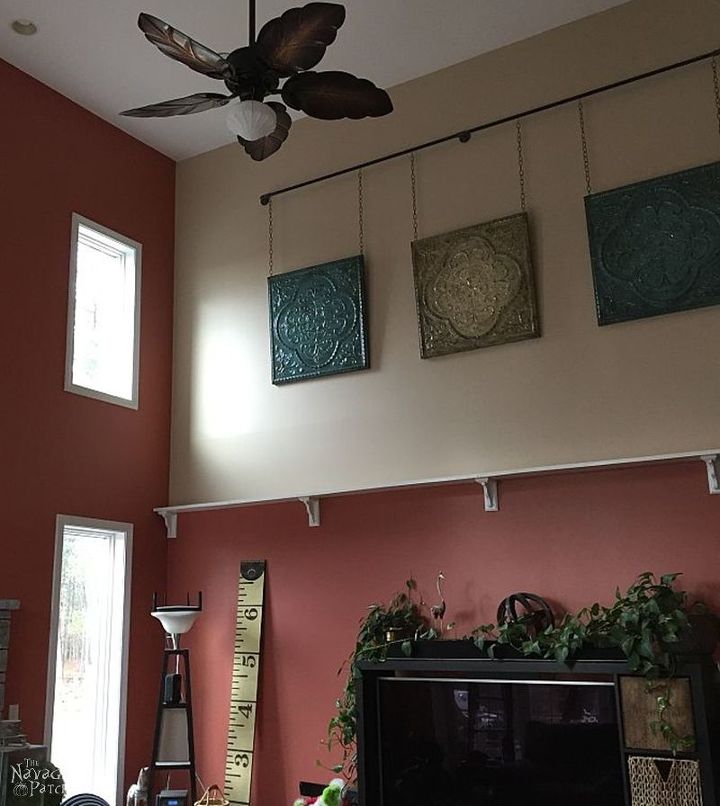
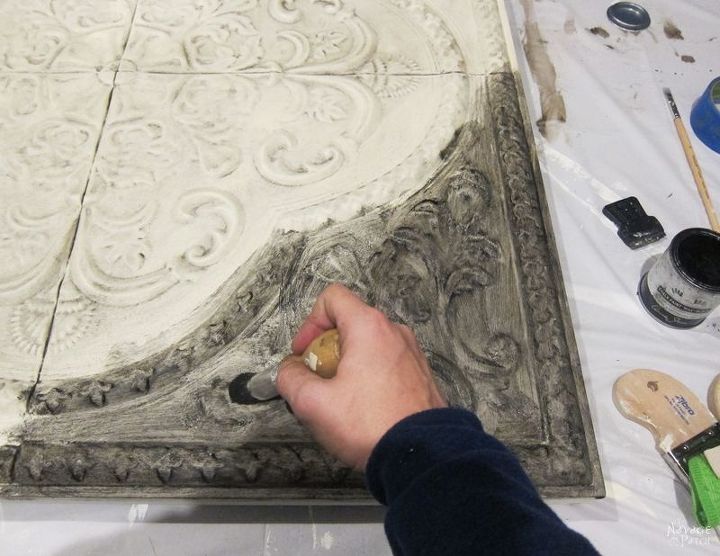
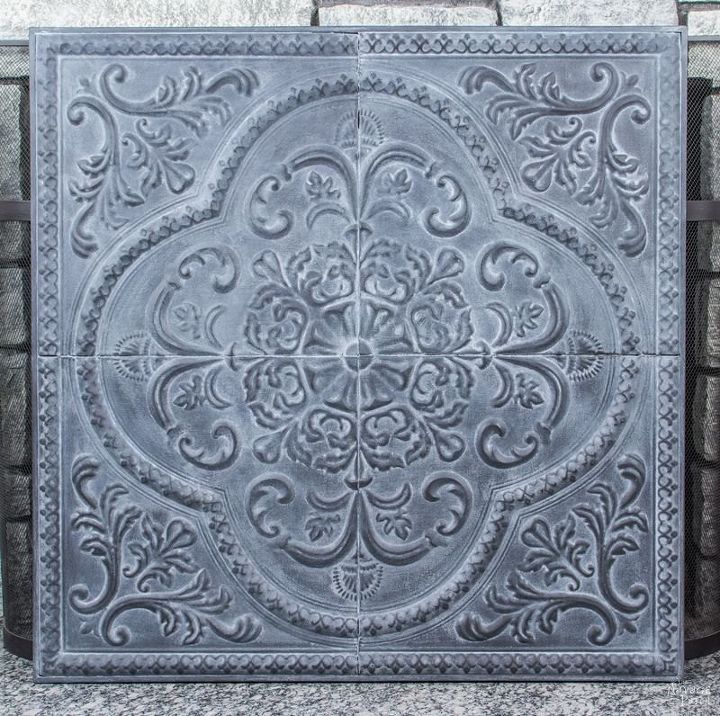
When we received our metal wall decor, I wasn’t so happy with their glossy finish. But a makeover wasn’t a priority back then, so we hung them and forgot about them until we started our living room makeover back in November. When we changed the color palette to neutral, those metal tiles stuck out like a sore thumb. So last weekend, I grabbed my beloved paint brush and some homemade chalk paint and got to work. Click here to get the recipe of my homemade chalk paint.

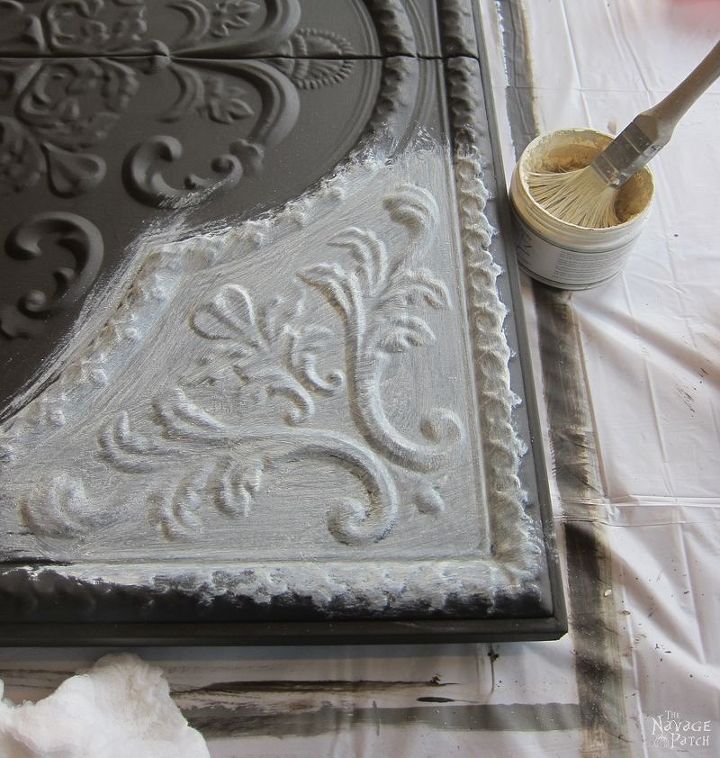
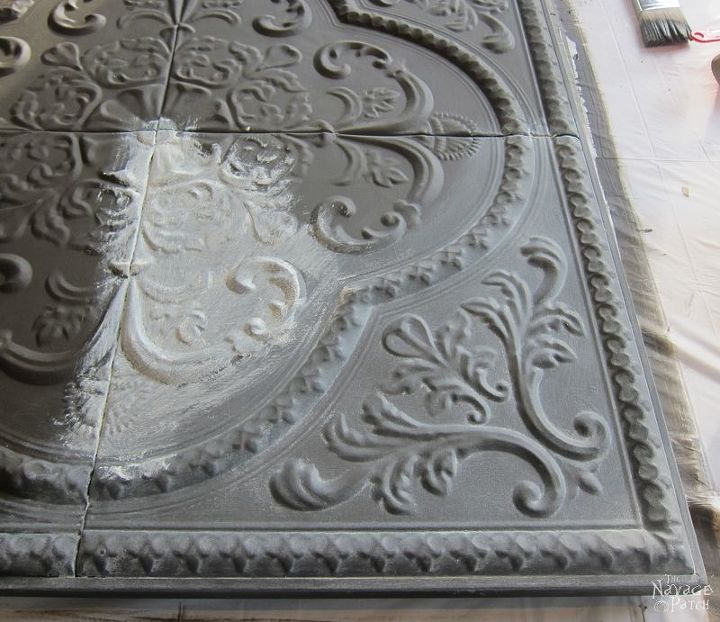
But it’s not too bad when dry…it is sort of grayish-brown…definitely more on the brown side though.

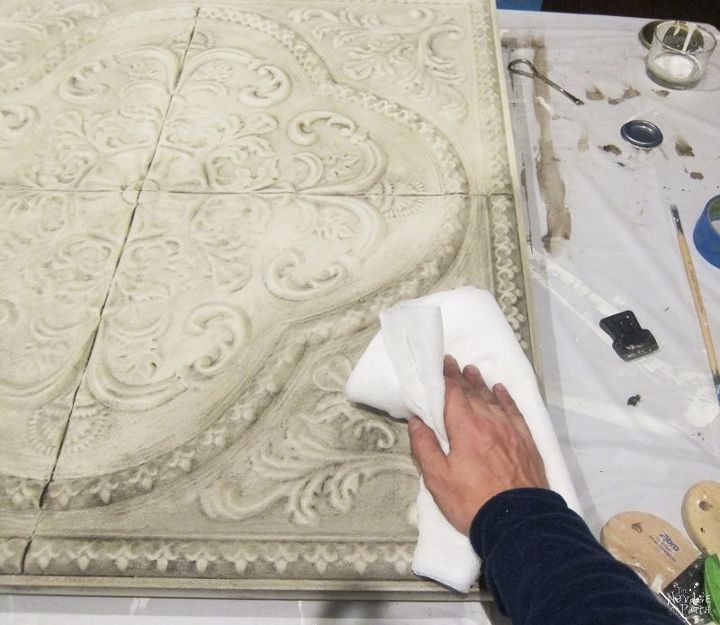
…but when white waxed, like magic, all that brown disappears and transforms to a wonderful smokey gray!
…and wiped it off with a cheesecloth.
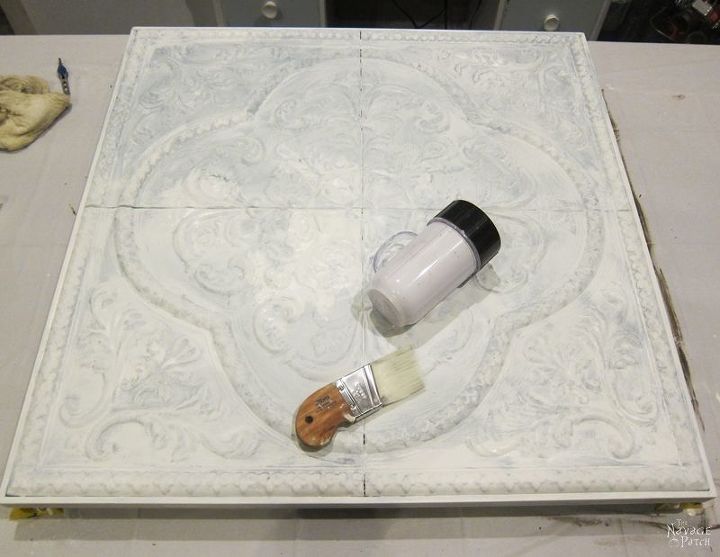
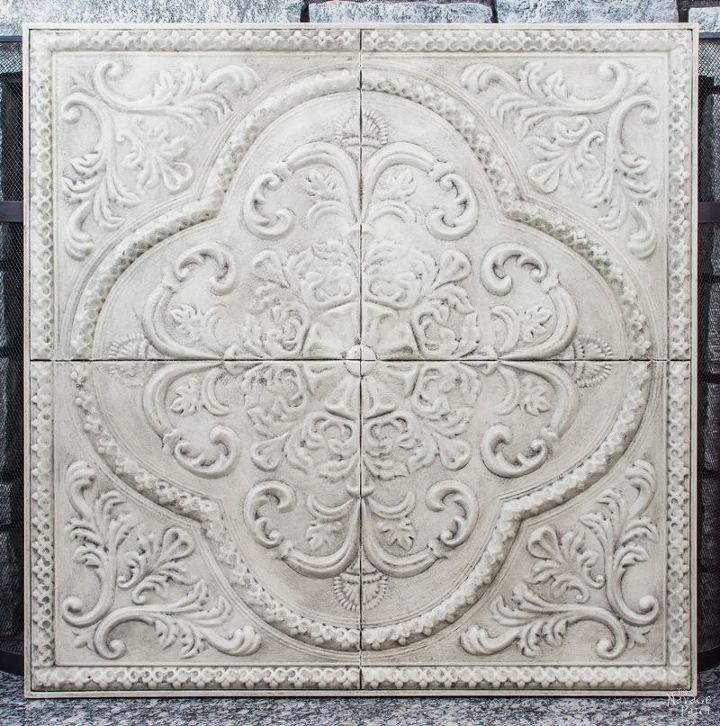
Once I completed painting and waxing the first two metal tiles, I moved on to the third one. To create a nice contrast, I decided to paint the last tile with white, so I prepared some homemade chalk paint in old white color.
…I waxed the tile with Annie Sloan’s black wax. Again, I worked in small sections, because I didn’t want to mess it up.
You see, the way all these waxes (antiquing wax, white wax or black wax) act on paint is pretty much the same with how Greg acts on a sofa – you leave them sitting too long, you’ll have a hard time getting them off. To avoid that issue, I either work in small sections or keep some clear wax handy. If I happen to apply too much dark wax or happen to wipe it off a bit late, then I apply clear wax on top of it and that helps to clear the mess. Say what? Oh, how do I get Greg off of the sofa?!? I don’t…I can’t…no one can…so at those times the best thing to do is lighting a cozy fire or raising the temperature in the house. When he feels hot and thirsty, he’ll definitely get up to fix himself a martini. That is the time to catch him before he sits back again…hahahaha 😀
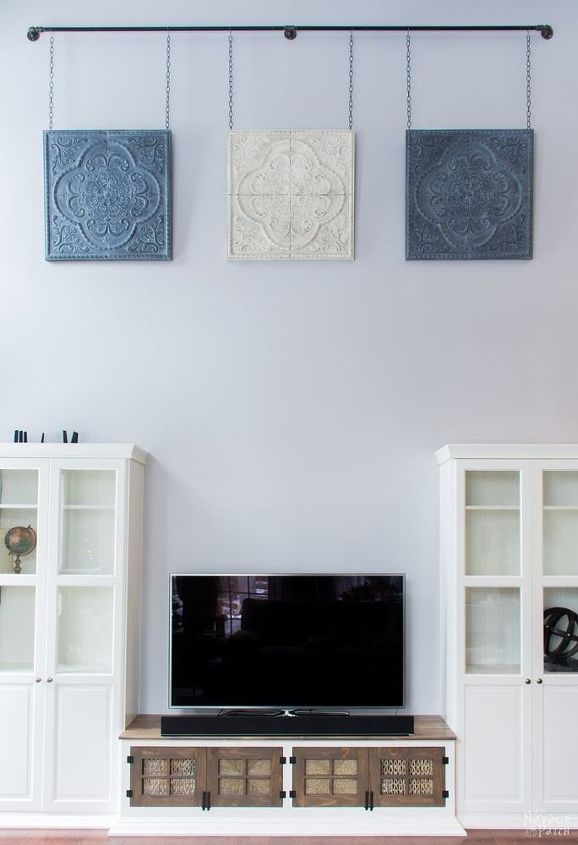
Once I finished waxing, we hung them back in their places using our tallest ladder, and that was that!
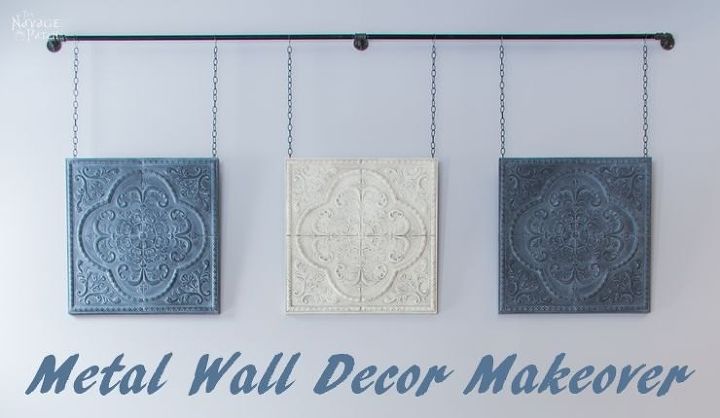
I love how everything is slowly coming together! They look really nice, don’t they?
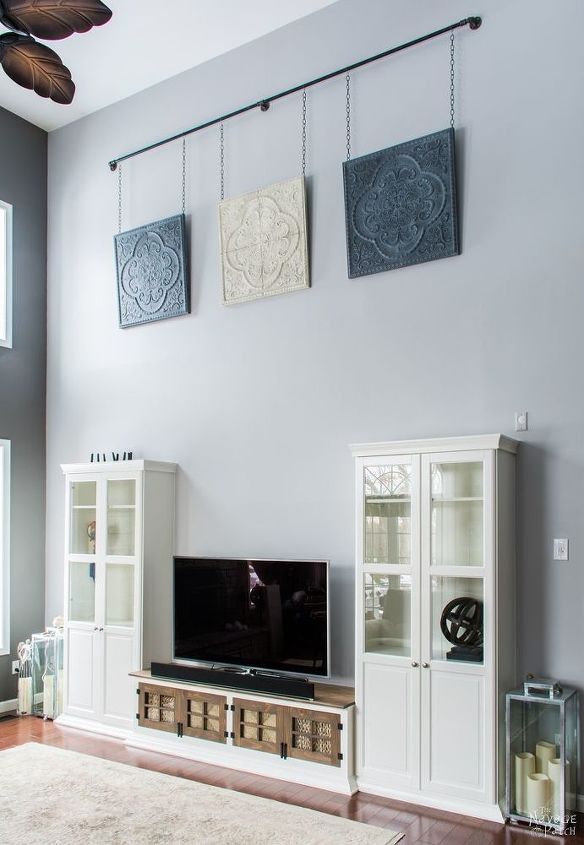
As usual, here are the close up pictures for you.
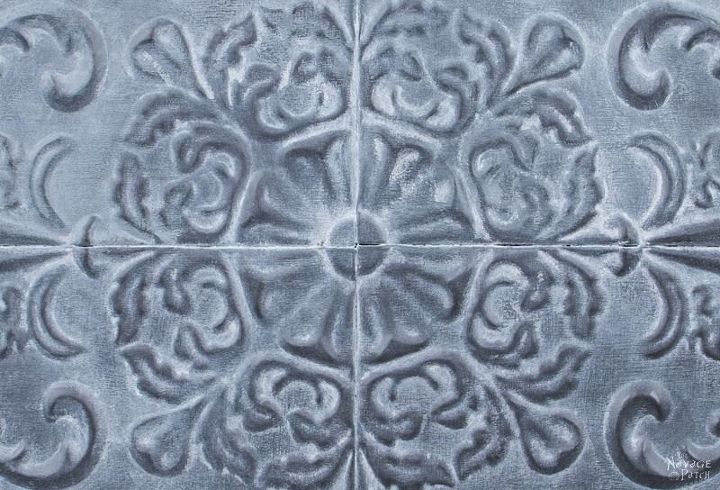
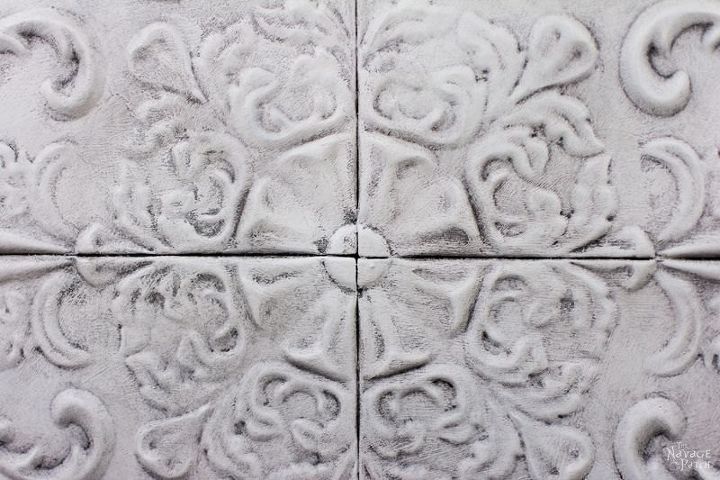
I really love how white wax transforms Warm Onyx to this beautiful color! Before I forget, if you also want to give Warm Onyx a try, just show the color code picture (which I shared on our blog post) to Home Depot or Lowe’s paint staff, and they will prepare the same color paint for you.
If you are interested in similar DIY and crafts projects, click here to see more from The Navage Patch.

Want more details about this and other DIY projects? Check out my blog post!
Comments
Join the conversation
4 of 10 comments
-
Stunning!!
-
Again, another gorgeous creation! I'd really love to see your home in person! Then I can help myself to those big wooden keys I want so bad... *sigh*.. these are up to high for me to get too... lol... love your style!


Frequently asked questions
Have a question about this project?