


Pretty Pinecone Wreath DIY
1 Hour
Easy
Using just a few materials, this pretty pinecone wreath is simple to create and makes a great statement on your front door. It's the perfect season-bending wreath that can take you from winter to spring or fall to winter. Just swap out the ribbon and embellishments to fit the season.

Step 1: Let's get started!
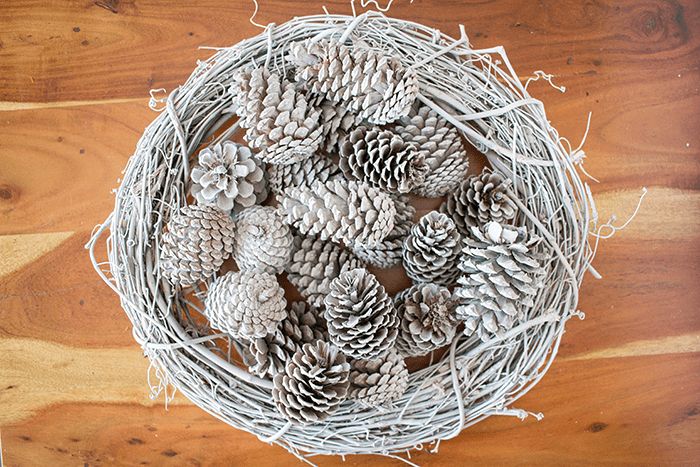
Step 2: Spray Paint (Optional)
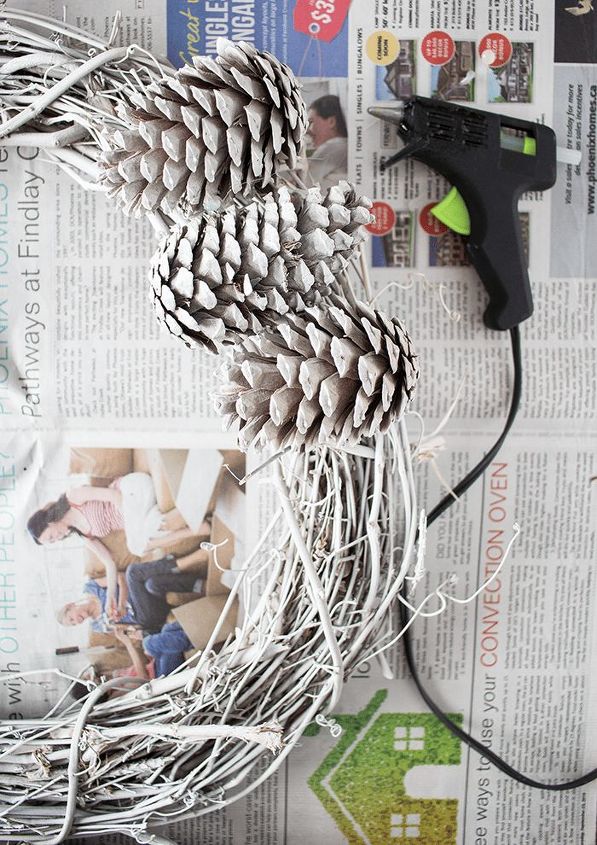
Step 3: Glue On Pinecones
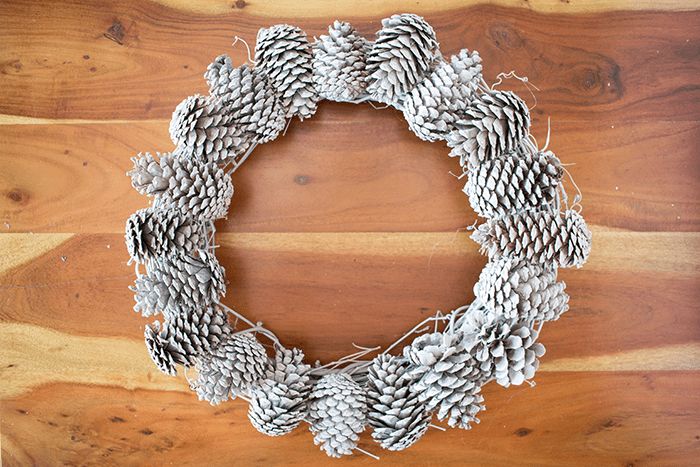
TIP: Before you begin gluing on your pinecones, line them up on your wreath. You may find that a slimmer cone here and a fatter one there will help create the perfect ring with no spaces in between.

Step 4: Cut Leaves To Desired Shape

Step 4: Add Leaves

Step 5: Hang & Enjoy!

Want more details about this and other DIY projects? Check out my blog post!
Comments
Join the conversation
2 of 3 comments
-
Thank you Brenda!
-
Simple but elegant. Thank you for your inspiration. Have a good day and stay safe.


Frequently asked questions
Have a question about this project?
How do you keep this from scratching the surface behind it?