


Trying Rust-Oleum Imagine Intense Glitter Paint
- By: Stacy Verdick Case
- On: February 20, 2021
- 0 Comment
When I saw Rust-Oleum Imagine Intense Glitter Paint I couldn’t get it in my cart fast enough. There are so many projects that I would love to add some sparkle to!
I have tried the spray glitter paints in the past and have always struggled with the nozzle clogging after the first coat. No matter what I did to try to prevent clogging or clear the clog, I always had to toss the cans after the first coat.
I finally just developed my own method for coating projects with glitter using Mod Podge and my own glitter. That worked like a champ but I was going through Mod Podge really fast and I couldn’t store it if I mixed too much.
That’s why the idea of brushing on a coat of glitter paint is so much more appealing to me than a spray or mixing my own.
Let’s Try Imagine Intense Glitter Paint!
I’ve had this little wooden heart set in my project pile for way too long. It’s such a small projects that it’s embarrassing that it sat around as long as it did. Then again, it gave me the perfect project to try Imagine Intense Glitter Paint on!

Of course I missed the Valentines Day sale for this year but once its finished I can pack it away for next year. It will be nice to not have to see it in the project pile anymore and know its safely waiting for next valentines day in inventory!
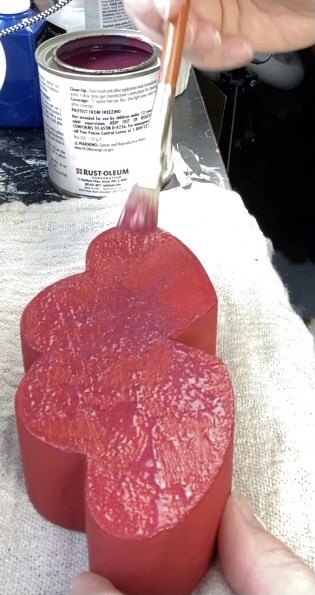
The directions say that you don’t have to paint a base coat of color but I went ahead and painted one anyway.
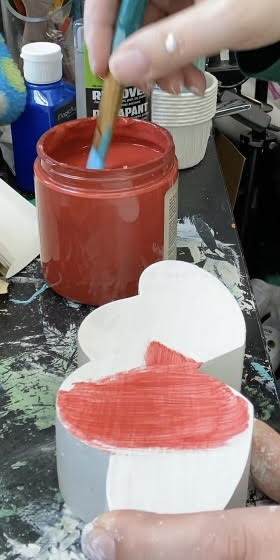
I primed the the raw wood first otherwise any paint would soak in requiring multiple coats and wasting a lot of paint. Then I used read chalk paint to coat the whole project.
Tip from me, I would absolutely paint a base color. Once I started using the Rust-Oleum Imagine Intense Glitter Paint on this project I was so glad I did. The glitter paint is very shear. It would have take many, many more coats of the glitter to get the desired effect. Keep that in mind if you decide to use this paint.
After a couple coats of paint it was time to get my glitter on!
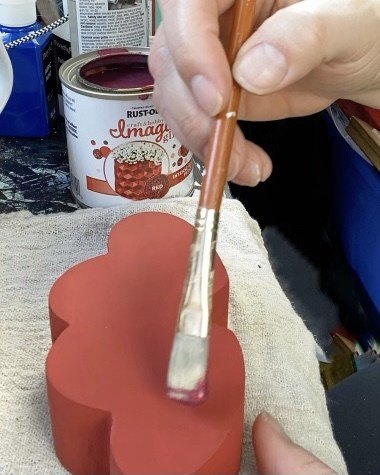
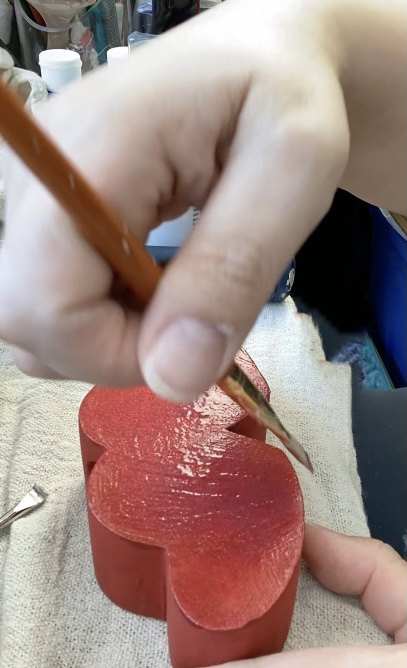
Tip # 2: You cannot back brush this paint. What that means is once you brush the paint on do not go over the previous strokes.
Unfortunately, I did go over my strokes trying to even them out. The paint gummed up immeadiately.
See how thick and uneven it is. I was so not happy at this stage. The directions didn’t mention this. It just said thin even coats. This was very frustrating. There also was no guidance as to how long before I could give it a second coat.
So I wanted until the surface was dry to the touch and coated again.
This time I changed the direction of the brush strokes, which is what is recommended on the can. So since my first coat went right to left I decided to coat this one bottom to top.
After that coat was dry I continued to add coats alternating the direction each time.
I’m not going to lie, I found the process slow and putz-y. I’m not a fan of slow processes. I have no patience at all. Finishing this very small project took 3 days.
Since I had to paint all sides of this project and it took six coats to get the amount of glitter I was looking for, it took forever. At least to my impatient brain.
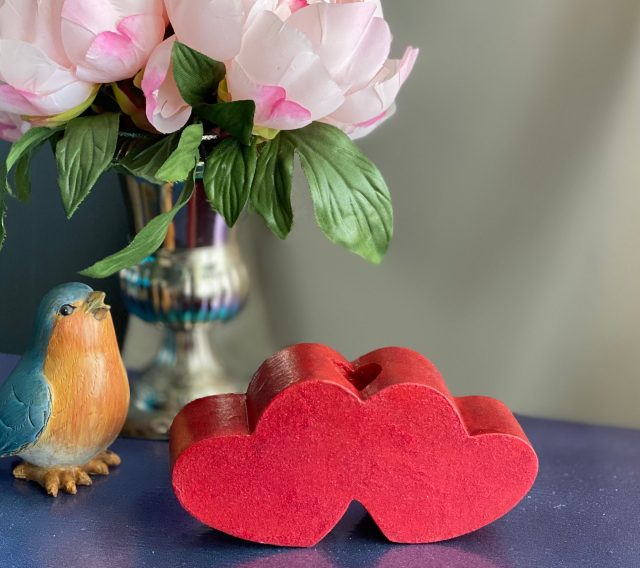
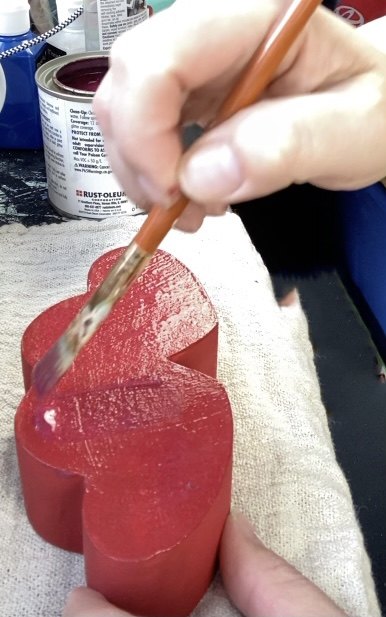
In the end it turned out ok. I had difficulty not trying to even out my strokes and my thin coats weren’t even enough. You can see in the photo above the uneven glitter distribution.
The texture is not smooth. I’m not sure why I thought it would be or why that bothers me so much. It’s like a fine grit sand paper. That really shouldn’t bother me that much. It is metal flake glitter after all.
Will I use Rust-Oleum Imagine Intense Glitter Paint again? Probably. In addition to being impatient I’m also stubborn and it bothers me I couldn’t make this work the way it said it should. I already have a second project in mind and if I make a successful go of it I will be sure to share my revelations with you.
Speaking of sharing!
If you found this post helpful please share it with your friends or better yet pin a copy to your Pinterest page. Just use the image below.

You can watch the full video of trying this glitter paint below.
Are you looking for a new challenge? Check out one of my favorite new posts Trying Angelus Leather Paints.
Many blessings to you!
~S


Frequently asked questions
Have a question about this project?