


A Vision Board That is Attractive and Interactive!
It's that time of year again when we are pursuing goals and making changes in our life and I have the perfect project to keep your goals right in front of you!
It is said that if we put our goals on paper we have a much higher chance of achieving those goals. The idea is if we keep them visually in front of us, we will be more inclined to work on them and stay focussed.
I had often made a list of resolutions at the beginning of the new year. Sometimes I put them in a stack of papers never to be seen again and then I started putting the list on a bulletin board, but it got covered up or forgotten about and as a result I just didn’t manage to have the success I had planned for.
Then last year, I had an idea. What about an interactive board with photos or messages to myself that was in a very prominent place and was strictly devoted to my goals? By interactive, I mean that the photos or messages would be movable and I could move them to a special spot once I achieved them.
I created the board, placed it in the most visual spot in my office and FINALLY I was able to keep track of the goals. It was SO SATISFYING when I could move a goal to the SUCCESS area! I believe in this type of vision board so much that I wanted to share it with all of you.
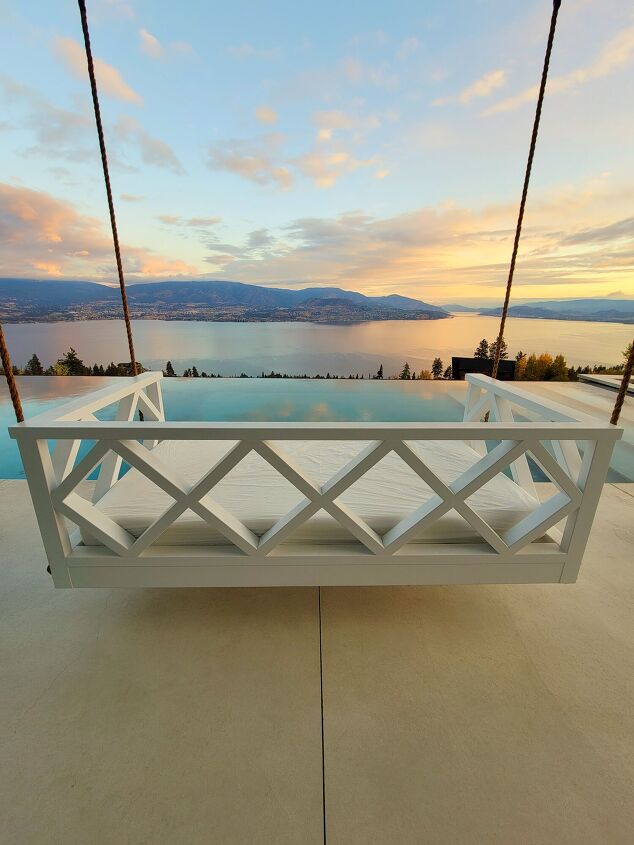
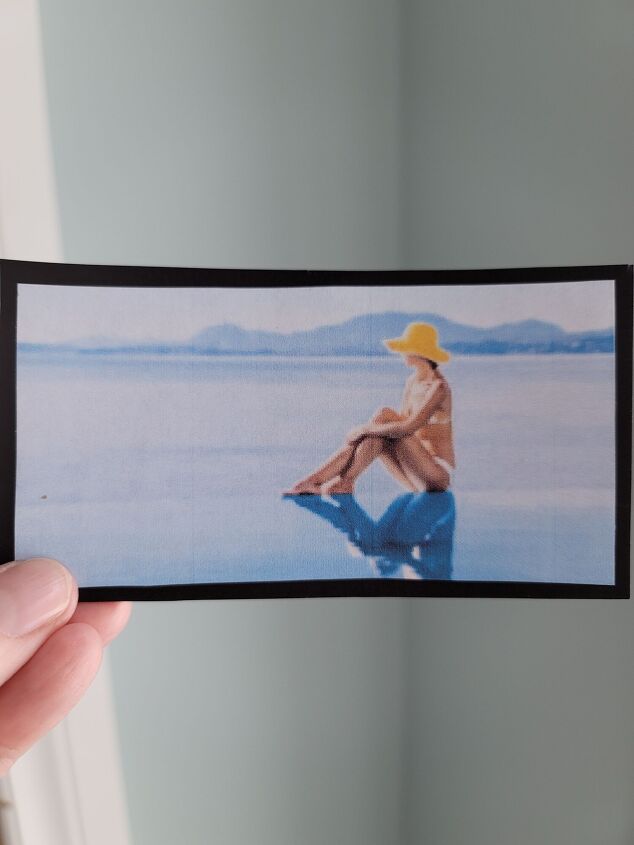
By the way, the photo you see above of the porch swing and pool was one of my goals from last year, but I will get to that later.
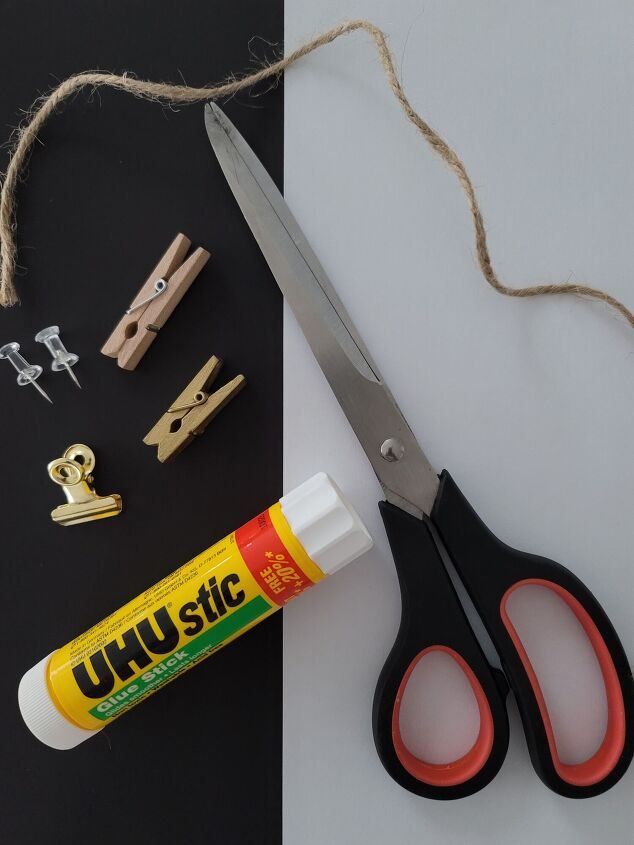
Materials
If you are interested in any of the products I used for this project, just click on this link and it will take you directly to my blog where I have all of the product links for easy access.
- Large attractive cork board
- Push pins
- Twine
- Small decorative clothespins
- Decorative clamps
- Scissors or paper cutter
- Glue stick
- Black construction paper
- White construction paper
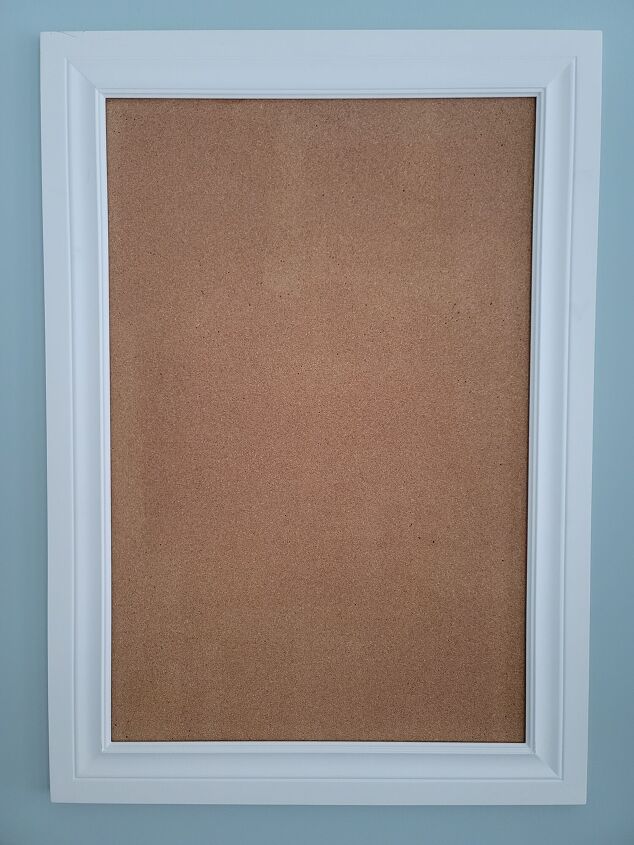
For my cork board I chose quite a large one that is 29" x 40" and bordered in a nice white wood frame.
Step #1 – Determine your goals
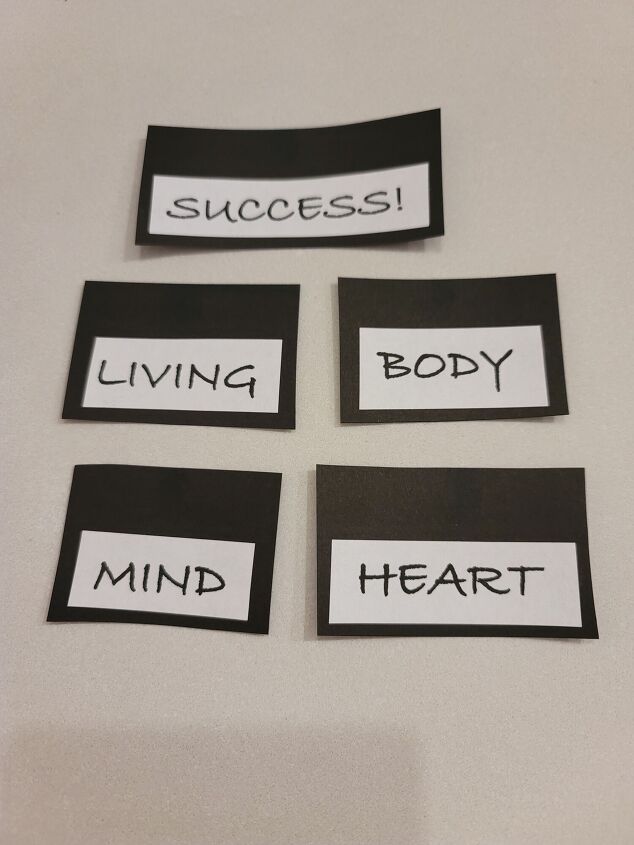
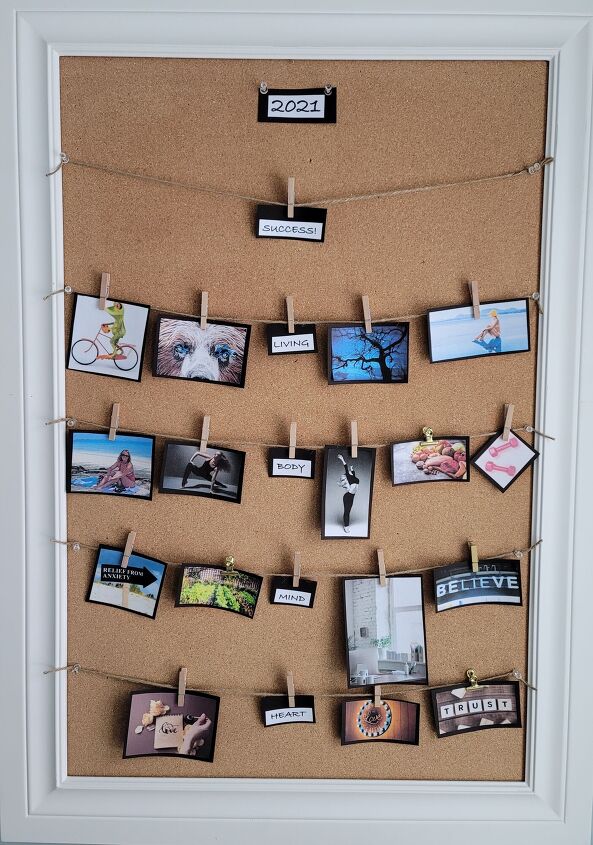
I have to admit, I am a big dreamer when it comes to setting goals so I usually have a lot. I also like things to be very organized so I grouped my goals into topics. The groups I made were Living (work), Body (health and fitness), Mind (mental health) and Heart (spiritual).
So your first step is to sit down and make a list of goals or things you want to improve in your life. Next would be to group them into various topics.
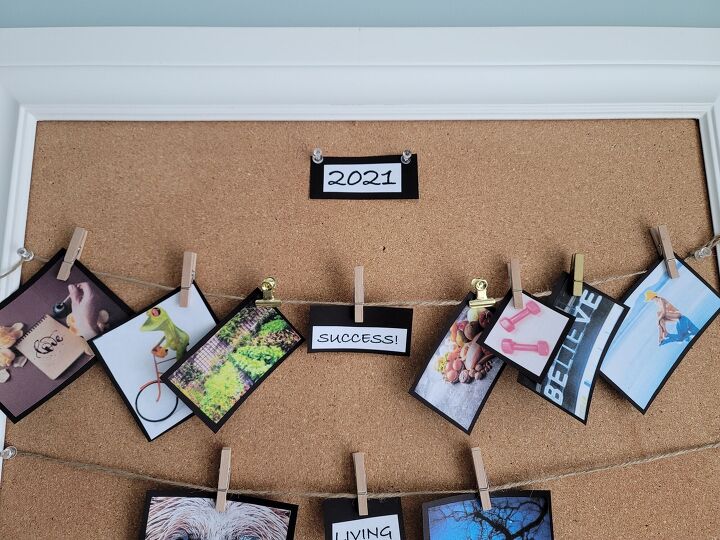
Next, print off the words on cardstock. I opted for a white and black theme, so I printed the words on white and then I framed them with a piece of black cardstock that is 1/4" bigger on the sides and bottom and 3/4" bigger on the top so the clip can hang onto it without covering the word.
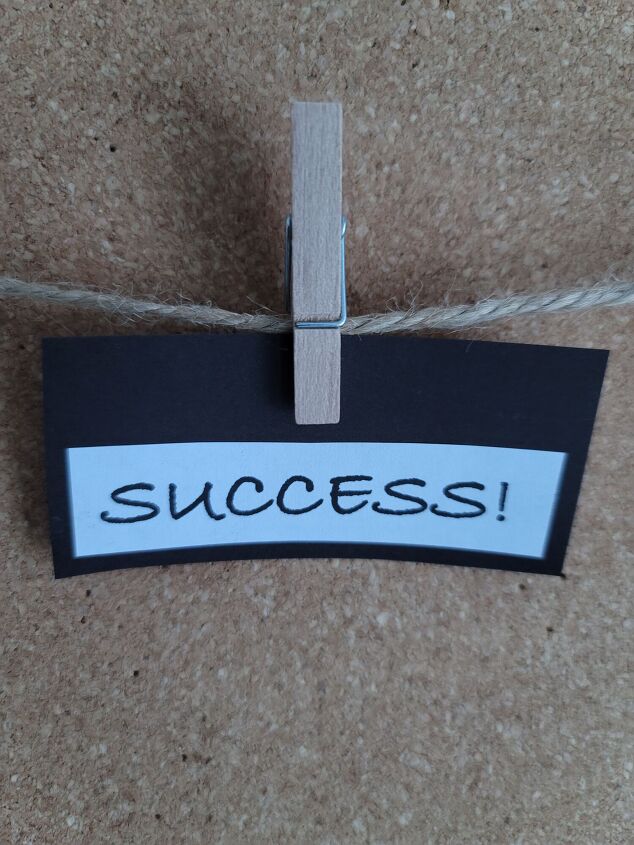
Don't forget to print out a label for "Success"!!! This is the area you will move your goals to once you achieve them.
Step #2 – Print off your goals
You will need to choose whether you want to use words or images to represent your goals. I chose both. I printed off an image that suited the goal and then on the back of the photo I wrote a message to myself.
The thing to keep in mind, is to make the images of a similar size. My images are all approximately 3″ H x 4″ W. Some photos are slightly smaller or larger. The best way to cut out your photos is with a paper cutter so that the lines are perfectly straight.
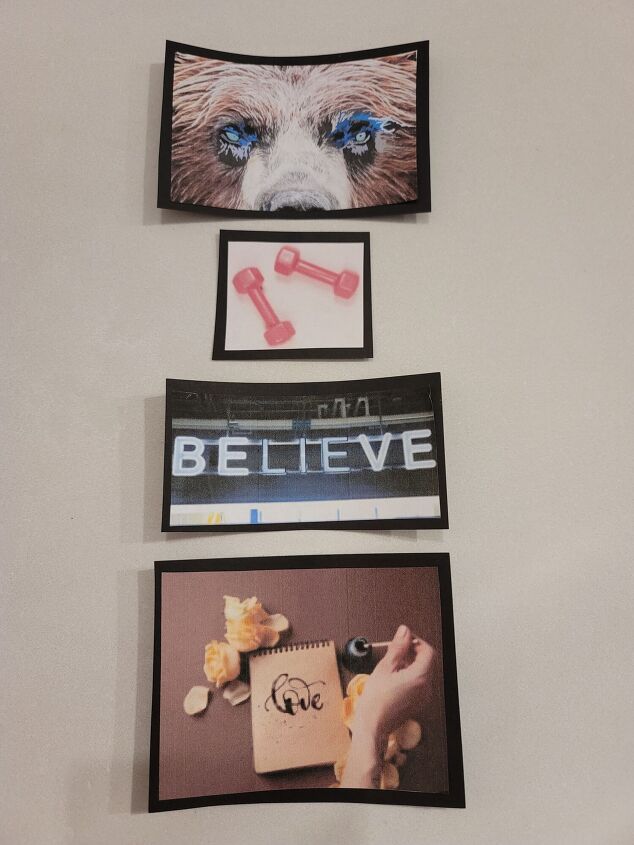
You can go the extra step like I did and frame the photo on a black piece of paper slightly larger than the photo to frame it. Once the photo was cut out, I laid it on the black paper and cut the black paper 1/4″ larger than the photo on all sides. Adhere the photo to the black paper with a glue stick.

Step #3 – Layout your goals on your cork board
The idea is to have one piece of twine for each topic, and then one extra piece for your “Success” category. I had four topics, so I cut 5 pieces of twine.
Lay your cork board flat on a table as it will be easier to work this way.
Cut your twine 3 inches wider than the width of the cork board. Tie the twine ends around the pin of the push pin with a small tail (about an inch).
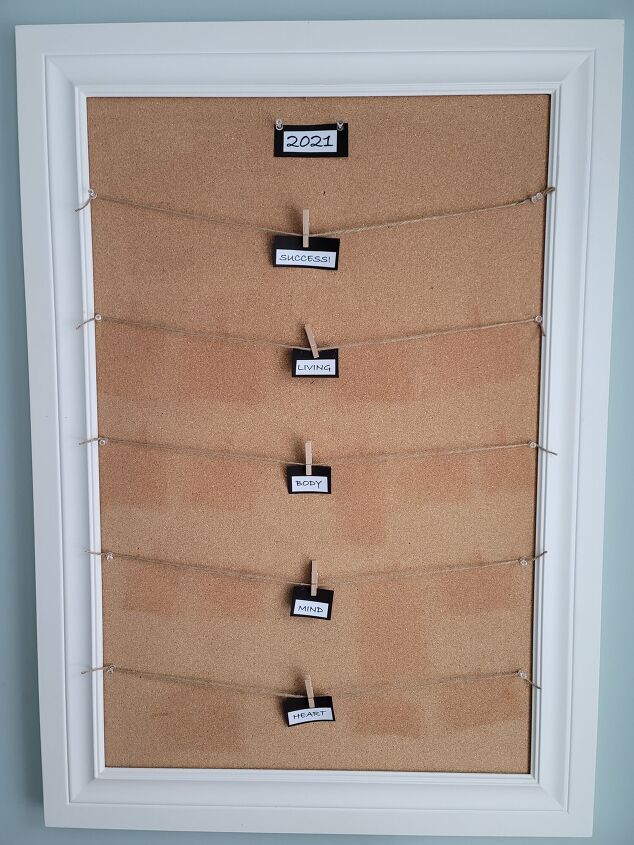
Now lay the twine and push pins horizontally across the board leaving equal amounts of space between each line. Place the cut out images and the labels in their respective sections and space evenly. Put the “Success” section at the top and leave enough space to move your goals up to this area once you achieve them. This is my vision board from last year so that is why it is labelled 2021. I will be updating that for this year.
Once it is looking good, pin the twine to the board.
Next hang the goals off of the twine with clips. I mixed it up and used small wooden clothespins, gold clothespins and gold clamps. I spaced them out over the board to add some interest.
Step #4 – Hang your vision board in a visible spot
The whole point of this project is to keep your goals before your eyes so that you are constantly reminded of them. I put mine in my office because I spend quite a bit of time there. Some people opt for their bedroom, closet or their mudroom so they see it as they leave their home and when they return.
Make sure to celebrate every success!
When you achieve a goal, make sure to think back to all that you did to make it that far. Then move the image up to the success line! Write the date on the back of the image of when you achieved it. At the end of the year, you may want to put them into a diary, journal or a scrapbook.
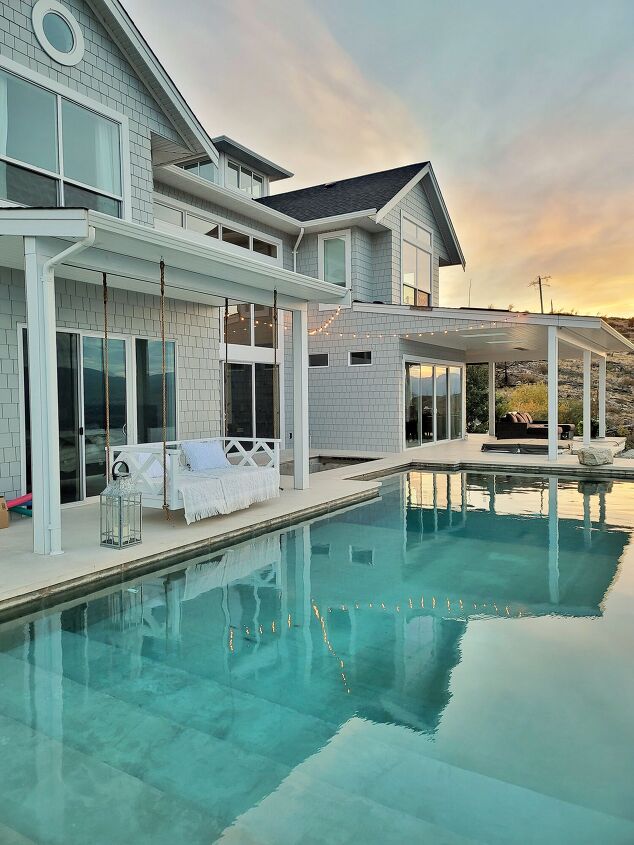
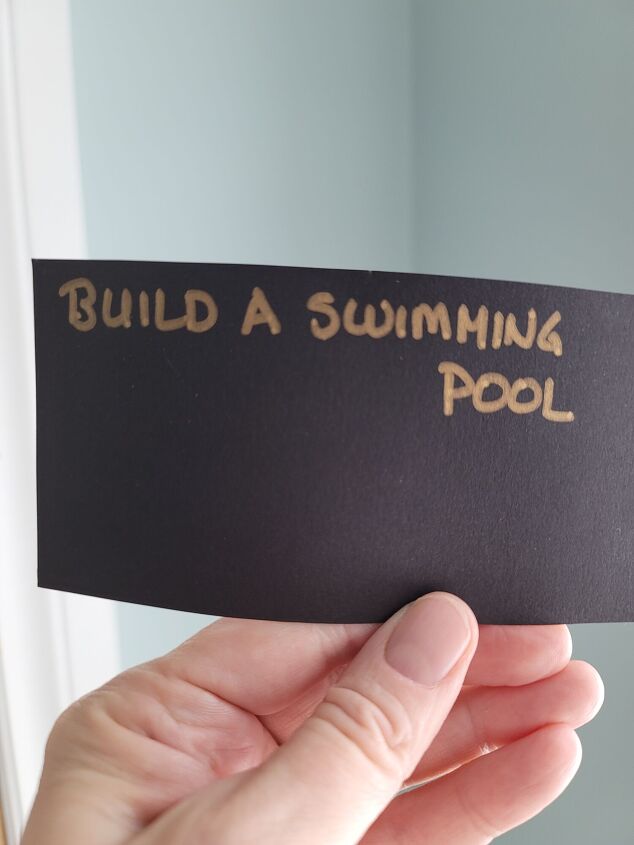
One of our biggest projects this summer was building a pool. It is something I had dreamed of for over five years and it certainly felt like an impossible dream. While we didn’t finish the tiling of it I am pleased to say that that goal made it to the success line!
It is reusable!!!
When the next year rolls around, simply make new images with your goals, print a new "year" label and start over. I didn’t achieve some of my goals but I am still working on them so they are staying put and hopefully will be moving up the “Success” line very soon.
If you liked this, you may like this…
Part of achieving goals is all about conquering fears and getting over hurdles. I created a post all about conquering fears and the nay-sayers in my life and I was surprised to find out who or what the biggest hurdle was that I had to conquer. Click this link for the post!

As always, my wish for you is success at whatever you are passionate about and to have loved ones who support and celebrate your success!

Comments
Join the conversation
-
As an entrepreneur a goal board is an important tool. I love your board and this will be how I do mine from now on!! I love the fact it is categorized and easy to understand for anyone observing the board. ☺️ Thank you for sharing
-
Thank you for info)


Frequently asked questions
Have a question about this project?