Basic Leaf Macrame Wall Hanging

Macrame is a great craft to work on while watching a good movie or TV show at night, and this pattern is perfect if you're a beginner like me! This wall hanging is very versatile, giving you the freedom to make it as large or small as you like or choose from a variety of knots to use.
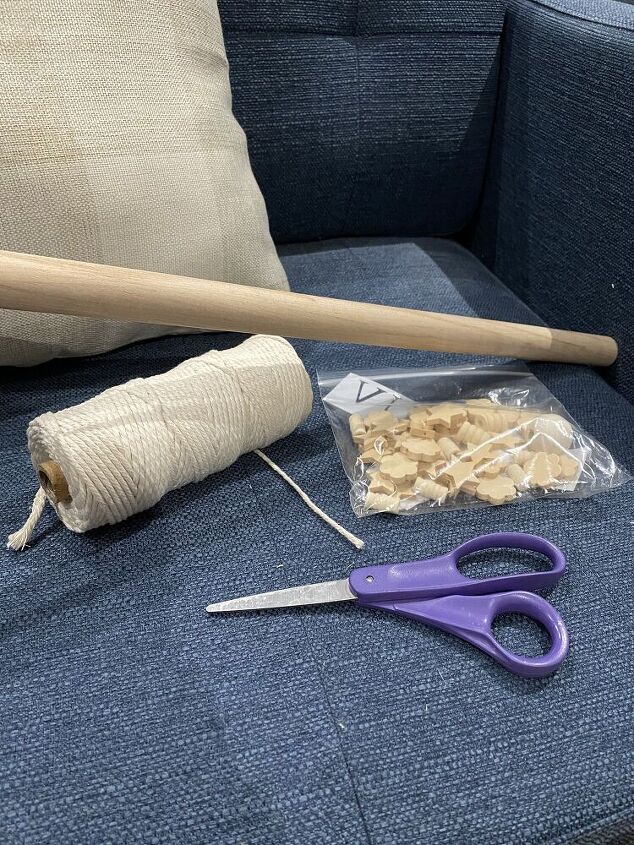
What you will need:
- macrame cord (I'm using 3 mm)
- wood dowel or wood stick
- wood beads
- scissors
- tape
- comb
- a good movie or show to watch while tying knots!
Using "lark's knots", create you wall hanging pattern with as many strands as you like at whichever length you want it to be. Remember that when cutting the stands to tie knots such as a half knot or braid, to give yourself about double the cord length as the desired finished strand length.
I used 2 basic knots on my hanging- the half knot and a 4 stranded braid. Get creative and try out any knot that you want!
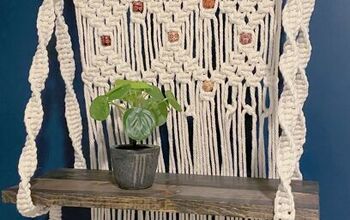
This hanging has every other strand with a knot and room for the leaf on the bottom. The strands in between will just have a bead tied to it.
Cut up lots of small pieces of cord to make these leaves- there are some great video tutorials on Pinterest and YouTube explaining how to do this!
This is what my leaves looked like (with just the bottom leaf combed out).
Using a comb, brush out the strands to make the leaf fluffy and more full. Lay it out on a flat surface and clip the edges to make a leaf shape.
This photo shows a clipped leaf on the left and an unclipped one on the right.
Almost done- the leaves are trimmed and I'm deciding where to place the beads.
The wood beads I had were small and tough to pull the cord through. Taping off the ends of the cord made this a piece of cake!
Cut the dowel to size and attach a piece of string for the hanger.
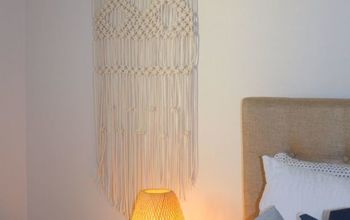
Hang up & enjoy!
.
.
For more ideas and ongoing projects, follow along on Instagram and Facebook!
Insta: @farmhouse.ongunnshill
Facebook: Lauren Ann Design
~Lauren 
Enjoyed the project?
Resources for this project:
See all materialsComments
Join the conversation
-
 Carole White
on Jan 03, 2021
Love it! Thanks for the detailed instructions!
-
-









Frequently asked questions
Have a question about this project?
Where did you find those cool beads
How do you put the beads on after you make the knots?