


Installing Beadboard Wainscoting

by
DeeDee
7 Materials
$100
5 Hours
Medium
When we first found this house we knew we could make it pretty again. It was hugely out of date and needed a lot of tender loving care! My honey never cares how I decorate he just makes all my wild ideas come to be. In case I don't say it enough, he's the best! :)

This is what it looked like when we toured it for a possible purchase. Whoa, talk about flash back to the 80's! So much lovely green wallpaper and oh, just look at the popcorn ceiling! We told ourselves that it was all cosmetic and could be made to look good again, and so we did, slowly but surely.
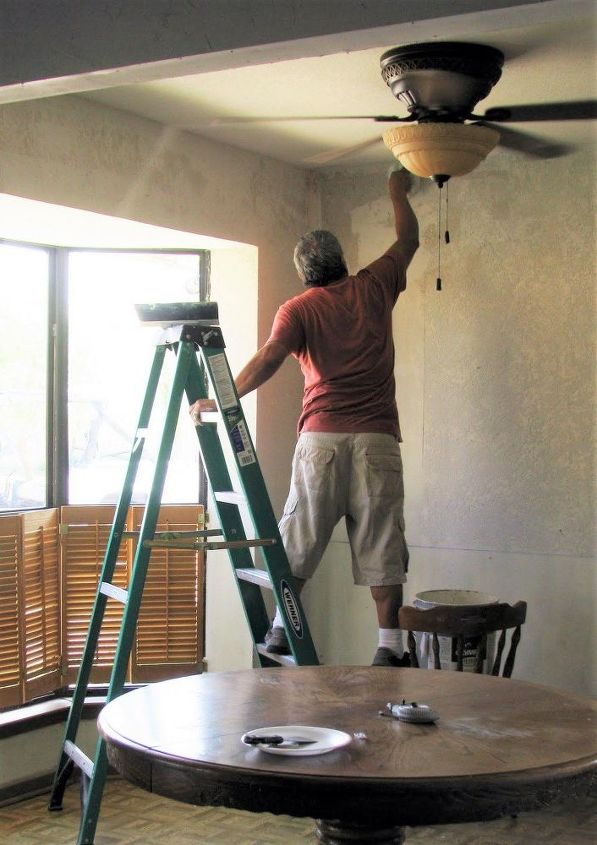
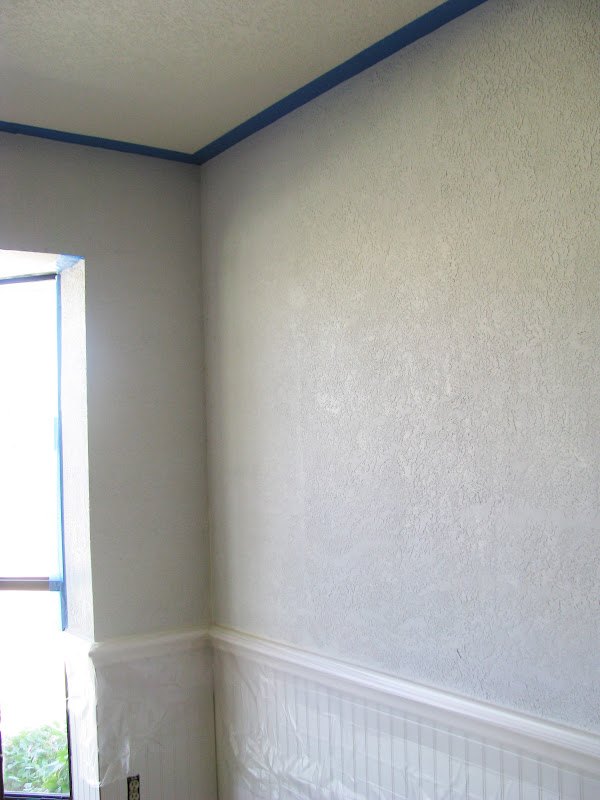
All the ugly green paper came down and the walls got textured and painted with a coat of primer. Bobby's Dad helped us out so much! He's texturing the walls with a WalMart sack (plastic shopping bag), who knew! He just blots the texture on a pretty good sized section of the wall, then goes back over it with a large trowel and knocks down the peaks and makes it smoother. I love it! You can see a faint blue line about his knee level. That is where the wainscoting and chair rail will be so he didn't texture that area.
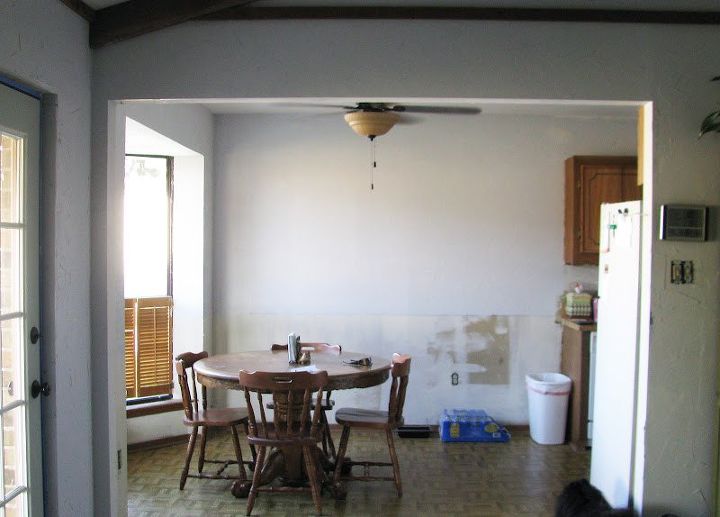
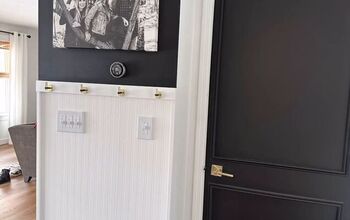
After it was painted with a coat of primer, the rest of the wall was ready for the farmhouse look of bead board wainscoting.
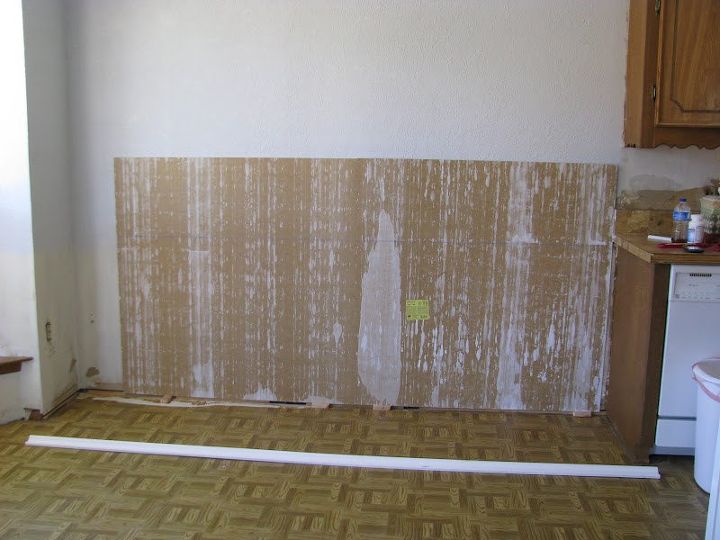
We brought in the wainscoting and chair rail and got it all measured, cut and ready to be installed. We placed the bead board against the wall (back side out) and and snapped another chalk line on it so it could be cut to size.
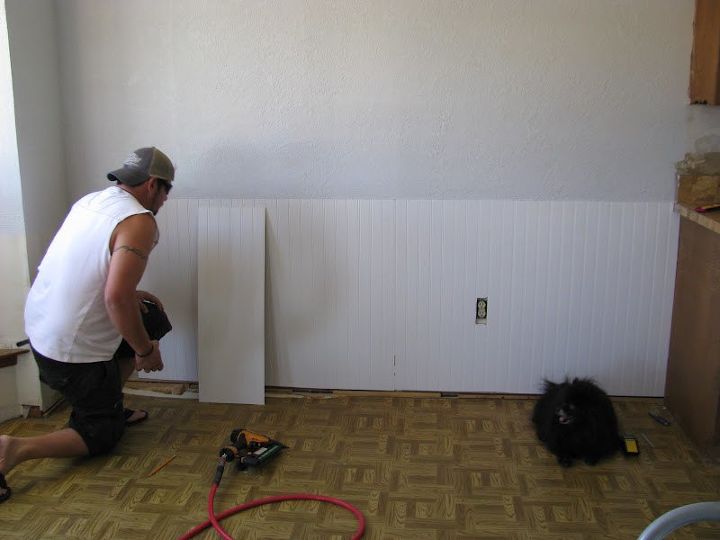
Wainscoting is typically installed in chair height at 32" to 36" off the floor. We chose the 36" height. We ran our wainscotting from the edge of the kitchen counter all the way around under the bay window to the very small wall in the entry way. It was a fairly small space we had to cover, so we used two full sheets of bead board paneling that we picked up at Lowe's. We used liquid nails and the nail gun (using brads) to adhere the bead board to the wall.
TIP: Use your level to make sure you're keeping a straight line while adhering the bead board to the wall.
NOTE: If you're not into the whole "using power tools" thing, maybe try this bead board wall paper, its pre-pasted!
After all the wainscotting and chair rail was installed, we used white paintable caulk to fill in all the uneven spaces and nail holes. I then taped off the areas I didn't want paint on and got to painting.
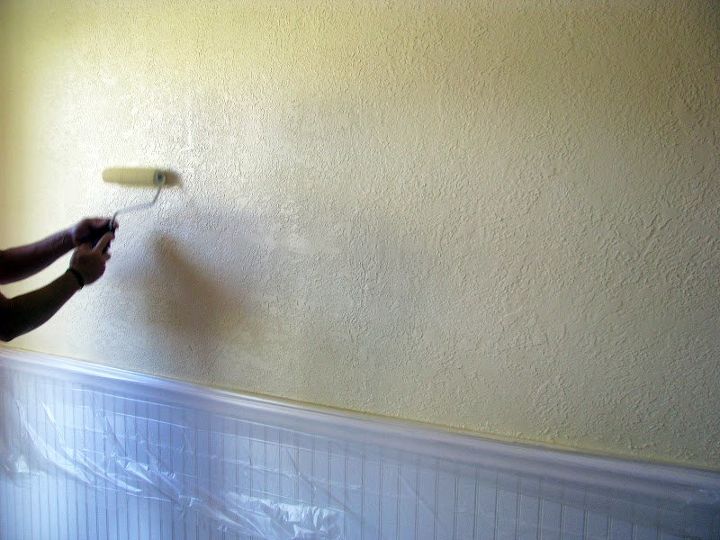
First we painted on the yellow to the walls. The yellow paint is called Jekyl Clubhouse yellow (Butter).
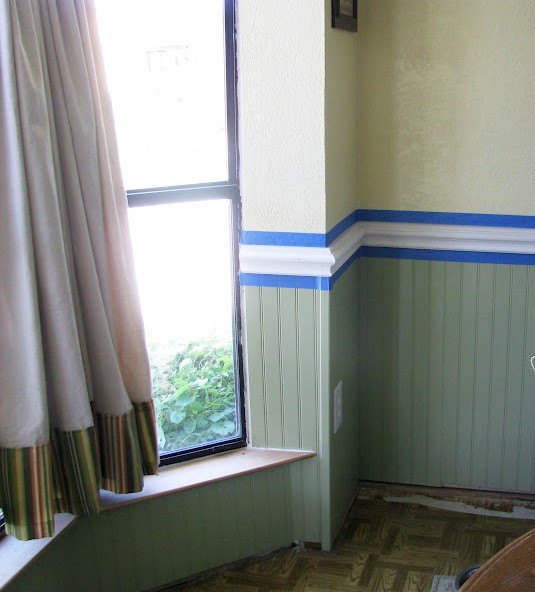
The green color is Jekyl Crane Cottage (Sage). We used Valspar Ultra Paint and Primer from Lowe's. This is awesome paint. Two coats and its perfect. Lastly we painted the chair rail with a high gloss bright white trim paint.
TIP: Just in case you are rookies like we are go ahead and splurge for the really good painter's tape because when I painted the chair rail, the white leaked up on to the yellow. I'm thinking because the wall is textured, but also partly because the tape didn't really get a good hold on the wall either.
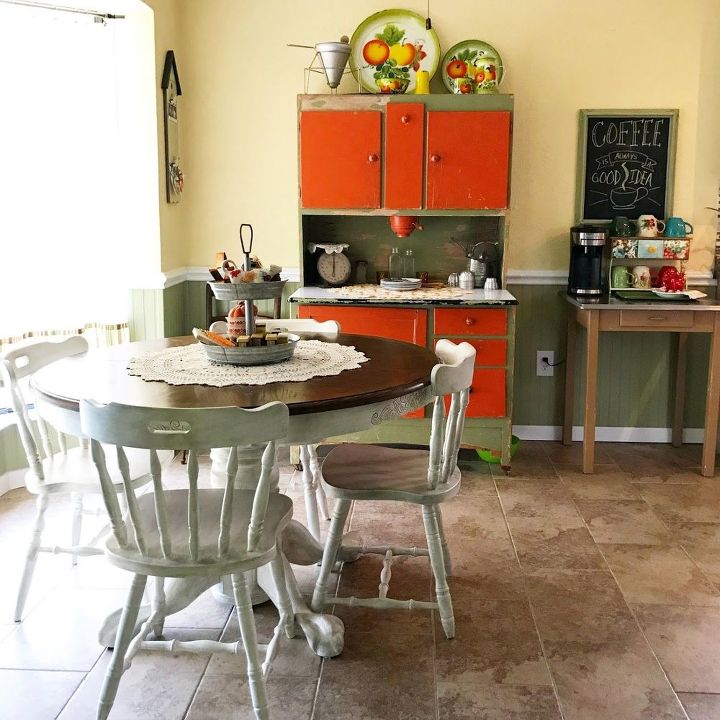
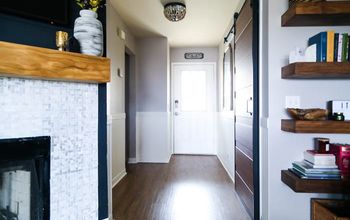
Of course we installed base boards after we tiled the floor and then the look was all complete. I really love how our kitchen and dining room looks today. I can't believe how much its changed since we moved in back in 2011.
What remodel job did you do first when you moved into your "new" fixer upper?
You can see how we tiled the floor by clicking right here.
EDITED TO ADD: The vintage Hoosier hutch is orange and green and the paint is chipping off, it is OLD! That is how we like it. We will not be removing it or painting it. We really love it here in OUR home! 
Thank you for looking! :)
Resources for this project:
See all materials


Any price and availability information displayed on [relevant Amazon Site(s), as applicable] at the time of purchase will apply to the purchase of this product.
Hometalk may collect a small share of sales from the links on this page.More info
Want more details about this and other DIY projects? Check out my blog post!
Comments
Join the conversation
4 of 172 comments
-
So nice to have a man around to help with projects!! Looks great!!
-
My first project was a mobile home that was definitely still looking like the 70's edition it truly was including floral drapery. First thing I did was rip out all the carpet and linoleum and install 2 1/4 in solid wood oak flooring thru the entire home. I was lucky enough to have a very good friend who installed it for free. 1344 sq ft only cost me just under $3k including equipment and supplies. It took a couple of months but it was so worth the wait. Yes, I know I took it back to the 60's but I have always loved this type of wood floor. Next was new windows and taking down the draperies. She is still a work in progress.


Frequently asked questions
Have a question about this project?
Hi I just want to say I love it but I also think it may be hard to wipe down if you have little ones. But I want to ask that if you have drywall and have already painted it (any color) can u texturizer it right over the paint?
Wonderful share. This is exactly what I want to do in my dining room.
My question: In a mobile home, would you recommend 32 inches or 36 inches for the bead board? The walls aren't as high as in a house. Thank you in advance.
TY for sharing. I’m about to do this in my grand son’s nursery but I have a couple of questions. First, is the liquid nails absolutely necessary? Second, my daughter already laid the new flooring, can I just put this on top of the floor or should I trim the bottom of the bead board? Third, can I use ceiling moulding instead of chair rail (because that’s what I already bought)? And finally, do you put the chair rail on the bead board or over the top of it?
Sorry for so many questions. I just don’t want to mess it up! My daughter is very picky. Lol.