


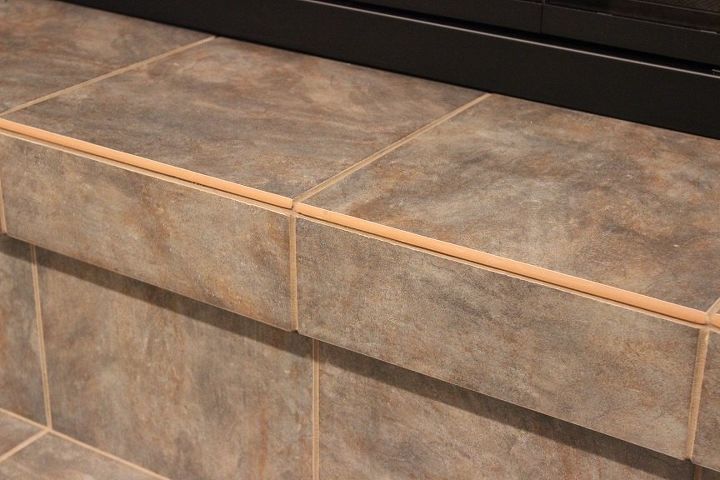
How to Round Exposed Tile Edges

by
Pavel
Tile projects can be a great way to save money, invest in durable materials and get that sweet kitchen or bathroom finish you’ve always wanted. But all DIY projects come with questions about the best and most efficient way to perform them, and tiling is no different. While tiling is generally pretty straightforward, when it comes to the aesthetic you’re looking for, it pays to invest a little time and effort into learning how to get exactly what you want. For example, how do you make sure that the tiles at the edges of your workspace are rounded off correctly?
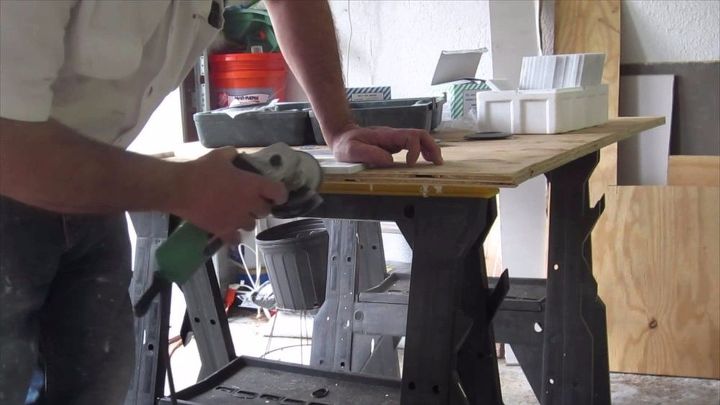
How to Prepare
The Process
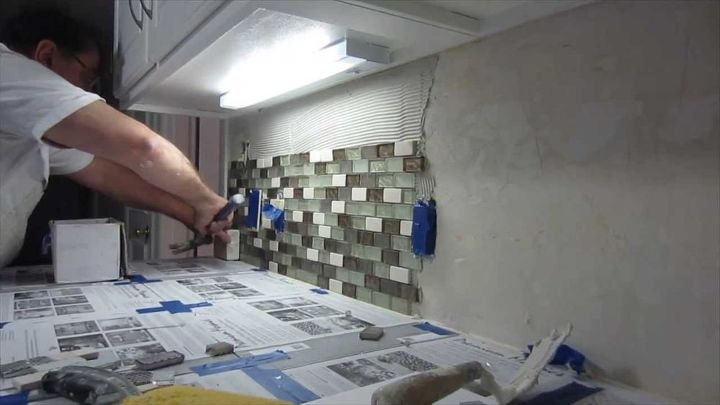
Glass Tiles
Comments
Join the conversation
1 comment
-
Thank you so much for this Pavel. We're in the process of tiling and a lot of questions and concerns I had you addressed. Thank you


Frequently asked questions
Have a question about this project?