


Light Up Your Work Table!

by
Adele Kurtz
4 Materials
$325
8 Hours
Medium
So why would a DIY artist LOVE to work on a Light Table?
More reasons than you may imagine.
Tracing, of course. Making patterns. Detail Work.
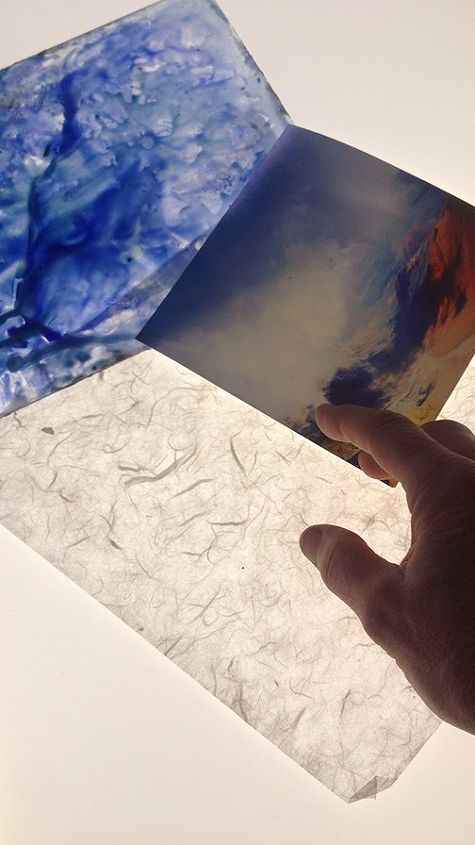
For working with and layering all sorts of transparent and translucent pieces: papers, fabrics, light art, resin art...
I work with layers a lot in my artworks. I didn't realize how much until we set up a light table at my busy studio workshop, Creative Connection in Highland Park Il.
It became my favorite spot for doing detailed handiwork.
Sadly, I did not bring the light table when I moved to Colorado.
Art commissions at my new place were negligible. I set up an Art Center in two locations, and another studio at my home, putzed around with new techniques, and slowly explored interests in many other directions.
I kinda missed that table though.
When it came time for me to take over the kids/guest room, I thought I might be able to Re-Inspire my Creative Juices if I brought it back into my life.
Dunno if it will, but it's worth a try!
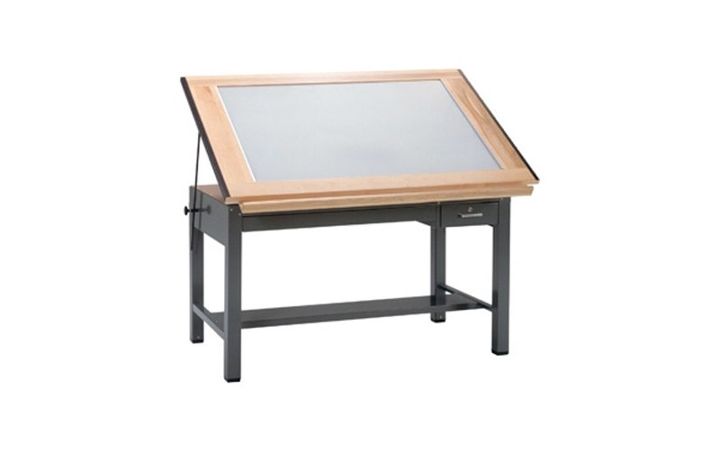
Here's something similar to what I had in my old studio. These go for $4,000 to over $6,000 new today. I found I got more use out of it as a flat table, and I could customize the size and include plenty of storage by re-purposing my old furniture on hand.
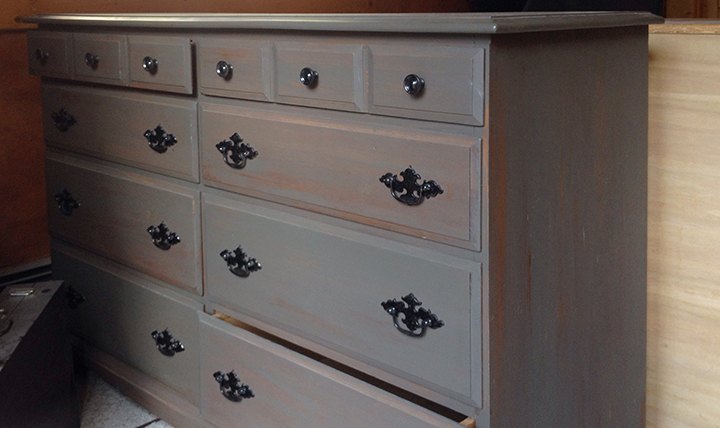
1. Started with an old dresser that I had previously repainted.
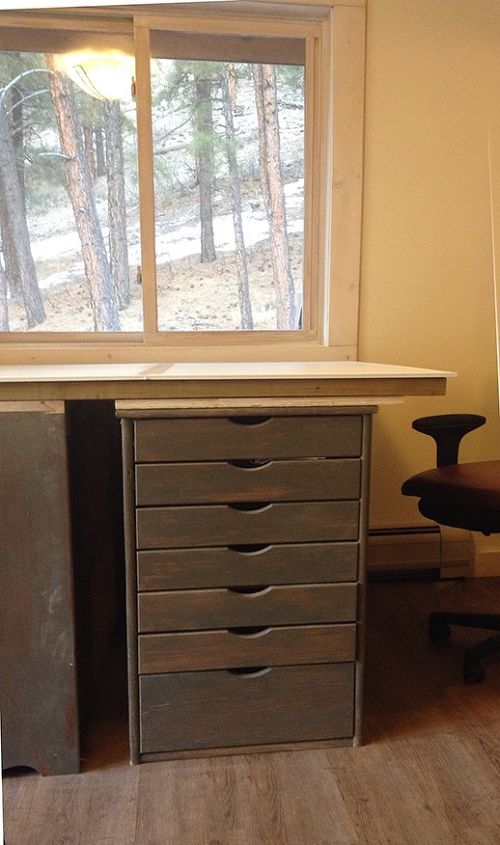
2. Took apart an old desk I made years ago with my daughter.
- We tore apart the elements, 3 pieces, cut down the top and rearranged the shelf and drawer pieces to make a solid foundation.
- This shelf would be cut down and put near the wall.
- A drawer section would be moved upfront.
- We would cut the top to match the depth of the dresser and drilled it in.
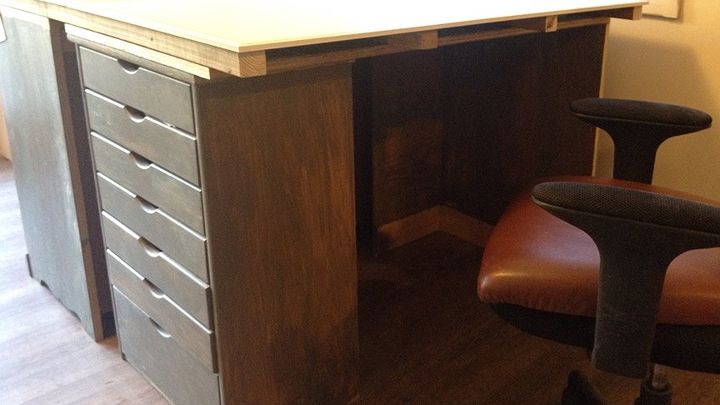
3. We made a framework to support the new top.
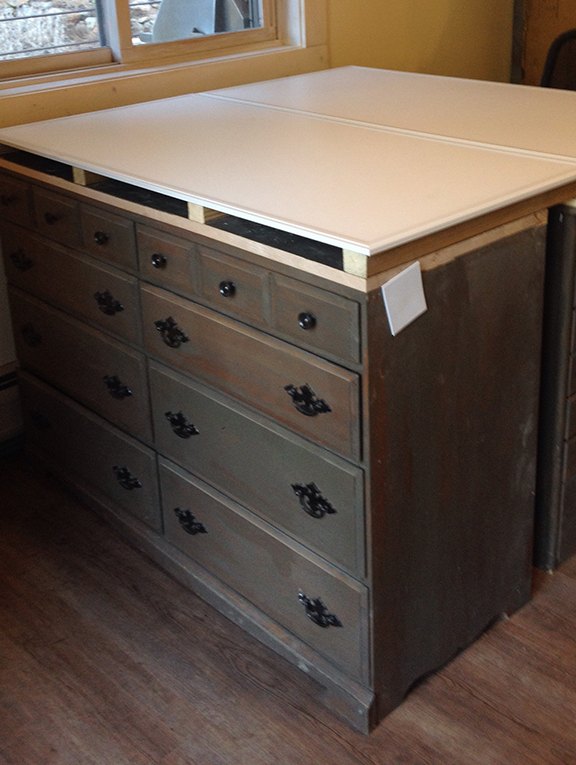
4. The dresser was trimmed down as well, feet and top.
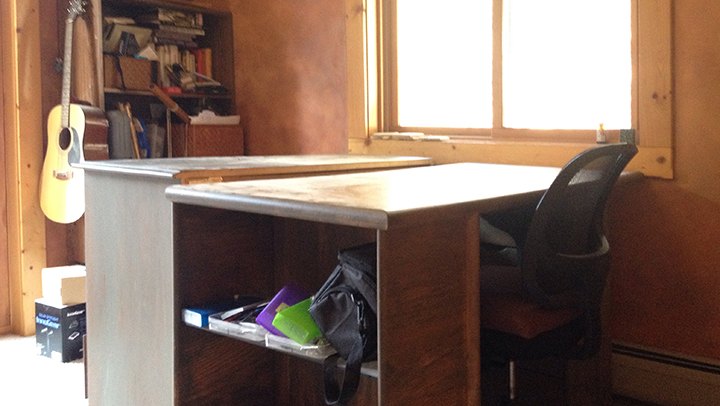
I chose to leave space between the two furniture pieces for storage of art-boards, etc. I also thought it looked more elegant to let the top hang over the side I would sit.
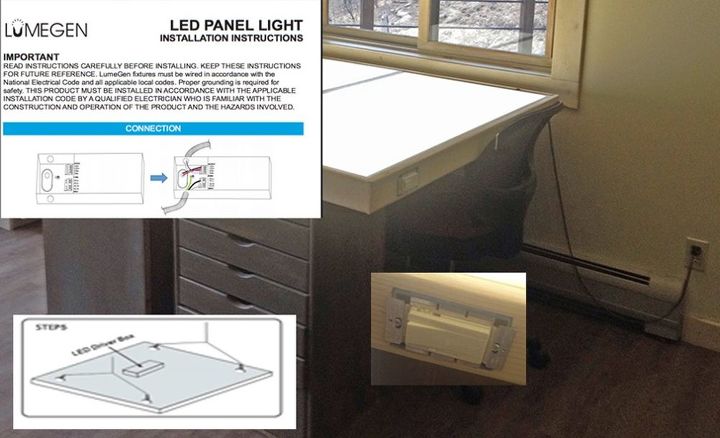
5. I used two 4' x 2' Lumegen premium dimmable light panels, ultra slim, and
- wired them together. That was the hardest part: sorry no details, I left that to the guys.
Obviously you could do well with just one 2 x 4 panel. But since I had the room, why not cover it all?
Shameless plug: I LOVE THESE LUMEGENS! Even better than what I had before. Slim with an even tone, Dimmable!!!!! You can even get a Bluetooth version, color changing warm to cool, remote access if you want to be real high-tech at lightup.com, which also, btw, provides great tech support and answers your questions informatively. The gal gave me the confidence to continue, assuring me that others had been successful doing what I wanted to do here, and telling me how.
- We trimmed the edges and inset the dimmer/on/off control where my fingers would naturally be.
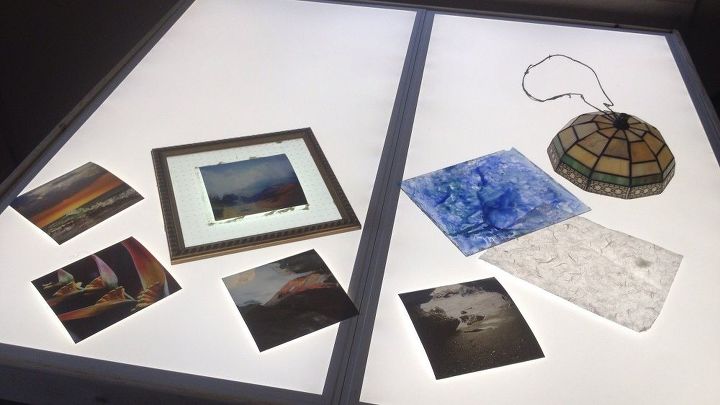
I can create lightworks and artworks from wax, resin and paper, photos and glass in unlimited applications with more precise detail than I can working on an un-illuminated surface.
6. The surface of the light table is protected with a 1/4" thick piece of 4' x 4' annealed plate glass. It is strong enough to work over and cleans up easily.
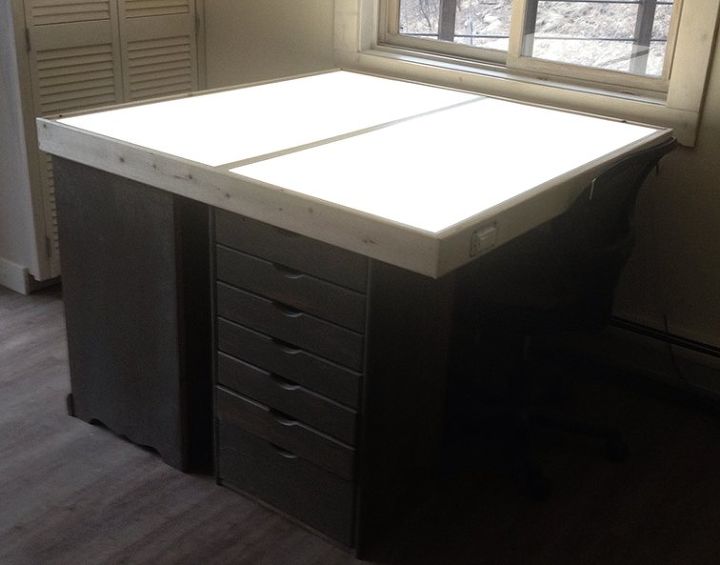
So here it is ready for action. (Sans glass, that's coming today)
Wish me Sweet Inspiration!
Comments
Join the conversation
2 of 3 comments
-
An LED table?! YEAH!!

-
Great idea


Frequently asked questions
Have a question about this project?