


Kitchen Shelf Refresh

I was given this wall shelf unit and gave it a quick refresh with white paint! I love how it turned out and it was such a quick and easy way of creating some extra kitchen storage space.

This is the before. The shelf was in great condition but had a deep orange, shiny finish on it.
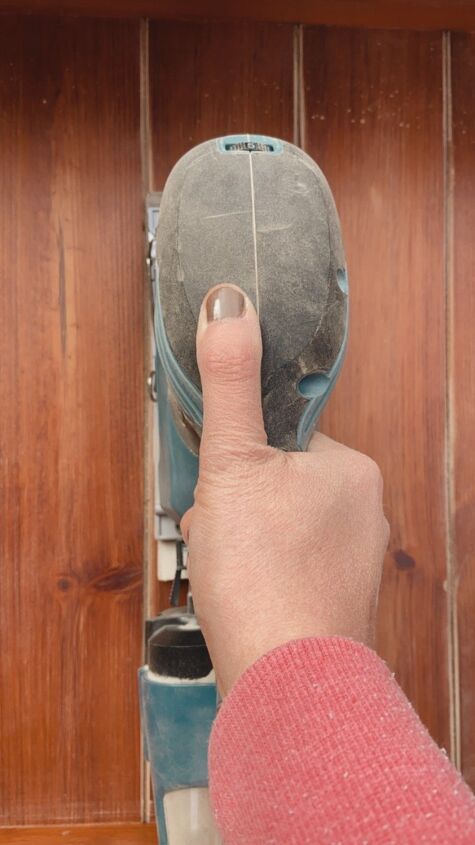
I took an orbital sander to it to remove the sheen and prep it for painting.

I used a sanding pad to rub down all the areas with crevices. I didn’t sand back to the wood since I was painting it but removed the sheen so that the surface would be in a better condition for the paint to adhere to.
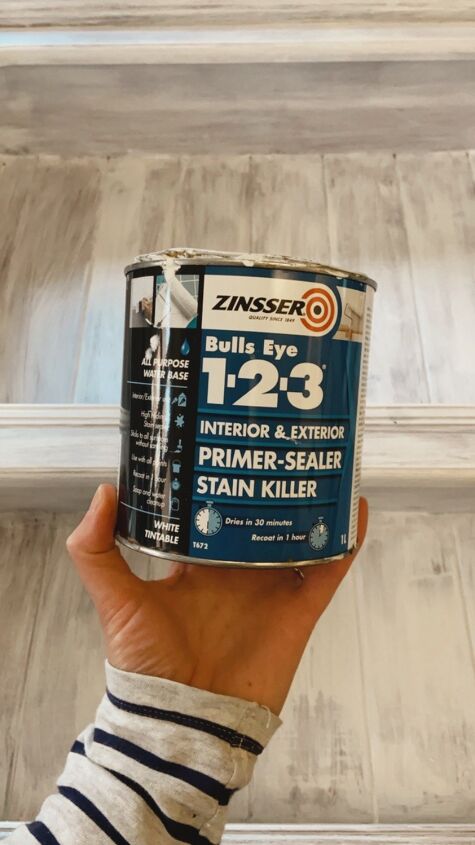
Once I had fully prepped the surface I applied a coat of primer. In hindsight I think due to the deep colour of the stain I should have used two coats. But one gave good coverage and prepped the surface to apply the paint.
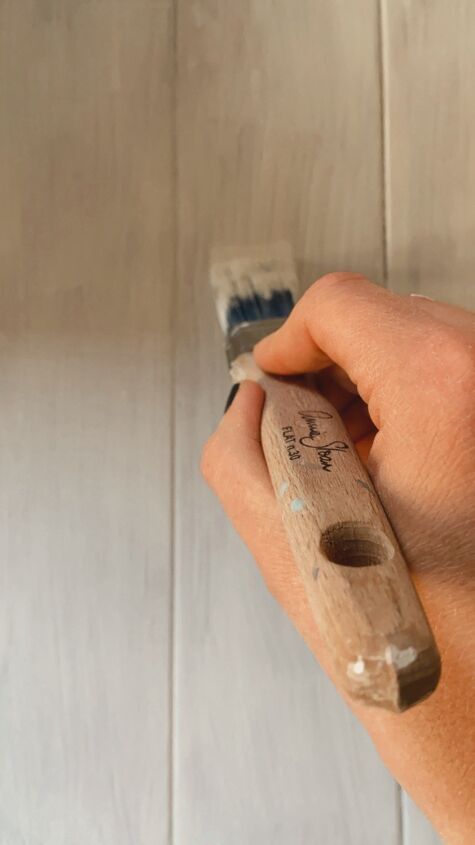
I then applied two coats of eggshell paint in a white shade. I had initially planned to use chalk paint but decided against this as I didn’t want to have to seal the entire surface with wax afterwards.
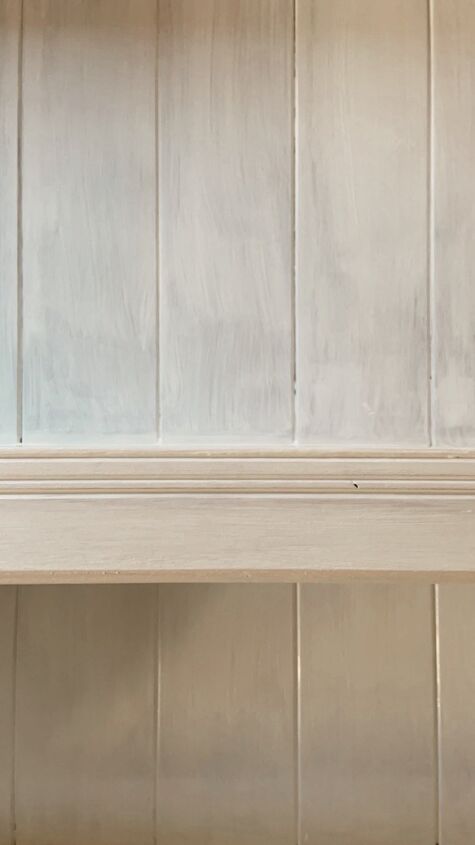
This photo shows the difference between one and two coats. I did find the coverage was quite thin with the shade of wood underneath. In the end I actually used three coats of paint to get a good finish.
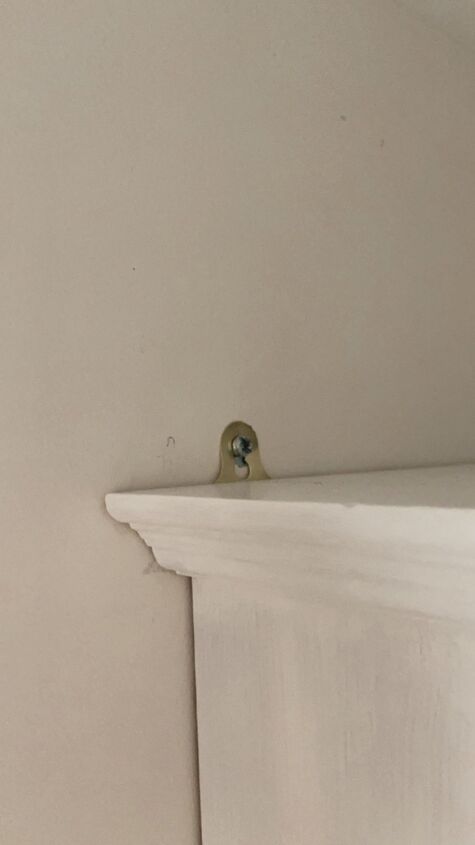
To attach to the wall we fixed these fixings to the back of the piece and then drilled into the wall and screwed through the fixing.
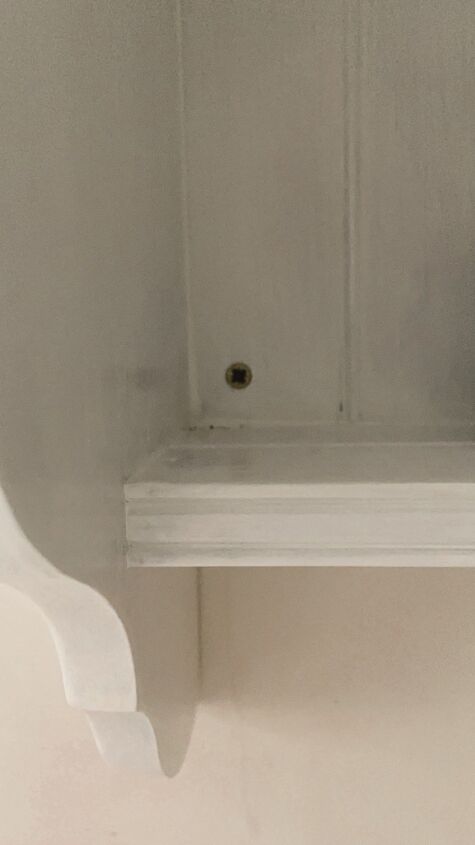
At the bottom we put a screw through the existing hole to secure it to the wall.
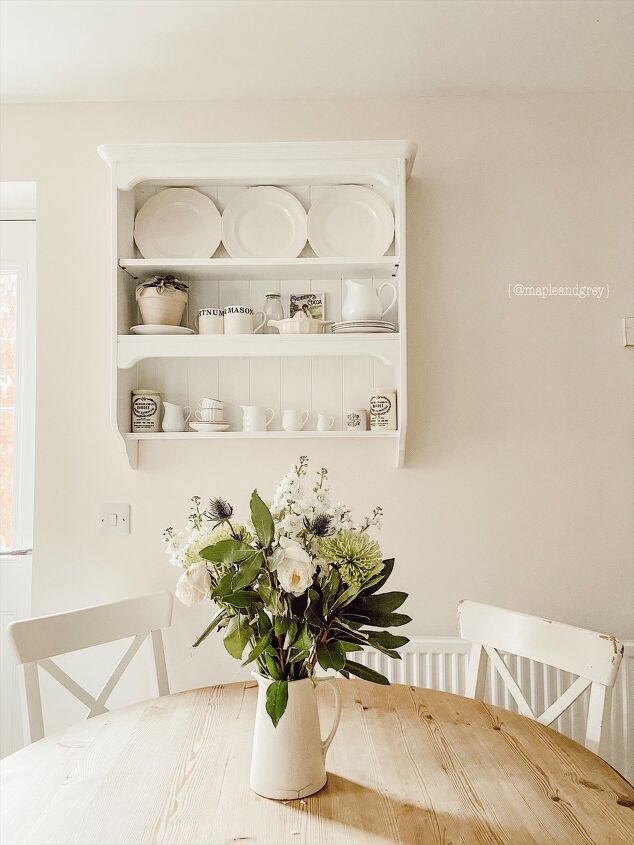
The finished shelf. I’m so happy with how it turned out, as always, the simplicity of white paint can transform anything!
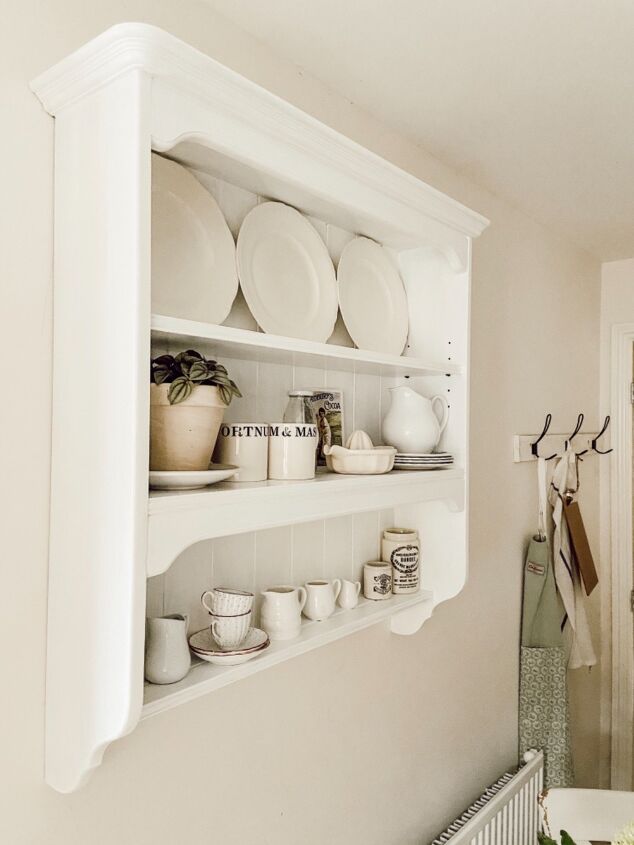
I love how this adds some character but also doubles up as storage. It’s a place to add decor but also a place to display pieces that can be used in the kitchen.
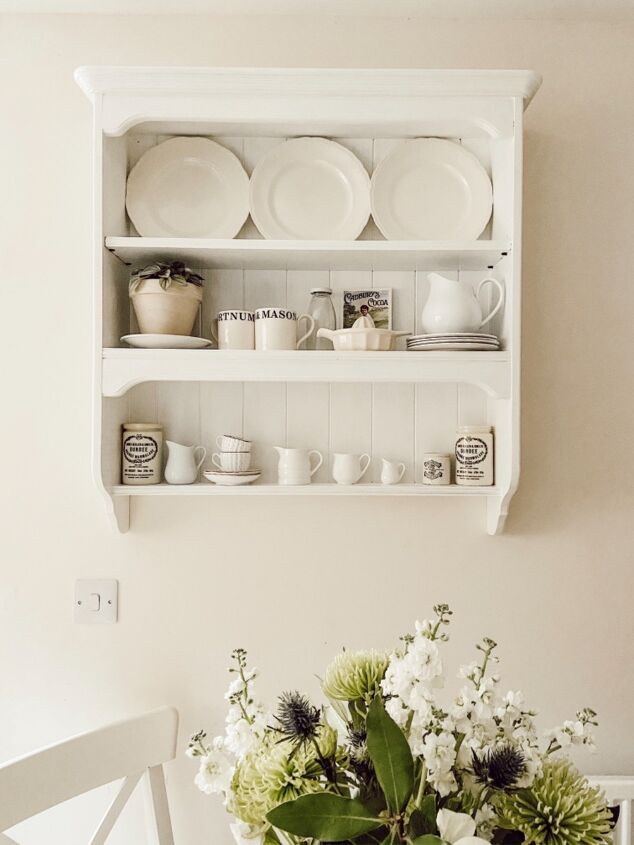
I also love that this project was almost free; I just needed to buy a new can of paint.
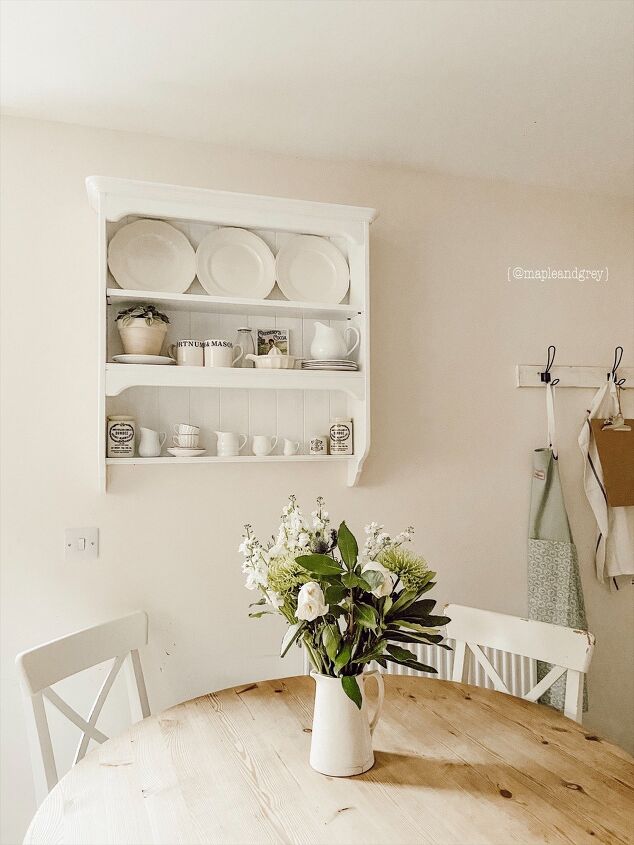
This was just what I needed to add to this space and it’s so satisfying to see it on the wall. All those coats of paint were worth it!
To see more of this and other projects follow along on Instagram!
~ Rachel ♡


Frequently asked questions
Have a question about this project?