


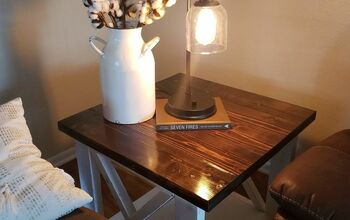
Metal Top Farm Table

Recently my friend Thom asked me to help pick-up a claw foot tub. He works at The Heritage Company (THC), an architectural salvage company in Kalamazoo, MI. When we pulled into the homeowners driveway I said “I have been here before.” Turns out I had repaired a teak deck bench for the homeowner (Cindy) several years ago. We loaded the tub and before leaving she said she had another project she would like me to do.
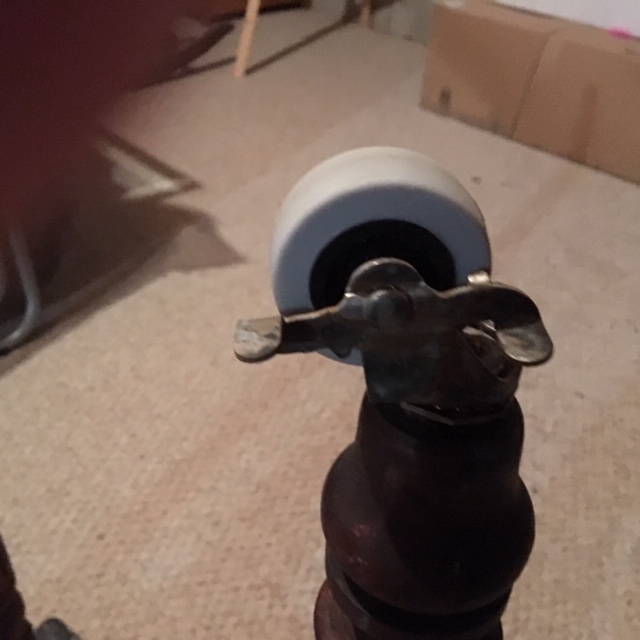
I wish I had taken a photo, but what she had was the remnants of an old extension table. The top was in pieces with almost all the joints separated and the the extensions hanging from each end of the table. What was intact was the apron and some terrific looking legs, albeit very worn with broken casters.
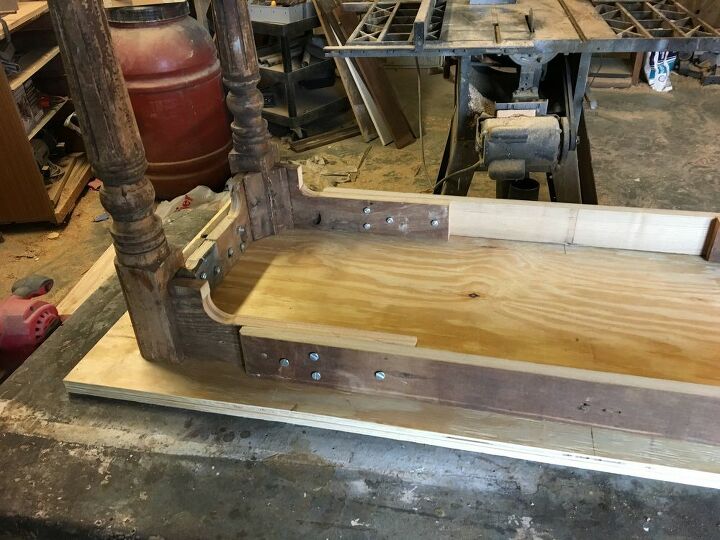
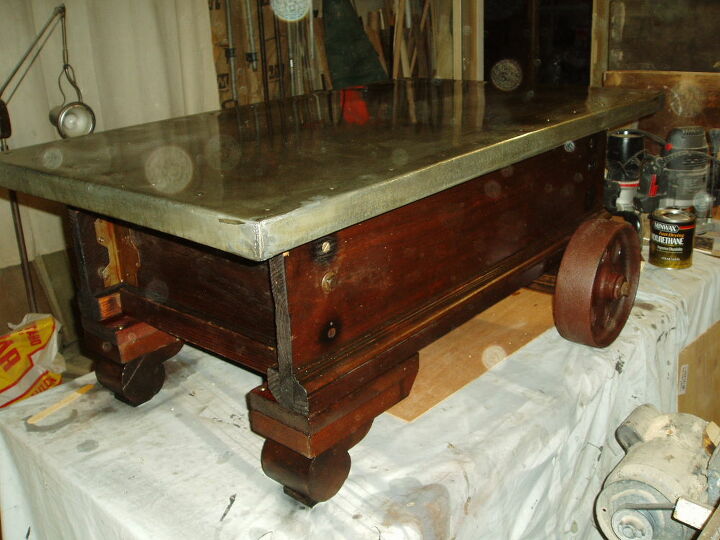
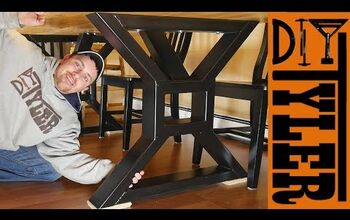
The Base.
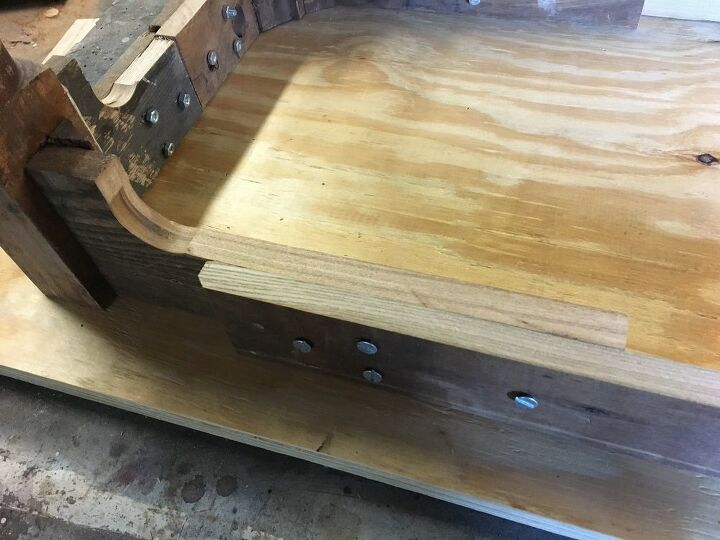
The existing apron was almost 5” high and we wanted it reduced almost in half to give more leg clearance when seated at the table. I didn’t want to disturb the existing mortise and tenon joints where the apron meets the leg so I created a round transition using a 2” hole saw.
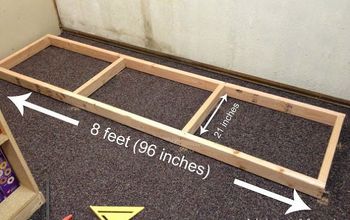
I shortened the apron on the short ends and lengthened the long ends to create a base that was 17” by 48” so there would be about a 3.5 inch overhang around the table. Pieces were cut from the top to re-secure the apron. They were bolted together using 1/4”-20 flat head bolts and #14 finished washers.
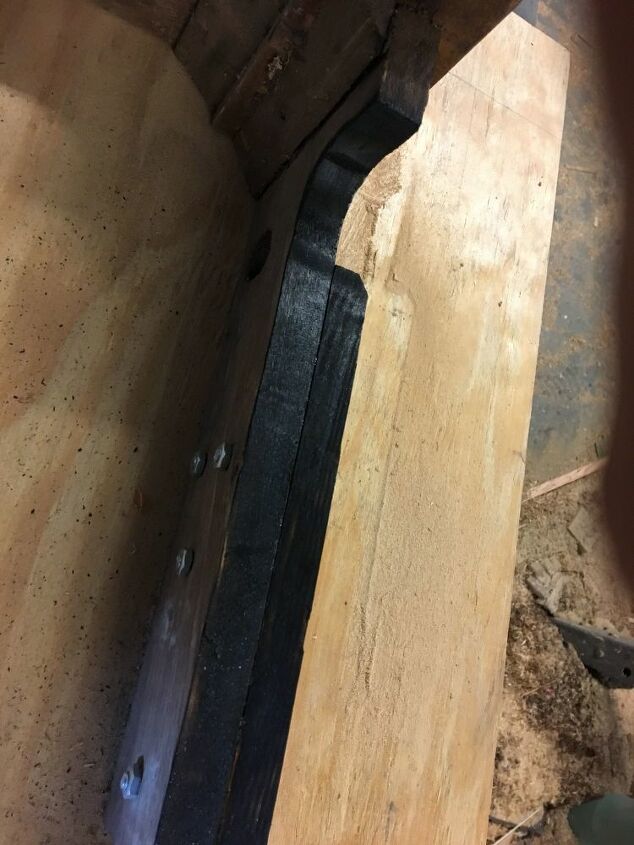
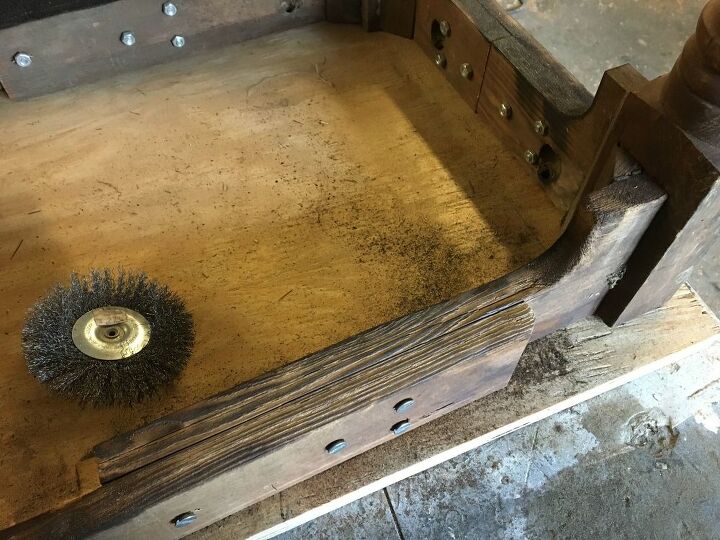
I scorched the fresh cuts with a propane torch and then buffed them with a wire wheel and wire brush. This technique (which I have done before) gives the edge ”an old” look to match the rest of the base.
Every thing was on target, then I realized the table was too short (about 27 inches ) because I had removed the rusted/broken casters. Good news- Cindy was good with replacing the casters with some heavier industrial looking casters.
The Top.
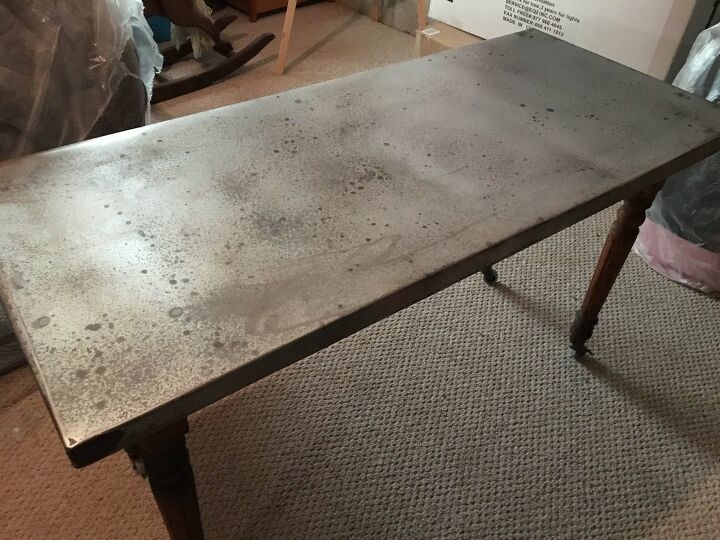
The 24” by 55” top is actually two layers of 1/2 inch plywood with an additional strips at the edges to give it the appearance of being 1.5” thick.
Forming a metal top is something I have had experience with, but for this table I utilized a bending techniques I hadn’t used before.
If someone would want a metal table top with uniform edges and corners, I would recommend utilizing the services of a metal fabricator or an HVAC shop to bend the metal. They are equipped with a bending brake and have lots of experience. I showed Cindy some photos of some of my earlier projects and she preferred the less refined look.
The metal top is galvanized (not aluminum) roof valley flashing. Most home improvement stores have it, but the width is generally limited to 24 inches, inadequate for this job because the edges and overhang needed to be wrapped. Klauer Manufacturing and Amerimax are both manufacturers but Rhonda at Builder’s First Source was very good about ordering a 36” by 10’ roll from Klauer.
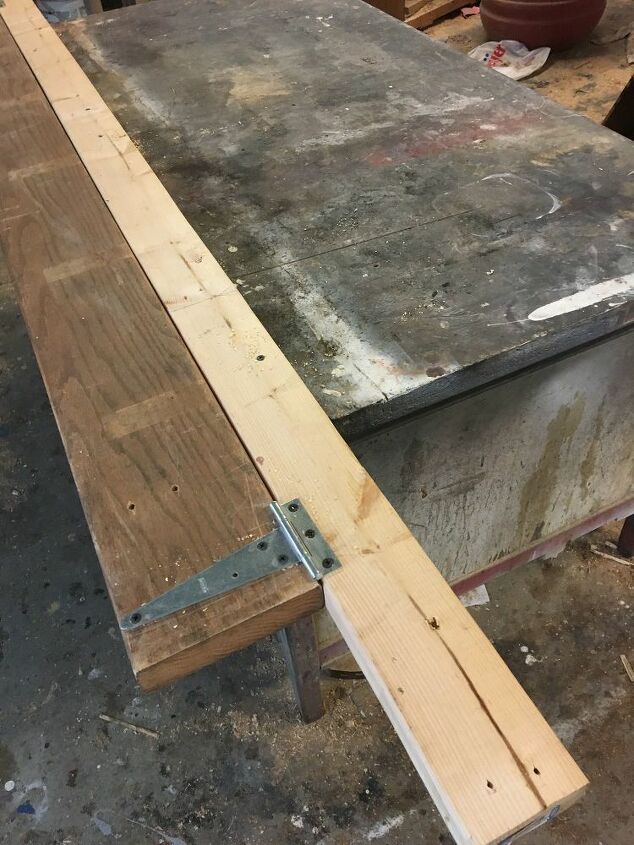
I made a simple bending brake. Skip the next paragraphs, if you aren’t interested in the details.
I started by screwing a 2 by 4 to my workbench so that the edge hung over the edge of the bench. I then fastened a 2 by 6 piece of oak to the 2 by 4 with strap hinges.
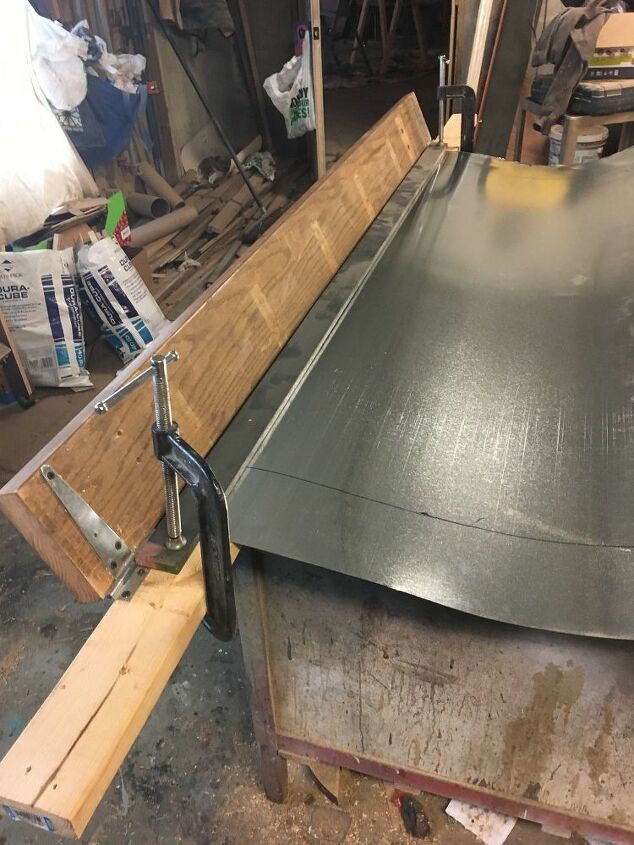
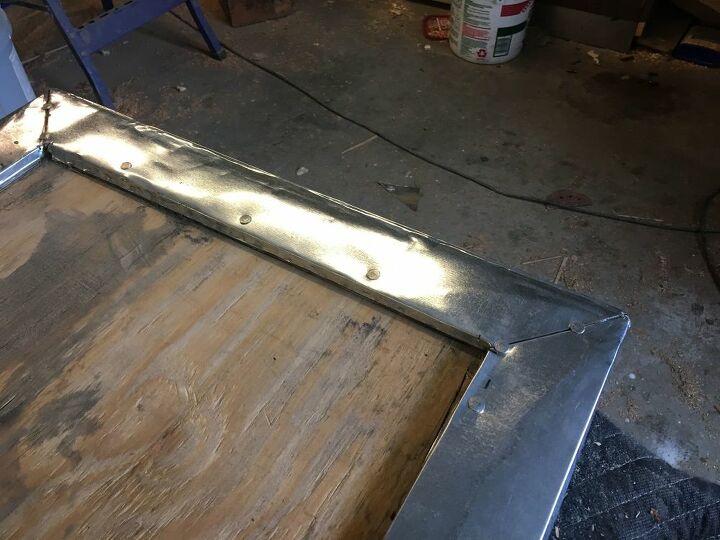
The hinges need to be farther apart than the length of the bend you are making. I used a sharpie to mark the edges of the tabletop- a 24” by 55” rectangle in the middle of an oversized piece of metal. The oversize was to allow for the edges and the overhang. I cut diagonals at the corners. The bending lines were positioned where the 2 by 4 and 2 by 6 meet when closed. But it was put in position with the 2 by 6 lifted on edge. A strip of heavy metal was clamped in place against the hinge barrels. I had the metal, but a stiff board may have worked. When you fold the 2 by 6 down it bends the edge.
With the four edges bent, the wood top can be cut to a size that better fits the bended top. Once dry fitted, I added GORILLA glue to the inside of the metal top and laid the wood top in place. The GORILLA Glue will ultimately set and prevent the metal surface from flexing.
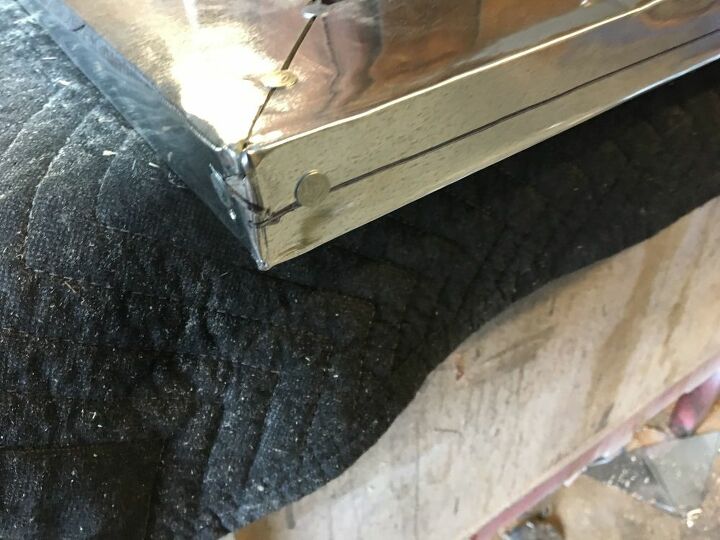
A 2 by 2 clamped along the edge with pipe clamps forces the metal against the edge. Then hammering on a block makes the final (albeit crude) edge bend. The metal was nailed to the underside of the overhang using galvanized roofing nails. I then crudely (very crudely) rounded the metal at the inside edge of the overhand and then trimmed it with a cut-off wheel in an angle grinder. When the table base is put in place, the cut (and sharp) edges aren't exposed
The corners were cleaned up and fixed in place with roofing nail. They were sanded and rounded with an angle grinder equipped with a sanding disc. The object here is to remove sharp edges and sharp corners. Then the corners are filled with 2 part epoxy. My first choice is PC-7 because it is quite stiff and dark gray in color. JB Weld and Qwick Steel would also work. Overfill all four corners and let set overnight- the epoxy and the GORILLA glue will harden.
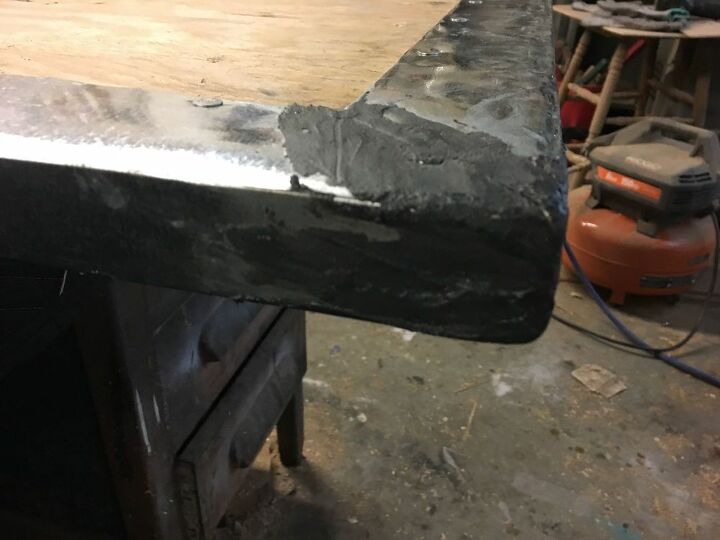
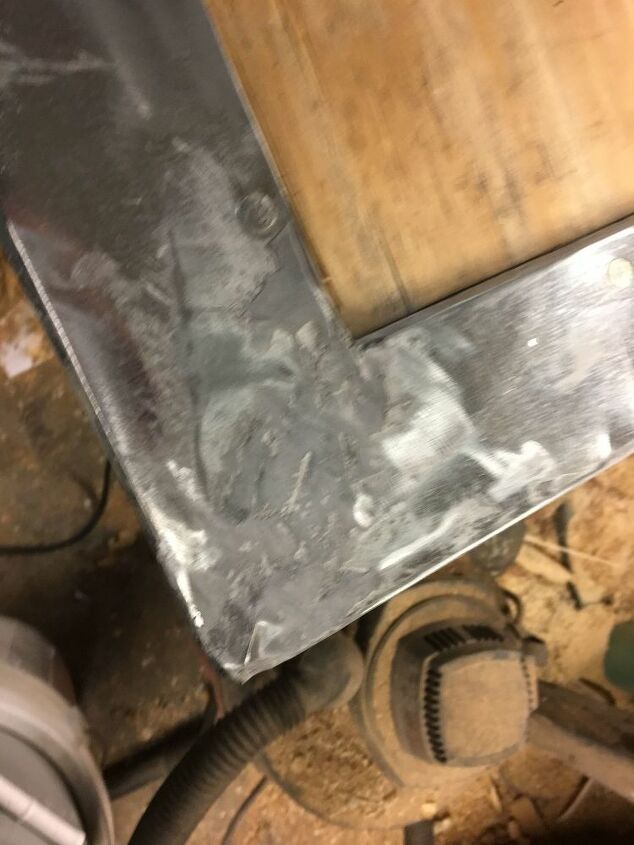
I cleaned up the corners and edges with the angle grinder/sanding wheel and then sanded them (and all exposed metal surfaces) smooth to the touch with an orbital sander. The idea here is not to remove all the filler, just enough to create rounded, not sharp edges.
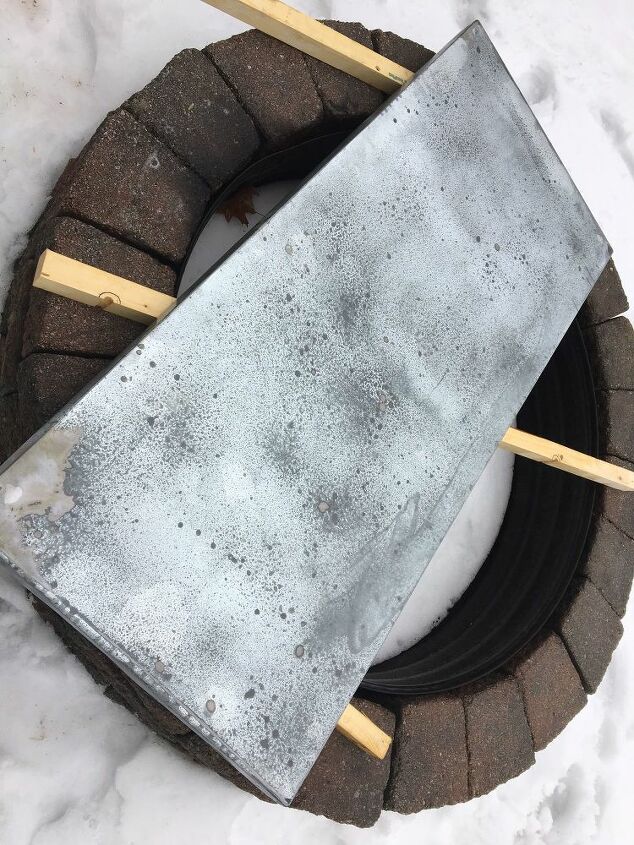
I have an earlier posting (https://www.hometalk.com/diy/paint/aging-galvanized-metal-34113657) about aging the galvanized metal with muriatic acid, but will be happy to answer any questions. All exposed hardware receive the acid treatment. This particular top didn’t require any darkening solution. Once it was dry, I applied a several coats of rub-on satin polyurethane.

This was a long and somewhat tedious posting, but I think there are techniques in this table that can be beneficial to other Hometalkers.
Thanks for hanging in there.


Frequently asked questions
Have a question about this project?
I have a Mexican pine table that I’ve used out on a covered porch . I’ve wanted to put metal on the top of it but didn’t know where to start but this article has given me info to start this project. When you use this roof flashing how wide is it available?