


Upholstered Piano Stool

After I completed my painted piano project I was on the lookout for a stool to go with it. I found this one for £12 and it was perfect apart from the paintwork from a previous upcycle!
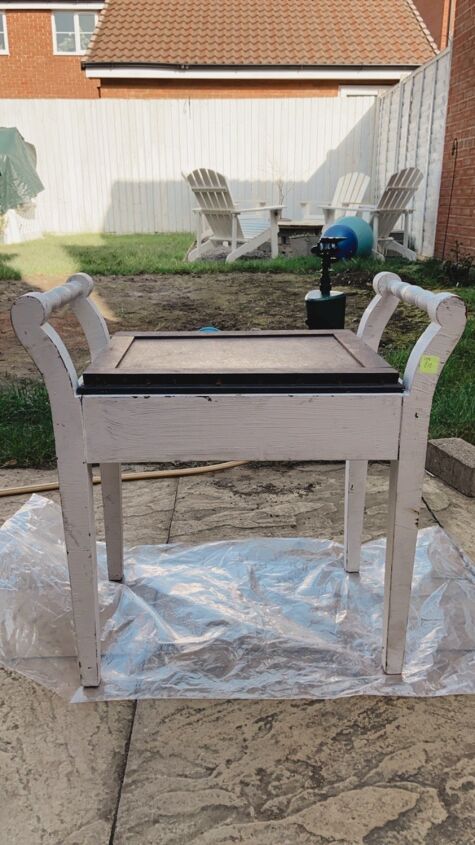
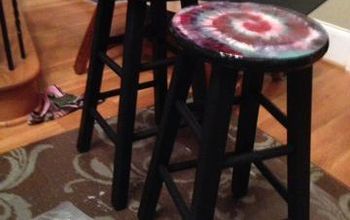
This was the before after I had removed the old upholstery.
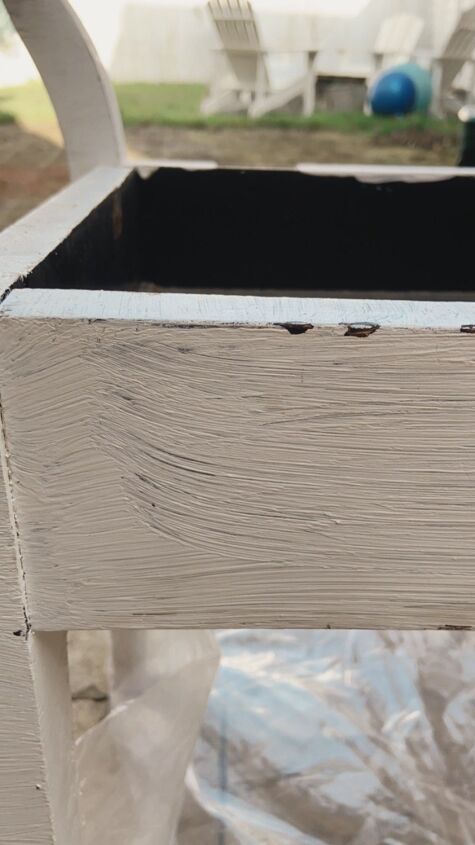
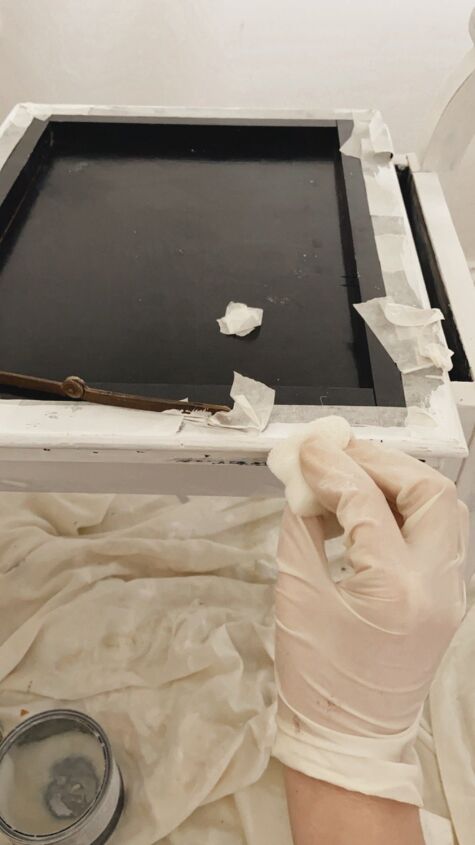
The paint looked terrible, so thick with brush strokes so I immediately got to work to remove it.
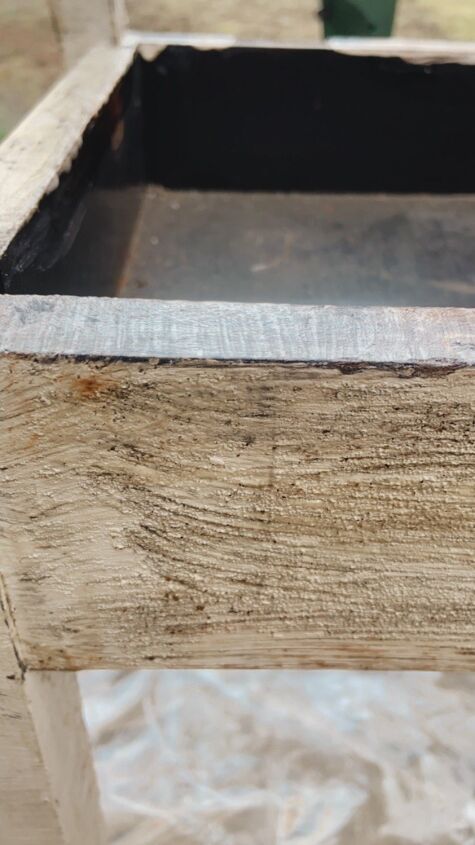
I applied a coat of paint stripper, followed by another an hour later. This worked perfectly to melt away the paint.
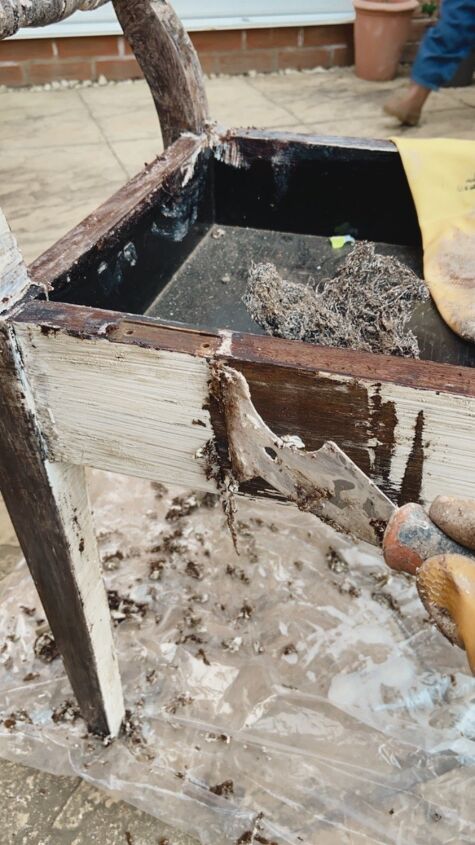
I was able to scrape it off easily and then washed down the surface well to remove any residue.
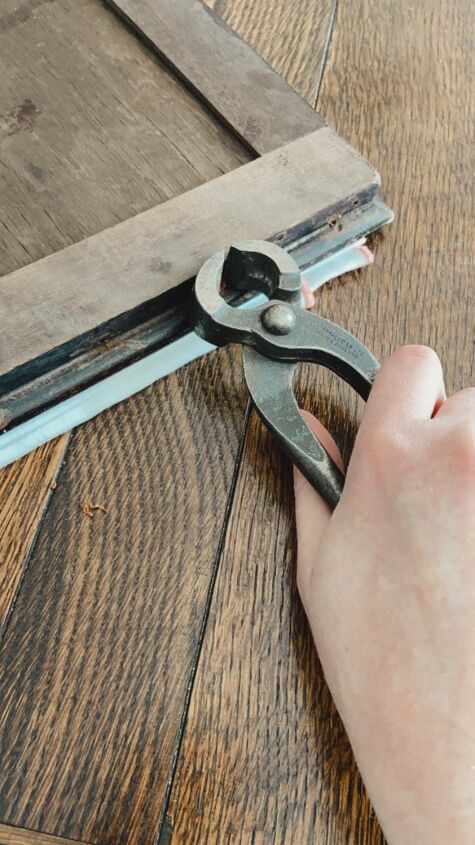
The old upholstery pins were still in the wood from when I pulled away the old fabric. I was able to easily remove them with the right tools.
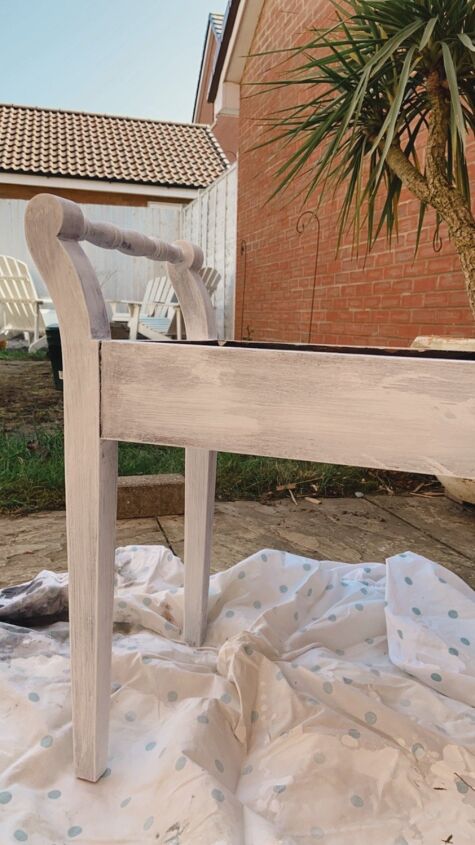
I applied a coat of primer over the fresh wood.
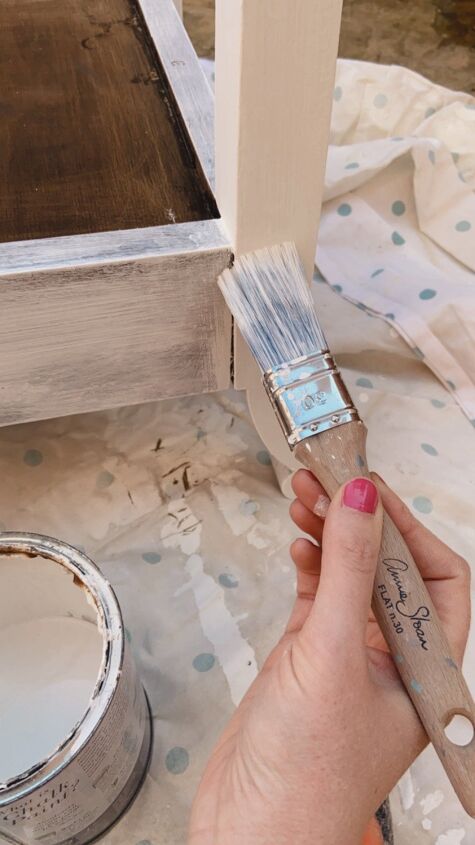
I then used two coats of chalk paint in pure by Annie Sloan.
Despite watering down the second coat the paint went on too thick in places and had run marks in others. I couldn’t seem to get the consistency right and ended up lightly sanding the surface to correct the mistakes. This worked well to smooth it all out but left some areas a little more rustic looking. I have always loved chalk paint but really didn’t enjoy using it this time.

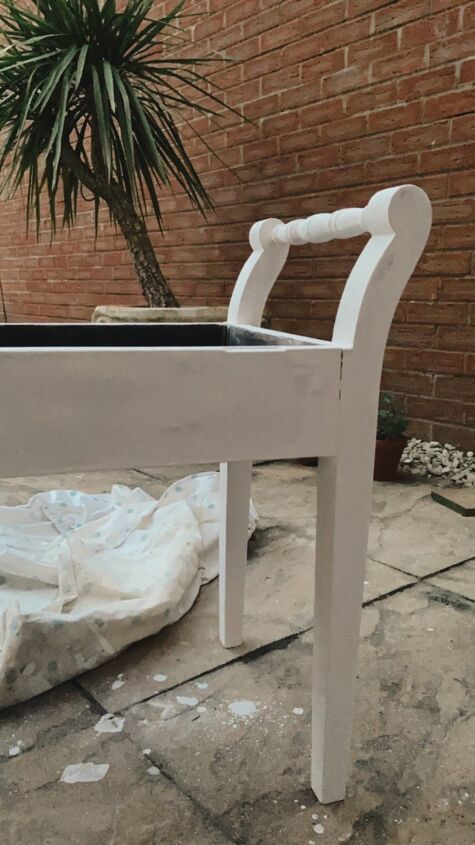
I decided to lightly distress the finish to tie the whole look together and add some character. I was undecided about whether to do this or add another layer of paint for a clean look.
I applied two coats of clear wax, buffing well after each coat using a lint free cloth.
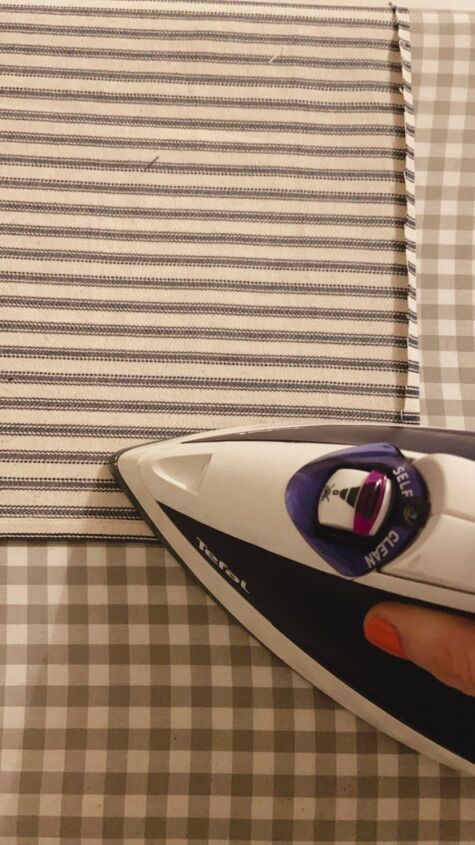
I measured the fabric to cover the top and cut the edges straight and then folded and pressed the edges using an iron.
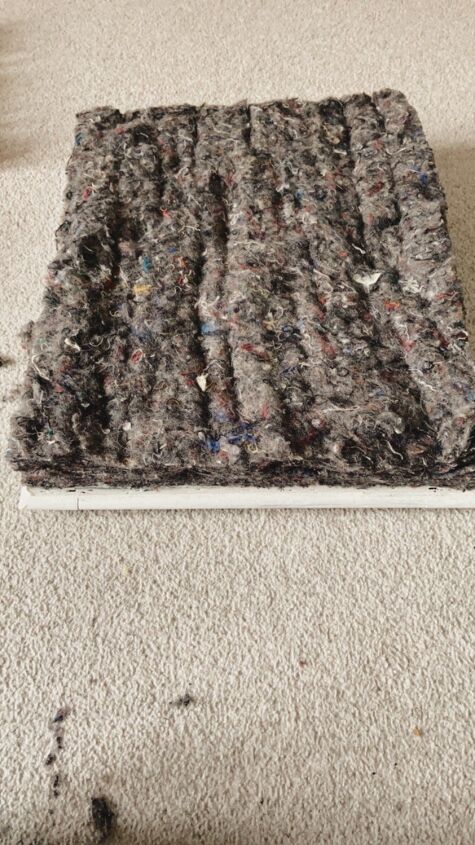
I bought some upholstery felt and cut this to size, adding two layers to the top of the seat.

On top of the wadding I placed a piece of plain fabric to line the seat under the outer fabric.
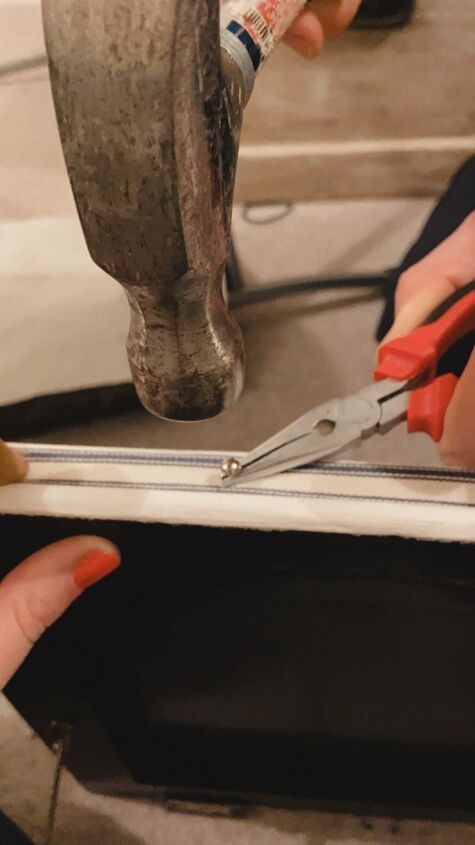
To secure the fabric on the seat pad required two people. One to hold the fabric in place on the wood and another to hammer in the upholstery nails while holding them in place with pliers. This was tricky to do neatly but it worked well to secure the top of the seat. We measured evenly spaced intervals and marked using a pencil so that the pins would be placed evenly along the seat edge.
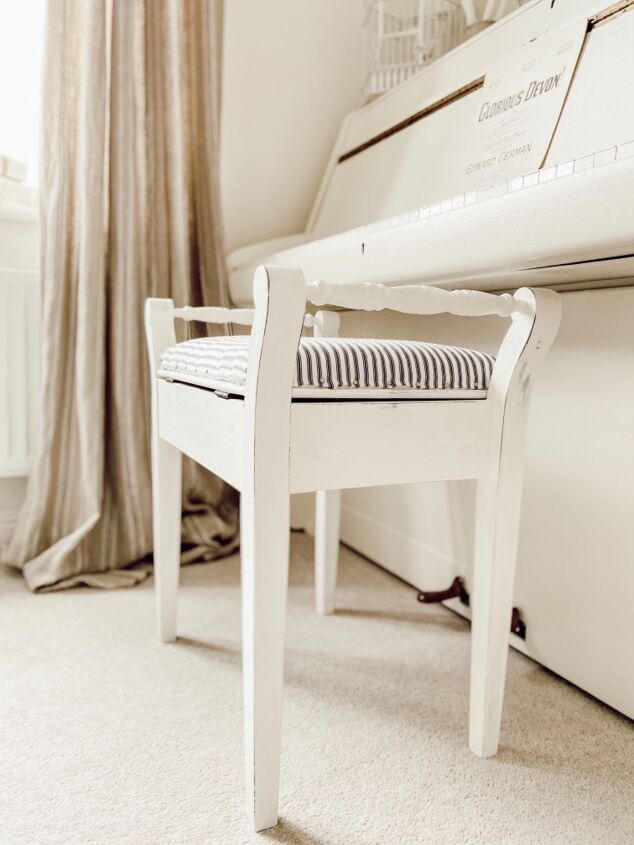
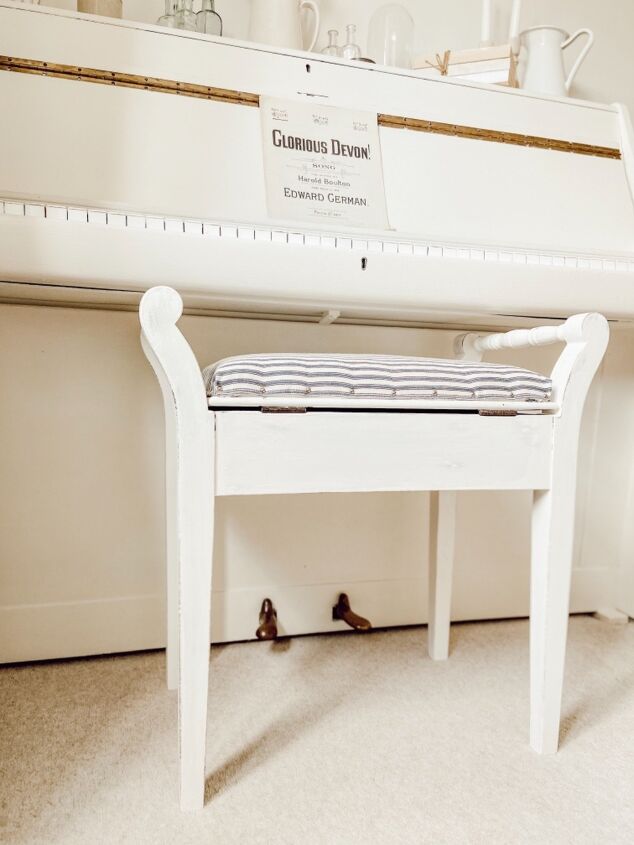
The finished stool. I’m so happy how it turned out as I dreamed of a chair with a ticking stripe cushion for years and this was the perfect piece to carry out that vision. I was unsure whether to add distressing to the paintwork since the piano isn’t distressed but I think this fits the feel of the piece and adds character to it.
The only thing I would do differently would be to use a slightly bigger piece of fabric so that I could have a larger fold at the edge. This would just make it easier to grip the edges of the fabric with the pins as in a few areas the fold came undone. I can easily correct this with a bit of glue where necessary but in hindsight it would have been better to have more of a hem to work with. I’m definitely not an expert in upholstery and have no idea if I used correct techniques since I made this up as I went along!
This project was very inexpensive since I got a good deal on the stool and only needed to purchase the upholstery felt since I already had all the other materials.
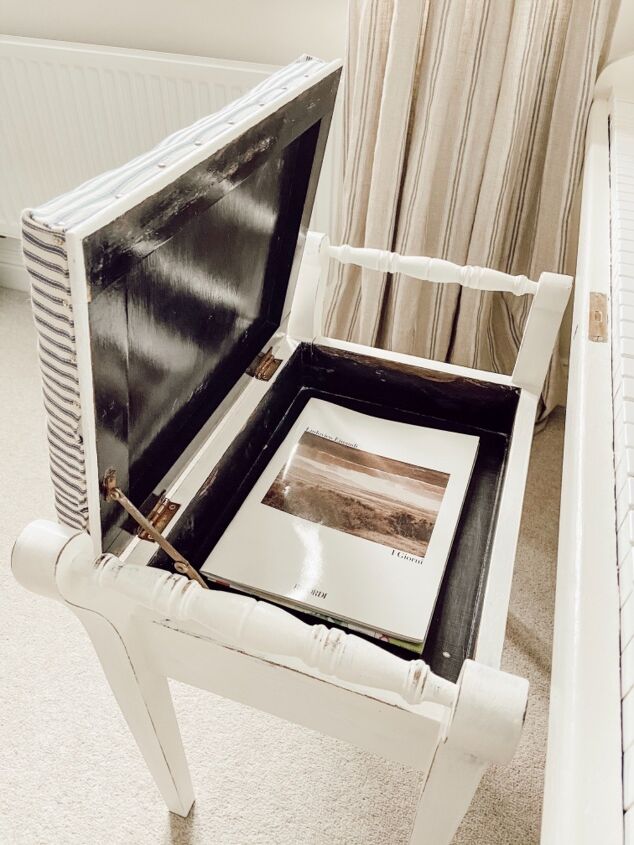
Another bonus to this project is that not only do we now have a designated seat to sit at the piano we also have somewhere to store music books!
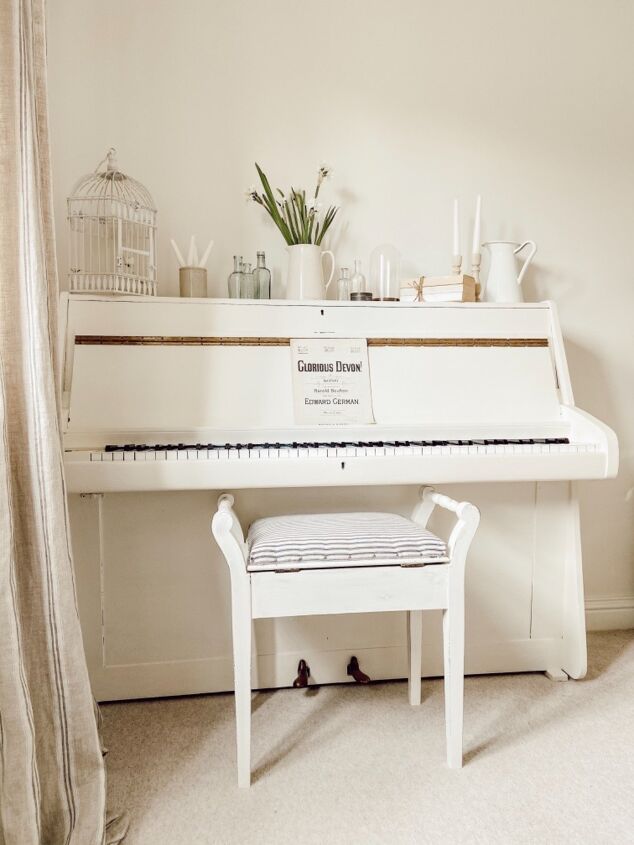
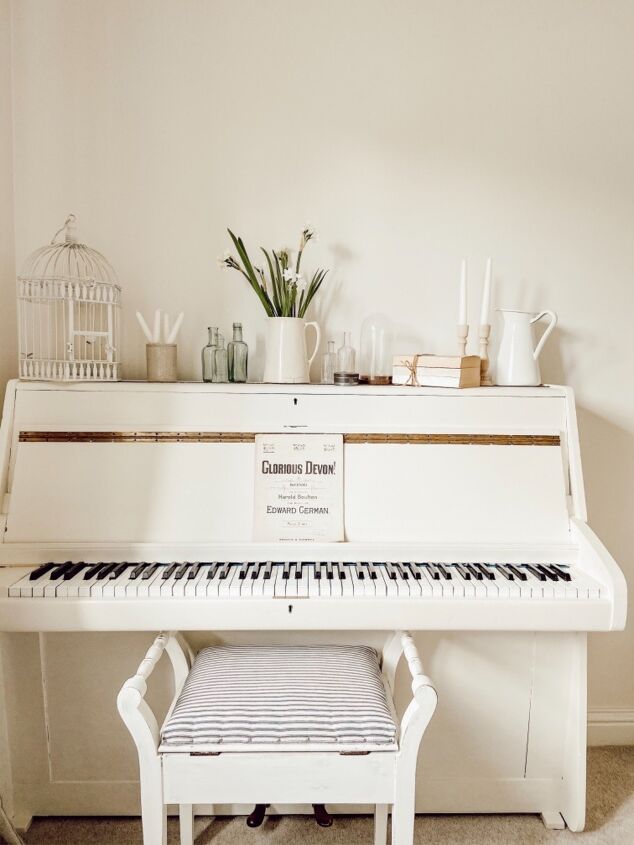
I just love how this turned out and how it goes so nicely with the piano and in this room!
For behind the scenes and more follow along on Instagram!
~ Rachel ♡


Frequently asked questions
Have a question about this project?