


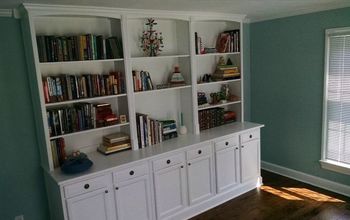
A New Look for an Old Bookcase

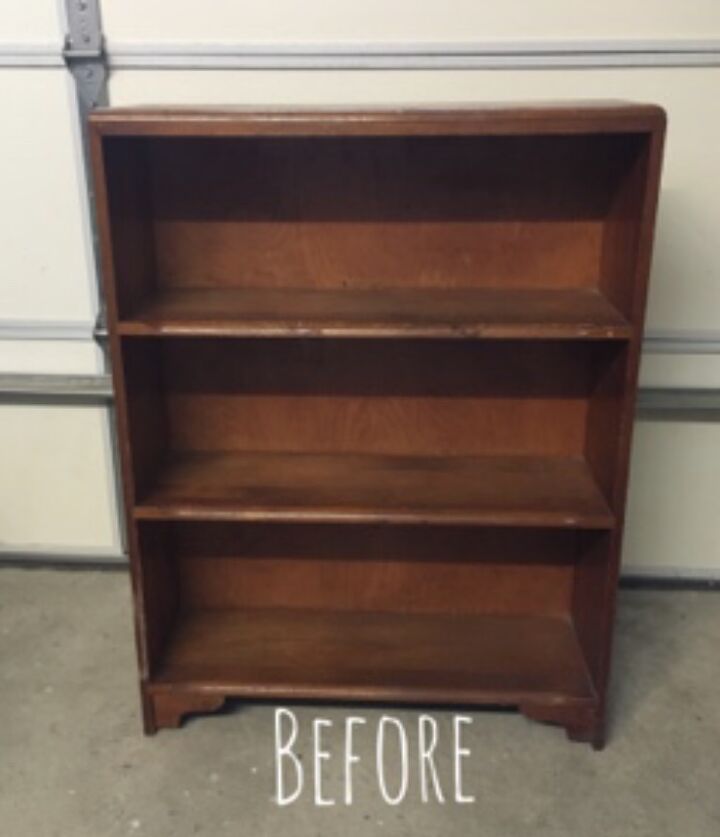
Hey my friends! On one of my "treasure hunting" adventures, I spotted this solid wood bookcase. As soon as I saw it, I knew it had great potential.
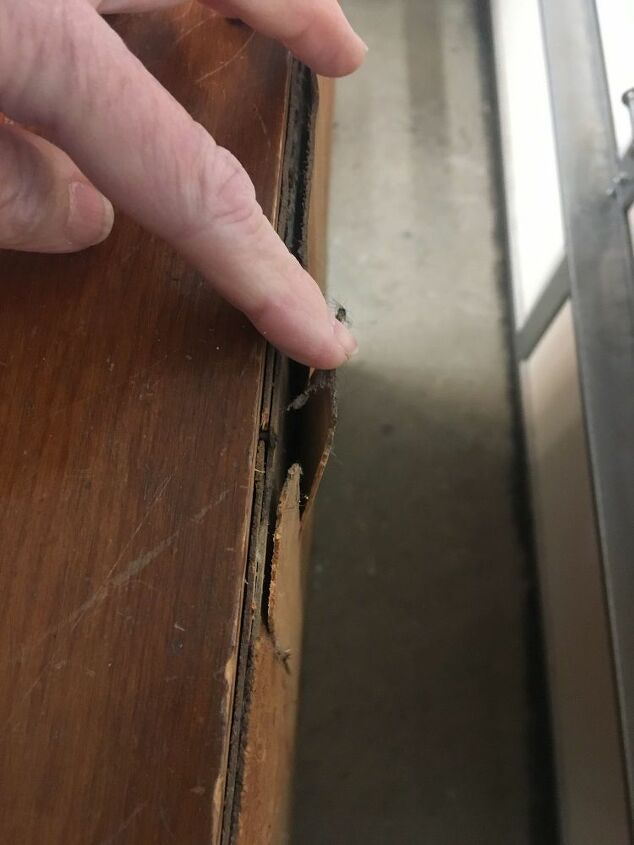
The backer board was in pretty rough shape. I removed it with a screwdriver and pliers.
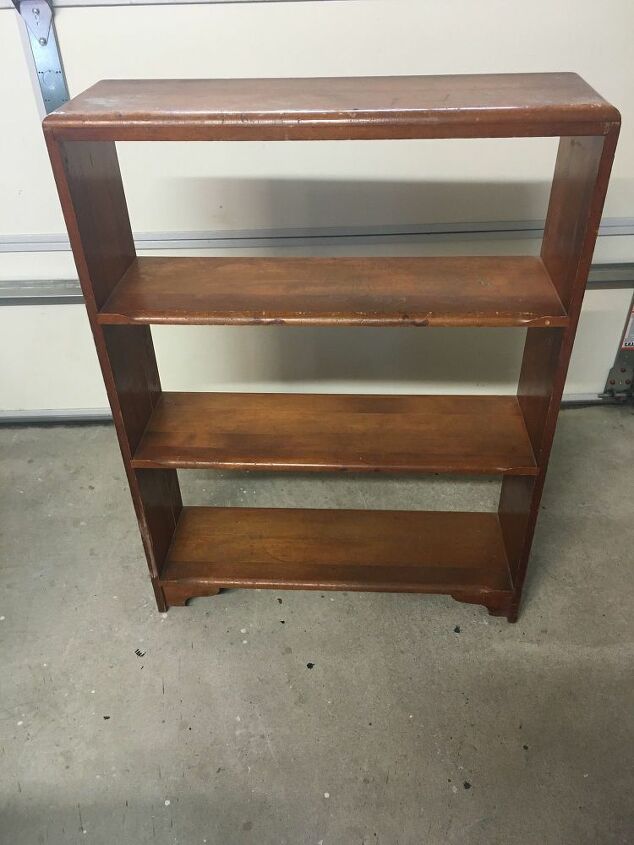
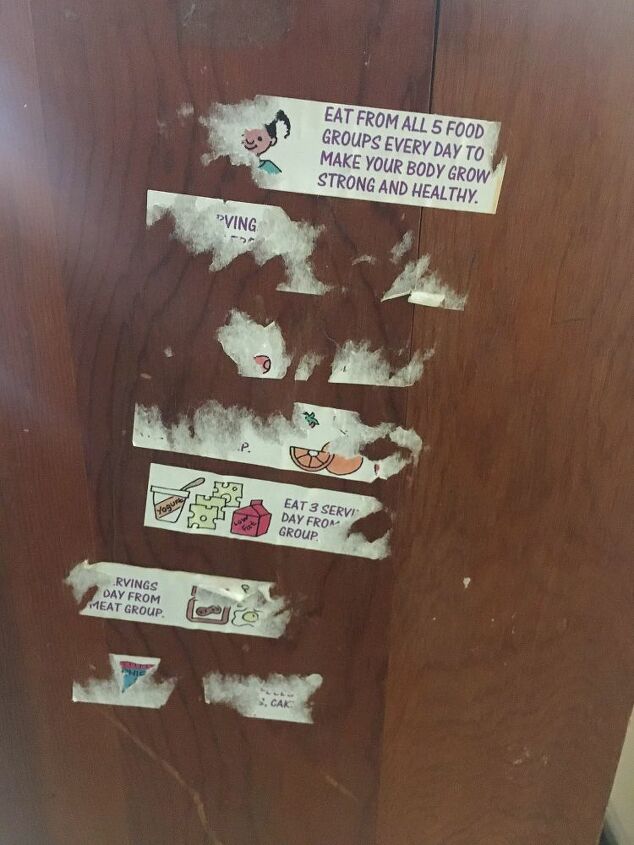
Next, it was time to give this bookcase a good cleaning. It was very dirty and the nutrition stickers had to go.
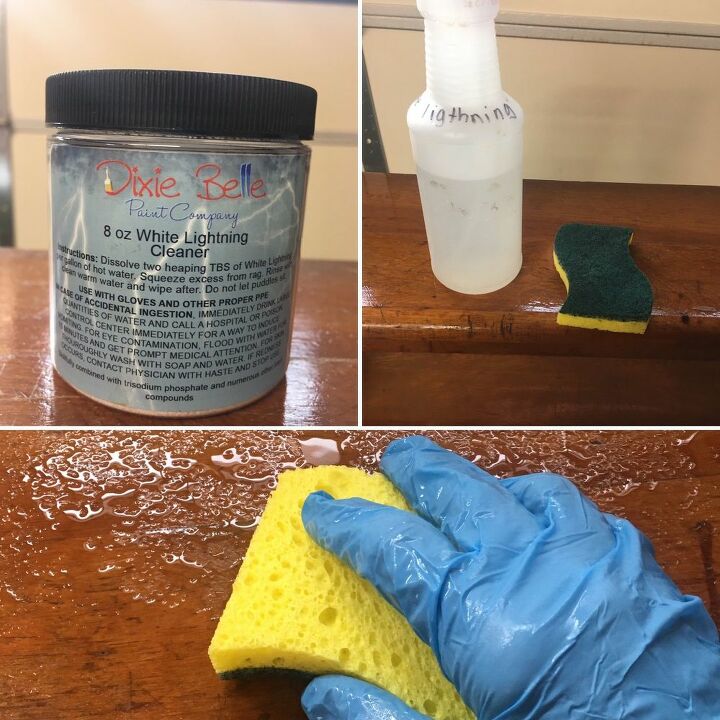
I used Dixie Belle Paint's White Lightning cleaner and a Scotch Brite scouring sponge. This cleaner is great for cleaning furniture before painting. It comes in powder form which you mix with water. I made a batch and stored it in an old plastic milk jug. For easy application, I poured some of the solution into a spray bottle. You will need a bucket of clean water for rinsing off your piece. I clean in sections and immediately rinse the part I just cleaned. Always make sure you wear gloves when you are cleaning.
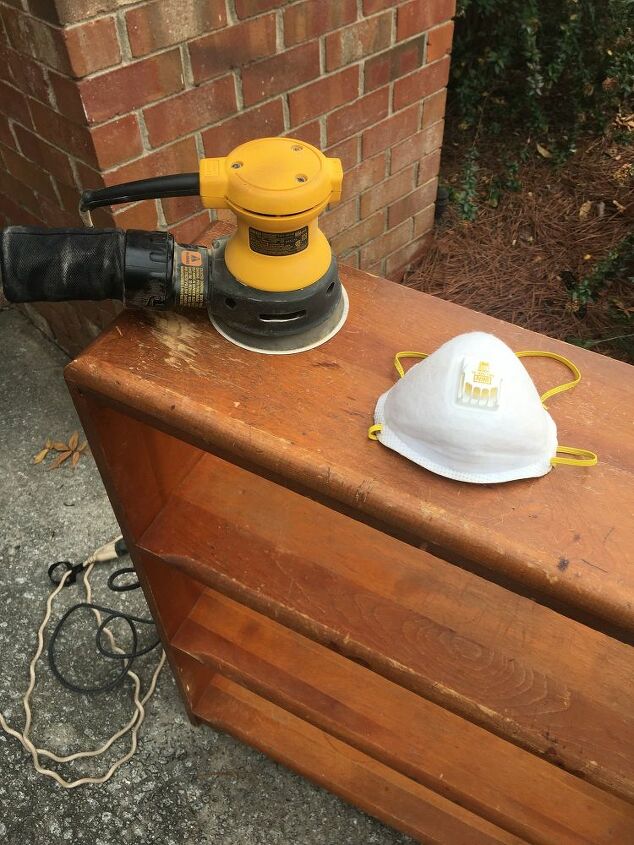
After the bookcase dried, it was time to give it a quick sanding. I used my orbital sander and a 150 grit sanding disk. (This grit level gives the wood tooth for better adhesion.)
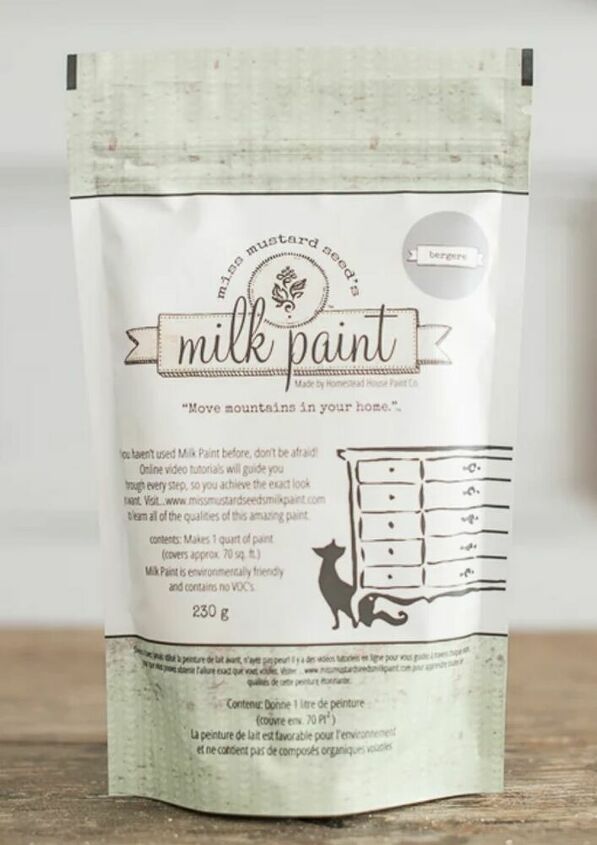
Since I wanted a rustic farmhouse look, I decided to use Miss Mustard Seed Milk Paint and chose the color Bergere which is a beautiful smokey blue gray.
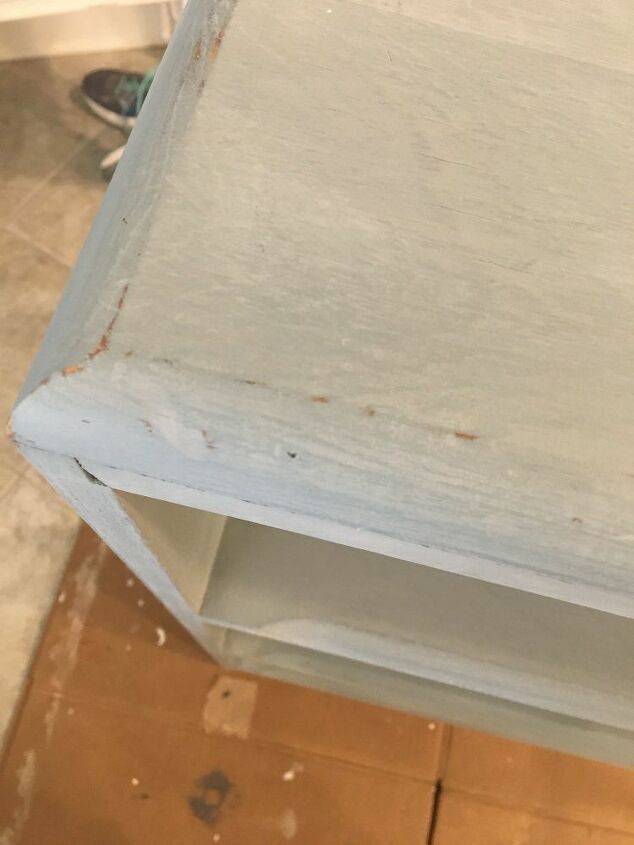
After applying two coats of paint, I sanded the bookcase using 220 grit sandpaper to smooth out the paint and distress.
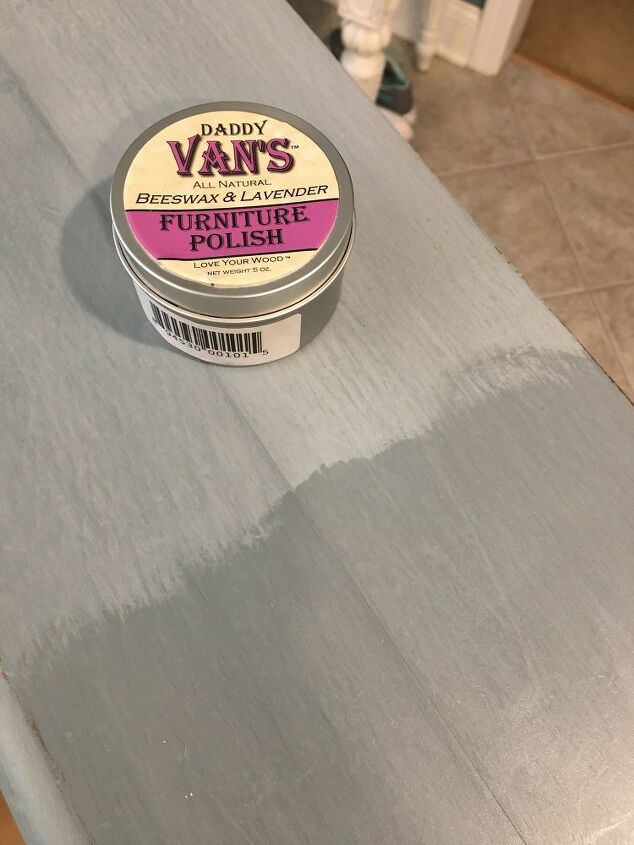
To seal the paint, I used beeswax. I love Daddy Van's Beeswax and Lavender! It brings the color to life and it smells terrific.
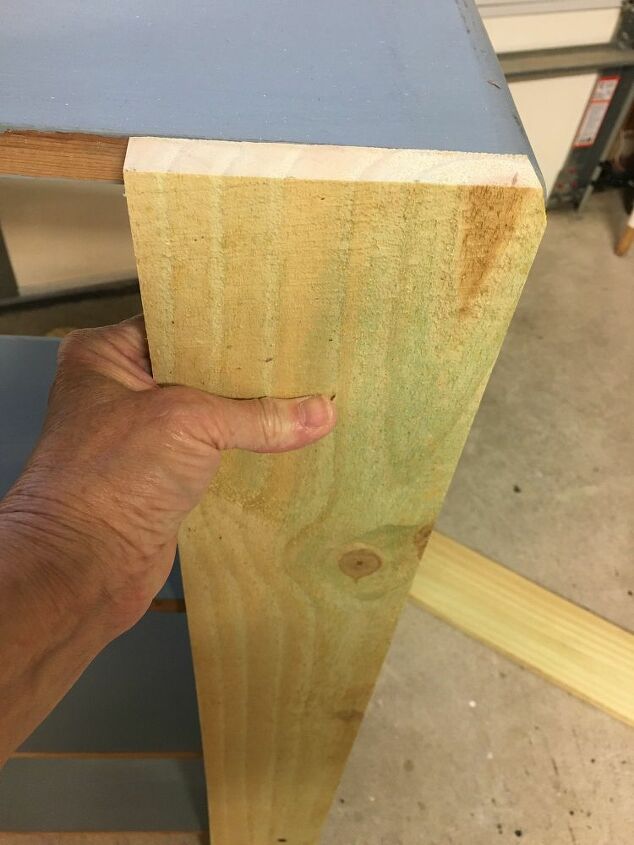
For the backing, I decided to use wood planks. Fencing boards were the most cost effective choice. I found what I needed at Home Depot. It would take 6 boards to cover the back and they were only $1.68 each. My hubby suggested we check the damaged wood section before we left the store. They sell pieces of wood that might have a crack or imperfection for 70% off. I couldn't believe it! There was plenty of wood for this project and I got them for $.50 each! SCORE!
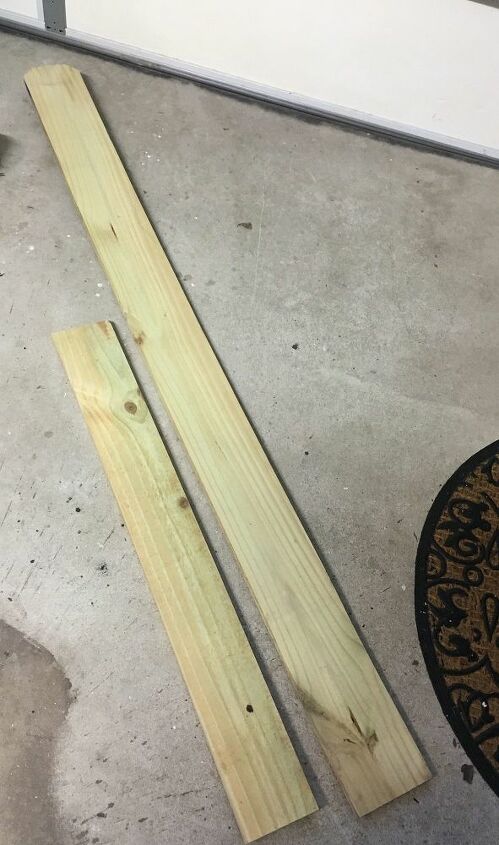
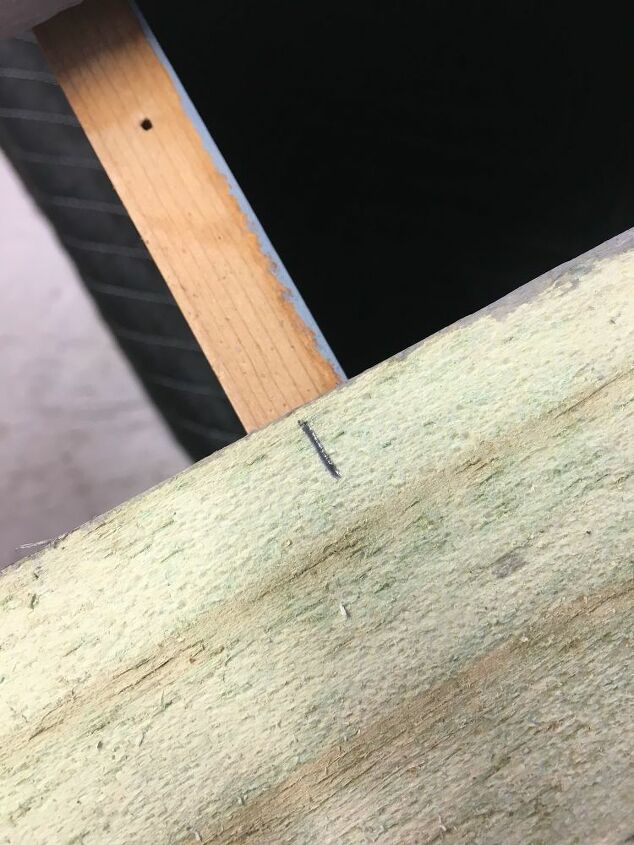
The boards were longer than what I needed and some were cracked on the ends. My hubby aka "my carpentry guy" was able to cut pieces to fit perfectly.
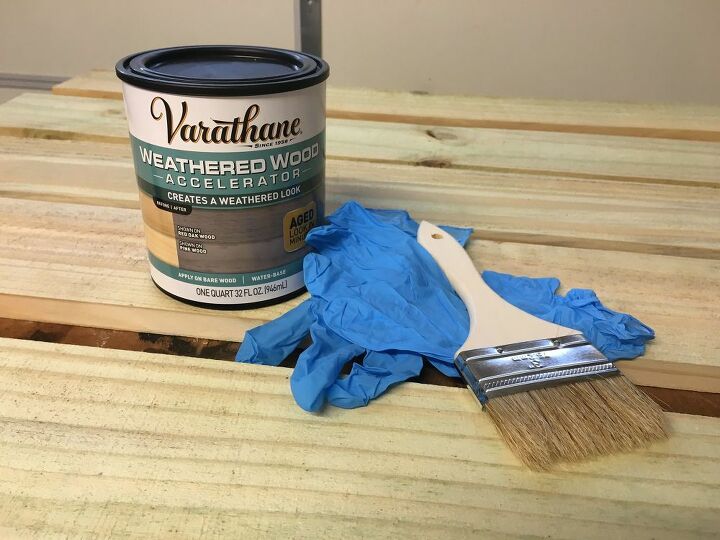
I chose to use Varathane Weathered Wood Accelerator because it gives wood an aged appearance. I poured some of the liquid into a separate container so I would not contaminate the mixture. I applied it using an inexpensive chip brush. (Make sure to wear gloves when using this product because it will stain your skin.)
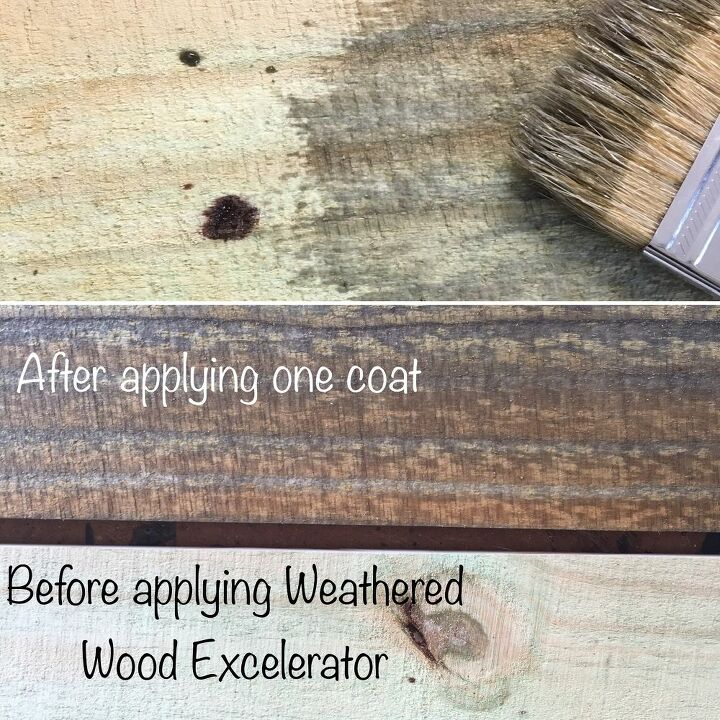
You will see immediate results. I set them in the sun for a few hours to dry. After the wood dried, it had a gray aged color which was exactly what I wanted.
I chose to wait until the next day to attach the boards to insure they were completely dry. First, I lined them up to fit across the back. To make sure I knew were to nail them to the shelves, I marked them.
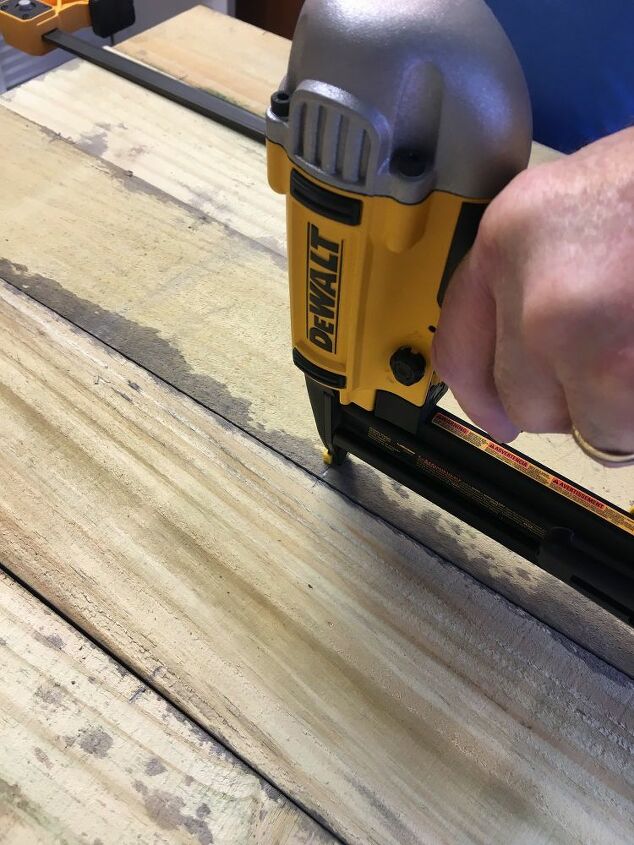
Using a nail gun, "my carpentry guy" shot nails across the top, bottom, sides, and shelf lines.
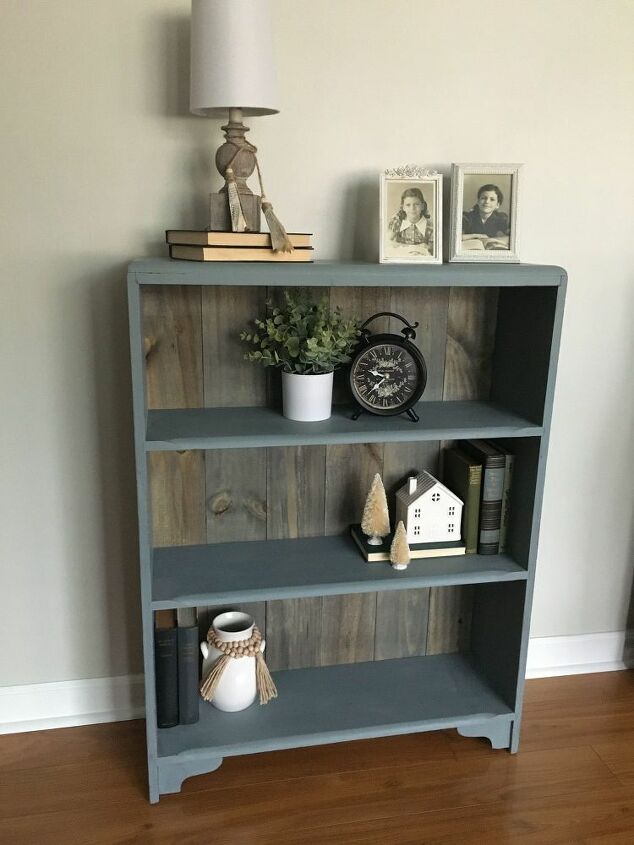
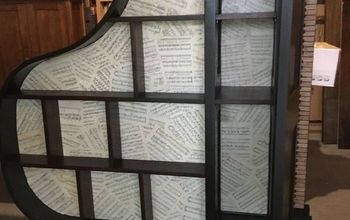
What a difference! The paint color and weathered backing are perfect together! I love it when projects turn out the way you envision them.
Resources for this project:
See all materials


Comments
Join the conversation
-
Beautiful!
-
WOW! It looks amazing! I love the look of the backing boards against the blue colour. This has given me some inspiration to finish some old book shelves we have collecting dust in the basement.


Frequently asked questions
Have a question about this project?
I don’t see a pic for the finished product???
why can't I see the finished product?
I feel like an idiot for asking but I still cannot see it and I’m very curious in refinishing some things around my home. Where can I find it?