


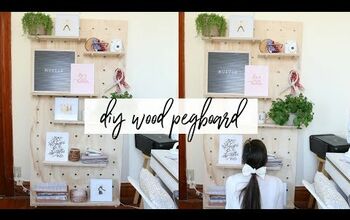
How to Make an Oversized Pegboard
10 Materials
$20
1 Hour
Medium
My craft room has been organized and clean approximately 16 minutes out of the past 5 years we’ve been in our home. I am on a mission to do better and make sure everything has a home and everything is in it’s home.
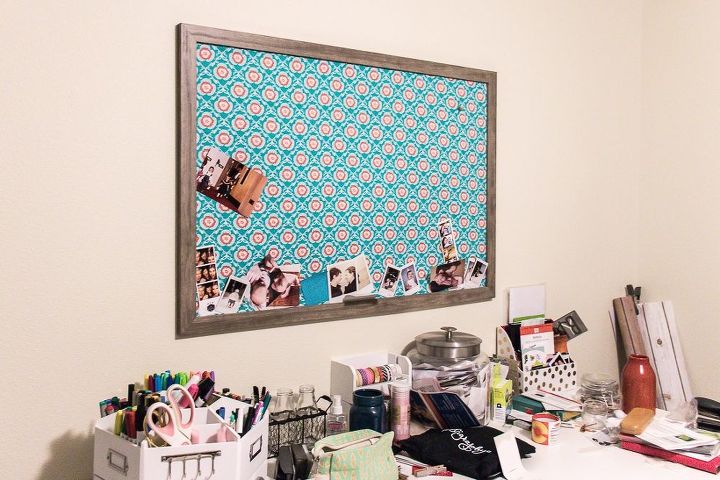
I knew the large framed corkboard I’ve had above my desk for years had to go. I needed a place to help organize, not hold more random papers and photos.
Here's what my desk looked like before...
If you like this project, you can see more simple DIY projects ideas on my blog, A Crafted Passion.
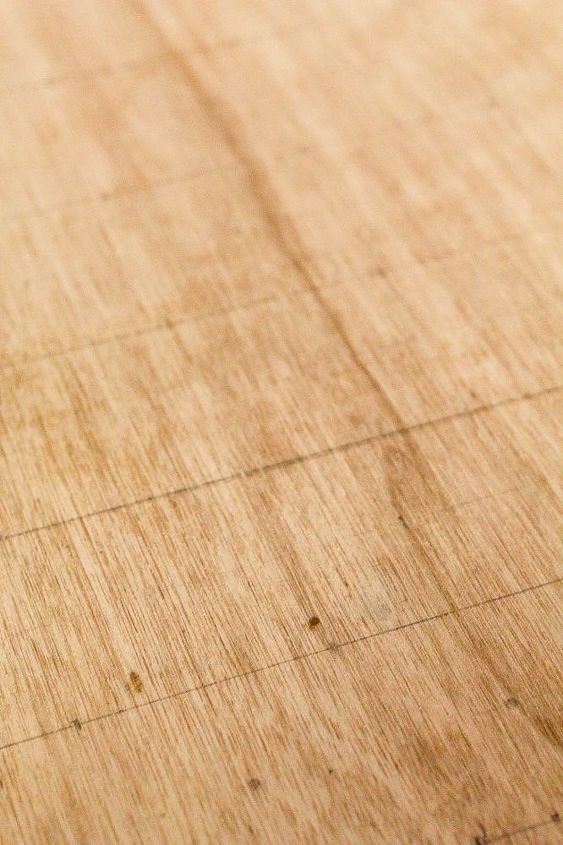
First, cut your plywood to size. I wanted the pegboard to be framed using the frame I had above my desk previously so I cut the wood down to 24″x36″ to fit inside the frame perfectly.
Once your plywood is cut to size you need to decide how far apart your holes will be. Starting from the edge I measured 1.5″ and then started doing tick marks every 3″ along the long edge. I then did the same thing on the opposite side and then drew lines connecting the 3″ ticks.
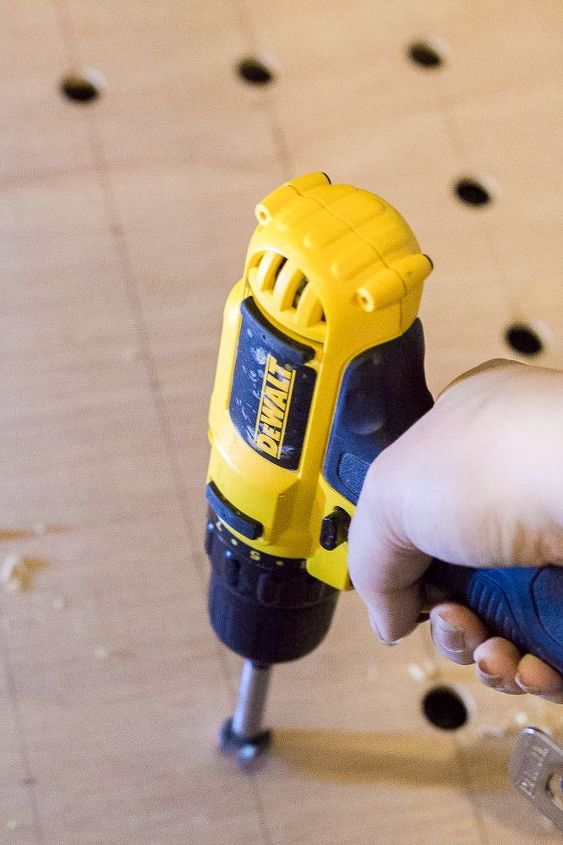
Once you know where the holes are going then you can drill out the holes using the Forstner bit.
Next, you’ll want to take your sander and clean up the board and sand off the pencil markings. The forstner bit sometimes isn’t super clean so the 80 grit sandpaper will help get off those rough patches and then use a finer grit sandpaper to smooth it all out.
If you want to paint your pegboard similar to mine, now’s the time to do that. I just taped off the two corners with tape and gave it a quick coat of matte black spray paint.
Time to make those pegs. Take your 3/4″ dowel and cut it into 4″ lengths. Sand them to smooth out the rough parts.
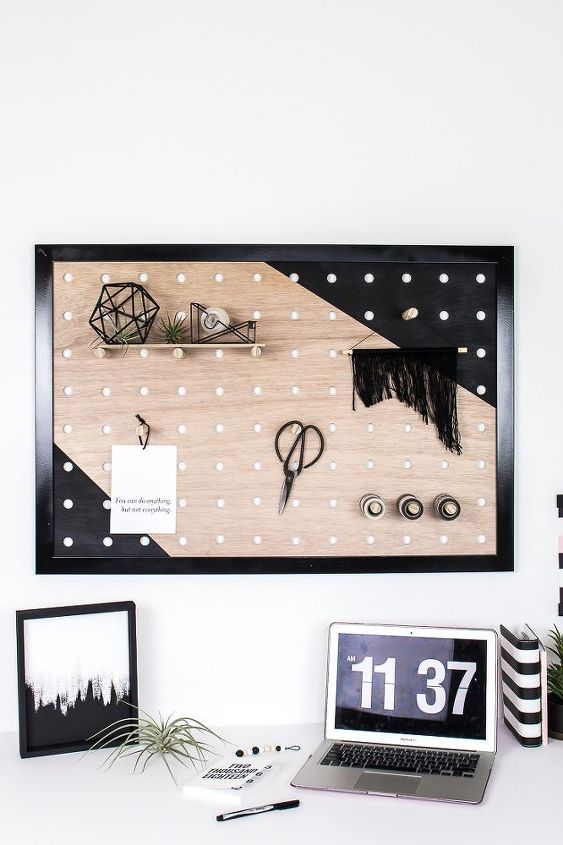
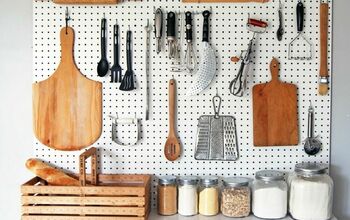
Use your mallet to hammer in the pegs, and you're done! Check out all the details and tips to create this pegboard project on A Crafted Passion right here!

Want more details about this and other DIY projects? Check out my blog post!
Comments
Join the conversation
1 comment
-
My sewing room has needed this for years. One to make it a reality and clean up my seeing table. Thanks for the DIY


Frequently asked questions
Have a question about this project?