


One Room Challenge Week Five – Office Nook Wall Organization
Office nook wall organization is week five’s one room challenge project. I’m sharing how I repurposed frames to create a dry erase board and a pegboard.

As I have said before in small spaces organization must go vertical. I installed a pegboard in an under used closet to create tool storage and I just upcycled a cabinet door into a pegboard for this primary bedroom and office nook makeover.
I was in need of more storage in my primary bedroom because I have a booth space now. All of the things for the booth will need to be stored in the closet of the primary bedroom. Items for the booth that will go on display for future holidays, projects to “fifth sparrow no more” – to repurpose, paint or a love on, and items that were too good to pass up but I don’t have a spot for yet will need to be stored in the closet.
This means that the things stored in the closet must go somewhere, or at least some of the things! Pegboards to the rescue! On the mood board for the primary bedroom/office makeover there was a stack of frames? Now those frames are being repurposed into a wall of organization.

Create A Dry Erase Board For The Office Nook’s Wall of Organization
Who else says I’ll remember that, no need to write that down? And then promptly forgets it? Umm guilty of that! I knew that I needed a calendar on the wall so I can see at a glance what needs to be done. I have a nice paper calendar but opening it to check what’s on the schedule sometimes just doesn’t happen.
A frame repurposed into a dry erase board is the answer. Lets create a dry erase board!
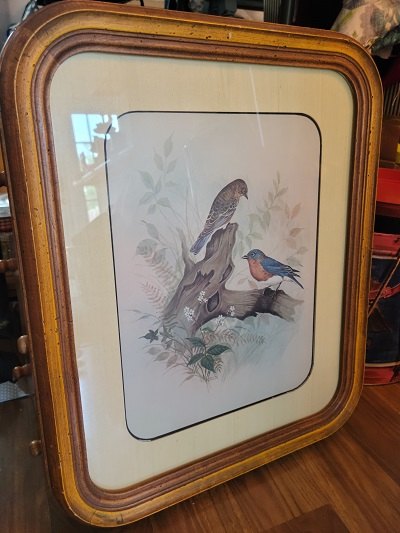
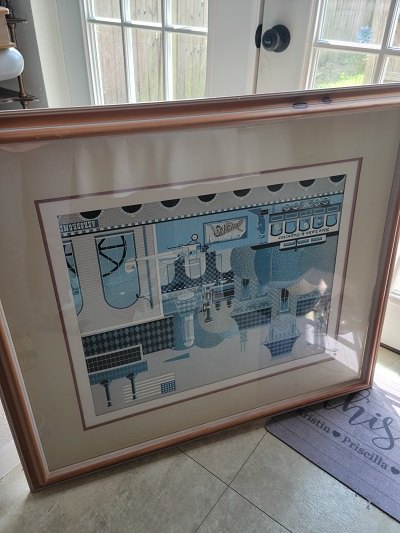
This is the frame I started with. Usually I am all about a bird print but this one was faded but the shape of the frame was a little different which I liked. Sorry birds you gotta go!!
DIY Dry Erase Board
Tools You’ll Need To DIY A Dry Erase Board
- Frame – you will need all the parts (glass, frame and backing) except the print.
- Washi Tape
- Paint – I used Dixie Belle Mirage Silk Mineral Paint
- Scissors
- Dry Erase Roll
- Ruler and Pen/Pencil
- Glazier Points, hammer and screwdriver
- Pliers to remove staples if your frame has them
- Letter or Date Stickers
Prep and Painting
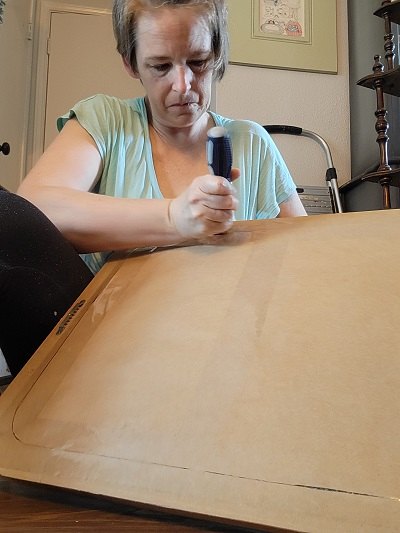
- Remove backing and glass, set aside
- Clean frame, I used Dixie Belle Pristine Clean
- Scuff sand the frame, just enough of a rough surface for paint to stick to
- Wipe down
- Paint the frame, I used Dixie Belle Mirage
Make It A Dry Erase Board
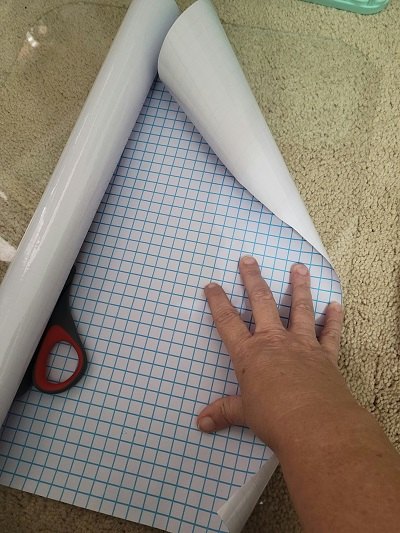
- Gather Supplies – dry erase paper roll and scissors
- Clean glass really well and let dry (this helps paper stick better)
- Unroll your paper and measure to fit on glass
- Cut out dry erase paper
- Remove backing and smooth onto glass
- Reassemble frame – I used glazier points to hold my glass and backing in place. I found this great video explaining how to use glazier points.

Make It A Calendar
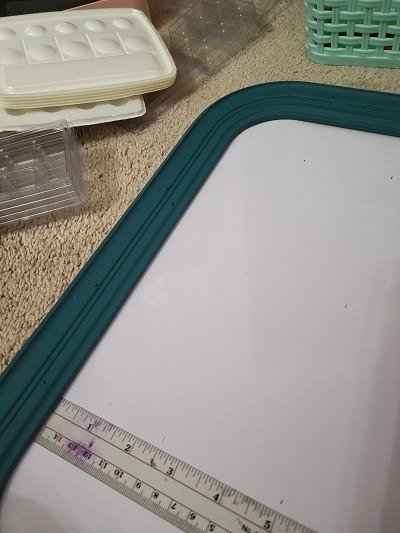
- Measure for washi tape on the dry erase board
- I divided my frame into seven sections, since I was doing a weekly calendar
- I make three marks at my measurement – top, middle and bottom to help me get my tape on straight.
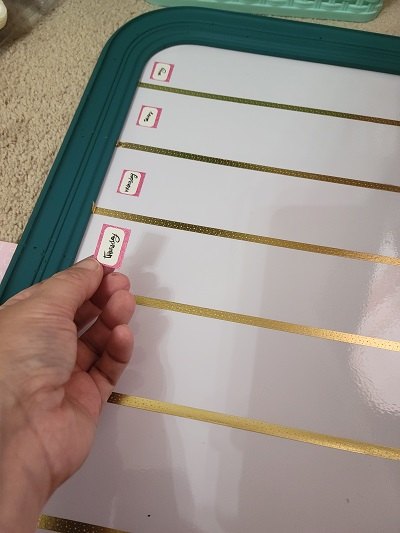
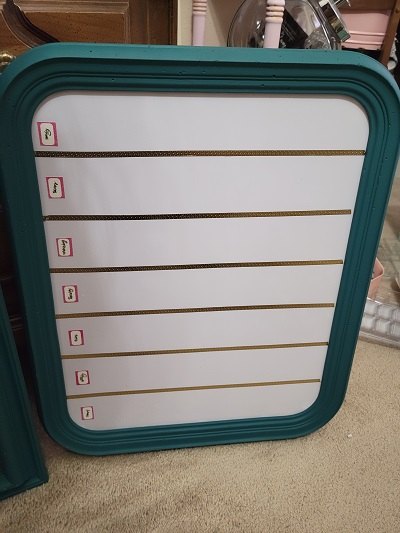
- Place washi tape along the lines you made
- Add letter stickers or date stickers to mark days
Create A PegBoard For The Office Nook’s Wall Organization
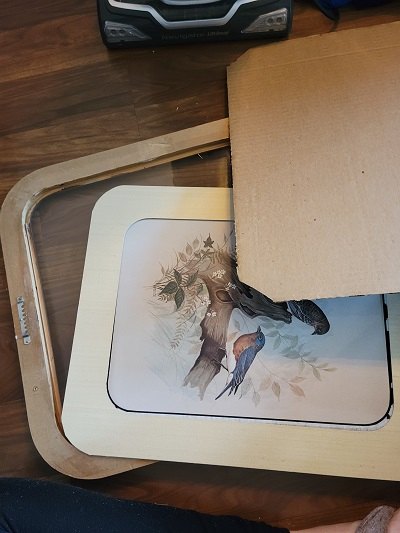
Now that I know what day it is (most of the time) I need to organize the stuff that came out of the closet. I started with this frame. Once again probably a very lovely picture for another home but not mine!
Just A Few Supplies To Make A Pegboard
- Frame
- Pegboard
- Screws to attach pegboard to frame
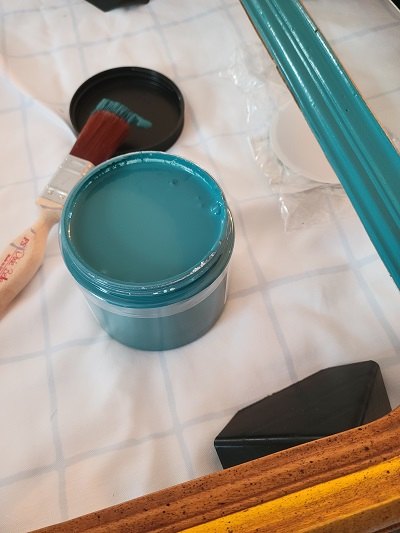
- Paint, I used Dixie Belle Prickly Pear Silk Mineral Paint and Dixie Belle Mirage Silk Mineral Paint
- Paint Roller, Brush
- Drill, Pliers
DIY Pegboard
Prep and Paint
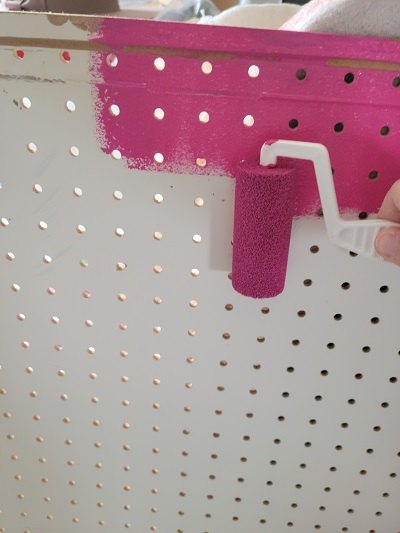
Clean your pegboard and frame, I used Dixie Belle Pristine Clean. Give it a scuff sand and wipe down. Paint the frame and pegboard. I used a brush for the frame and a roller for the pegboard.
Assemble Your Pegboard
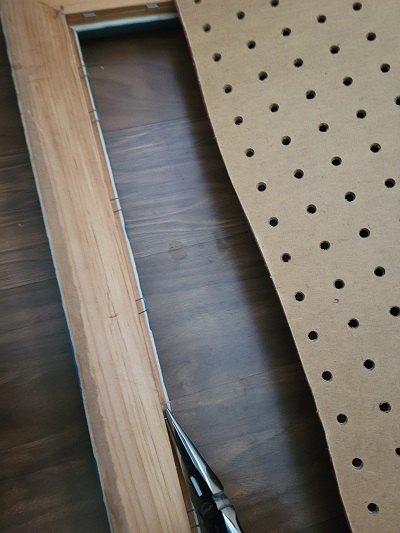
Remove the 1 billion and 22 staples from your frame with pliers. The picture hangers on your frame are unnecessary. Take these off and save for another project! We will be hanging the pegboard and frame with 1 X 2 boards, explained in the tool storage closet post - link above.
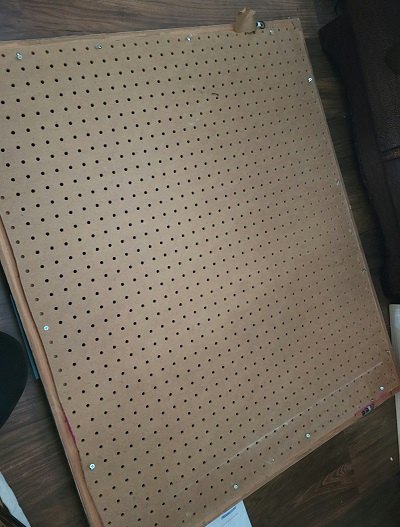
Attach Pegboard to Frame
Using the wood screws evenly spaced around the pegboard attach it to the frame. I used three screws on each side, through the hole in the pegboard into the frame.
Organization on The Pegboard
I needed a spot on the pegboard for small bottles of craft paint and dyes for wood beads and actual pegboard baskets were pricey. Thrift shopping and “fifth sparrow no more” ing a wire shelf was a great option for a rack to hold all the bottles plus some extra room.
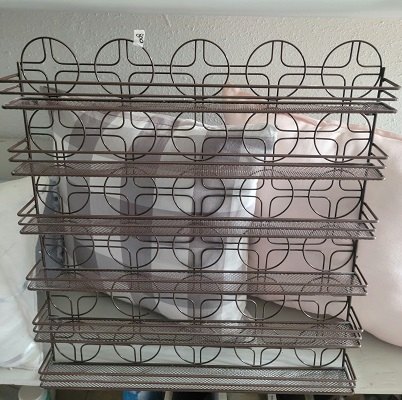
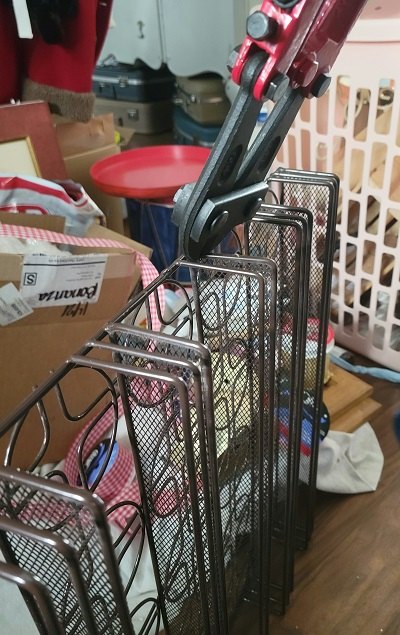
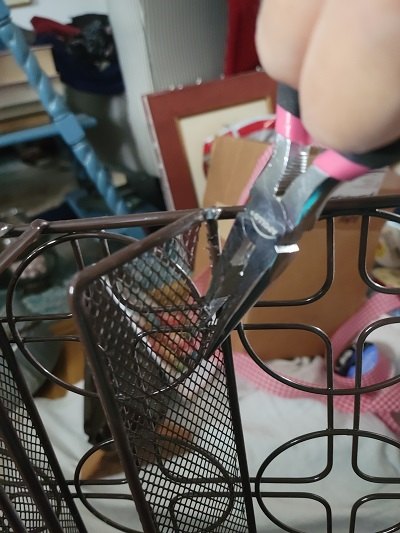
The shelves were too close together to put the paint bottles on but I knew I could fix that. So I removed the shelves with bolt cutters and wire cutters.
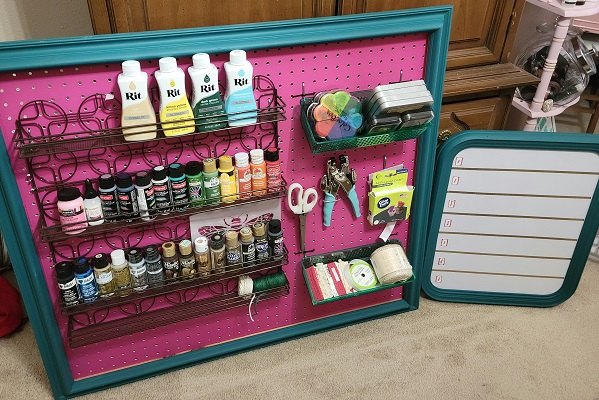
And now the shelves are the perfect height for bottles of craft paint and rolls of twine at the bottom.

Baskets from the dollar store are hung on pegboard hooks. This provides great storage for ribbons and trims, stamps and inkpads and more.

Comments
Join the conversation
-
This a great project.
I hope you don’t mind if I copy it!!! 😂


Frequently asked questions
Have a question about this project?