


DIY Peg Rail
Today, I am sharing something that I’m sure a lot of you have seen grow popular over the last little bit, peg rails! There are so many great ideas of where to use these cute little pegs. I decided to add pegs to this plain area in my kitchen.

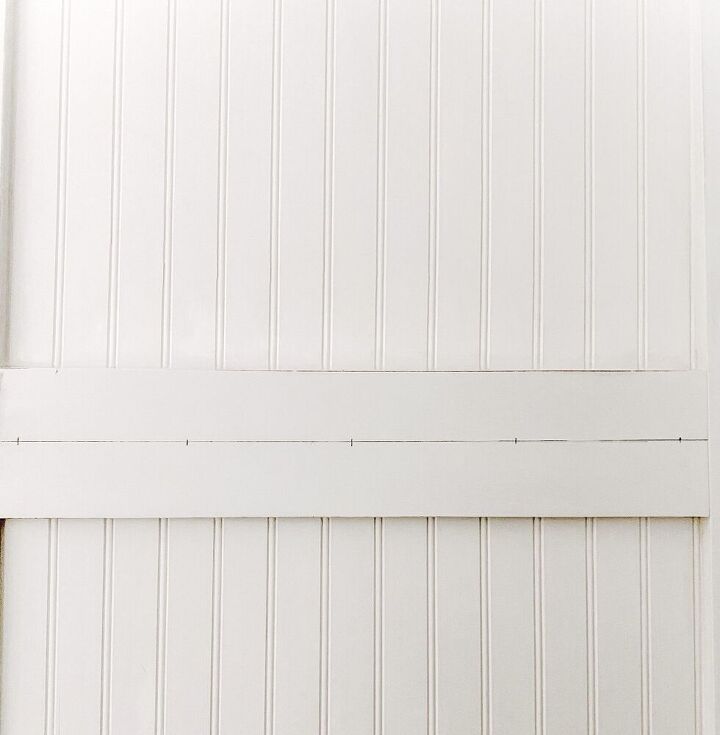
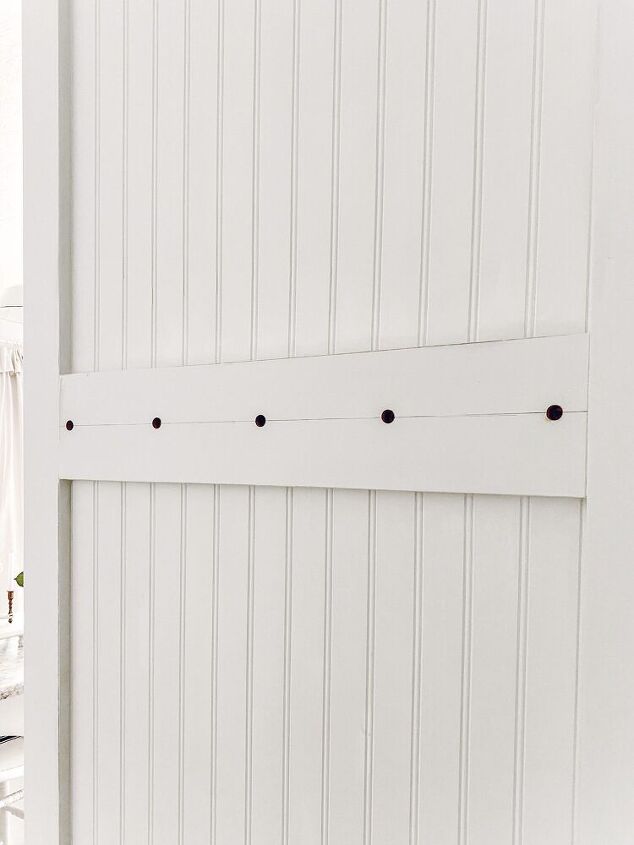
I started by drawing a level line down the center of the board…
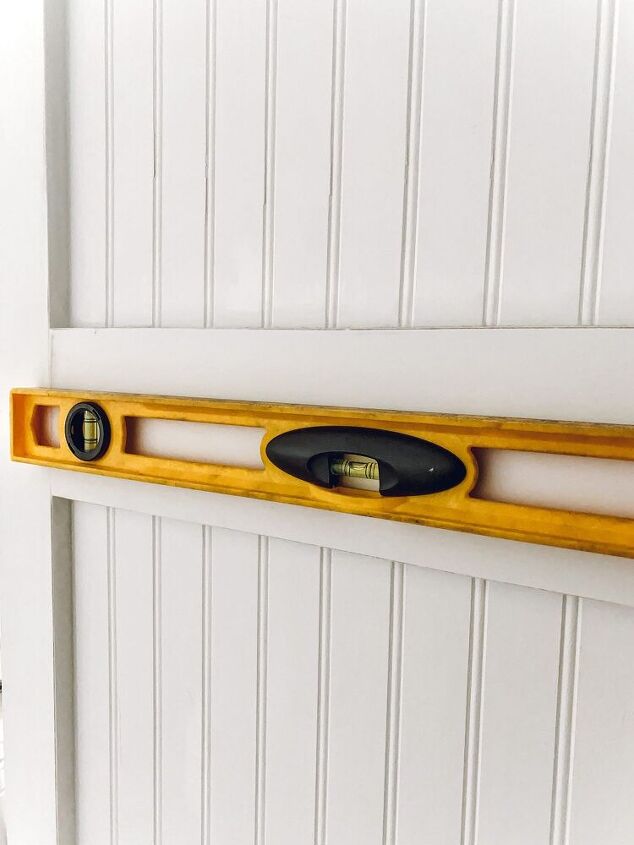
Then marked where I would be drilling the holes for the pegs. I decided to place each peg six inches apart.
Before I started to drill into the actual board, I decided to practice on a scrap piece of wood, to ensure that I was using the correct size drill bit.
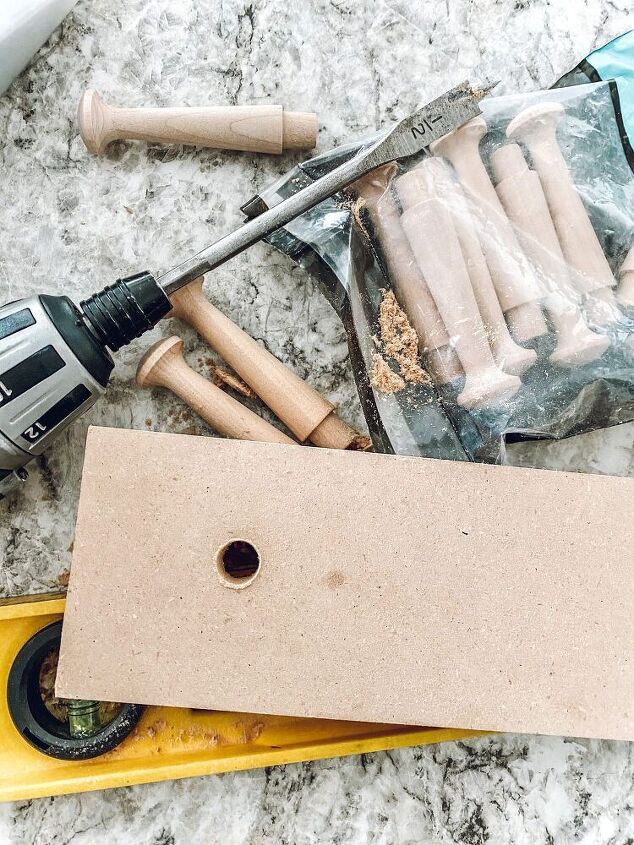
Sure enough, the 1/2in drill bit worked perfectly!
Now time to drill into the actual board….
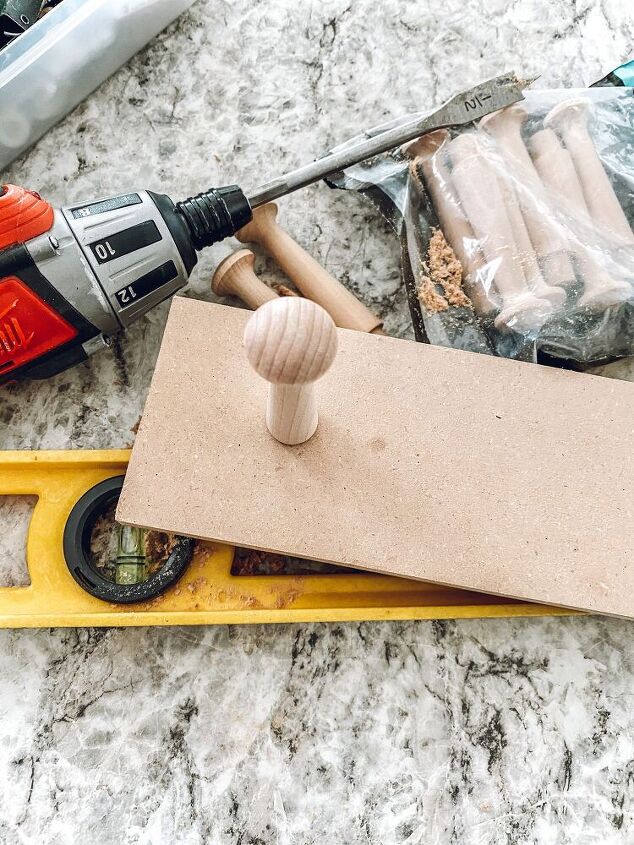
Added a little wood glue to each peg ( peg source) …

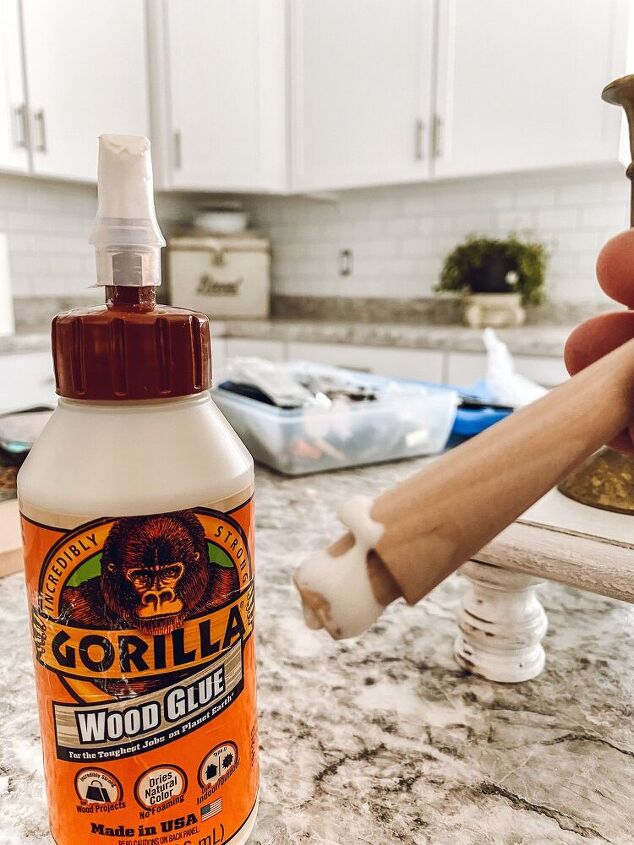
Placed the peg into the holes.
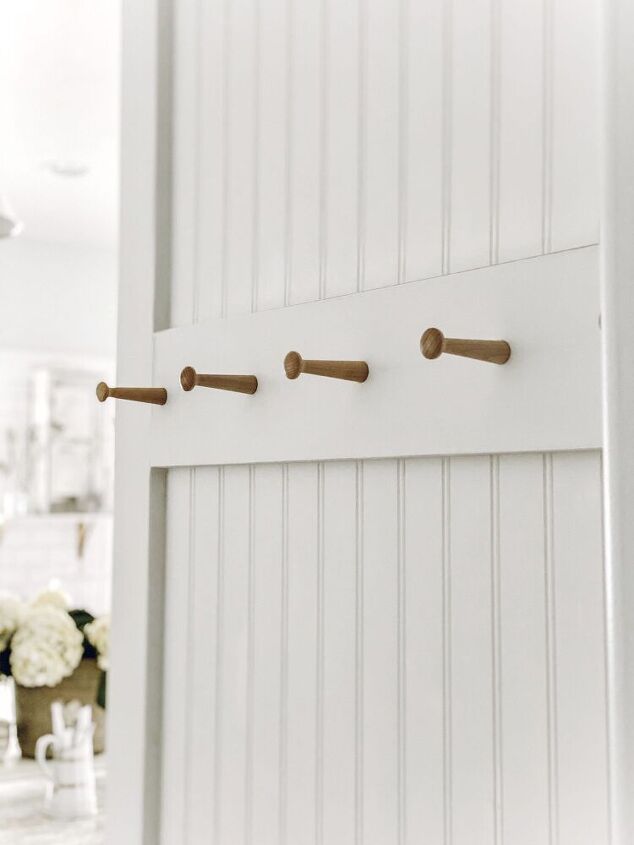
Let the glue dry, painted, and done!! This project literally took me 15 minutes, or less, and was just $4 for the pegs. I love quick, easy, and inexpensive projects!!
You could totally recreate this on any board that you have. Think how cute it would be on a piece of reclaimed wood!!

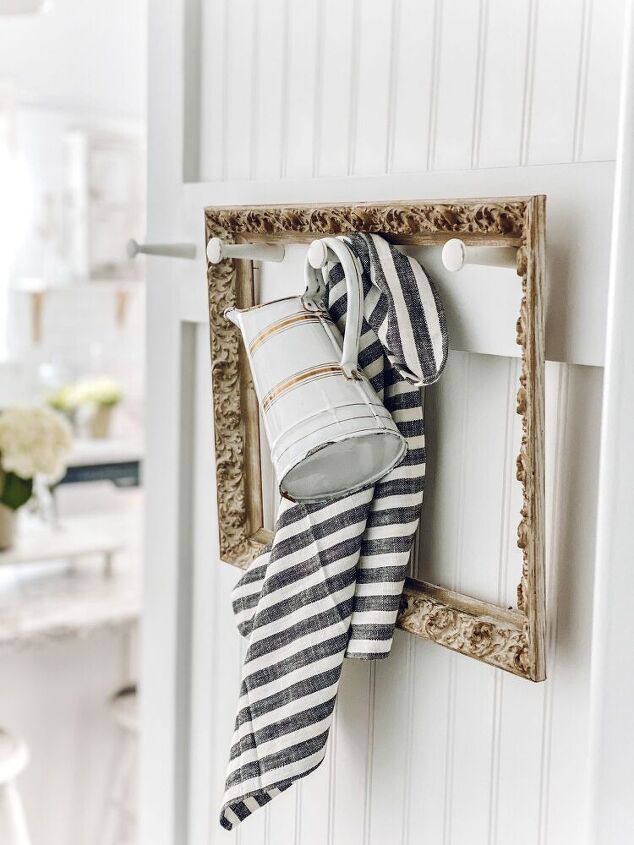
For now, I just hung a few things that I had laying around. I’m excited to decorate this space a little more, real soon!
Hope y’all have a great start to this new week!
So much love to you all!!
~Emily
Resources for this project:
See all materials


Comments
Join the conversation
-
Amazing, I will be adding one soon. Such a great idea
-
It looks good.


Frequently asked questions
Have a question about this project?
Did you sand some of the paint off to make it look aged?
Did you add the bead board to the side of the cabinet? and then frame it with 1x3 and is the board in the middle a 1x4? thanks