


Stained Glass Patio Table for Under $25

I found this glass topped table at a flea market for $5.00. I liked the height but it was too plain - it needed to be DIY-ed!
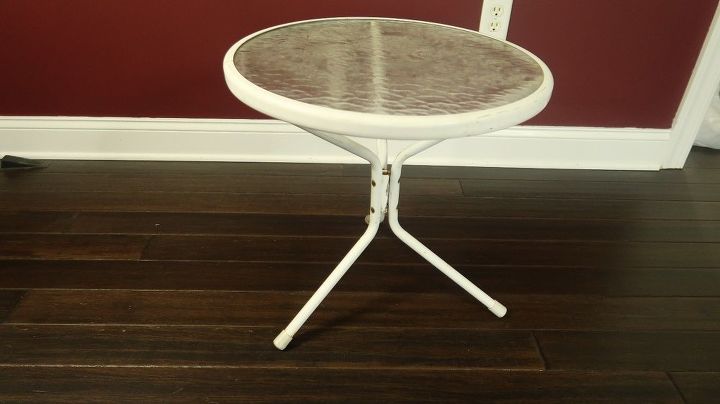
The table was in good shape with only a little rust and dirt.
The glass was easily removed from the metal ring and the table legs.
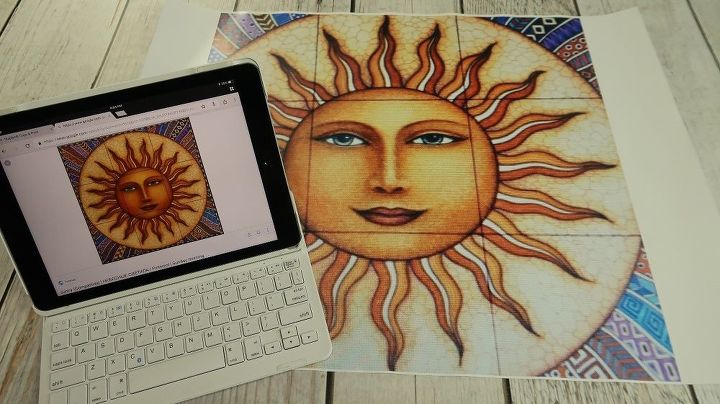
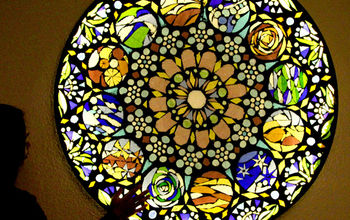
I decided on a sun to paint onto the table top. I found the picture on-line and had it printed at Staples. This was the biggest expense. You could also print the picture out on a home printer.
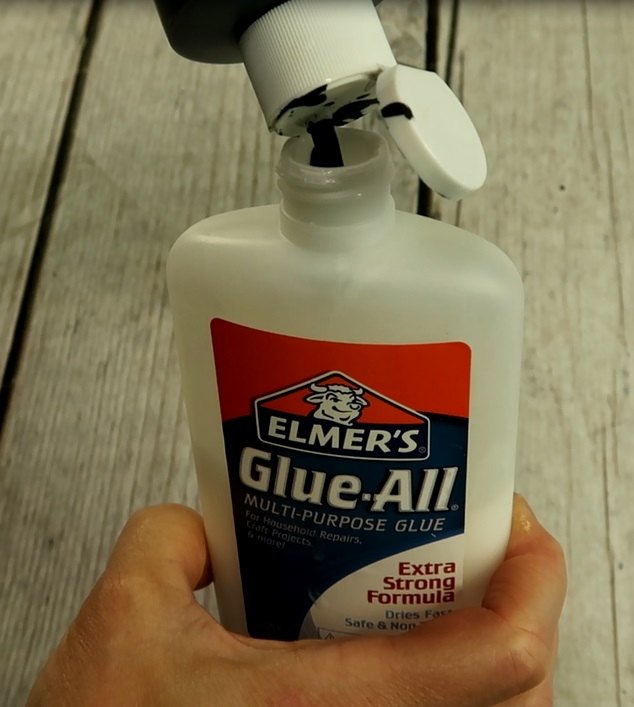
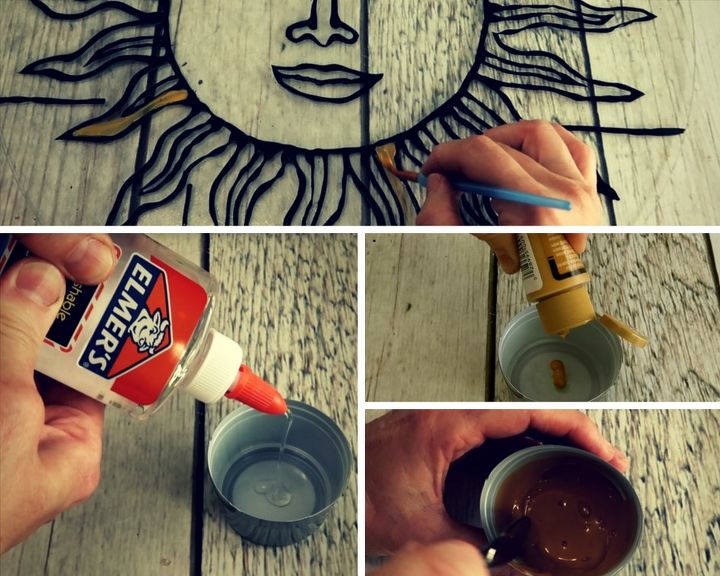
To begin, I needed lead lines. I used half a bottle of white glue and added black craft paint. The ratio was 2:1 (glue:paint). Giving it a good shake, it was ready to use.

Before starting on the table top, I wanted to make sure I had the tip open wide enough to make the lines but not too wide so it would just be a big mess. I used a paper towel to test.

I laid the picture onto my work surface and then laid the glass on top of the picture. I would be working on the wrong side of the glass, meaning the actual painting would be on the bottom of the table top once I was finished.
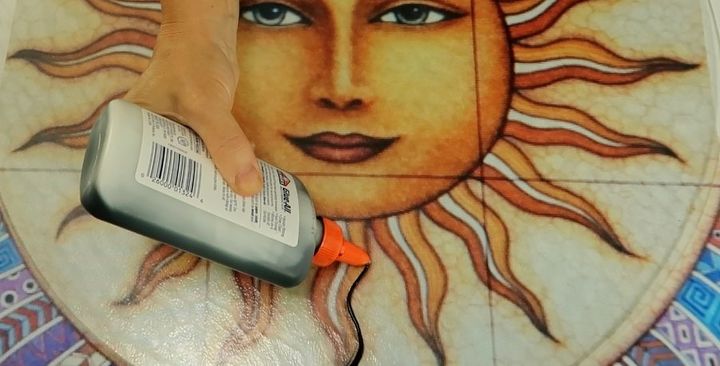
I began to outline the entire picture. I kept a paper towel handy to clean off the tip of the bottle from time to time.
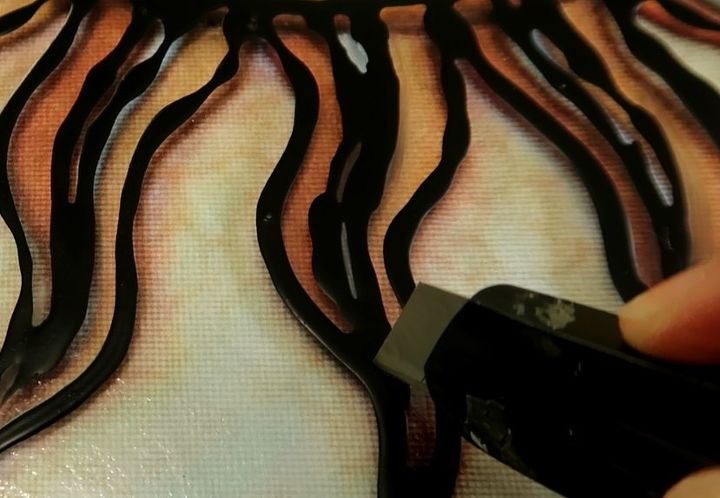
I allowed the "lead lines" to dry. Because I'm a perfectionist, I used a utility knife to clean up any lines that were too thick.
I carefully cut away any excess paint. If I accidentally cut an entire line, I just reapplied some glue and let it dry.
For the color, I used clear school glue and craft paint at a ratio of 3:1 (glue:paint). I mixed it well until it was the consistency of honey.
Using a small, flat brush, I began to fill in the picture. If the color was too light, I applied two coats of paint; however, you don't want it too heavy or the light won't shine through.
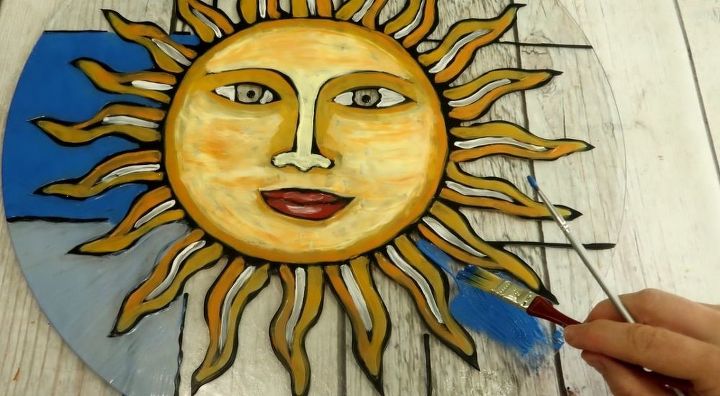
My picture had a lot of dimension to it so I added different colors to the face and blended them while the paint was still wet.
For the background, I used a larger brush to paint in the large areas.
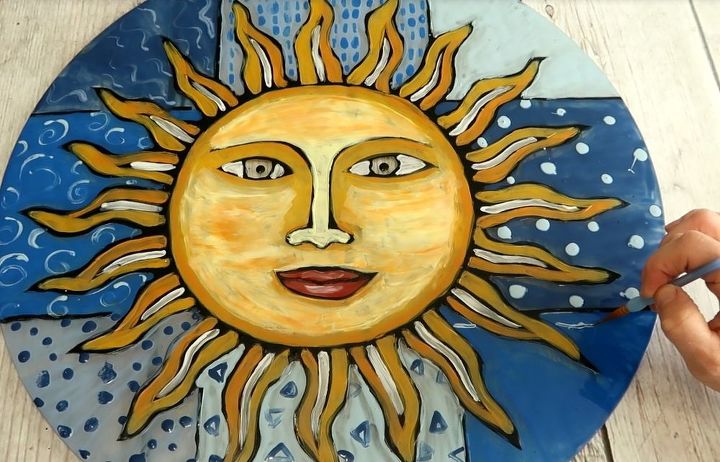
Once the background color was dry, I added accents in lighter and darker colors.
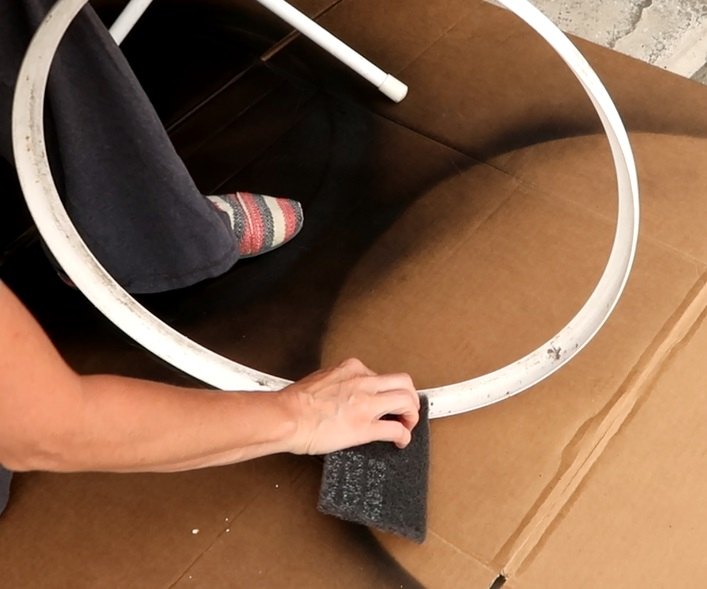
While the glass was drying, I used a fine grit sanding sponge to remove any rust and "rough up" the surface of the table edge and the legs.
Once the sanding was complete, I wiped the entire surface with mild soap and water.
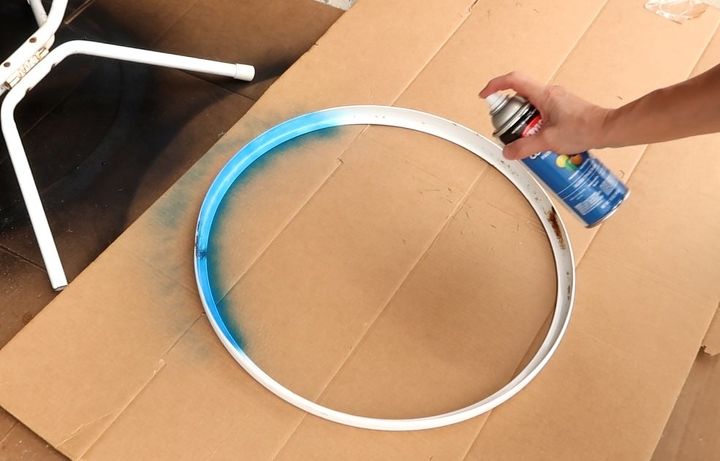
I sprayed both pieces with several thin coats of spray paint. After the first coat, I lightly sanded the surfaces again and wiped them clean. If there were any drips, I lightly sanded them and applied more paint.
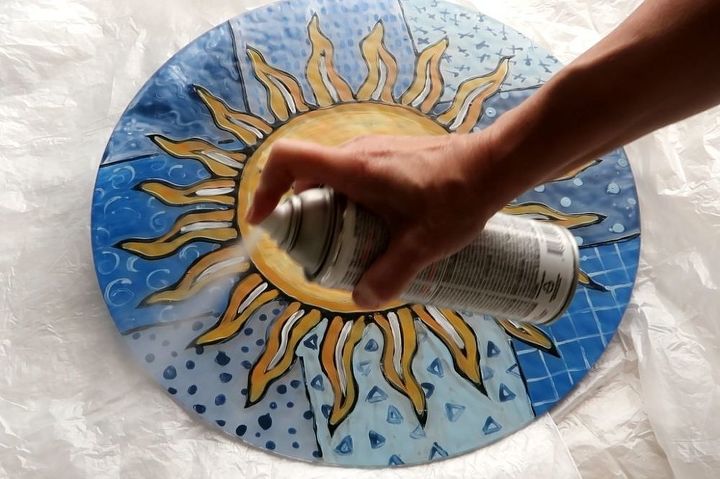
Once the entire glass painting was dry, I sprayed two coats of clear sealer onto the painted surface side.
Putting the table back together was a snap.
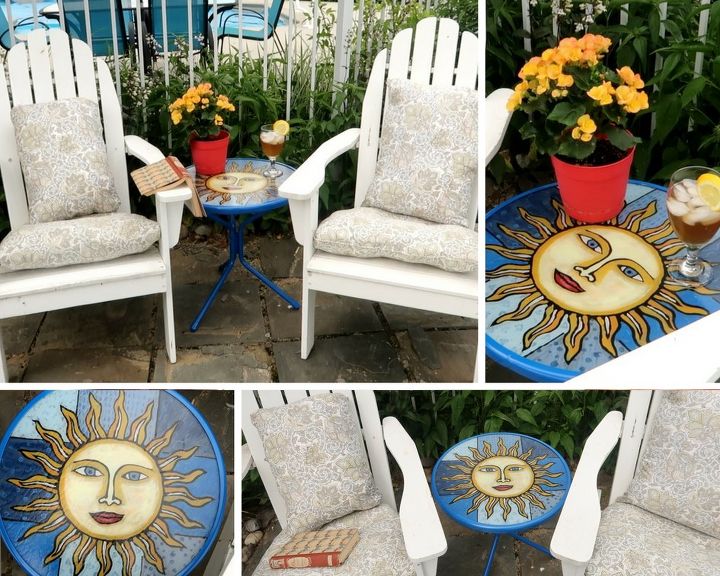
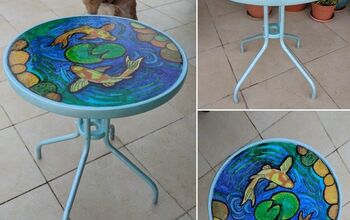
I love the way it turned out. The sun has dimension on the face and the accent colors in the background are subtle but really add another layer.
This table definitely is a showstopper in our outdoor space.
Resources for this project:
See all materials


Comments
Join the conversation
-
Tedious project, but absolutely beautiful. Think I need more patience.
-
Awesome idea. I am doing one similar but I’m using glass beads on top with black ground and lining the bottom with a small strand of lights. This way the light shines through the glass beads.


Frequently asked questions
Have a question about this project?
I love what you did it so beautiful.
But I have a question about a mirror do you have any ideas on how I could possibly get something like that done on it? Clearly you can't see through it. Any suggestions will help. Thanks
Sorry to ask, but if I follow correctly, once you have finished painting, the painted side is flipped over so that it’s facing the ground, so the smooth side is up? Thank you.
is it possible to put gold directly whiout any pain on glass howto do you put the glue and waht type of glue