246K Views
Our New Backyard Shed

by
Michele Pappagallo
(IC: homeowner)
3 Materials
We needed storage for our garden tools, etc, so this is what we came up with!
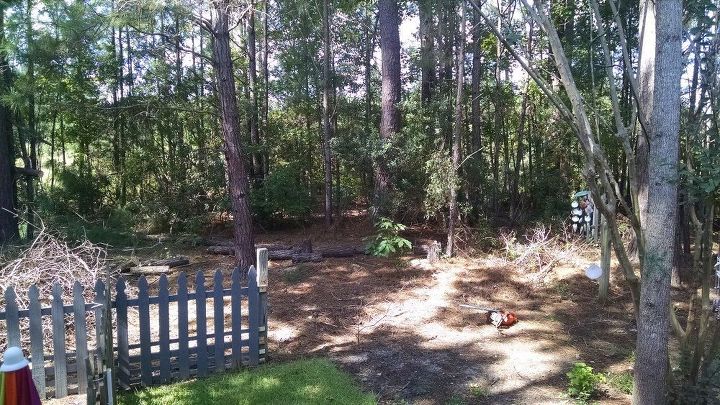
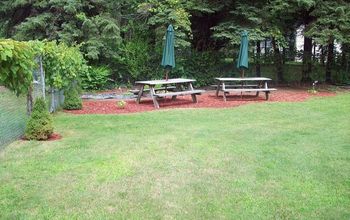
BEFORE - We removed a small section of our picket fence to make room for the shed. As you can see, the inside part of our yard is standard grass, etc...and the outside part is wooded. We did not want to take up too much of the grassy area with a shed, so we decided to place the shed in the fence line.
After making sure the ground was level, we built the foundation for the shed using 2x6s. We placed them on concrete blocks for support and to keep the shed off the bare ground.
Next came the floor of the shed. We used rough-cut 1x8s for this.
The walls framed up nicely....
We added siding to the framework. It is finally starting to look like something!
All of the windows and doors have now been cut out. Since there will no electricity in this shed, we wanted to make sure there would be plenty of light inside.
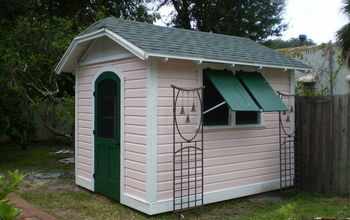
We added a light grey metal roof to match our nautical/beach themed house.
The windows fit perfectly and we built a door and mounted it as well.
I painted all of the trim a bright white. I used Valspar 7002-7 Dove White.
I used two colors of opaque stain from Lowes (Sorry, don't remember the color names!) to paint the exterior of the shed. Again, we were going for a nautical look and I love this color combination!
Next, we filled in all around the foundation with cinder blocks to add support and to prevent critters from crawling underneath. we also added in the fence pieces we had previously removed and attached them to the front edges of the shed on both sides.
Our next step was to build a frame for a porch on the front of the new shed.
we placed the frame on concrete paver blocks for support and to prevent ground contact with the frame. we mounted 1x8s to the top of the frame for the floor. I stained the porch the same darker grey color of the shed door and the fence.
Next, we added cinder blocks and pavers to each end of the porch to create "steps" for flower pots to sit on.
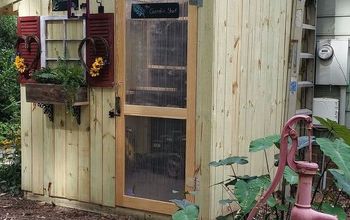
And finally, we added a bit of nautical decor to finish it all off. We love the fact that we now have plenty of storage but it doesn't take up much room in the fenced part of our yard. Also, we like that it matches the rest of our decor. Next project...landscaping! LOL
Enjoyed the project?
Suggested materials:
- Wood, Hardware, Windows, Paint (Lowes)
- Decor (Misc)
Published May 5th, 2017 9:19 AM
Comments
Join the conversation
2 of 266 comments
-
 Michele Pappagallo
on Apr 02, 2021
Thanks so much! We actually hired a local carpeter/laborer to help with this, and it still came out cheaper than buying one of those pre-built ones....and honestly, I think it will last a lot longer as well! Best of luck to you!
-
-











Frequently asked questions
Have a question about this project?
What size is this shed?
Did you need a permit from the county to build it? Were inspections required?
We are thinking about installing a pre-built shed for extra storage, and we are beginning the process of researching information. Probably we'll do this project NEXT summer......!
Whart kind of wood did you use on the walls?