169K Views
"Wood" Walkway

by
The Chirping Frog
(IC: blogger)
We knew we wanted a pathway with spaces between the steps, similar to some we've seen at National parks. Wood would be great but who wants to take care of it? Not me! Our solution, of course, was concrete. This was quite the project. Pretty much took an entire spring/summer with at least four different "pours." Crazy, but we both love the finished result.
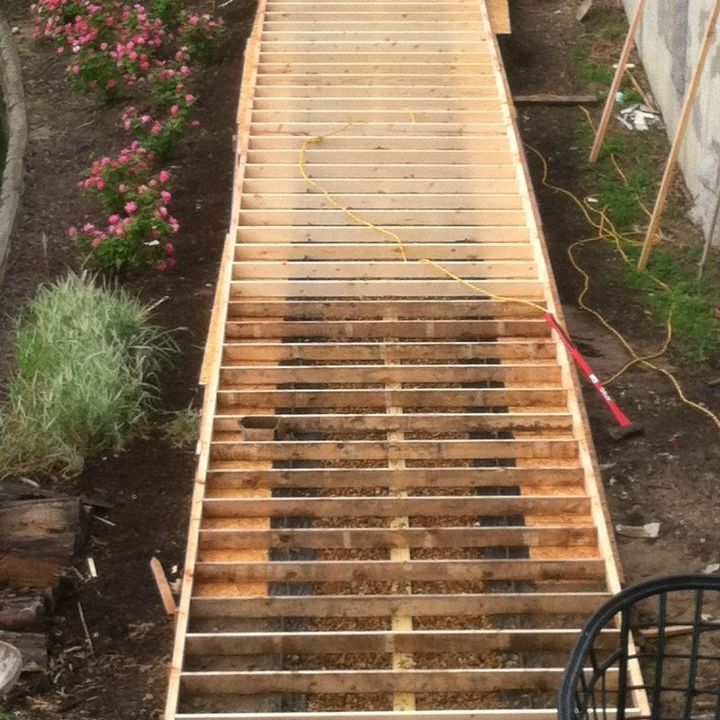
We poured it in two pieces. This was the first half. You can see the curb and rock underneath and then it was framed out so that the planks will hang over the edge of the curb.
There are two pieces of rebar in each plank that are tied to a u-shaped piece sticking up from the curb. It's not going anywhere.
You can see our homemade form liners on the edge. We needed 86 pieces in order to pour half the planks. We used a stamp we had (a tree slice) with leftover concrete from the curb pour as a template. Lots of prep work involved but pretty neat stuff (some type of urethane liquid rubber mix two parts together and smooth it into your template. Sets up overnight, and we had to do it multiple times).
Pouring.
Stamping.
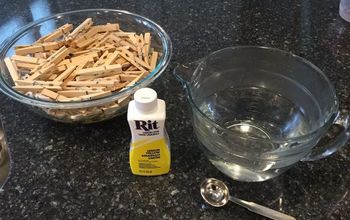
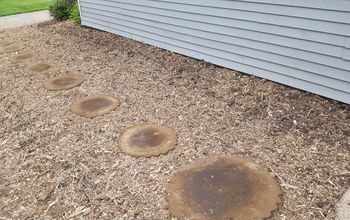
Here's a close-up after I'd gotten all the stamping mess cleaned up. Our plan was to just let the wood rot out and not worry about it...yeah, that didn't happen. Drove my husband crazy. He tried a variety of ways to remove the wood and ended up using a chainsaw. yes, he's crazy. He could only do about six before his chain was dull and he had to switch it out. He stopped every day for probably a week to have the chains sharpened, not recommended, but it did work!
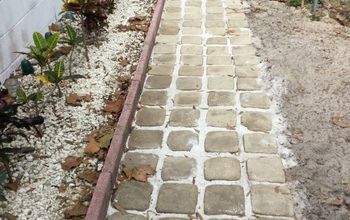
We needed this walkway to be wheelchair accessible so to keep the grade right it had to be off the ground by quite a lot in places. We first poured the footings and then on top of that is this wall (curb). (We used leftover siding from the house to get the texture. Not ideal but it did work. Much less expensive that buying the form liners). You can also see how well our little ends worked.
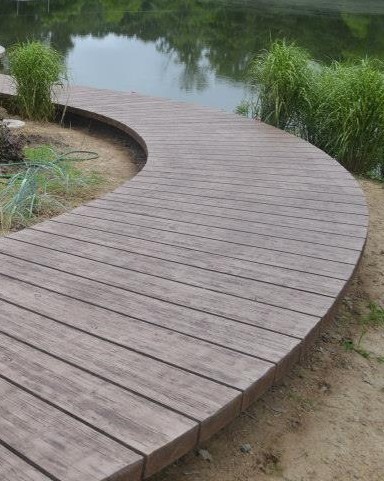
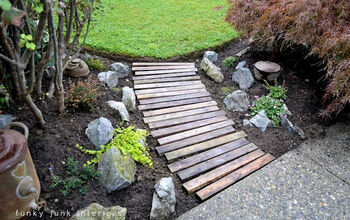
Here's a look at the final product.
A close-up of the stamping. Only drawback that we've found. I find myself making noise as I walk down it. One of the guys who always helps us with our pours brought his wife over she wasn't impressed with the snake that popped its head up when they were walking down it.
Here it is from the bottom in it's setting. The wall is another project I'm trying to get completed before winter you can see more on it here:
Enjoyed the project?

Want more details about this and other DIY projects? Check out my blog post!
Published October 13th, 2014 9:41 AM
Comments
Join the conversation
2 of 41 comments
-
 Lori Ward-Laatsch
on Oct 01, 2021
Did you share this before the mural kinda of thing on the wall? I remember seeing all the steps but not the wall. The wall makes it so beautiful. I love what you did. If you could put in a small patio with bistro table it would be even better!!
-
-








Frequently asked questions
Have a question about this project?
Love the walkway!!!
Please do share more about your fence.
Can I have more details on how you created your own wood stamp? Are those 1" x X" between the concrete planks? I think it looks amazing and can't imagine the work it took.
I would love to know what the stain or finish is...I have a patio that is in desperate need of the stain & finish on it...what kind & brand...thank you