


Beginner's Perspective on Unicorn Spit: Sewing Table Project Part 2

by
Leana
4 Materials
To continue the saga.... I picked a project, started the removal of finish, and then I opened my first box of Unicorn Spit on Christmas Eve. Now we are on part 2 of the project. Please see "Beginner's Perspective on Unicorn Spit: Sewing Table Project Part 1", to get caught up.
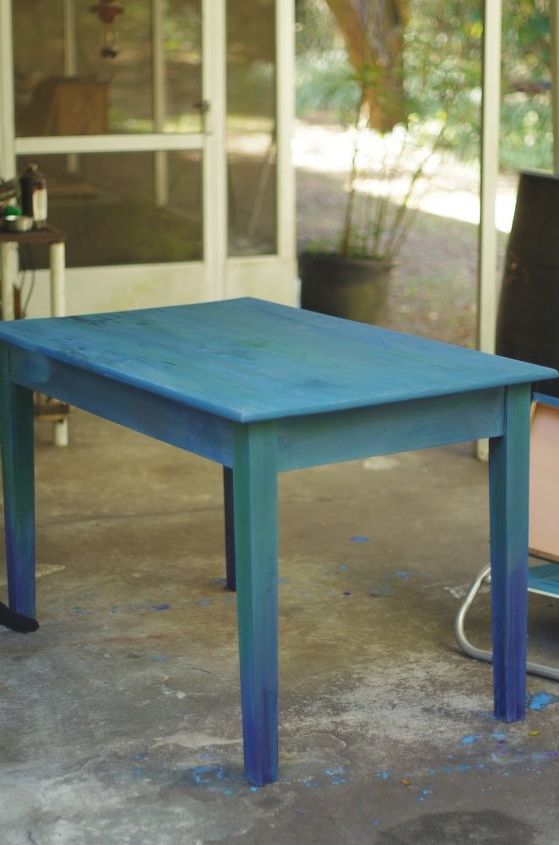
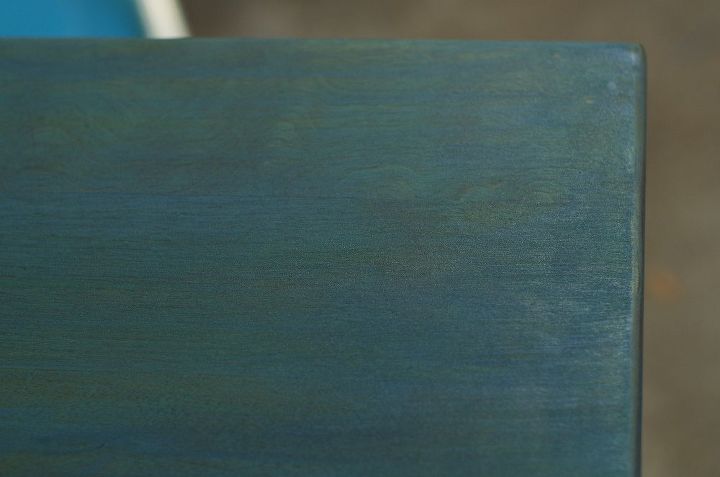
Day 4: I allowed the Unicorn spit to dry over night, as you can see the color soaks into the wood and becomes this beautiful matte color. (If anyone has any ideas on how to keep this Matte look sealed in, let me know! I have a project in mind for it). The blending on the legs is more visible at this point.
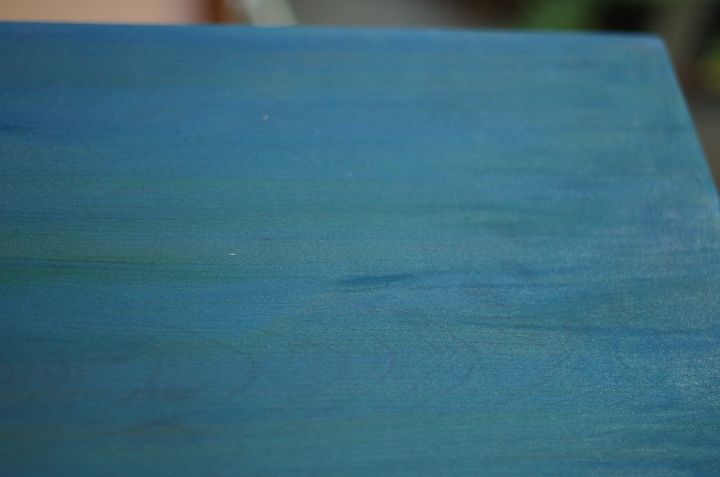
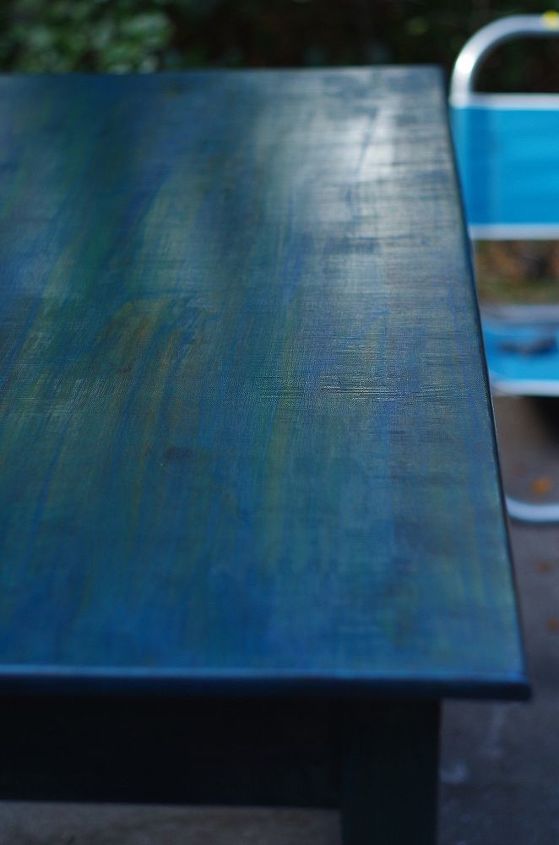
Day 4: up close view of the table top. You can really see the grain popping through! Even with the absolute wonderful color saturation the beauty of the wood is showing through. At this point there is absolutely no smell to the project.
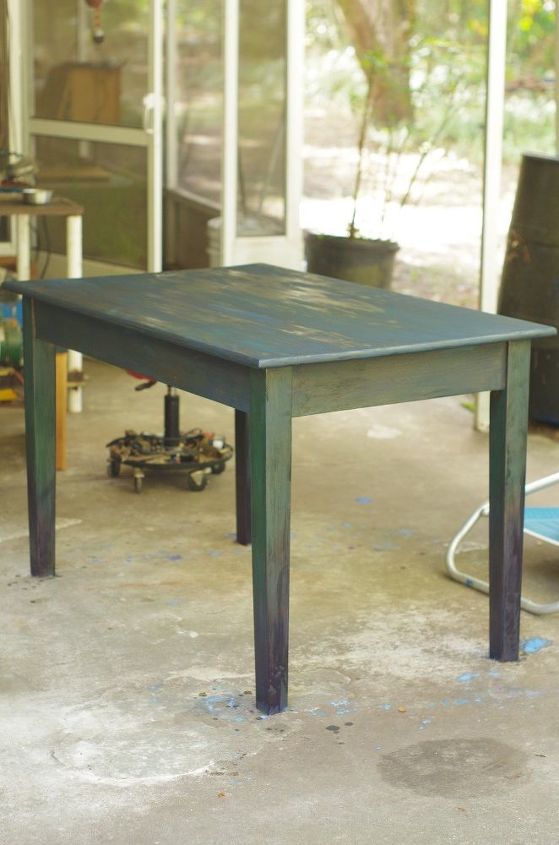
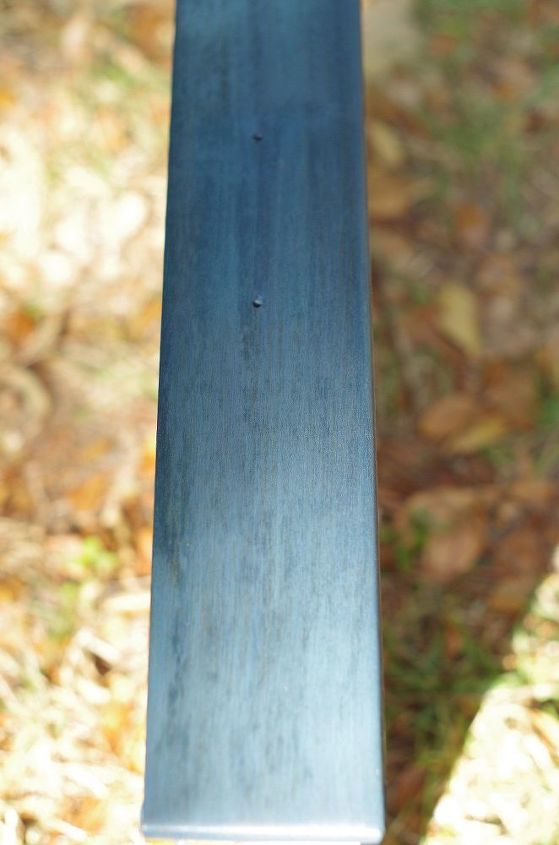
Day 4: the only instructions that come with the Unicorn Spit on the bottle is to seal it with a non-water based sealer. So we pulled out my Husbands stash of Tru-oil. I was able to put it on directly with my hands (though I would strongly use gloves, but if you get it on your hands pure vitamin E oil followed by mechanics soap does the trick). you can see here the Unicorn Spit has darkened again.
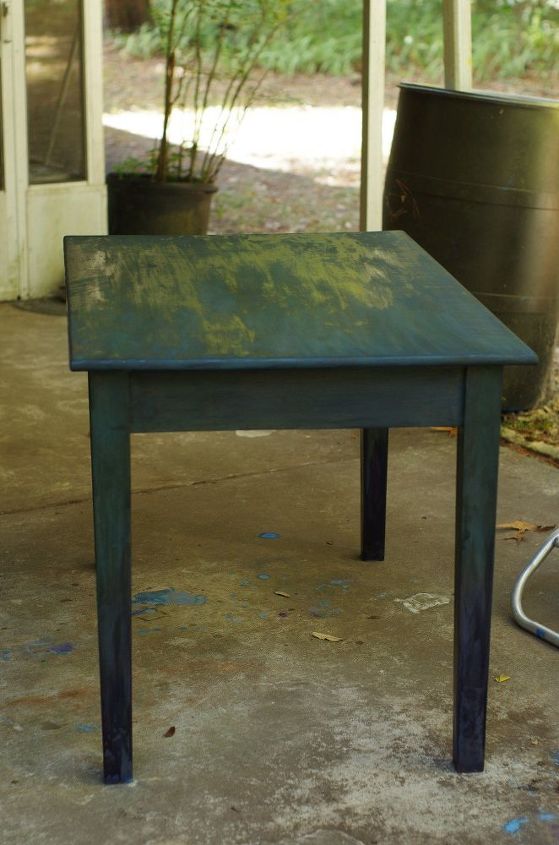
Day 5: I let the Tru-Oil saturate in for 24 hours then hit it with steel wool. This knocked the grain that swelled with application of the Unicorn Spit and water down to an even level, it also evened out any areas that I over did it with the oil. At this point the Unicorn Spit is completely sealed over with an oil based sealer. The advantage of Tru-Oil is it is a Poly mix... so the next steps get easier for me. After the Steel wool I wiped the table off with a clean rag, then ran the tack cloth over it once again.
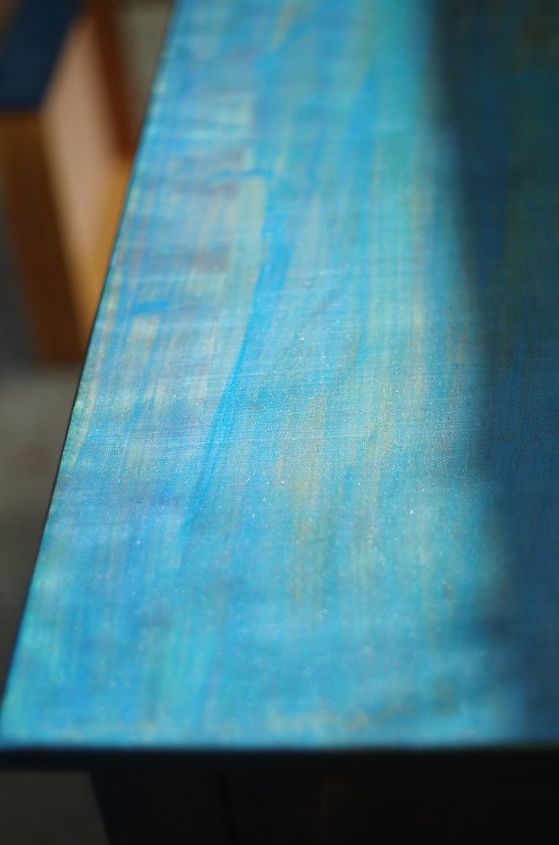
Day 5: you can see an up close view of the sealed and smooth surface.
Day 5: the Drawer up close. Ready to go to phase II of finishing.
Day 5: I used a water based Polycrylic Crystal Clear Protective Finish. First I brushed it on, then when my husband came by to check on me, he gave me a foam brush. The foam brush is much better for application! No bubbles. I put two thick coats on in succession, and my husband showed me to go cross grain for one to add a unique finish. Now it's out in the warm sun curing. The next step will be to hit it with 120 and 220 sand paper before adding another layer of finish...
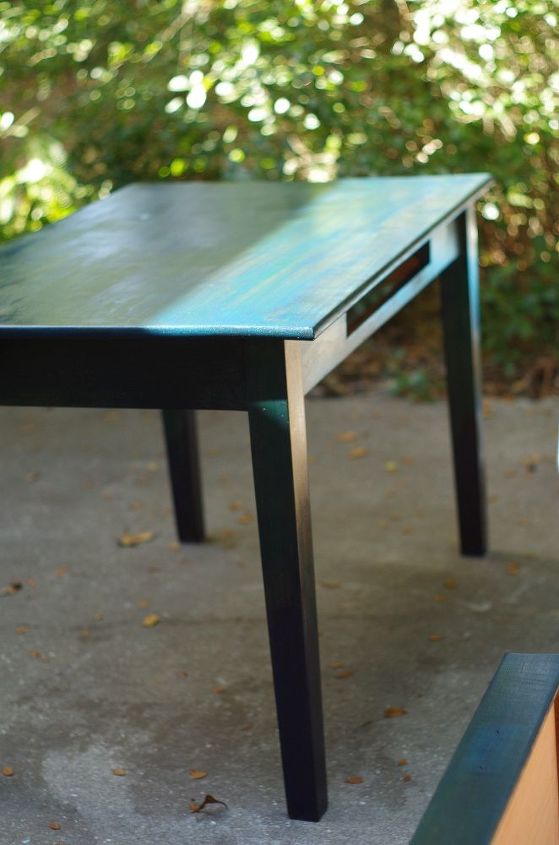
Day 5: I used a water based Polycrylic Crystal Clear Protective Finish. First I brushed it on, then when my husband came by to check on me, he gave me a foam brush. The foam brush is much better for application! No bubbles. I put two thick coats on in succession, and my husband showed me to go cross grain for one to add a unique finish. Now it's out in the warm sun curing. The next step will be to hit it with 120 and 220 sand paper before adding another layer of finish...
Day 5: The finish has dried. Now to get onto the sanding. Stay tuned for Part 3 of this project.
Comments
Join the conversation
2 comments
-
This is so helpful, thank you!
-
Wow! You did a gorgeous job!


Frequently asked questions
Have a question about this project?
Hey Leana,
I am super new to using Unicorn Spit and have watched so many YouTube Videos it always said’s to seal it with a oil base sealer but, you are using a water based ?