


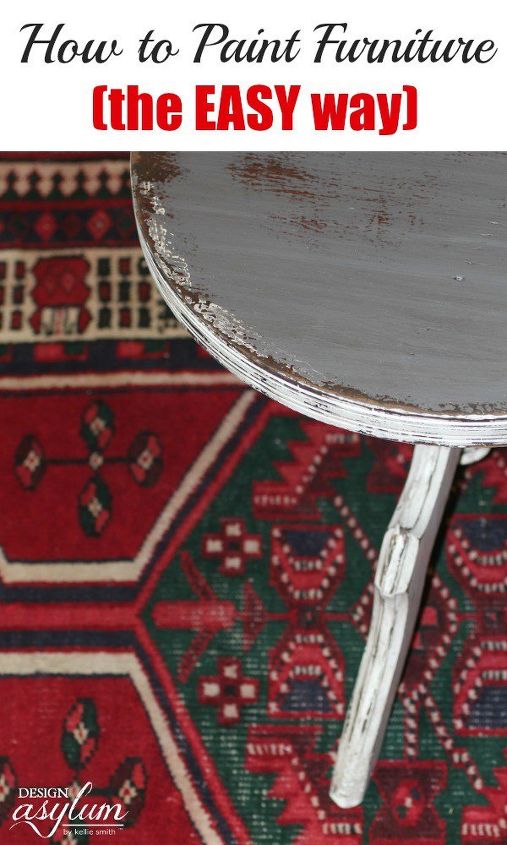
How to Paint Furniture
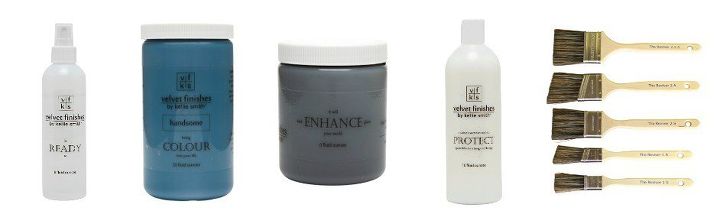
5 Materials
I receive emails daily from folks asking me how to paint with Velvet Finishes.
Is it really as easy as I say it is? Well, hell yes it is! Velvet Finishes is the absolute easiest way to paint furniture and here’s the proof… Here are my tips, tricks, and videos on how to paint furniture – the easy way – with Velvet Finishes!
http://www.velvetfinishes.com
Is it really as easy as I say it is? Well, hell yes it is! Velvet Finishes is the absolute easiest way to paint furniture and here’s the proof… Here are my tips, tricks, and videos on how to paint furniture – the easy way – with Velvet Finishes!
http://www.velvetfinishes.com

I love to paint furniture but, I’m kind of lazy, so it has to be easy. And all of it has to be fast, because I have an incredibly short attention span, and since I’m really picky, I created my own paint line – Velvet Finishes. You will love it, it’s so easy that even I can paint with it! So, here is my little tutorial on How to Paint Furniture. (http://www.velvetfinishes.com)
If you’re a visual learner (like me) you’re in luck – here’s the ultimate video on The Basics of Painting with Velvet Finishes!! Click below to watch me in action painting this awesome dresser with Velvet Finishes. Oh, and stick around to watch the bloopers. All I’m saying is there may be a horses head, nutella, and cursing – lot’s of cursing – but we bleeped it out, no worries!
{
"id": "3545052",
"alt": "",
"title": "",
"video_link": "https://www.youtube.com/embed/pELm2Gw6yFQ",
"youtube_video_id": "pELm2Gw6yFQ"
}
{
"width": 634,
"height": 357,
"showRelated": true
}
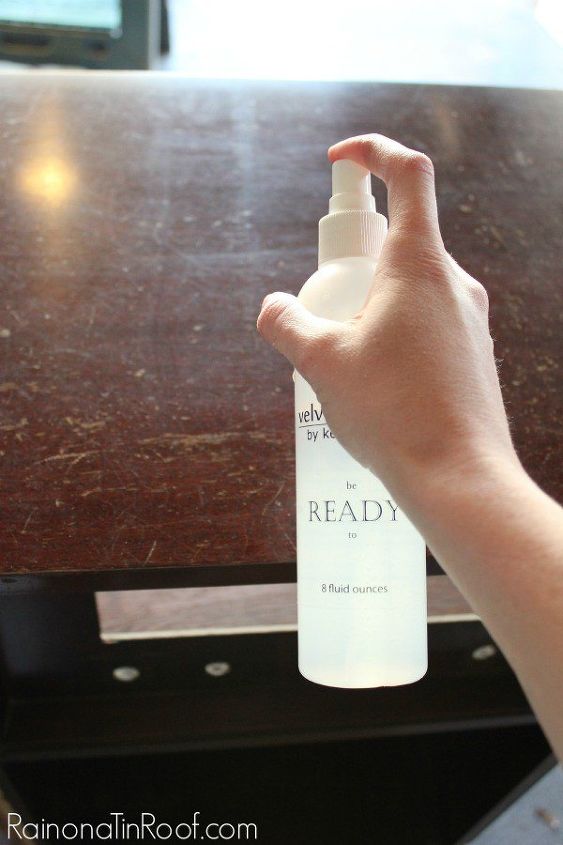
Here is a breakdown of the “steps” on how to paint furniture…
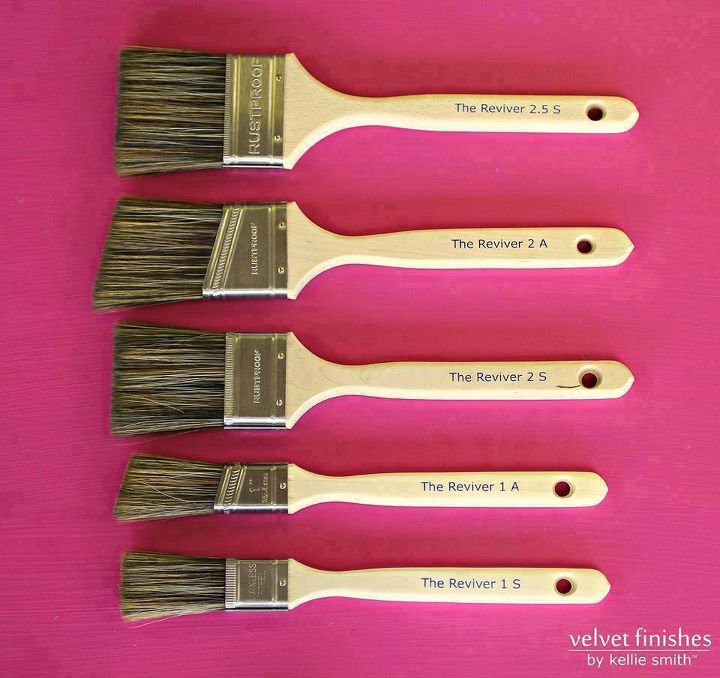
Step 2: Have your Velvet Finishes Reviver paint brush clean and ready to paint.
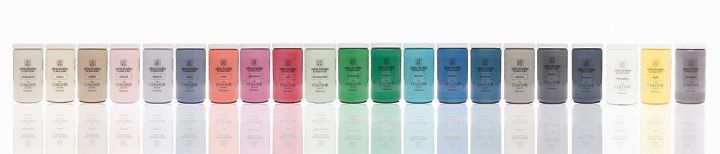
Step 3: With your Velvet Finishes colour of choice – slap the paint on your piece, literally.

lovely squat right?
Step 4: Distressing (optional)
{
"id": "3545067",
"alt": "",
"title": "",
"video_link": "https://www.youtube.com/embed/dOC_tkUTUSw",
"youtube_video_id": "dOC_tkUTUSw"
}
{
"width": 634,
"height": 357,
"showRelated": true
}
Another, and probably my favorite way to distress furniture, is by using the wet distressing technique.
{
"id": "3545070",
"alt": "",
"title": "",
"video_link": "https://www.youtube.com/embed/G0DMYy0ej3k",
"youtube_video_id": "G0DMYy0ej3k"
}
{
"width": 634,
"height": 357,
"showRelated": true
}
Step 5: Enhance (optional)
{
"id": "3545073",
"alt": "",
"title": "",
"video_link": "https://www.youtube.com/embed/eBYX9V2JeqY",
"youtube_video_id": "eBYX9V2JeqY"
}
{
"width": 634,
"height": 357,
"showRelated": true
}
Step 6: PROTECT your furniture
{
"id": "3545076",
"alt": "",
"title": "",
"video_link": "https://www.youtube.com/embed/zBOXB-rg_ko",
"youtube_video_id": "zBOXB-rg_ko"
}
{
"width": 634,
"height": 357,
"showRelated": true
}
And that’s it! I hope that you see exactly how EASY Velvet Finishes is to use!
See more from Velvet Finishes on our website: http://www.velvetfinishes.com

Want more details about this and other DIY projects? Check out my blog post!


Frequently asked questions
Have a question about this project?