


How To Get A Weathered Wood Look

9 Materials
$10
2 Hours
Easy
So, its Tuesday Morning and I can't sleep, it's 3am. I decide to paint this wood tray. I put it together the night before with some scarps I had from my lemonade stand the week before. So, I grabbed a bunch of paint and a couple gel stains and stood at my island. I like gel stains when I'm working in the house they don't stink as much. Lets get started.
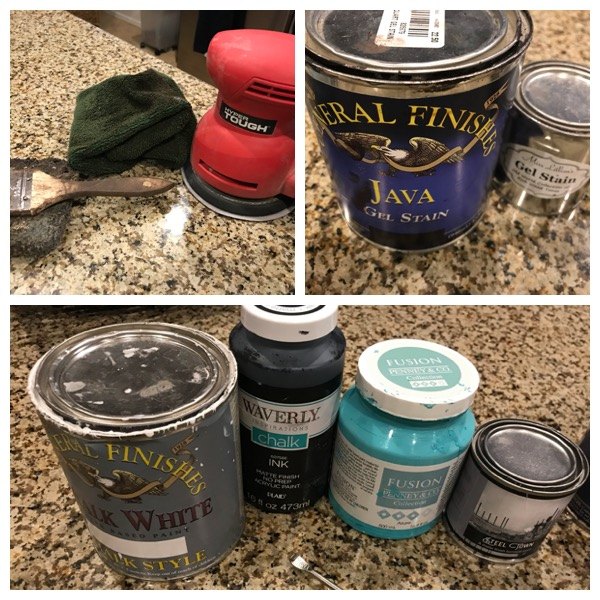
Materials You'll Need:
- Sander
- Rag
- Chip brush
- Sponge
- Gloves
- Screwdriver
- Gel Stain I used Miss Lillian Worn Door & General Finish Java
- Paint General Finishes Chalk Bone White, Waverly Ink, Fusion Azure, Plum City Steel Town
- Wood Tray (Can use any wood item)
- 2 Handles
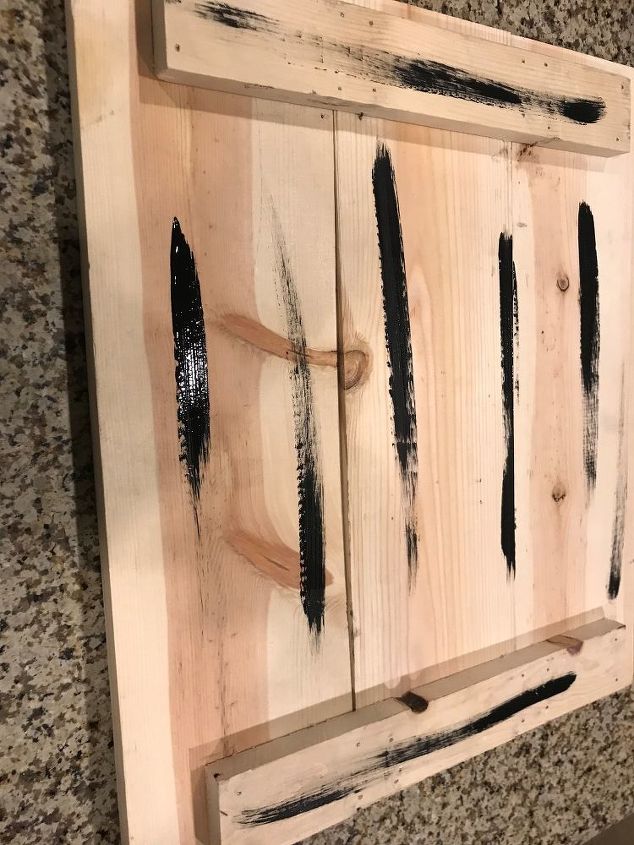
- Step one I just dry Brushed a few streaks of black (Waverly Paint)
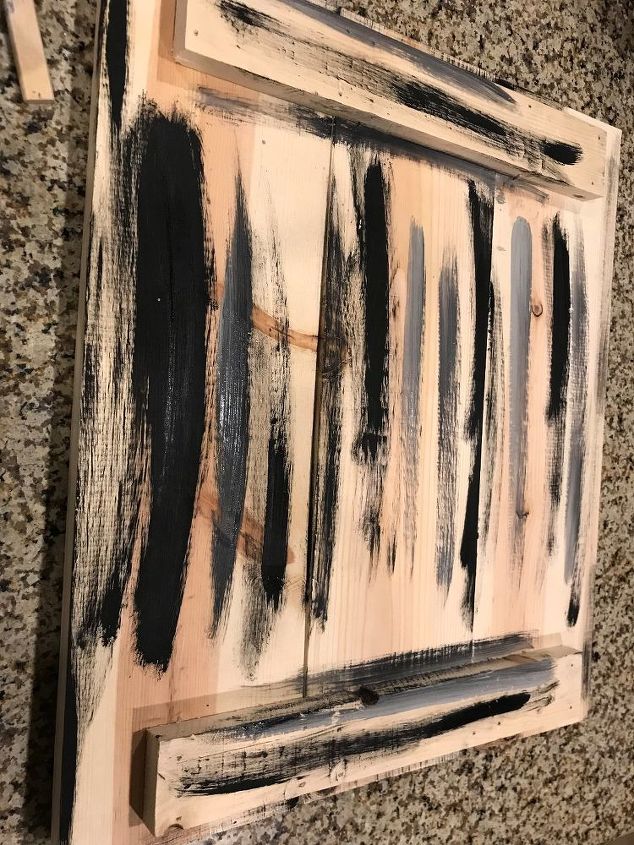
2. I then just dry Brushed a few streaks of Steel Town AKA Grey (Plum City Paint)
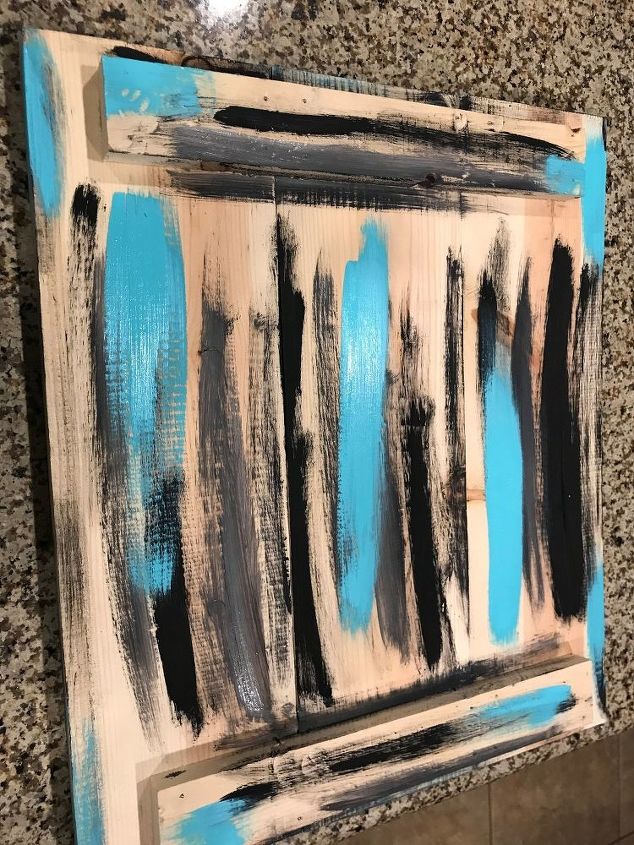
3. I just dry Brushed a few streaks of Azure Aka Teal (Fusion Paint)
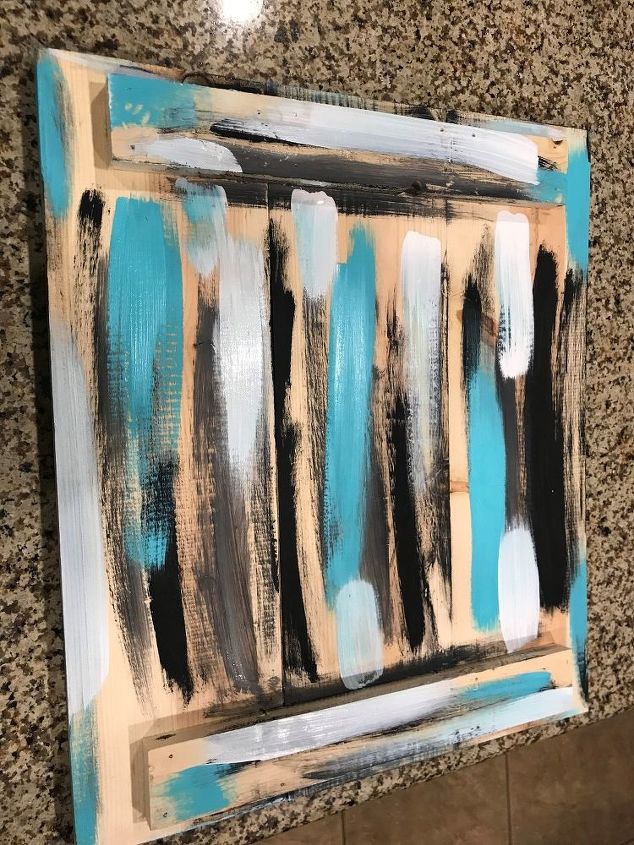
4. Then I just dry Brushed a few streaks of Chalk Bone White (General Finishes Paint)
5. Step Five I added the Miss Lillian gel stain over the whole tray. applying with a sponge.
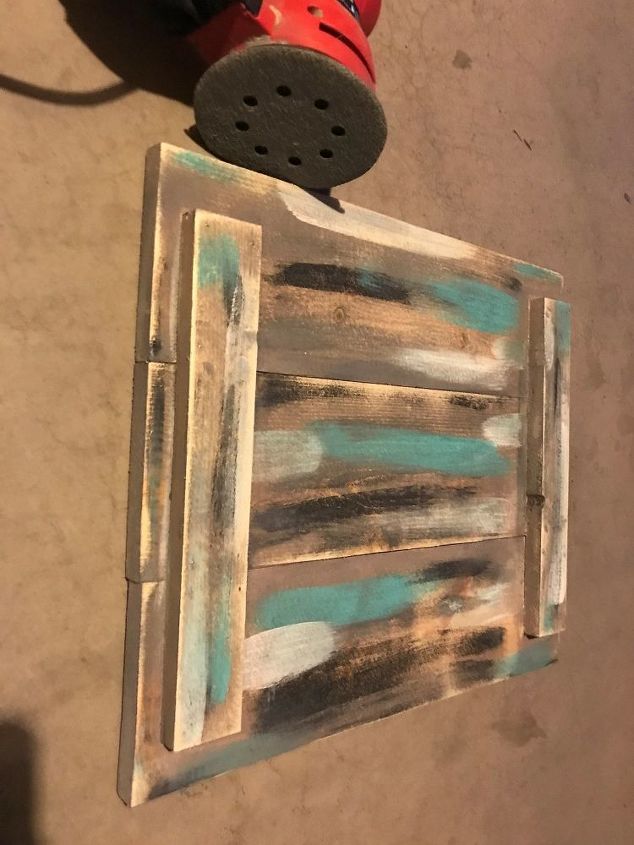
6. step six I took the tray and my sander on my porch to sand. Hoping I wasn't going to wake anyone up, it was about 6:30 am by now. Well normally it would be good, but since I made such lines I recommend to do a bit wider and blend a bit more. Again I started at 3 am I must of been to sleepy lol! So I had to take it back inside.

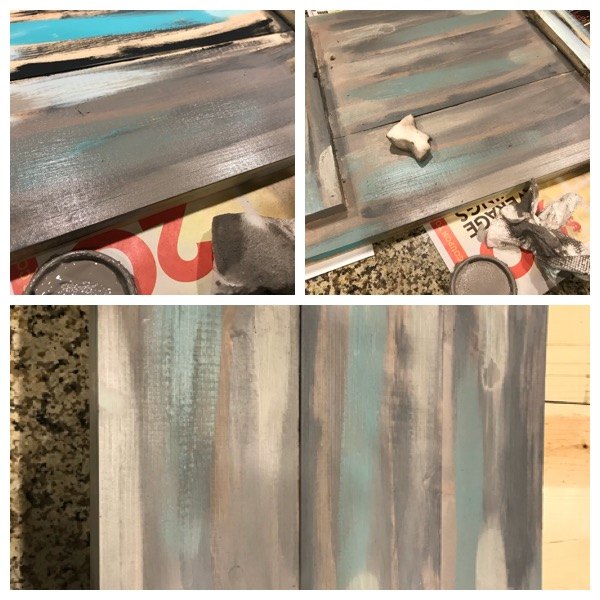
7. step seven I covered the whole thing with Chalk Bone White again. As you can see it was looking cool. I should of maybe just dry brushed heavy.
8. Step eight I took my chip brush and lightly dragged the gel stain over the whole thing. This when it stared to get a wood grain look
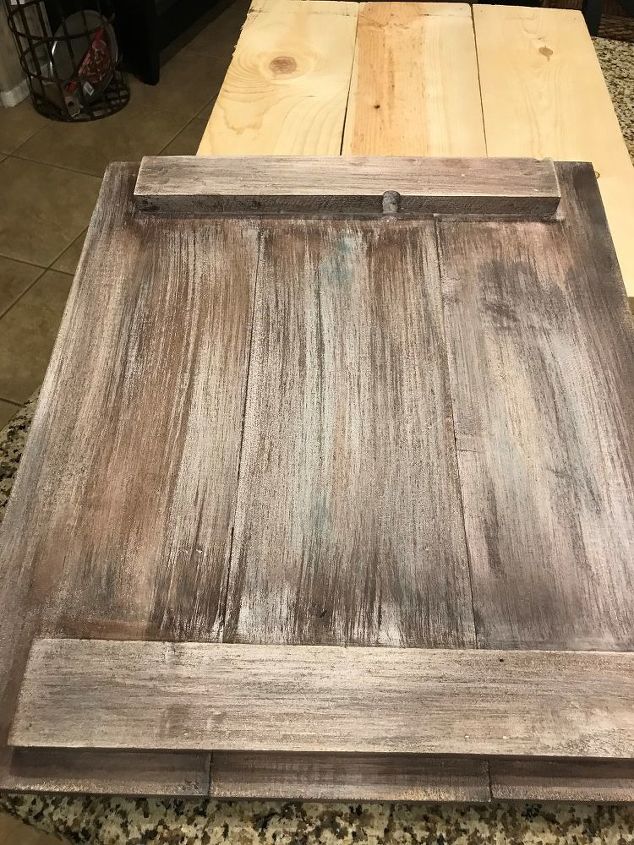
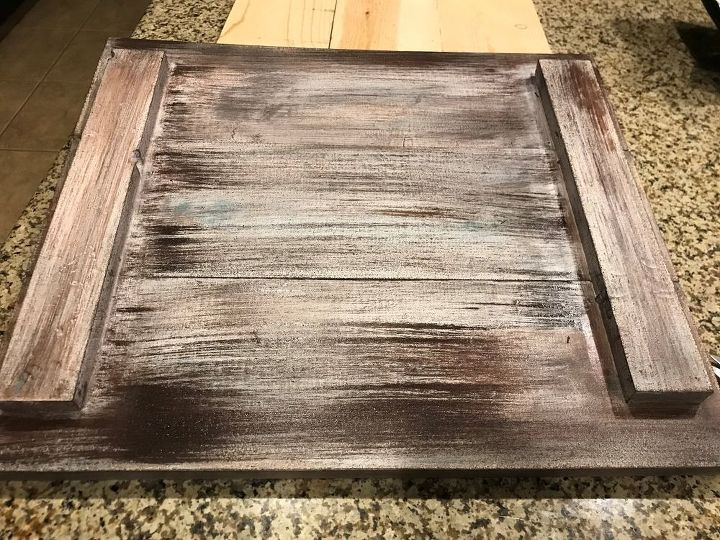
9 I took my rag and lightly whipped the excess of the gel stain off this where it looks like weathered wood.
10. Then back to the porch where I gave it a finial quick sand with the sander on the edges.
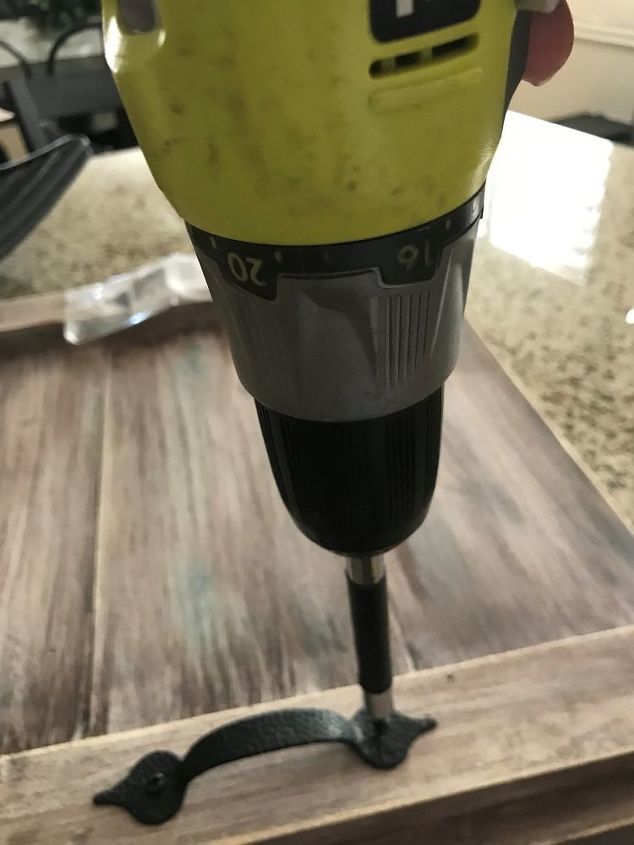
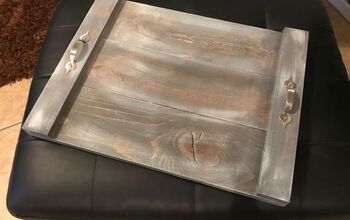
11. Add your hardware measure and line up. I did mine to the center of the middle bottom board.
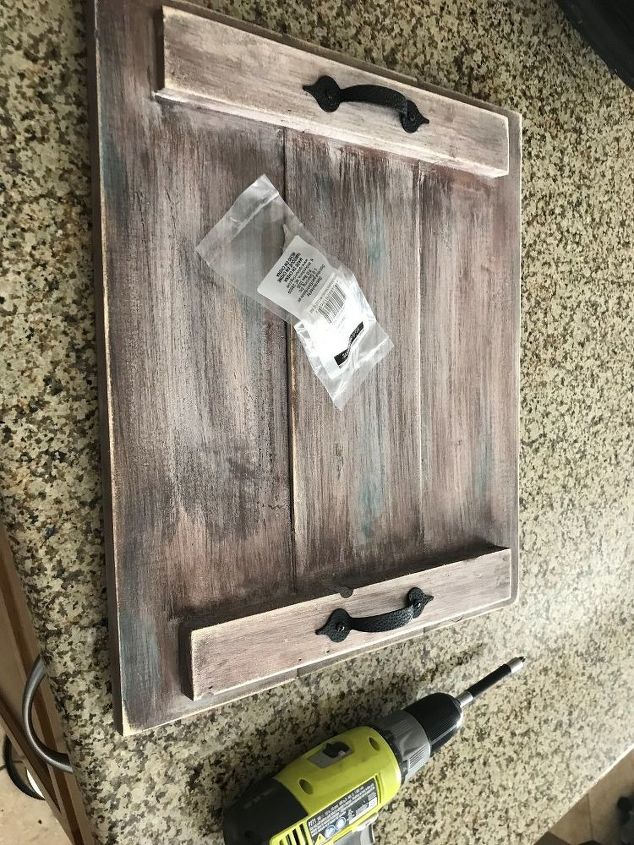
I finished the tray today after running to Lowes to get two handles. They were only $1.38 and there is no drilling required for these. So I grabbed these, It gives it a nice farmhouse look. Available at Gilbert Marketplace You can Find me on Instagram or Facebook.
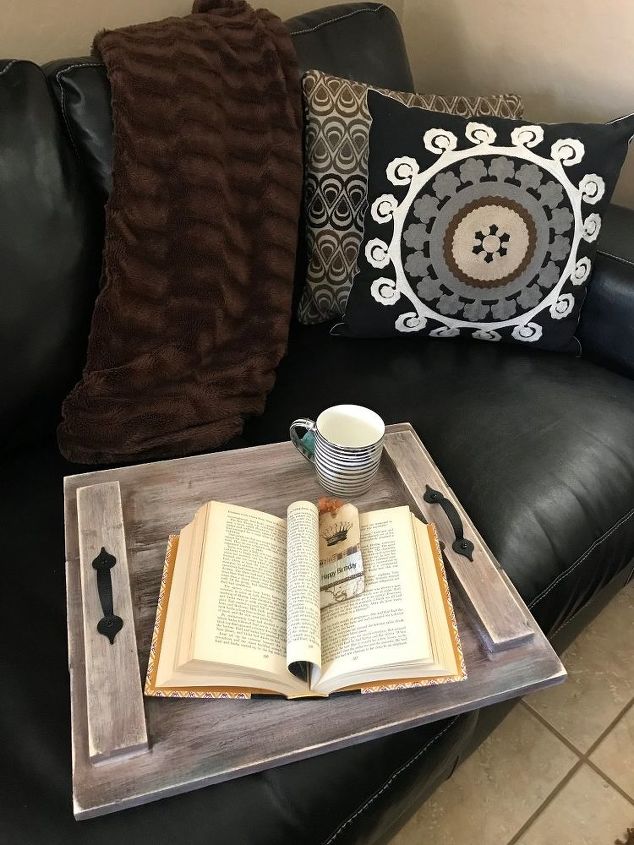
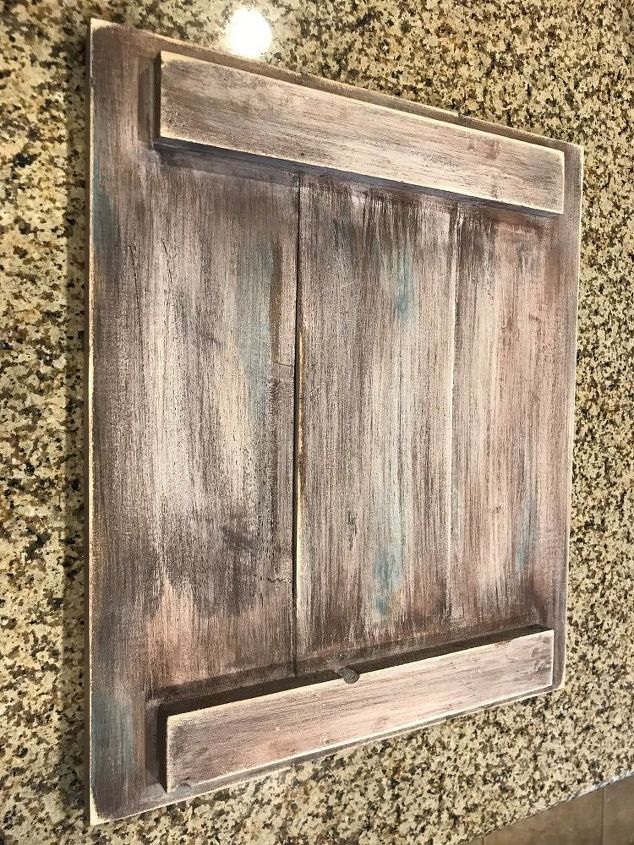
The weathered wood looking tray is complete and you can make this by using these steps on any wood project..


Any price and availability information displayed on [relevant Amazon Site(s), as applicable] at the time of purchase will apply to the purchase of this product.
Hometalk may collect a small share of sales from the links on this page.More info
Comments
Join the conversation
3 of 4 comments
-
Thanks your so kind. I did this grey stain and let dry. Then I dry brushed white on top!! Good luck!! Have fun
-
It looks so awesome!


Frequently asked questions
Have a question about this project?