


How to Thin Paint for Your Paint Sprayer

by
Natalie
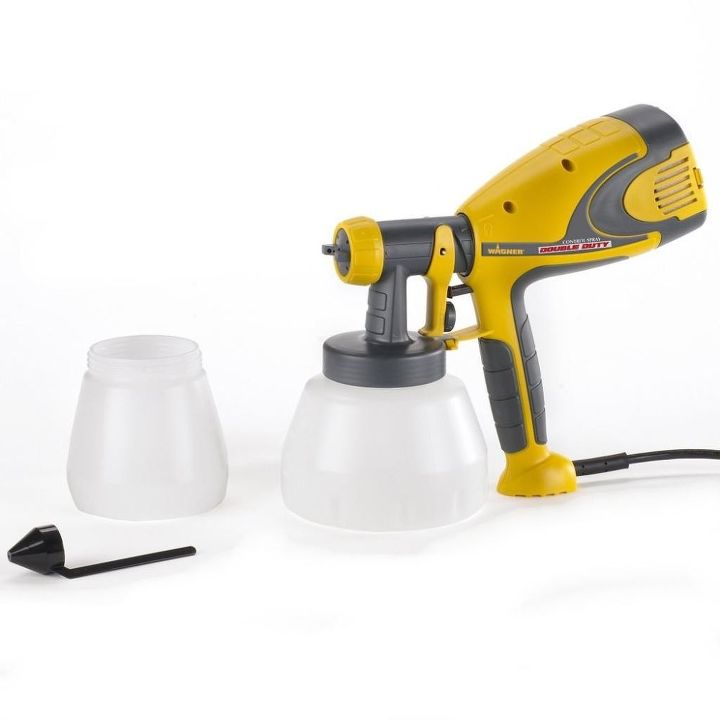
When we started painting furniture, we didn't have any outdoor space to paint in, except for our apartment balcony or the shared entry way. We lived that way for over a year while we brushed everything on. When we moved to a home with a garage and a decent sized backyard I was over the moon! I quickly started researching paint sprayers and had so many questions about how to use them and which one to get. After talking with my sister and mom who have paint sprayers I decided on the Wagner Double Duty Paint Sprayer.
My go to paint is Behr paint made into homemade chalk paint. I love the color variety it provides as well as how easy it is to get. I've also used Country Chic Paint (love!! and it's already mixed up into chalk paint) as well as Valspar ( from Lowes) and Glidden (from Home Depot).
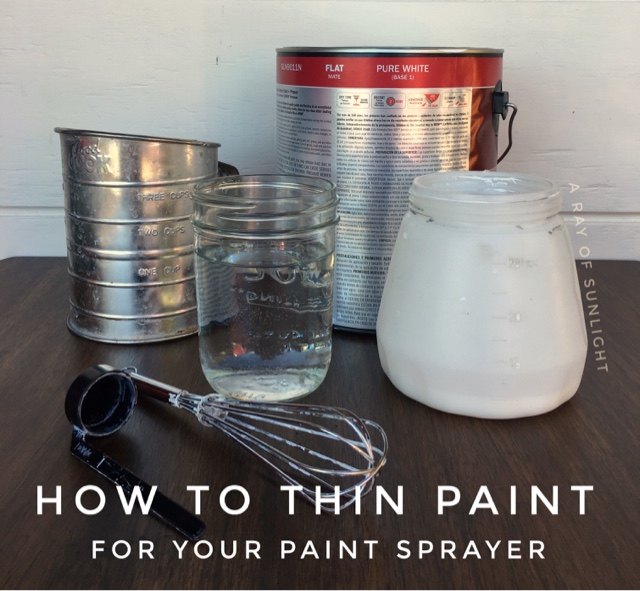
To thin your paint you'll need:
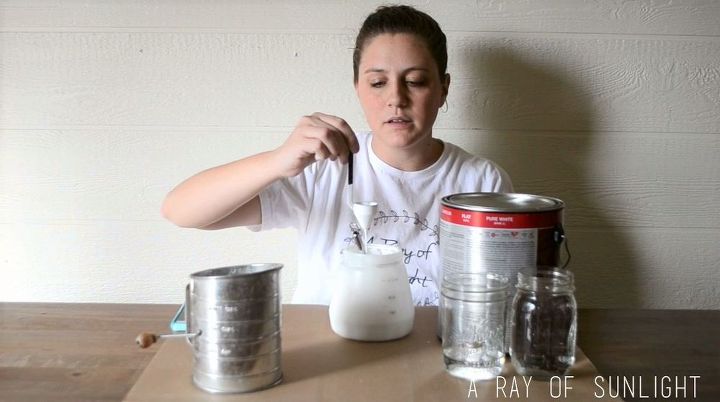
Once I have the right consistency I wash off all the the tools for next time and screw the head of the paint sprayer onto the container. That's all there is to it! Super easy and can be done pretty quickly, especially if your chalk paint is pre-mixed like Country Chic Paint.
Want more details about this and other DIY projects? Check out my blog post!
Comments
Join the conversation
1 comment
-
Chalk paint is same I think... I'm reading this site on painting
https://www.bradthepainter.com/best-ceiling-paint/
sprayers quotes:
- Soak the sprayer nozzle right away when done: this is normally going to be water, but if you spay oil, have your cleanup station ready–don’t let your tool get dry
- Soak the sprayer tip in a bucket when you put it down to do something else other than spray: keep it wet as it will clog fast, especially on a hot day


Frequently asked questions
Have a question about this project?
did you still add water to the chalk paint too? does it change the chalk paint or is the chalk paint still the same and easy to distress once dry?
thanks