


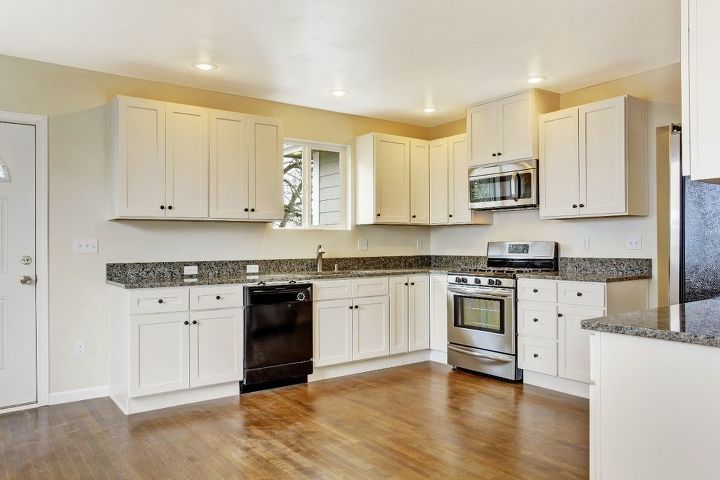
Chipped and Peeling Cabinets: How to Treat Paint Damage
by
Kasey
3 Materials
$125
2 Days
Medium
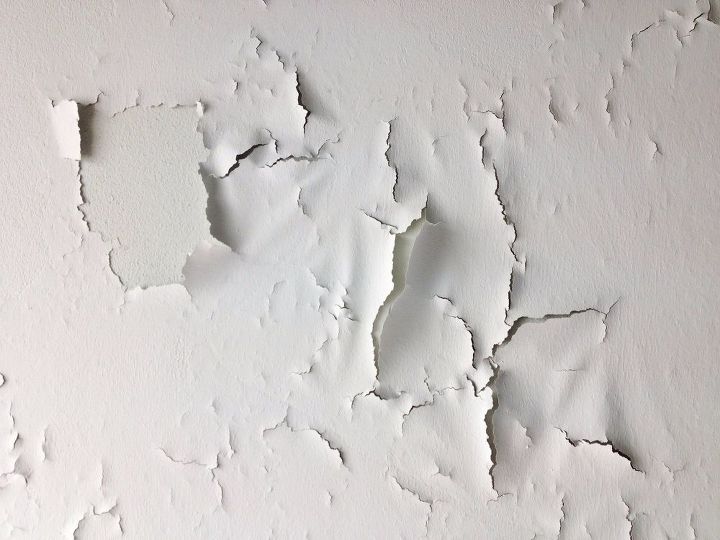
Paint that’s begun to peel is a sour surprise for anyone to come across, especially when it’s found on commonly used cabinets which you just can’t ignore.
Maybe it’s due to natural moisture in a humid home, or grime that was left under the current coat, or maybe it’s because the paint covering your cabinets was never applied properly in the first place. Well, regardless of what the reasons might be, the important thing now is fixing the problem so your cabinets can look as clean and crisp as they did when you first got them new.
Assess Damage
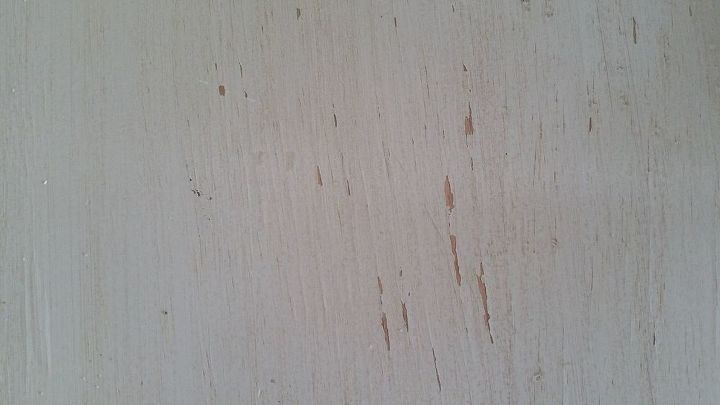
Before you get to scraping and repainting your cabinets, first consider the severity of their wear.
If only small concentrated areas of paint are chipped or scratched, then you may be able to simply touch up those spots with a quick fix that only takes a few minutes to complete. However, if your cabinet is showing severe signs of peeling, then you’ll need to go through the entire process of removing the old layers of paint and reapplying a new coat.
Inspect the paint of your cabinets thoroughly to decide which treatment would be best for your own situation.
Touching Up Chipped Paint
Depending on the extent of damage, prettying up your cabinets might be a shorter repair job than you’d expect.
If the paint isn’t completely peeling and you only need to refresh a couple chipped places, a fast paint touch up should be more than enough to get your cabinet back into its prime.
Steps:
1. Sand the affected area
Using 180-grit sandpaper, thoroughly sand down the damaged spaces on your cabinet so that they will be able to better take on paint and allow for a smoother looking repair.
2. Paint Over Shallow Chips
If chip damage is light, you can simply paint over the sanded area with paint in the same shade of your cabinet, and it will look good as new. However, for deeper scratches and chips, you will need to fill them in first.
3. Fill Deep Gouges with Wood Filler
If you do find more significant damage in your cabinet’s paint job, then use a craft stick to apply wood filler in the damaged areas so that they are even to the cabinet’s surface. Let the wood filler dry, and then lightly sand it once it does.
4. Prime and Paint
After the damaged areas are dry and sanded, apply a primer to protect your future coat of paint and allow it to more effectively adhere to your cabinet’s surface.
Finally, complete your repair job with a shade of paint that matches your cabinet’s original color, and let it dry.
Repainting Peeling Cabinets
If your cabinet is unquestionably peeling, then you’ll have some more work cut out for you. But don’t worry, with a little time and patience, you’ll have it looking brand new before long.
Just follow these steps:
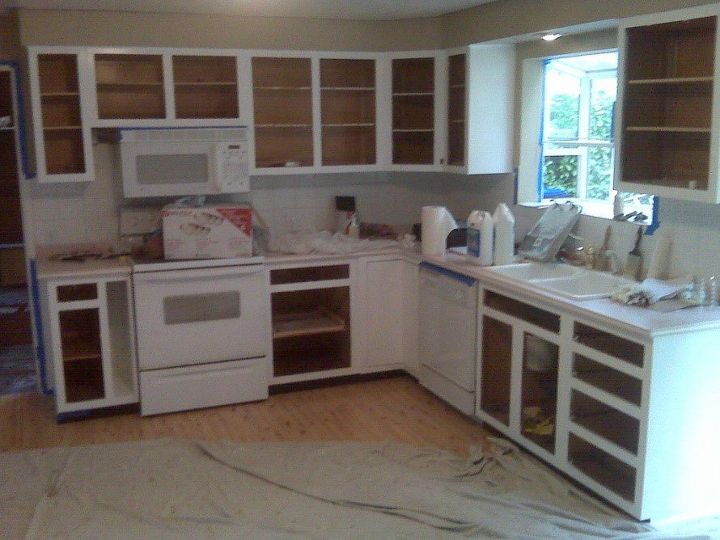
1. Strip Off the Old Paint
Once paint starts peeling, the only surefire and lasting solution is to remove the peeling coat completely and apply an entirely new one.
So, the first thing you’ll need to do is take a paint scraper and carefully remove all of the paint that currently covers your cabinet.
2. Sand it Down
Using 180-grit sandpaper, gently sand your entire cabinet box to make it smooth enough to more effectively take on paint.
If there are holes, gouges, or other signs of damage on your cabinet, it is best to repair them with wood filler at this time to create the most even surface possible before you get to priming and painting.
3. Clean the Surface
Lightly dampen a sponge and wipe over your cabinet completely to clean any dust and remnants that were left behind during your stripping and sanding processes.
After cleaning, allow time for your cabinet to dry before moving onto the remaining steps.
4. Prime
Before you can repaint your cabinet, it’s important to apply a layer of primer so that the paint won’t end up peeling on you again. Otherwise, you may have to deal with the frustration of repeating this entire process again. Follow the directions left by the manufacturer of your chosen primer, and then let your cabinet dry once more before you start applying paint.
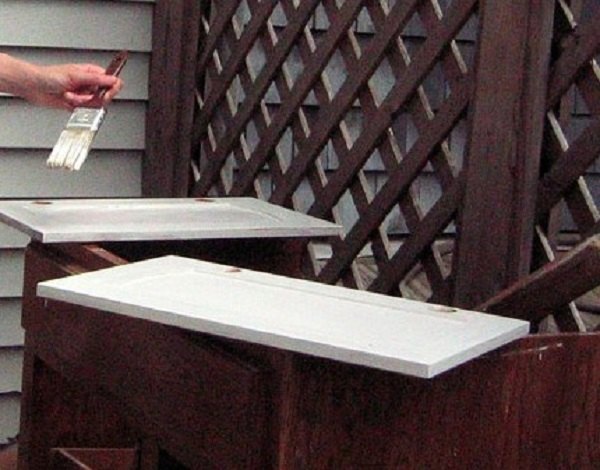
5. Paint
After all the preparation has been done, all that’s left for you to do is finally paint.
Evenly spread the shade you’ve chosen over your cabinet’s surface, and then let it dry for as long as directed depending on the paint you’ve purchased. Apply a second layer to your cabinet if necessary, let that dry as well, and you’ll be free to stock and enjoy your freshly repainted cabinets.
Comments
Join the conversation
2 comments
-
Excellent tips! I always say "Prep is the key"! You covered it all.
-
Good tips. Thanks for sharing the information!👍️


Frequently asked questions
Have a question about this project?