Captains Chair Restored

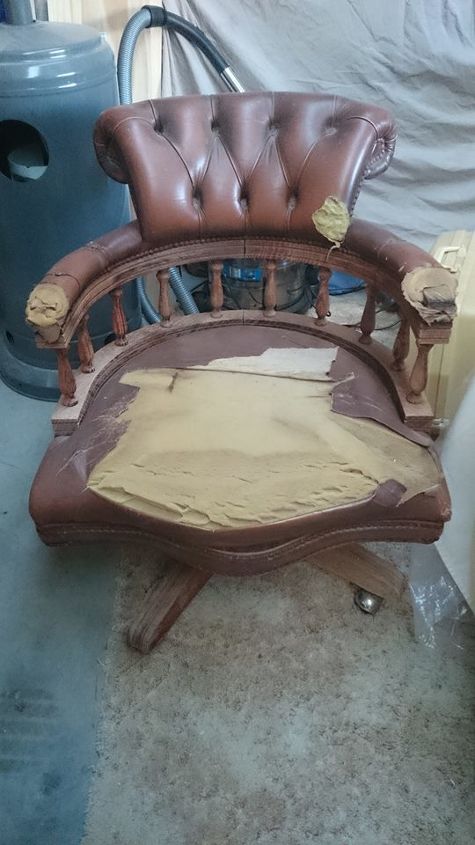
This captains chair would of ended up at the dump, but I spotted it first and took it home to try and give it a makeover. I am still learning so practising on old free furniture is a good way to learn new skills without the big expense. I knew I had leftover faux leather from a previous project so I gave it a go.
I do seem to have a knack for seeing past all the damage, and seeing potential in my head. They don't always work out but this one exceeded my expectations. One thing I have learnt playing around with restoring furniture is that it is not as hard as people may think. Fear of making a mistake stops some people from trying (That was always my problem)
All the wood on the chair looked dried out and damaged and the studs were all rusted. Removing a few screws here and there allowed me to stripe the chair down so it was easier to repair. Because spindles are hard to sand I used paint stripper to remove all the old stain and varnish. Once the stripper started to lift I used a hard scrubbing brush and hot soapy water to remove all the old varnish.
I sanded the legs and had to do some repairs to the base because the supports that keep the legs in place were missing. I cut new ones from scrap wood. The rusty wheels where all cleaned up and sprayed with a new coat of spray paint and oil.
The base did have some damage to the foam, I cut a new piece from an old camping mattress and added new leather.
The top was the hardest part because it was something I had never done. I removed the old leather and used it as a template for the new piece. I started in the middle and worked my way out.
I could not work out how they did the bottom, so I change the design which I think still looks great. The wood was stained dark mahogany and given 2 coats of varnish.
I found these continuous studs which worked a dream on this project. I recovered the arms and stapled the leather in place and hid all the staples with the studs
And this was my chair fully restored to its former glory at a fraction of the cost to buy one. For more before and after photo's and more detailed info you can visit my site below. The cost of this project will depend on what materials you have at home. Being a Diyer I had everything that I needed left over from other projects.
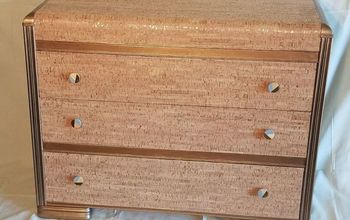
To see another great restoration check out my antique dresser and the leather top office desk.
Enjoyed the project?
Suggested materials:
- Faux leather (Amazon)
- Studs (Amazon)
- Stain and varnish (hardware store)
- Buttons (amazon)

Comments
Join the conversation
-
 Lisa
on Dec 28, 2018
This is absolutely gorgeous! Great job! I saw a similar chair on FB Marketplace the other day, with a seat in about the same condition as yours was originally. I think I'll go back and see if it's still available!
-
-
 Karen mehta
on Jan 04, 2019
Really great job. Thanks for taking time to post.
-











Frequently asked questions
Have a question about this project?