


How to Repair a Window Screen With Tears and Holes

By Brooke Ressell
While intact window screens may be the very last thing you notice about your home, a torn, shredded, or sagging screen will certainly start to draw your attention. As humans, we want everything we own to look nice and be functional, but a damaged window screen is no longer either of those two things.
Because instead of filtering out leaves, dirt, and debris like they once did, or stopping pests from making their way inside, your damaged window screens are now failing to keep the elements outside where they belong. And they’ve become a huge eyesore over time, noticeably lowering your home’s curb appeal.
Of course, up to this point, you had no idea how to repair a window screen, and you wondered how much this little problem was going to cost you.
But fear not! Because no matter how it happened—from your cat climbing your window screens to a bird flying directly into them—we’ll walk you through all the steps you need to fix or replace a window screen on your own with less time commitment and fewer out-of-pocket expenses than you were expecting.
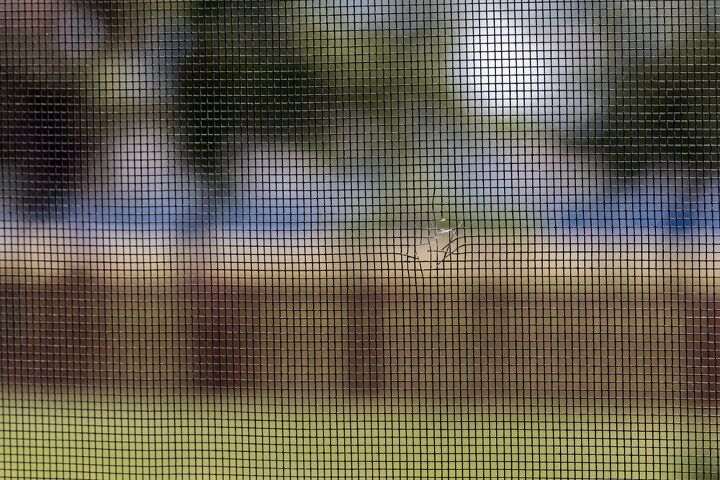
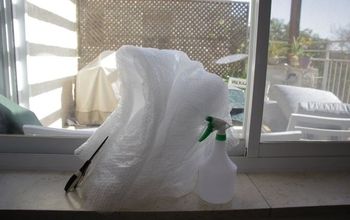
Photo via Shutterstock
How to Repair Small Tears in Window Screens
When it’s time to fix window screens in your home, the first thing you want to do is to decide whether you should simply repair or replace the screens entirely.
In this section, we’ll show you how to repair small tears in your window screens so that they’ll look as good as new.
Tools and Materials Needed:
- Work gloves
- Tweezers or a sewing needle and fishing line
- Super glue
- Clean work towel
Step 1: Determine the Type of Screen
Determine what type of window screen you currently have: metal, vinyl, or fiberglass. If you can’t tell yourself, bring your window screen into a home improvement store and have a professional assist you.
Step 2: Put Work Gloves On
Since you’ll be working with materials with potentially sharp edges and super glue, it’s always a good idea to put work gloves on before you begin. Otherwise, you might cut yourself or super glue your fingers together by accident.
Step 3: Repair the Small Tear
If you're working with a metal window screen, use tweezers to twist the loose strands back into place then seal them shut with a small drop of super glue.
If you have a vinyl or fiberglass window screen, use a sewing needle and fishing line to stitch up the tear then seal it with a small drop of super glue.
Don’t Have Super Glue?
Step 4: Remove Excess Glue
Lastly, remove any excess glue by dabbing it away with a clean work towel before it hardens.
How to Patch Holes in a Window Screen
Another way to fix window screen mesh is to use a patch. This DIY screen repair technique focuses on larger holes and is both easy and affordable using a window screen repair kit.
Tools and Materials Needed:
- Work gloves
- Utility knife
- Measuring tape
- Window screen repair kit (which one you need will differ based on what material your screen is made of)
- Tweezers or transparent silicone
- Clean work towel (optional)
Step 1: Determine the Type of Screen
Before you begin, it’s important to know what material your window screen is made of. If you don’t know yourself, a professional at a home improvement store should be able to tell you.
Step 2: Put Work Gloves On
Wearing work gloves for this project will protect your hands from any sharp edges or adhesive products that may be needed.
Step 3: Cut Around Existing Hole
To make the patching process easier, cut a clean square around the existing hole in your window screen using a sharp utility knife.
Step 4: Cut the Patch
Use your measuring tape to measure the size of the clean-cut square you made around the existing hole. Then, using the utility knife, cut the patch included in your window screen repair kit to that size plus roughly 0.5 to 1-inch wider on either side.
Step 5: Secure the Patch
If you have a metal window screen, use tweezers to slightly unravel strands on all sides of the patch. Weave those loose strands through the original window screen, securing the patch to it.
If you have a vinyl or fiberglass window screen, you’ll simply glue the window patch into place with transparent silicone, and remove any excess glue by dabbing it with a clean work towel.
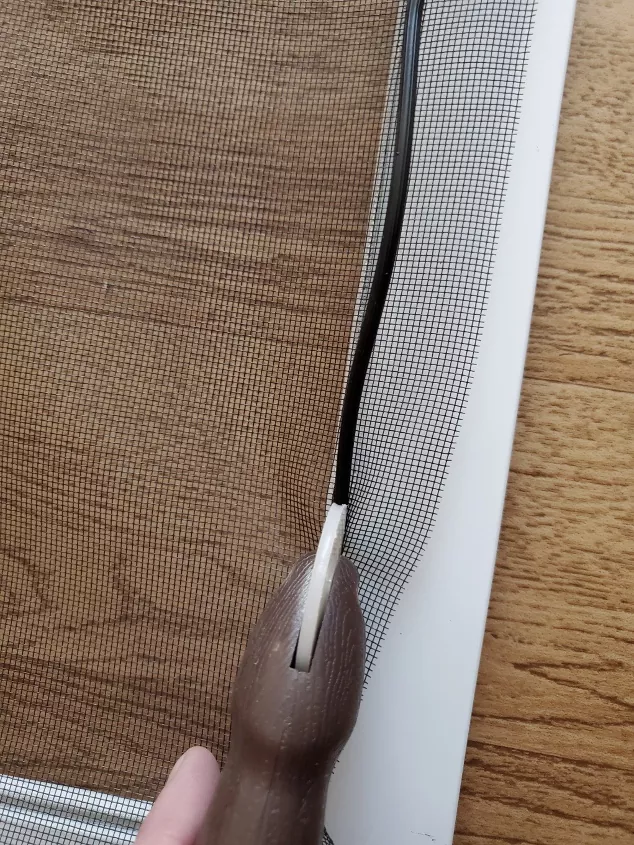
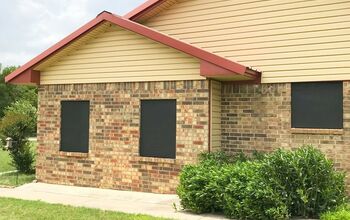
Photo via Staci Marie
How to Replace a Window Screen
Sometimes the damage to your windows is so large that you need to replace the torn window screen instead of trying to fix it. If that’s the case at your house, these handy tips will walk you through the entire window screen replacement process.
Tools and Materials Needed:
- Flathead screwdriver or awl
- Scissors
- Utility knife
- Measuring tape
- Roll of window screen
- Screen rolling tool
- Spline
- Brick (optional)
Step 1: Determine the Type of Screen
Since you’ll be replacing your current window screen with an entirely new screen, you want to make sure that the new window screen you install will match all of the other existing window screens in your house. If you’re unsure what type of window screens you currently have, simply bring your old screen with you and ask an employee at your local home improvement store for help.
Step 2: Remove the Window Screen
Remove the window screen and screen frame from your window and lay it on a flat work surface.
Step 3: Remove the Spline
Splines, which are the rubber pieces that hold the window screen material to the screen frame, dry out as they age so you should always replace old splines with new ones whenever you replace a window screen. Using your flathead screwdriver or an awl, work your way around the window, gently prying the old spline out of the screen frame.
Step 4: Cut New Screen
Roll the new window screen out over the frame and cut it to size with a pair of scissors. You’ll want to cut the new screen at least 0.75 to 1 inch larger than the frame on all sides, so use your measuring tape to obtain a precise measurement.
Step 5: Make a 45-Degree Angle
To keep your screen from bunching up as you attach it to the window frame, use your scissors to make a 45-degree angle cut at each of the four corners.
Step 6: Install New Spline
Make sure that the new screen is laying across the screen frame. Begin pushing the new spline into the groove of the frame along all sides by using a screen rolling tool. Doing so will secure the screen into the frame.
If you’re worried about attaching the new window screen too loosely or too tightly, install the new spline on two adjacent sides of the window frame first, and then place a brick onto the center of the screen before installing the spline on the other two sides of the window frame. This will help ensure that you have the right tension once you’re done.
Step 7: Trim the Excess Screen
Then, you’ll want to trim the excess screen around all four sides of the window frame. To do this, position a sharp utility knife directly on top of the spline and facing towards the outside of the window frame and cut along the spline, pulling the cut screen off as you go.
Step 8: Install Window Screen
Lastly, install your new window screen in your window.
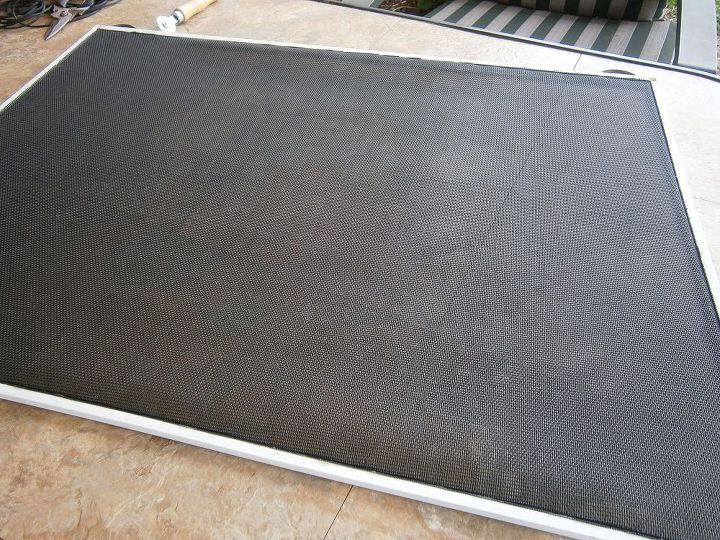
Photo via Kathleen Bell
Tips for Keeping Window Screens Intact
As you can see, when it comes time to fix a window screen frame that has been damaged—by either repairing a small tear, installing a patch, or even replacing a damaged window screen with an entirely new one—you can complete the entire project rather quickly and affordably.
But of course, keeping window screens intact before they get damaged is the ultimate goal. So here are four tips to help you keep your window screens looking and working flawlessly for years to come:
- Clean window screens the right way by gently vacuuming them with a soft-bristled vacuum attachment then wiping them down with an all-purpose cleaner and a microfiber cloth.
- Keep pets away from your screens whenever possible. You may need to just crack your windows open instead of opening them fully if you have cats who like to climb.
- If birds routinely fly into certain windows of your home, take preventative measures to stop them from doing so.
- Always keep sharp objects away from your window screens. If you’re moving something, be sure to stay clear of the screens themselves.
Do you have any tips on how to repair window screens? Share them down in the comments below!


Frequently asked questions
Have a question about this project?