


How To Make Custom Decoupage Designs On Napkins
Hi There,
If we haven't met, my name is Cindy, and I craft with recycled and repurposed materials. I recently learned this new technique that I wanted to share with you today.
In this post, you will learn how to use your inkjet printer to make custom decoupage designs on paper napkins for use on all your decoupage projects.
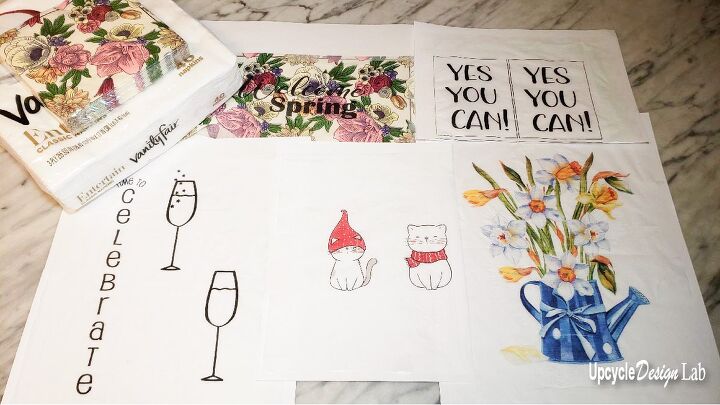
I am excited about this technique because it is so versatile. And it is an affordable way to customize almost anything.
Step 1 – Gather Supplies
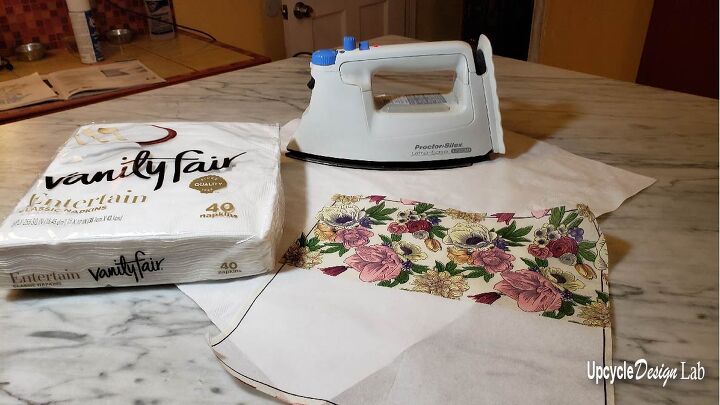
- Iron
- Paper Napkins
- Tape
- Scissors
- Printer
- Printer Paper
- Ruler
- Pen
Additional items for projects
- Something to decoupage
- Mod podge or other glue
- Paint Brush
You can watch the video tutorial or scroll down for the step-by-step process.
Step 2 – Iron Napkins
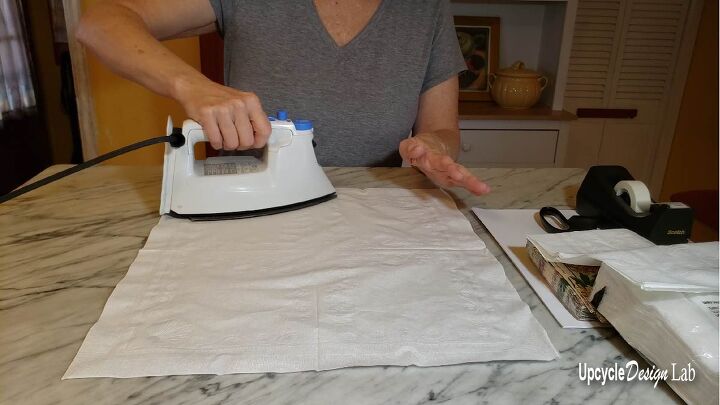
I used my iron on the hottest setting and worked from both sides to remove the folded creases from the paper napkins. Since I used solid white napkins, I ironed all the layers at one time.
Step 3 – Mark Napkins
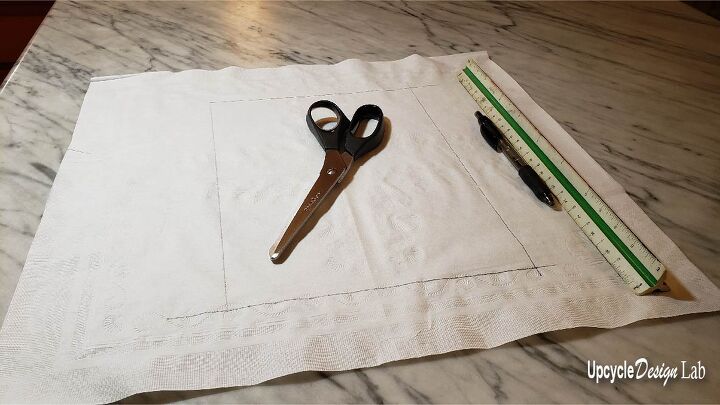
The next step is to use a ruler and pen to draw a rectangle about 3/4 of an inch smaller than a standard 8 1/2″ x 11″ sheet of printer paper.
Step 4 – Cut Napkin
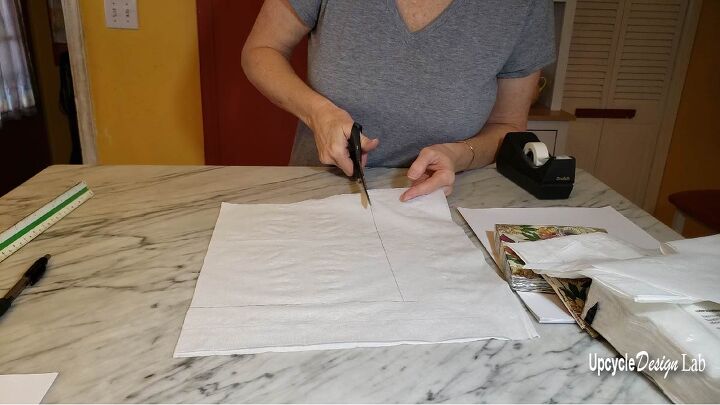
Once the napkin was marked, I used my paper cutting scissors to remove the excess pieces of the napkin.
Step 5 – Attach napkin to printer paper.
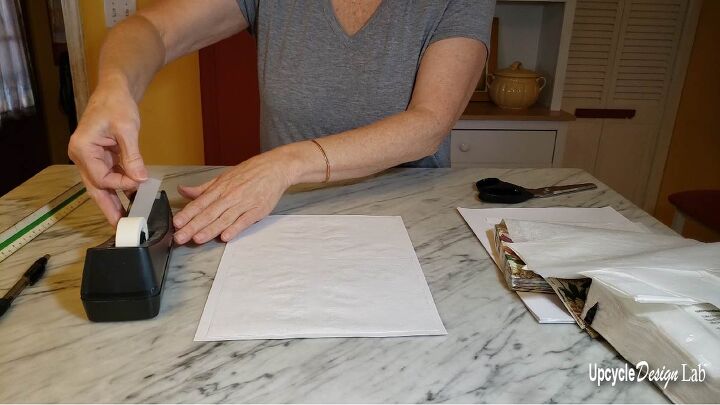
This step can be tricky as you want to secure the entire top edge of the napkin to the paper and tape the sides and bottom, keeping the napkin smooth and flat.
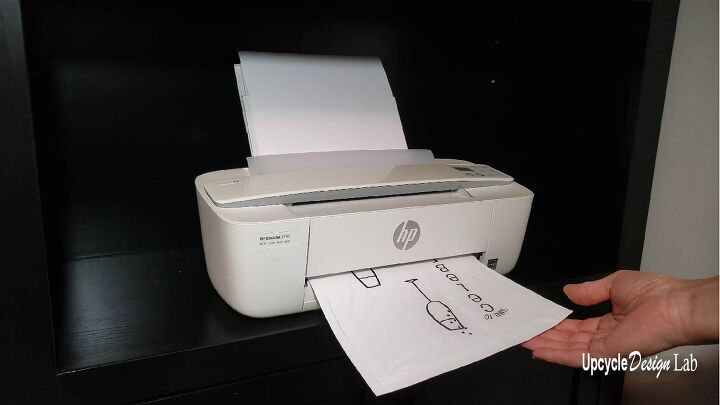
Step 6 – Print
Place the napkin and paper sheet in the printer and print out your desired art. I did experience a few paper jams in my printer with this technique, so proceed with caution.
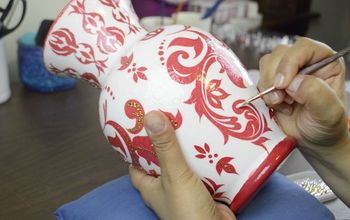
Step 7 – Apply
I am not very experienced at decoupage, but I swear by Mod Podge. Of course, they are not paying me to say that, but I really think they should.🙂
You can watch my Mod Podge vs. Homemade video for more information.
I should mention that the black prints worked really well, but the colored images, notably the red bled, which was rather disappointing. So if you know anyways to keep that from happening, I would love to know.
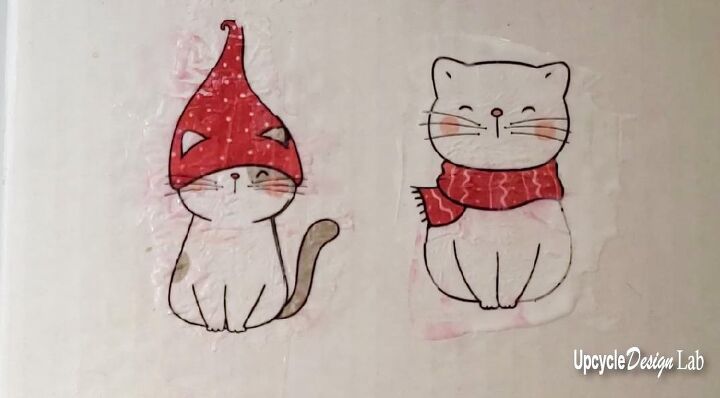
Happily, I didn’t have any problems with the black. Thanks for checking out my project.
For more upcycling inspiration please visit the Upcycle Design Lab.

Happy New Year to you.
And of course happy upcycling,
Cindy
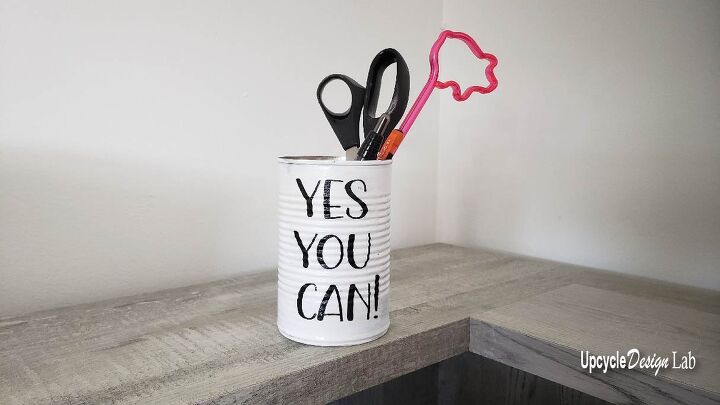
P.S. My motto for 2022 

Comments
Join the conversation
-
Set your printer to heavy paper. This setting will slow your printer down and will help with the smearing.
-
Spray a light coat of poly over the print before you decoupage it. It will set the ink. Make sure the sealer is completely dry before decoupaging. 😊


Frequently asked questions
Have a question about this project?
I am wondering why you need the napkin and not just use printer paper.