


Easy and Light Cornice Boards From Foam Board
1 Material
I decided that to complete the romantic look of my bedroom decor, I needed cornice boards. I scoured the interwebs and saw there were people using foam insulation board to make them. I was skeptical to say the least. But with the help of the Mean Man- we made it happen as is evidenced below.
First we had to choose the foam board. I found some at the home improvement stores that just seemed to thin. Well the Mean Man had a source for some free 2" foam board (that had been used for shipping) so he grabbed up a couple of big pieces. I told him I think I needed at least 17 tall and, to be safe, about 50" wide (I hadn't really done any serious measuring at that point and I was knee-deep in winging it). He got a couple of nice big pieces so we were in business!
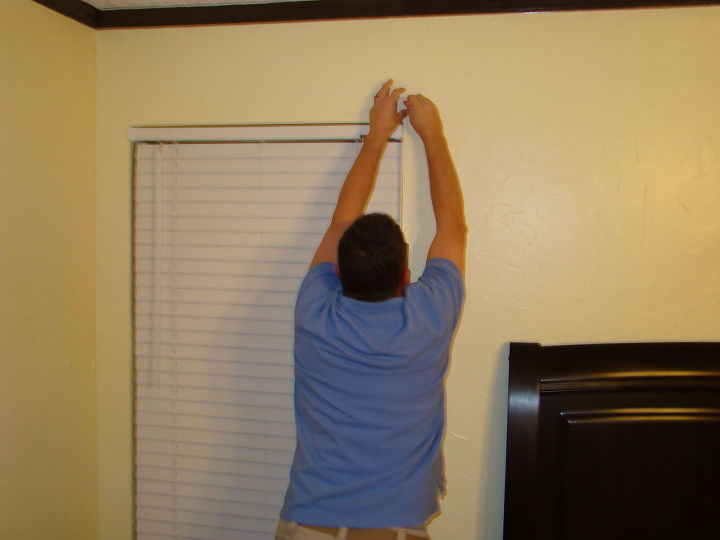
Measurements taken
Measurements:
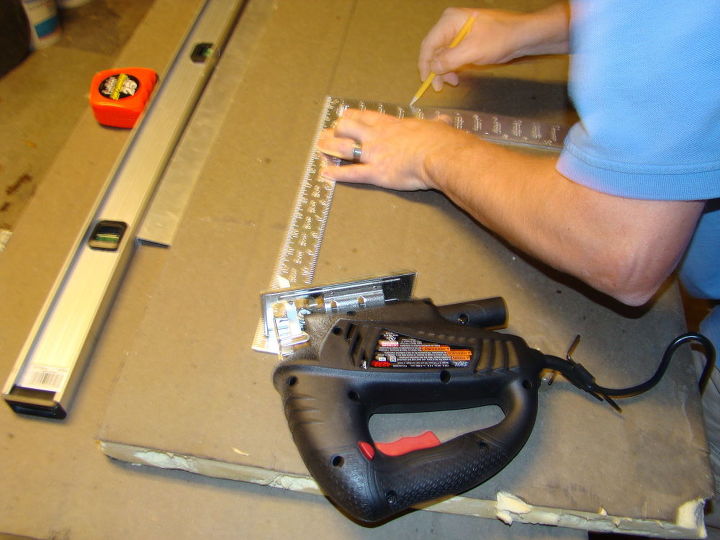
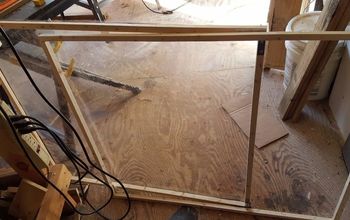
We transferred the measurements to the foam board and made the cuts. (I'm giving the Reader's Digest version here due to space), then we put the boards together. Details here: http://www.underatexassky.com/cornice-boards-from-foam-board
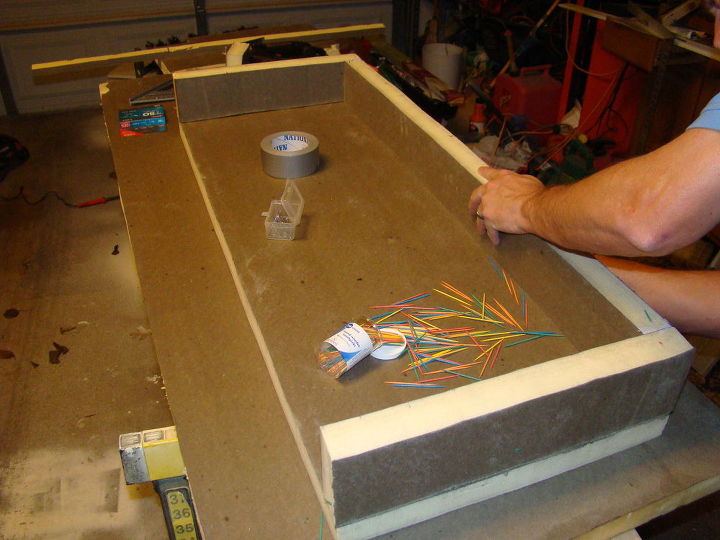
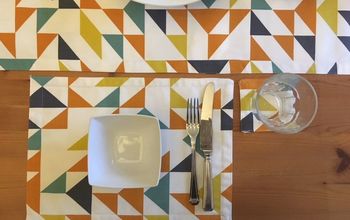
Here are the boards completed. We firmed the connections up using toothpicks if you can imagine that.
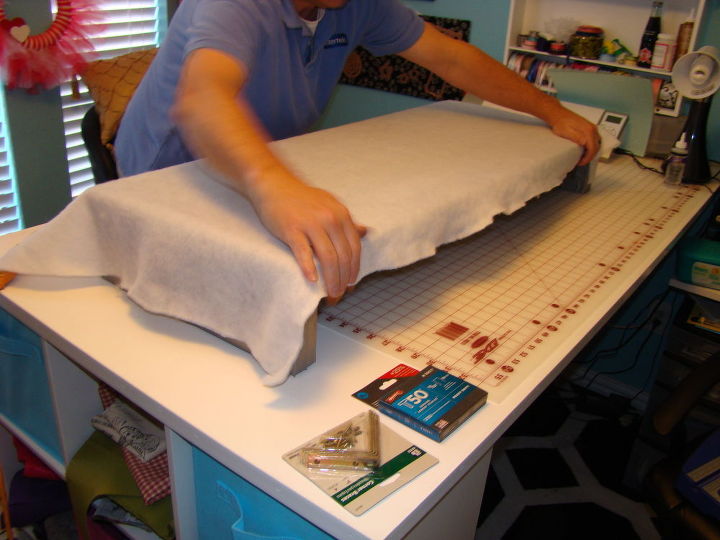
Cover the board with batting using a staple gun. I didn't want a heavily padded board so we went with a thin batting. Then next came the fabric. Now understand I was helping!!! But someone had to take the pictures.

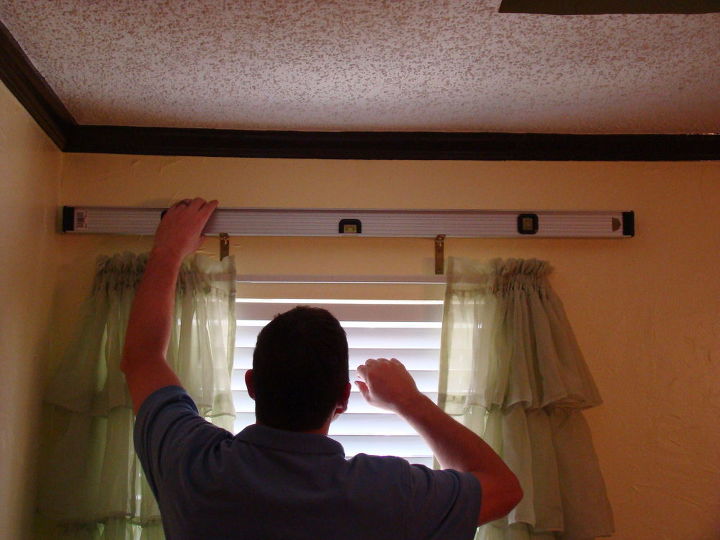
I added some fringe by using straight pins to attach it. Then "L" brackets were screwed in over the window. We used a long level to be sure they were even.
These boards are so light- they were a cinch to handle. He placed them on the brackets, then secured the brackets to the inside top foam board to make it really secure.

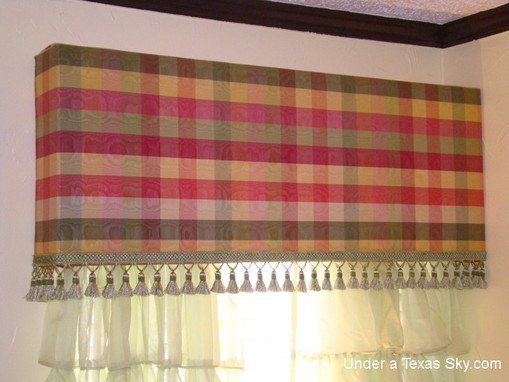
And VOILA! This is a CHEAP project even if you have to buy the board- it's around $8 for a huge sheet. I got my fabric at Hobby Lobby for a total of $25.18 (because it was 30% off), the fringe was $17.98 (because I had a 40% off coupon) and the batting was $5.98 (cuz it's just cheap) so for under $55 after tax, I got two beautiful windows treatments! Again- check out my website for more details.

Want more details about this and other DIY projects? Check out my blog post!
Comments
Join the conversation
3 of 92 comments
-
I like this idea and used it in the powder room of a previous home. One thing that is important to mention is that in the event of fire (God forbid) these pieces of foam can become poisonous gas. Insulation boards are meant to be inside of walls, I don't know about packing foam. But anyone with kids should take note.
-
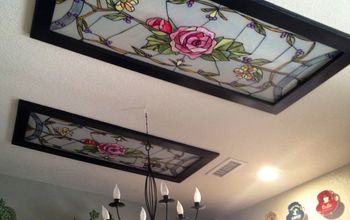
I Had a fugly looking side lights in my bathroom above the sink so just made a cornice for above the sink and I etched a design to the sides so the light would shine through


Frequently asked questions
Have a question about this project?