


Grown Up Shelf Re-do - From Childish to Chic Using Stencils

5 Materials
When my son's girlfriend decided she no longer wanted her childhood shelf, (complete with pen markings, stickers, marker, etc!) my son knew right where to bring it. I was determined to take it from childish to stunning - think I did a pretty snazzy job of it :)
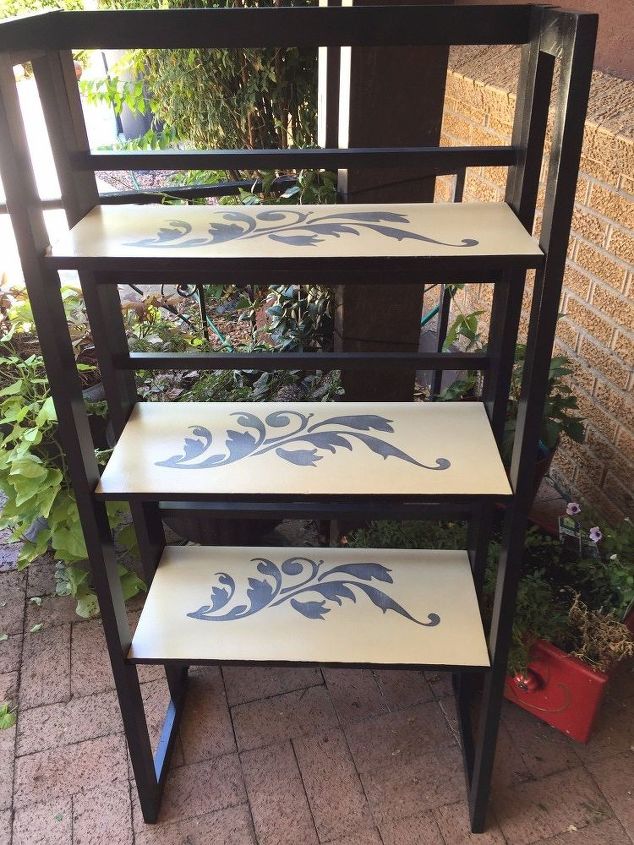
After - Ta Da!
I took me a while to get all of the "scotch" tape off, stickers and such. I gave it a good scrubbing.
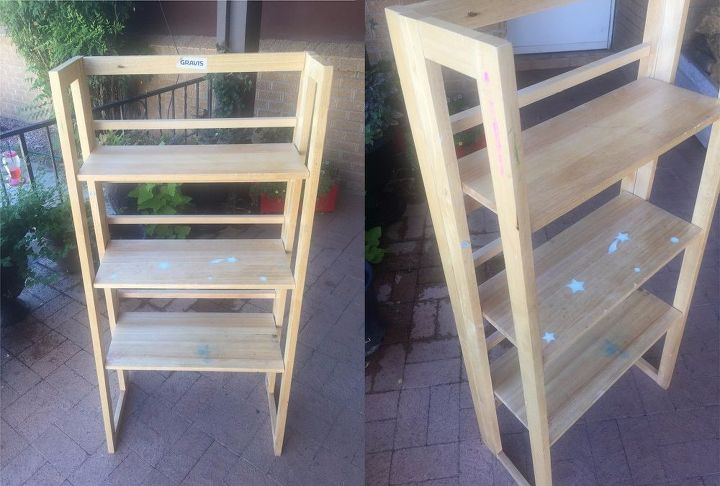
Before
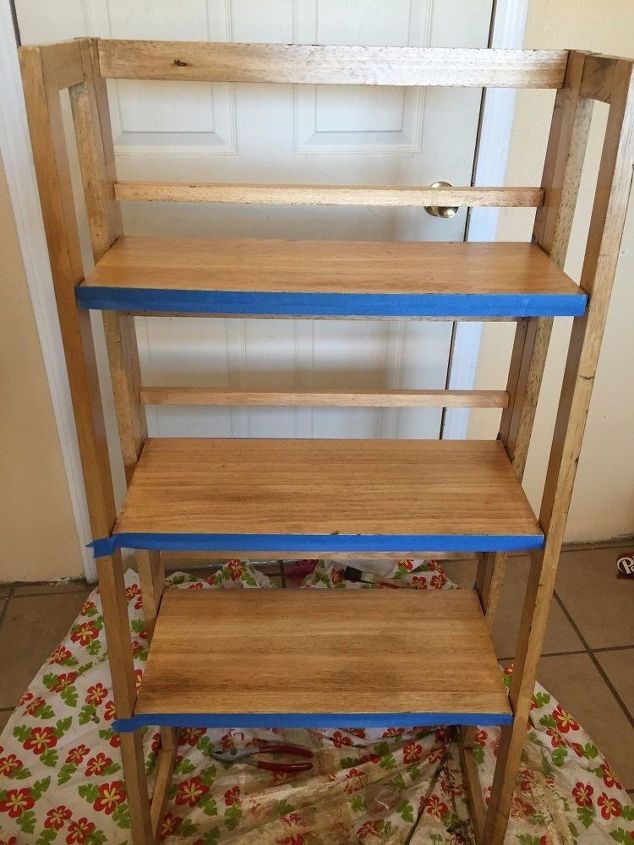
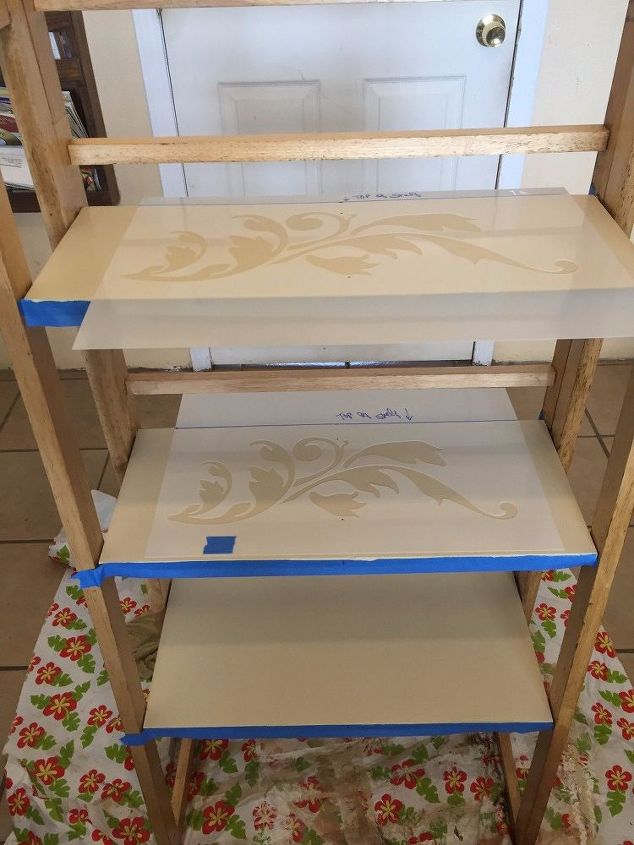
After cleaning, I stained the wood but I didn't like the result. It was way too marred. SO! Paint it was. I taped the shelves off. (Later removed to paint the frame.) Which I should've done in the first place. Hindsight. Yup.
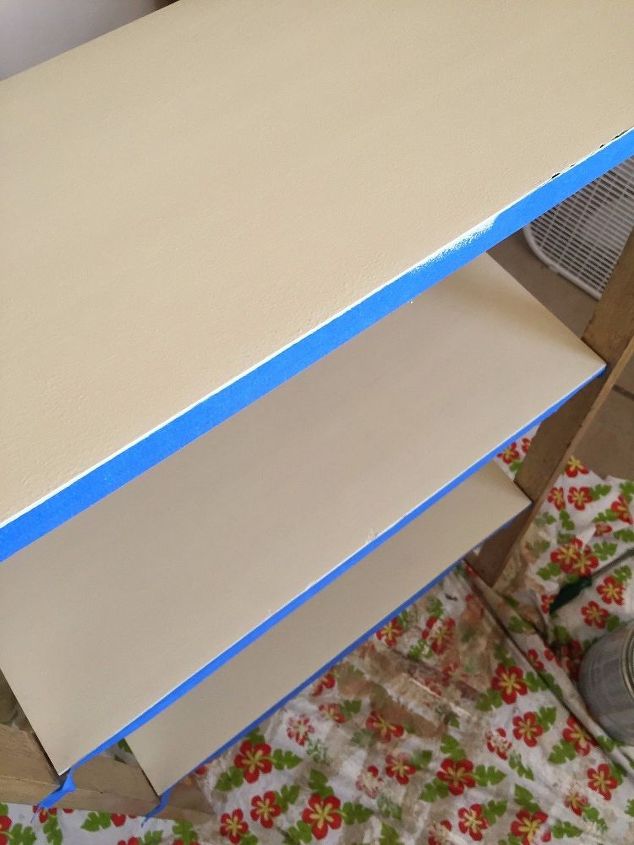
I painted the shelves with an Acrylic cream colored paint that I had left over. Purchased from Lowes, Valspar, but - it doesn't have the name. Durnit. It took three coats to cover correctly as I didn't use a primer first.
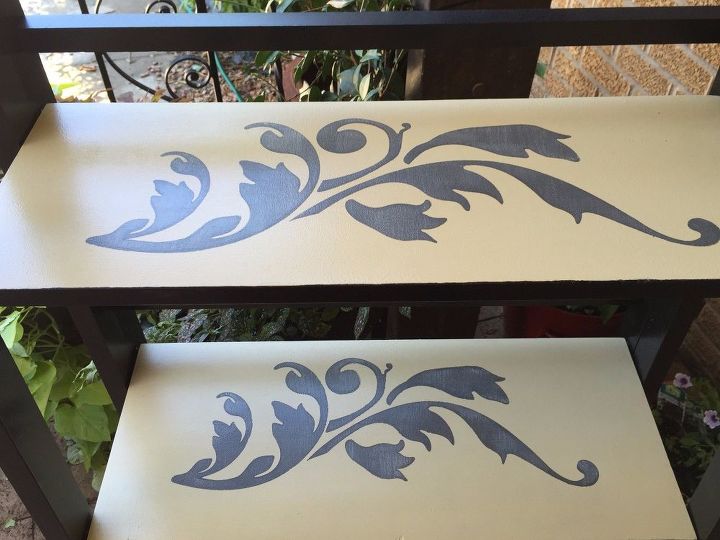
I chose my stencil placement by finding the center of the shelves and center of the stencil. I used my design Balborough (it's a border stencil and actually comes with two for easy repeating - handy, made the job go faster!) My designs can be used with paint or as a raised plaster stencil. Here's where to find the stencil: http://simplyspring.com/products/raised-plaster-stencil-balborough
Using a 3" stencil roller, I used a medium gray acrylic paint and rolled it over the stencil openings.
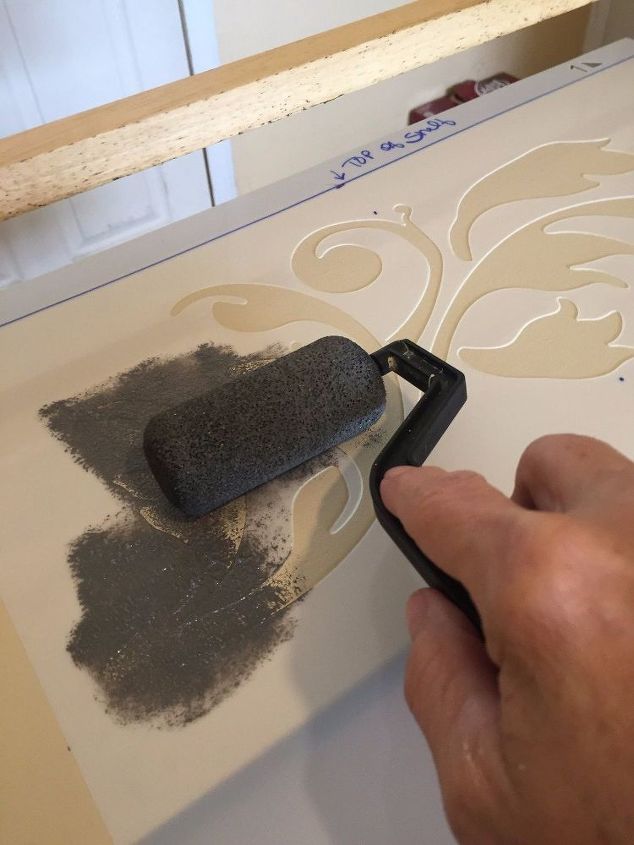
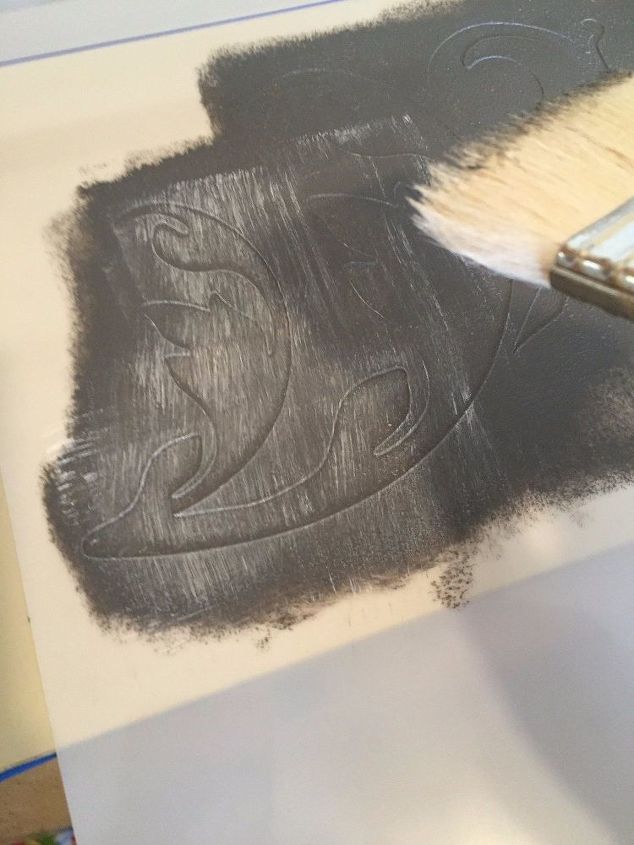
Once it was dry, I then dry brushed (taking most of the paint off the brush, I brushed on napkin to remove the excess) over the stencil to give it some character. Leave the stencil on while painting!
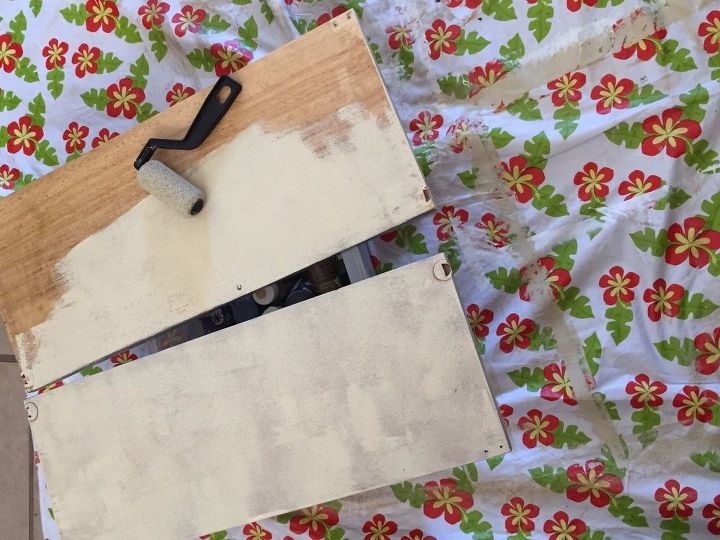
I took the shelves off to paint the underside of the shelves and painted the frame with a black acrylic. I sprayed the frame and shelves with a gloss clear coat. The shelves received about six coats as I wanted to really protect the design.
In hindsight, I kinda wish I had flipped the design to the left for some visual interest on the middle shelf......
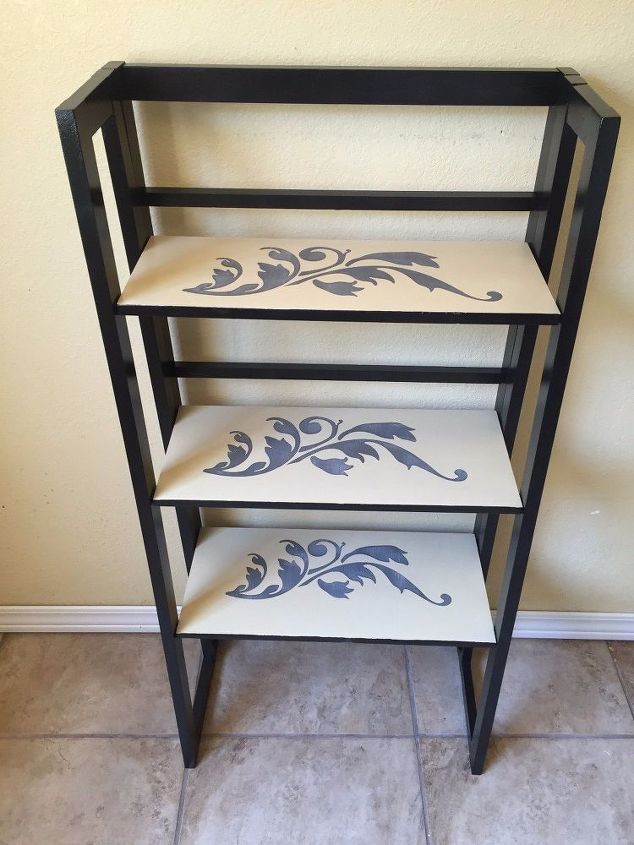
All done!
Thanks for stopping by - I hope you enjoyed my shelf make-over!
Comments
Join the conversation
2 of 26 comments
-
Very impressed
-
I think you did a fabulous job and it does look snazzy. In fact I plan to use it as inspiration for a bookcase. Thank you very much for sharing this project all the places to get the supplies.


Frequently asked questions
Have a question about this project?