


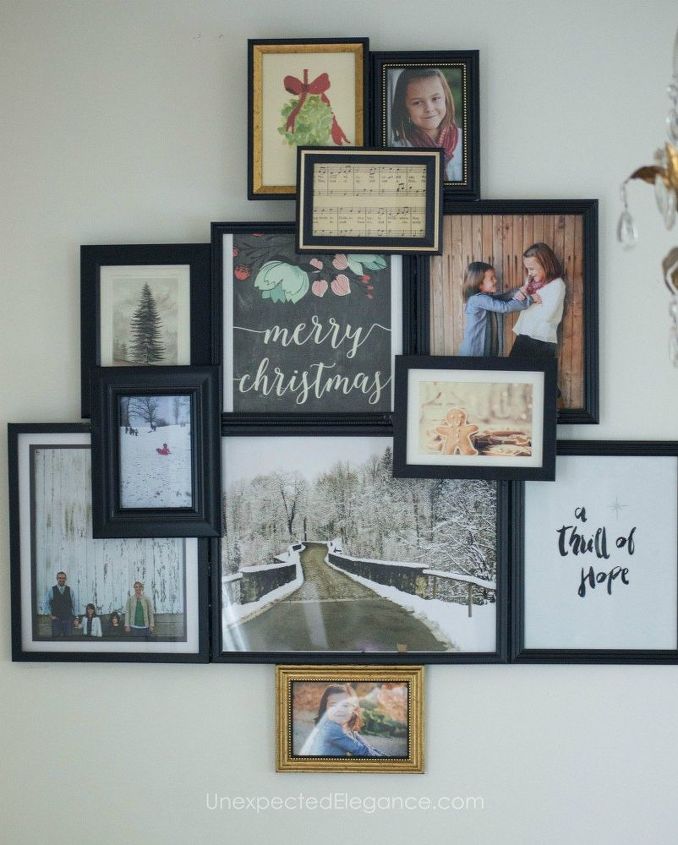
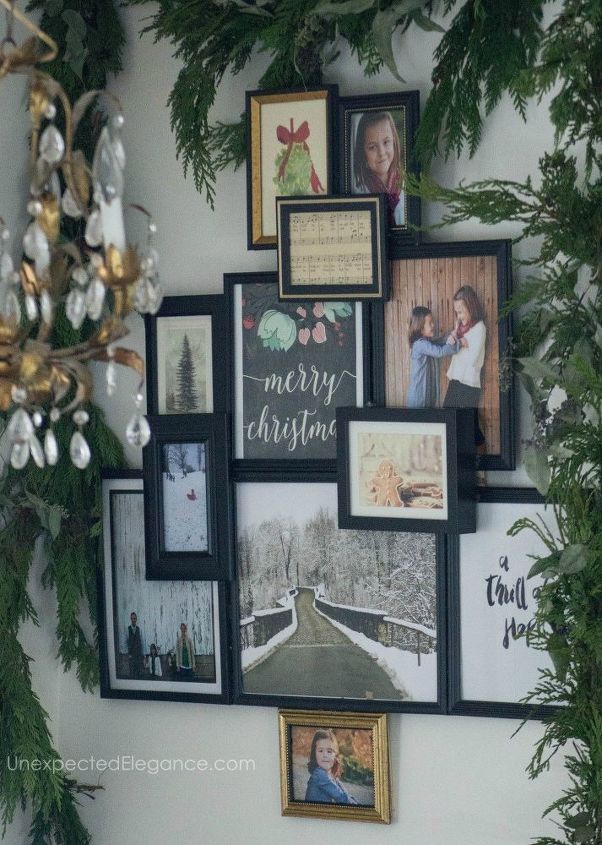
PHOTO TREE
6 Materials
The older I’ve gotten (and now that I have kids), I value pictures so much more. I want to remember the moments and preserve them in time. I’m still not the best at getting pictures printed, but I thought this year would be a great time to make something special just for our family! I created this photo tree for under $20.
I went to the dollar store and bought different size frames. You could also check thrift stores or just round up some frames you already have. You won’t be able to reuse them, so make sure you don’t need them for anything else.
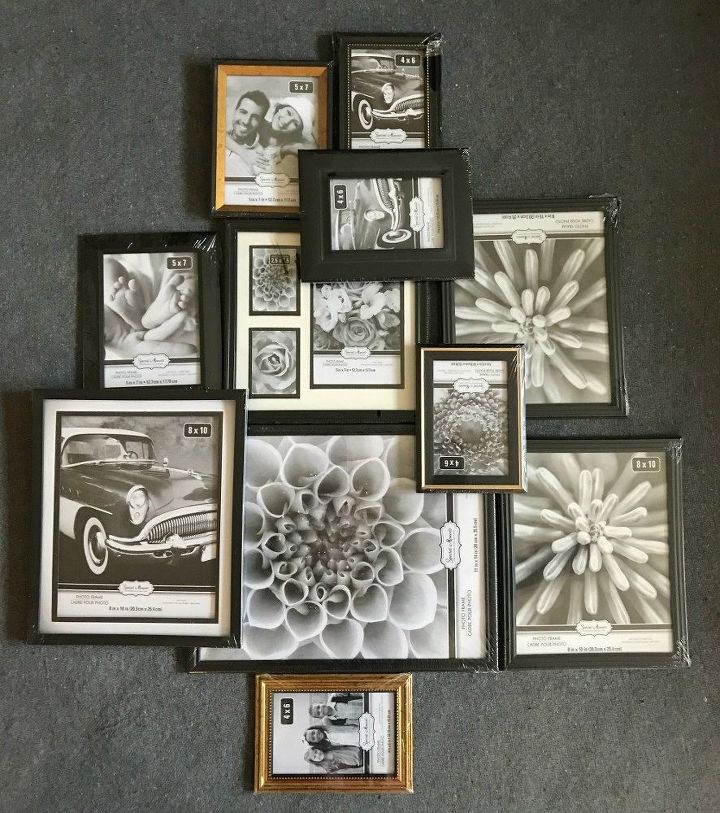
1. Layout the frames in a design that resembles a tree. You want all the frames to touch and you can even layer a few for some dimension. (They won’t make a perfect tree, only resemble one, so it’s OK if it’s imperfect!) You also might want to take a picture of it on your phone to reference as you work.
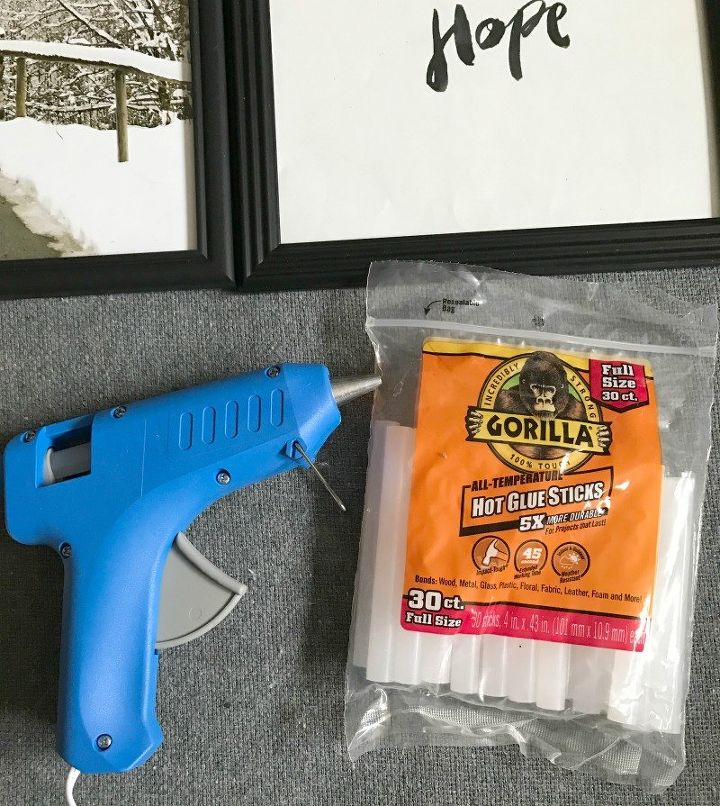
2. Once you have it all laid out like you want it, put all the pictures in the frames, then heat up your glue gun. You will need Gorilla Hot Glue for this project to work!!
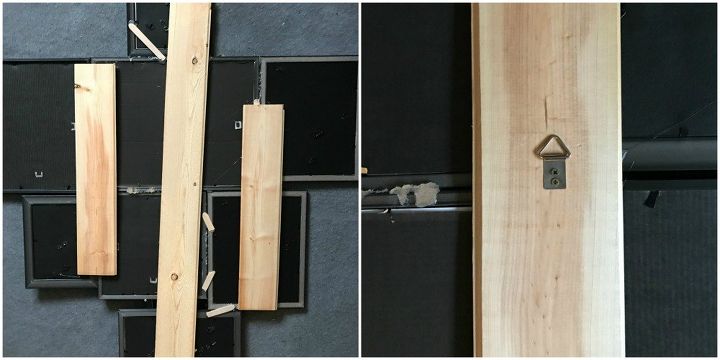
3. Glue all the frames together, along the sides, in the pattern you laid out.
You can find more detailed instructions and photos of the finished project, by checking out my blog post!

Want more details about this and other DIY projects? Check out my blog post!
Comments
Join the conversation
4 of 21 comments
-
I seldom comment but l love this and plan to use your idea soon. 👍🏼👍🏼
-
This is fantastic! I have been searching for a DIY project to display pictures of our family tree. This is the best idea. Thank you


Frequently asked questions
Have a question about this project?