


Make A Wood Hair Brush

3 Materials
$5
1 Hour
Easy
The idea behind the wood hair brush project was to give Amy a place to store her hair ties and maybe some other small items. The bulk of the hair brush is made of walnut and the “bristles” are made from a dowel. This is a fairly easy project and would be great for a beginner and actually quite fun for the more experienced woodworker as well.
{
"id": "3726051",
"alt": "",
"title": "",
"video_link": "https://www.youtube.com/embed/lfCWgYzlciM",
"youtube_video_id": "lfCWgYzlciM"
}
{
"width": 634,
"height": 357,
"showRelated": true
}
The video shows a lot more of each of the steps below and some that we couldn't include. Also, if you would like more in-depth step-by-step details you can check out the full tutorial on our website.
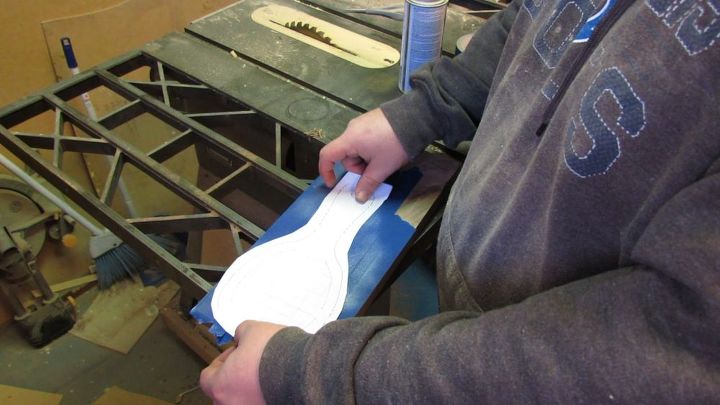
We always use the blue painter's tape when applying a pattern. It helps with removing the pattern later on. It was layered onto the piece of walnut and then a healthy coat of spray adhesive was added. Next, the pattern (which is available for download on our website) was applied.
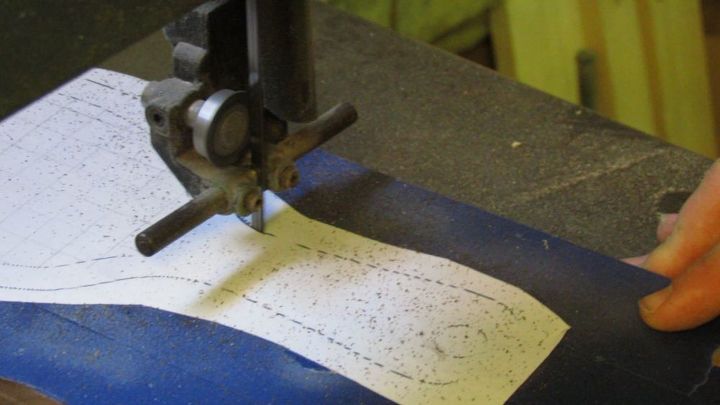
After the pattern was secure, we rough cut the shape on the band saw. There was no need to get this precisely on the line since we will clean it up on the sander.
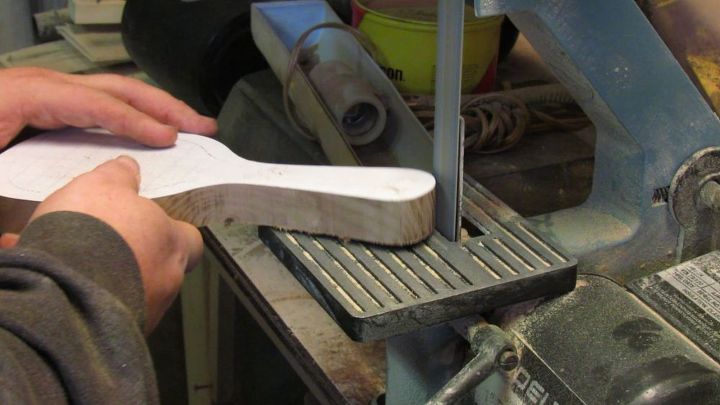
To get the final shape we wanted, we shaped the wood hair brush on the strip sander. A belt or disc sander would work as well for this.

Once we had the shape that we wanted we moved on to drilling all the holes. The pattern has a grid on it that can be used for the placement of these holes. For some reason our printer didn't print that grid, so we just added them on to the template in the shop.
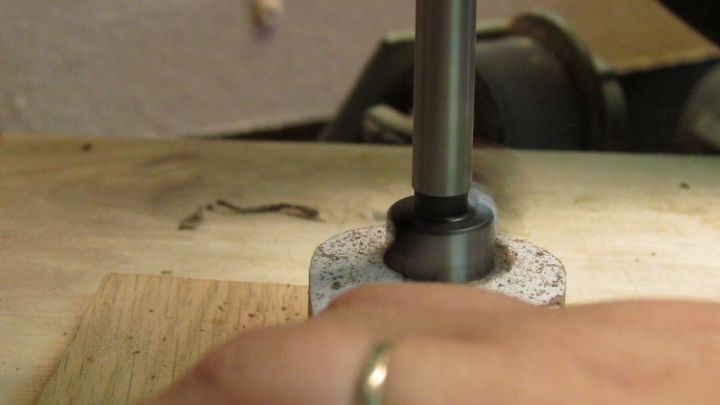
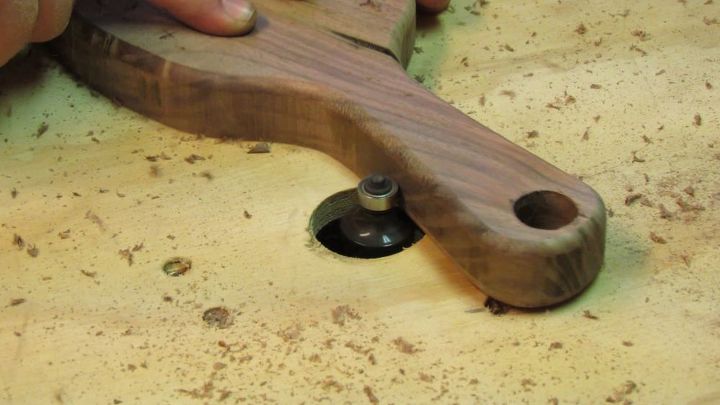
The handle received a larger hole. This was accomplished with a forstner bit.
Once we finalized all of the holes and we were satisfied, we moved on to smoothing over all the edges. We did this with a roundover bit in the router table.
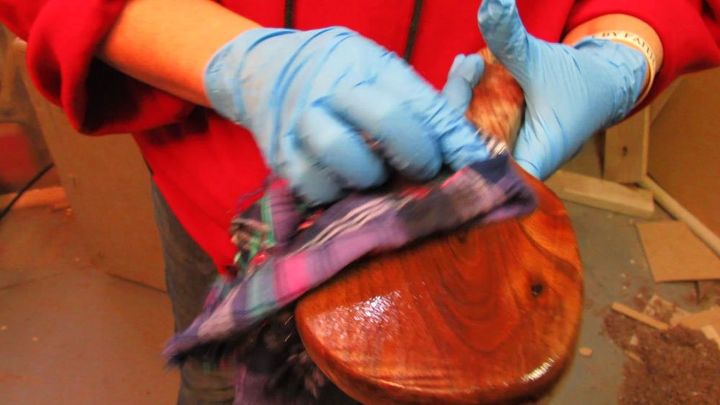
Before adding in the bristles we added a coat of tung oil. We did this early on because we figured it would be difficult to get the finish down between the bristles once they were in place.
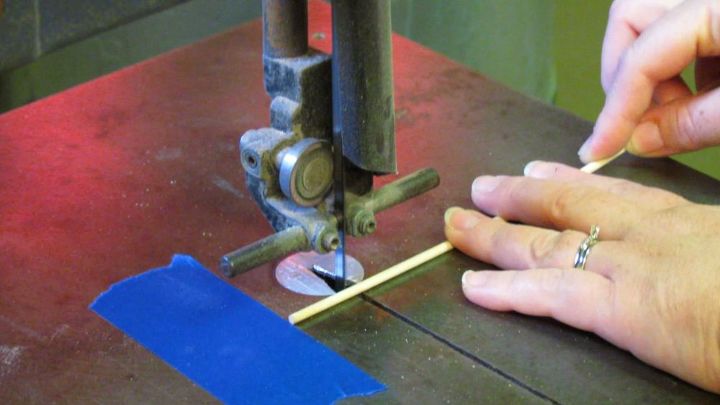
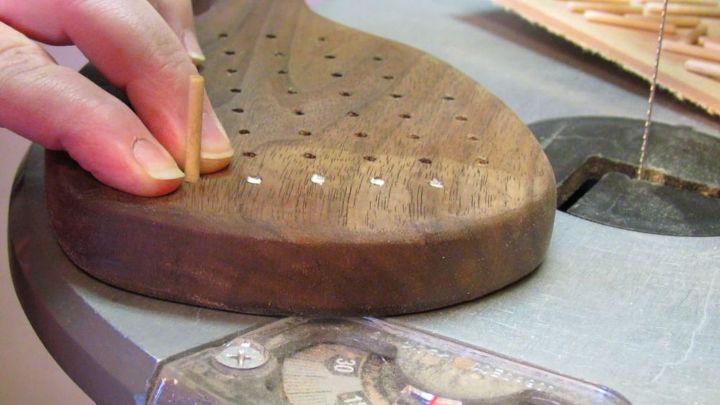
We setup a tape line on the bandsaw and then cut 1/8" dowels to our desired length. Having the tape in place allowed us to replicate the same length multiple times.
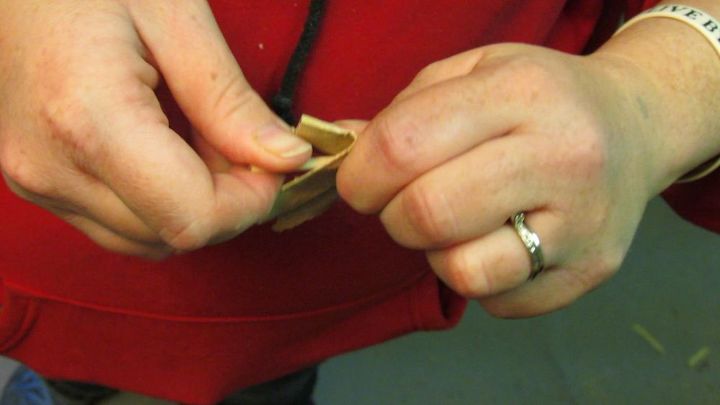
After making enough to fill all the holes, we sanded and finished those in tung oil as well, leaving a little area unfinished. This end will be glued into the hole.
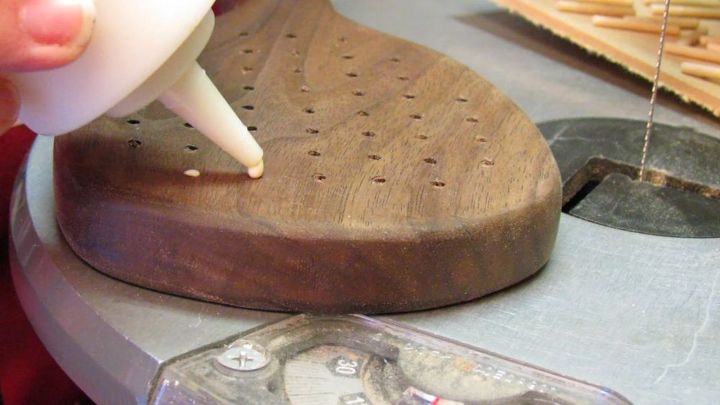
We put a little would glue in each hole and tapped them in gently using a block of wood.
Some of them did break, so make sure you make a few extras.
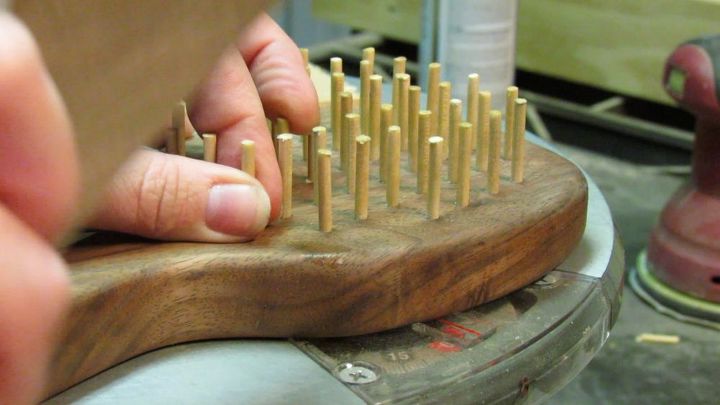
You can adjust the hole on the pattern if you want more bristles or less. You can also use a small piece of sandpaper to round the edges of the bristles once they are all secured in place.
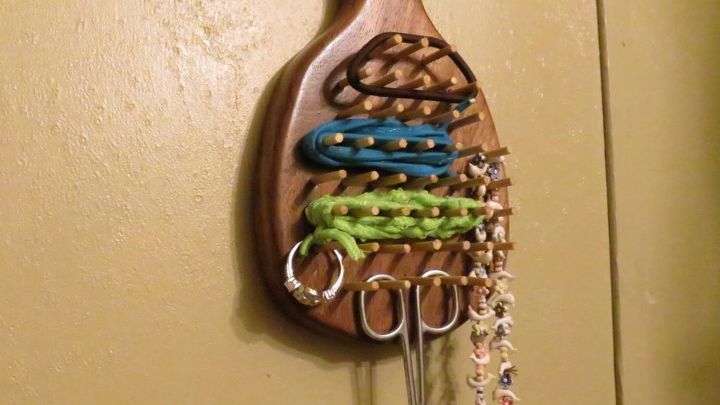
The large hole in the brush allows for easy hanging and the bristles are great for storing hair ties or any other small objects. The coolest thing about this project is that it only took an hour or so to make.
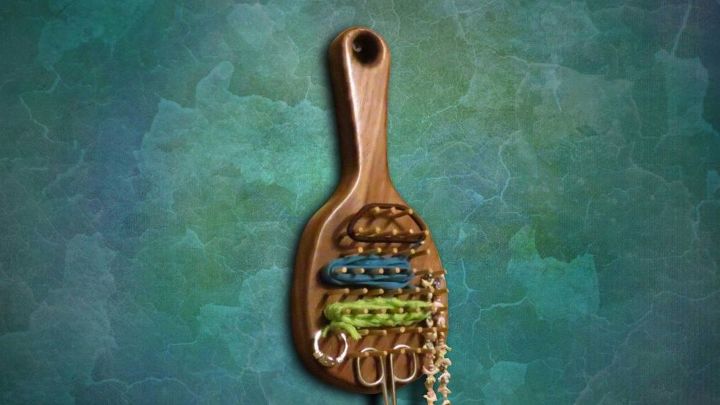
So far this has been a handy addition to our bathroom and has been a great way to store small items.


Frequently asked questions
Have a question about this project?