


Cucumber Trellis for Under $20

by
Luz DIYs
4 Materials
$16
2 Hours
Medium
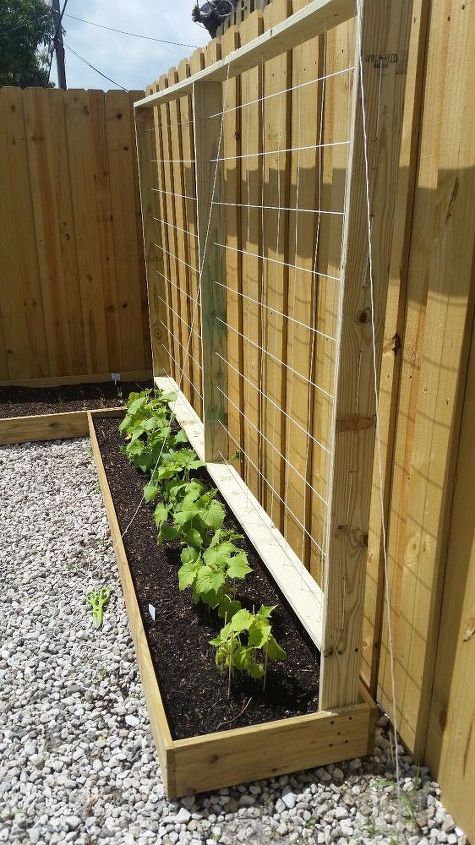
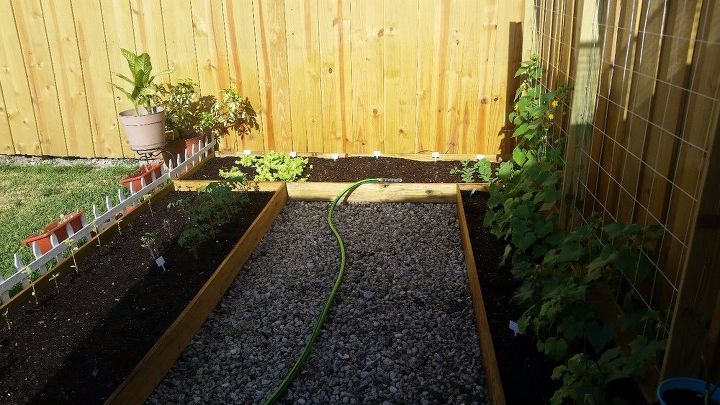
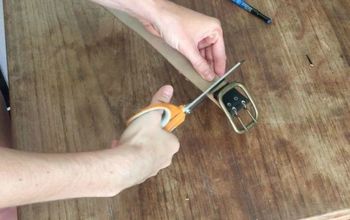
Unfortunately, i didn't get the step by step pictures of this project but I think you can kind of make it out. Since these pictures, I had to take my little Urban Homestead down, due to some other projects we have going in our back yard, but I wanted to share this trellis with you. I'm extremely NEW to gardening, as I was apartment bound till this year. :) Didn't really know what a backyard was. HA! I wanted to start growing Veggies. Specially cucumbers, we love them at my house. I didn't want to take much space from my NEW backyard so i decided to grow my cucumber UP.
Here is how i made the trills:
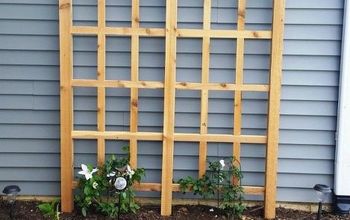
- I went to my local HomeDepot and purchased (5) 1 in. x 4 in. x 8 ft. Furring Strip Boards they are like $2 on my neck of the woods.
- I left the top and bottom boards at 8 ft (no cutting there)
- I measured and cut the sides to 6ft and the middle to 5 ft. This will leave the sides with little legs.
- I laid them on the ground and drilled to place using #6 x 2 in Drywall Screws which I already had.
- Once it all took shape I used a 1/4 drill bit and made my holes about 5 in apart.
- I then screwed my "LEGS" to my raised bed.
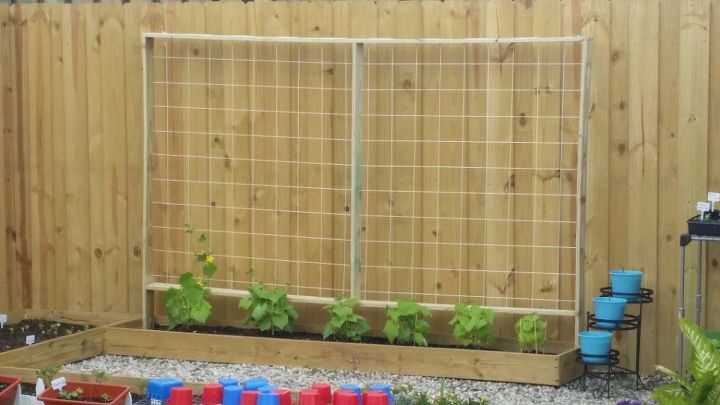
- I garbed some rope (which I purchased at Home Depot) and stringed it thru the holes. pulling for tightness. started horizontally.
- then went vertically weaving it in.
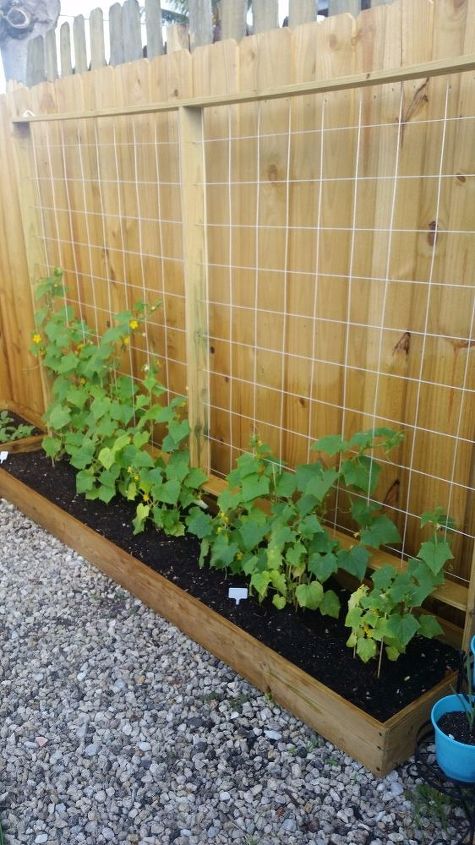
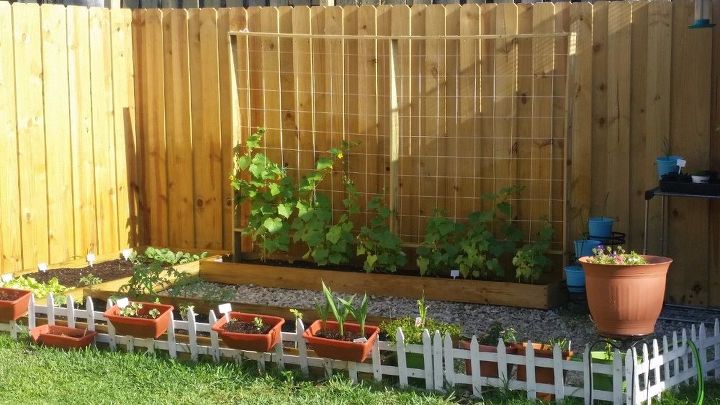
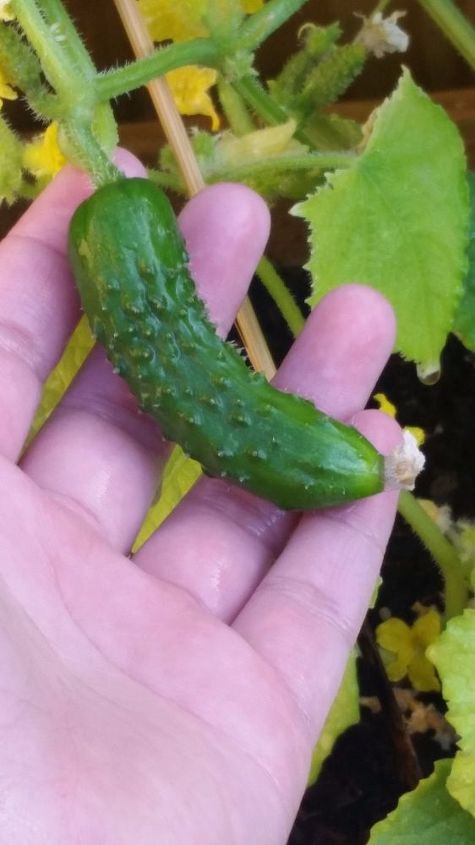
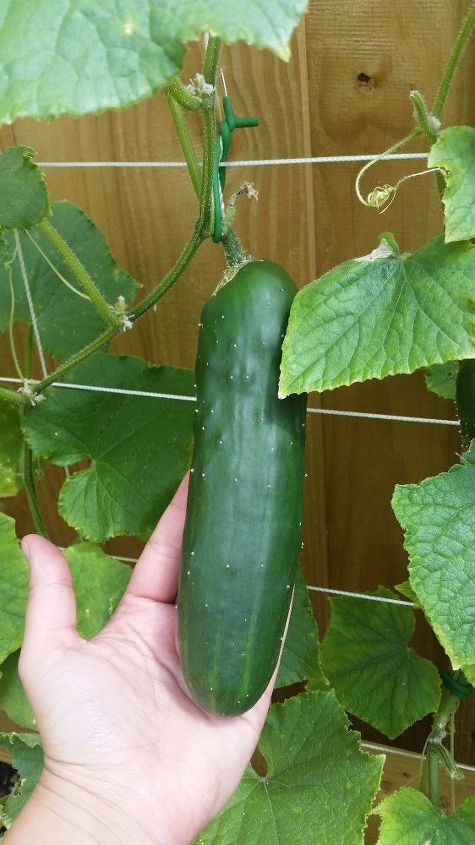
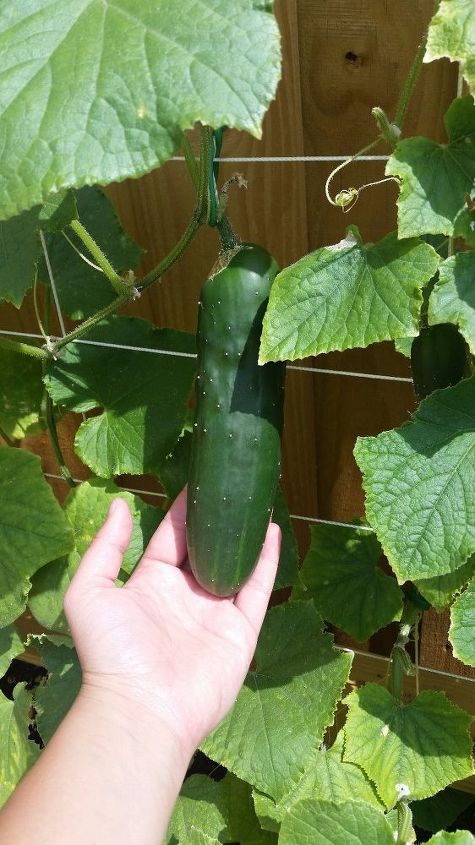
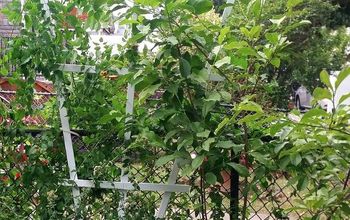
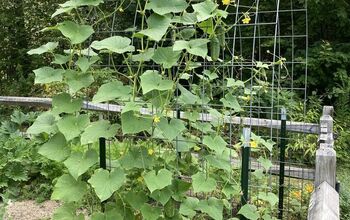
Success! I had a trills. I had 6 cucumber plant growing on this and it didn't even flinch The cucumbers where huge. So... I would say i give it 2 thumbs up for sturdy!
Hope you found this helpful and sparked some ideas on how it can work for you.
I only purchased the boards and the rope so that kept my cost under $20.
Comments
Join the conversation
2 of 6 comments
-
Looks good and not that hard
-
Great inexpensive idea. My grandmother used to do this for her sweet pea vines.


Frequently asked questions
Have a question about this project?