


Pantry Door Upgrade

by
Nicole
7 Materials
$75
2 Days
Medium
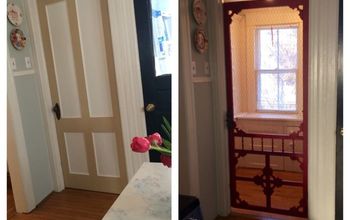
I've wanted to replace our pantry door for awhile but doors aren't cheap! So I brainstormed for awhile and came up with this idea. Hope you like as much as I do!
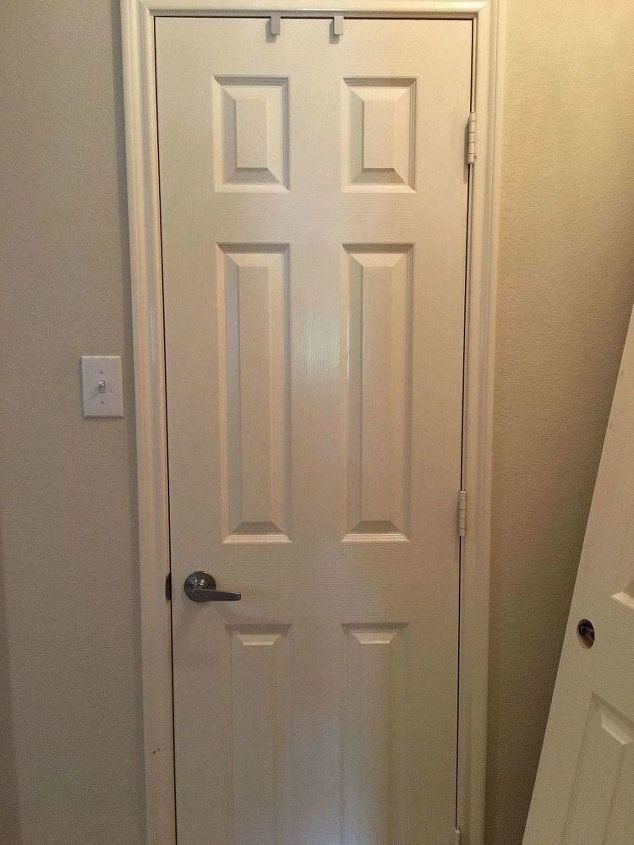
First up, take the door off the hinges. Use a nail and hammer to pop out the pin from the bottom of each hinge. This is a pic of a similar door still on the hinges while THE door is hanging out next to it waiting for the project to begin!
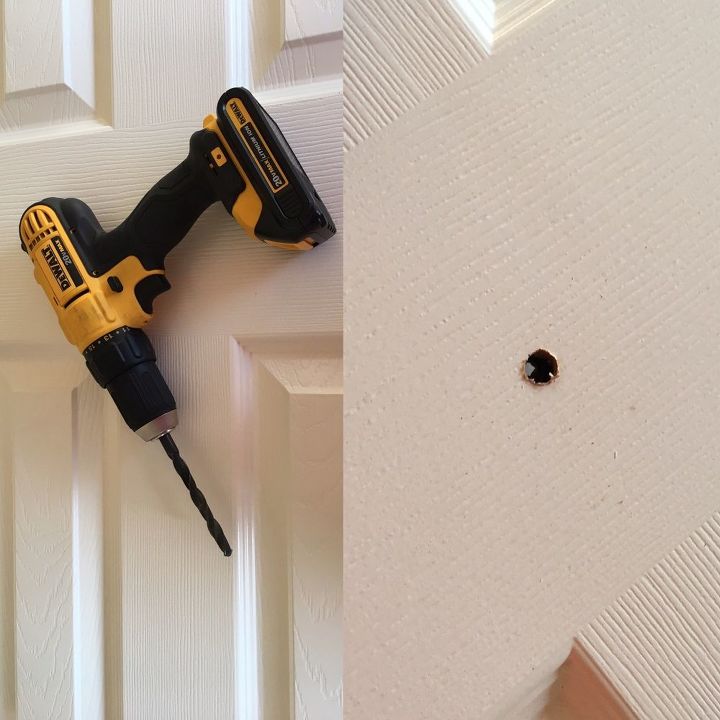
Use a drill to make a pilot hole in order to fit the jig saw blade thru.
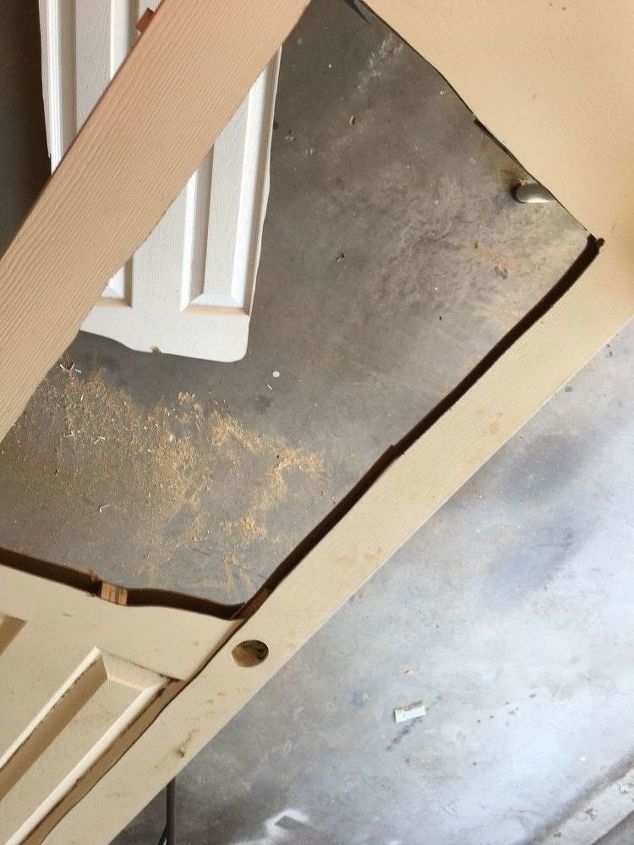
Use jig saw to cut out center panel(s). Don't worry about straight lines. These will be covered later with trim.
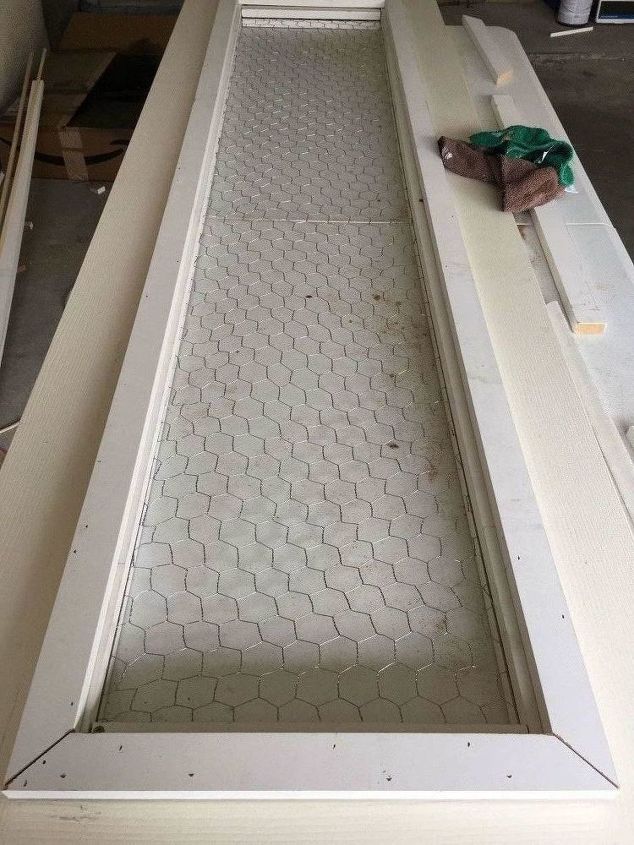
I am replacing the center panel I just removed with a"window" made of chicken wire. I bought several pieces of 1"x2" MDF slats that I'll use to frame out the chicken wire. I'll be "sandwiching" the chicken wire between the slats. The slats have been cut to size to fit just inside the area where the door panel was cut. When the center frame is built, this will insert perfectly into the open space of the door.
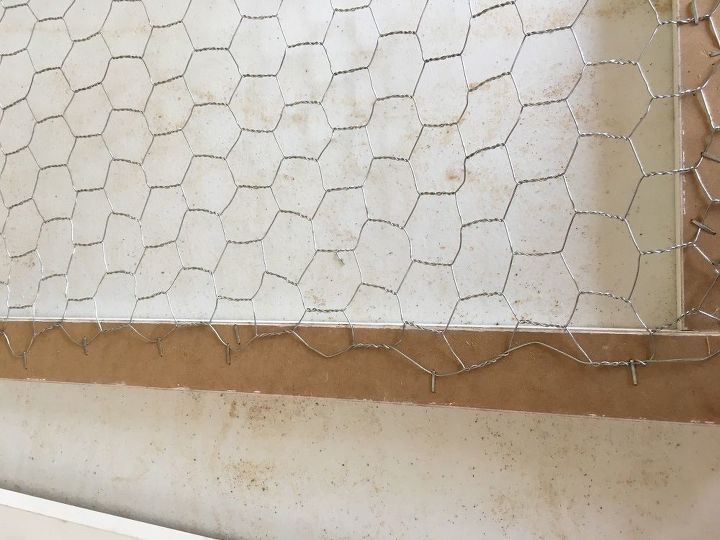
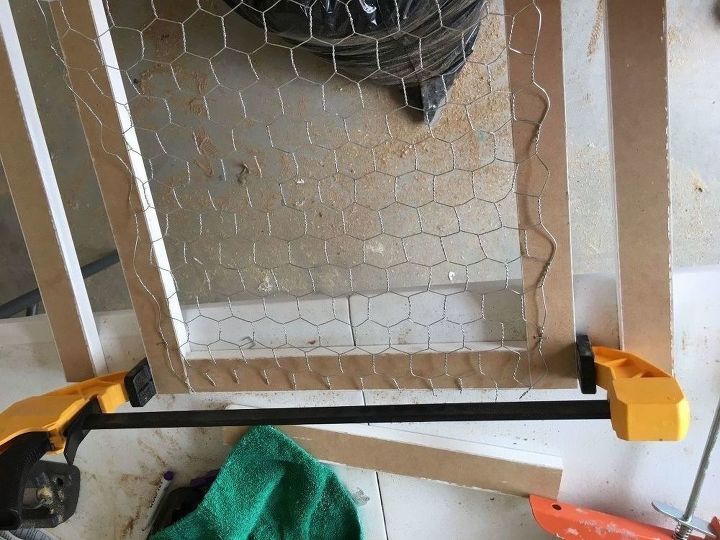
Use a staple gun to secure chicken wire to the slats.
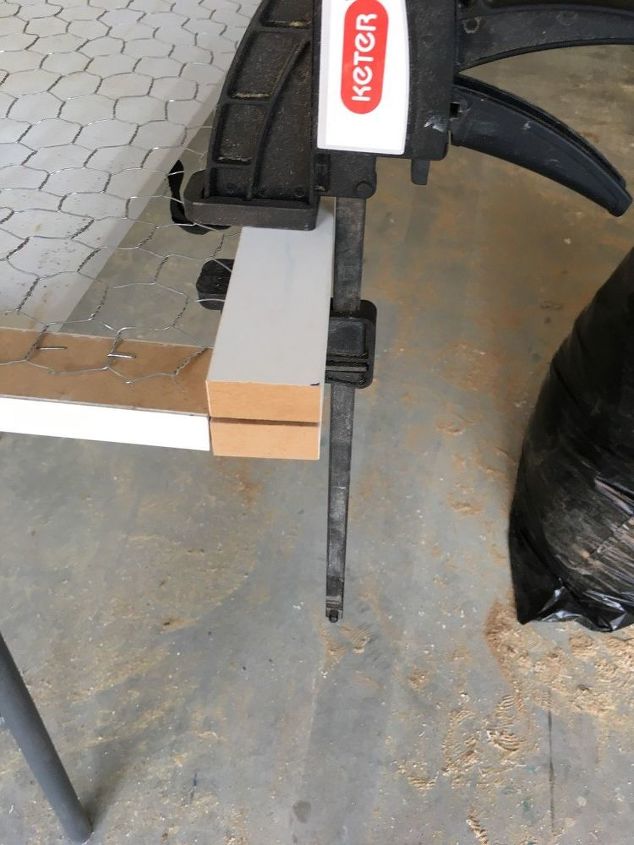
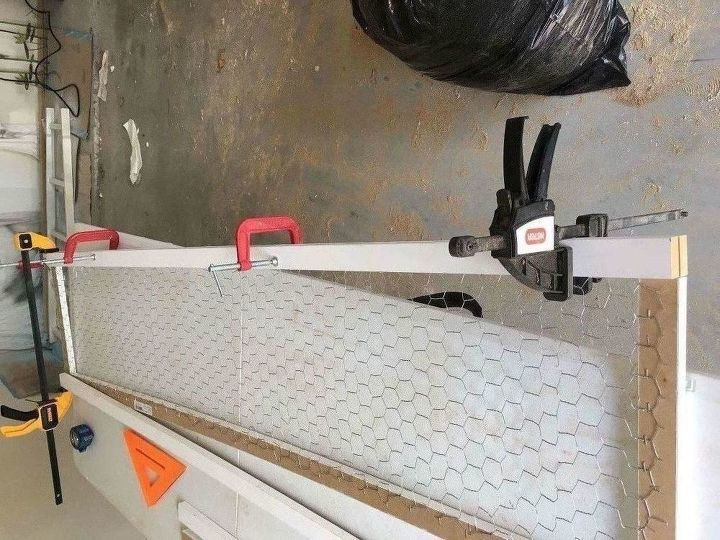
Apply liquid nails or other strong adhesive and then align the top of the "sandwich" to the bottom slat. Secure with clamps and let dry overnight. Repeat for each side of the frame.
When the adhesive is dry, secure the slats together using a brad nailer.
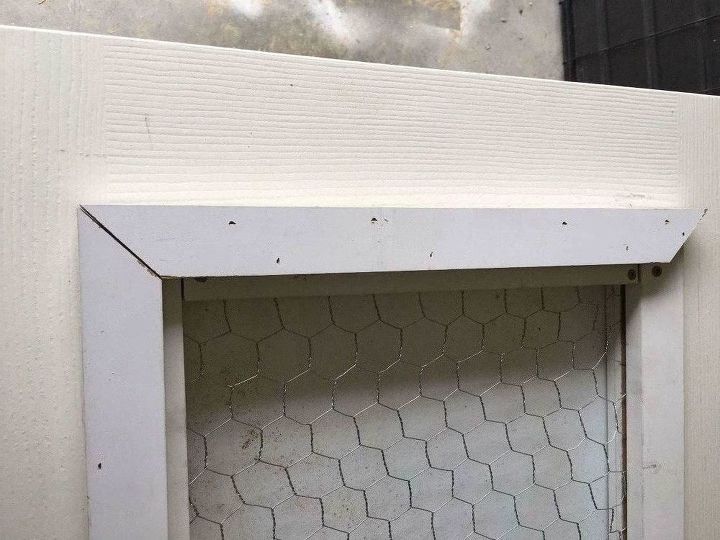
Now that the frame for the "window" is complete, insert the frame inside the open space of the door (didn't get a great picture of this step before I started adding trim). I used the same 1x2" MDF slats to trim out the edges. Most of this step hides any edges that are unsightly from the jig saw. I also needed to use the trim as a way to attach the "window" frame to the door. So I used my brad nailer and nailed the trim on both edges so that the trim joins the frame to the door. Attach the trim to both sides of the door.
Now the window is secured to the door!
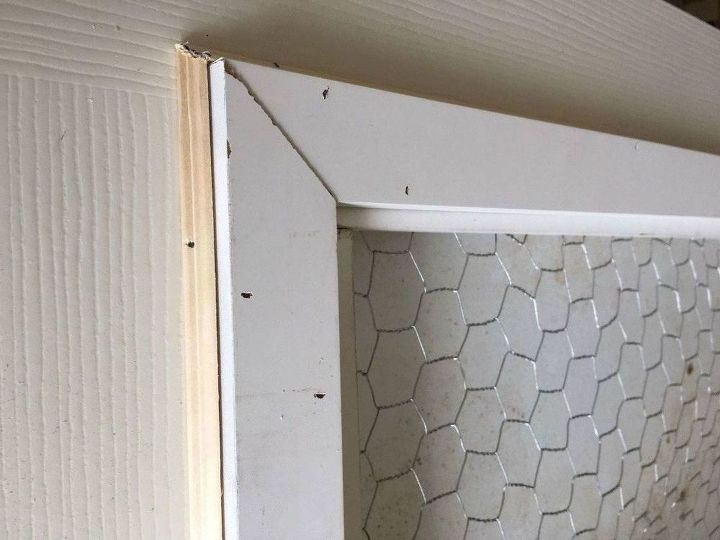
On the front side of the door (the side people will actually see), I added a slim piece of trim to add just a bit of depth and dimension. I used the brad nailer again to secure the additional trim.
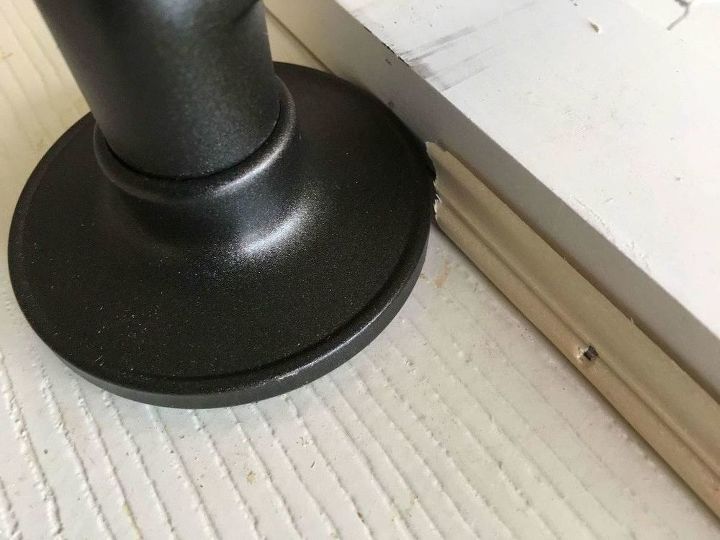
Don't forget to slide in the door knobs in order to make any adjustments necessary to the trim. In my case, I had to remove a bit of the trim around the door knob.
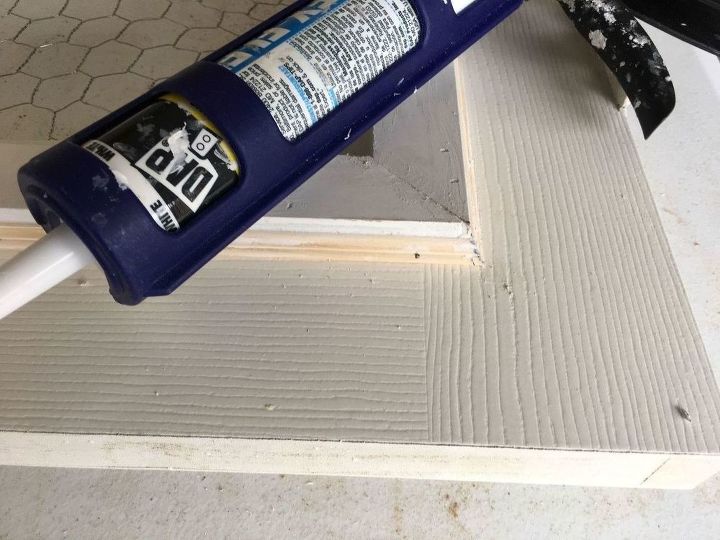
With all the trim attached, caulk around each piece of trim to give it that "finished" look once painted.
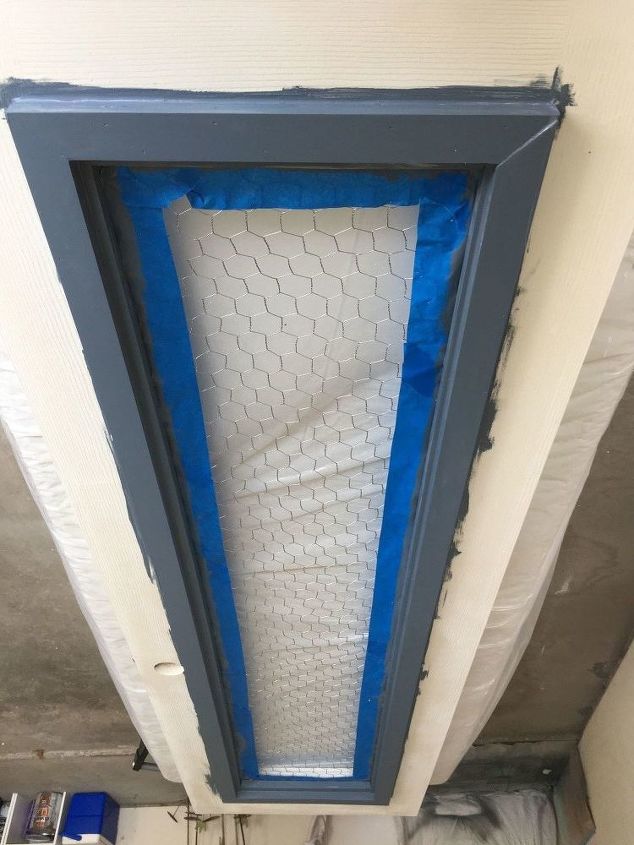
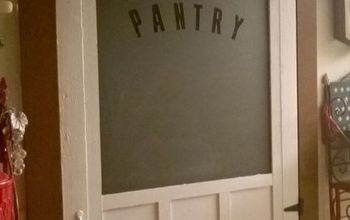
To protect the chicken wire, I tapped off the perimeter before I started painting!
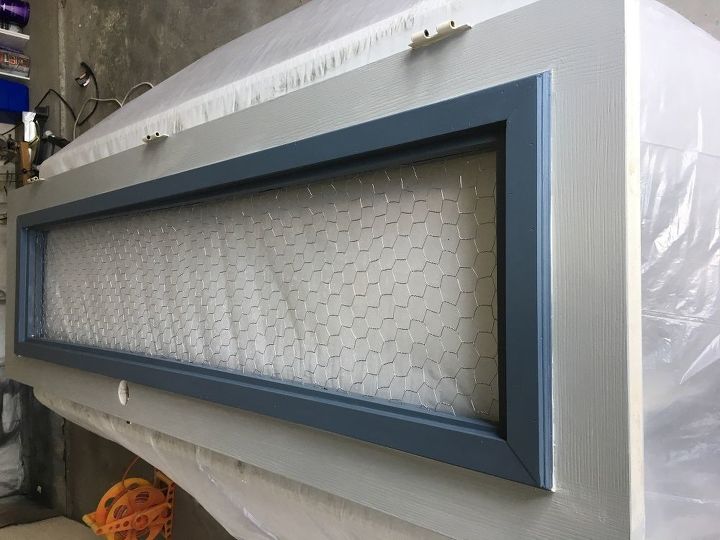
Paint booth sides of the door in any color you like!
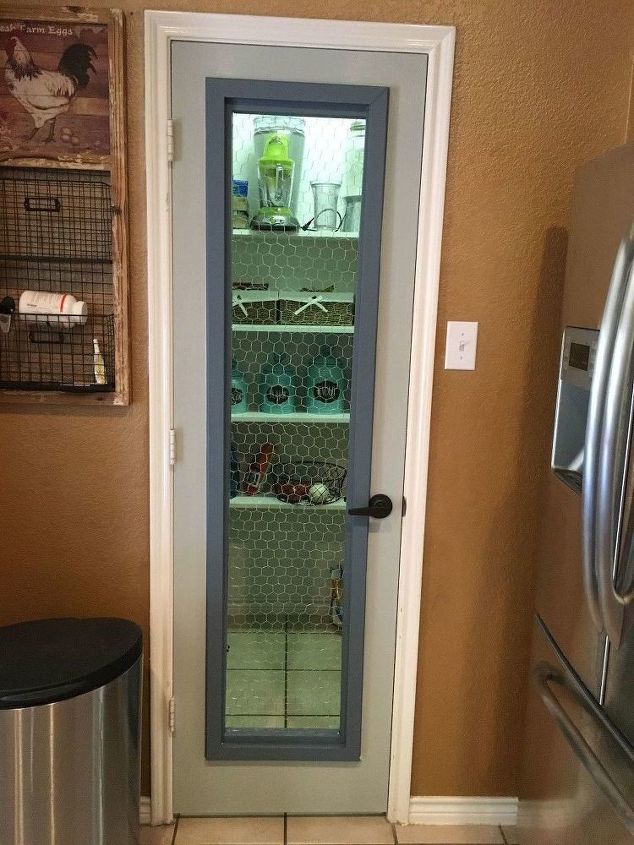
Reinstall the door on the hinges bytapping the pins in from the top! Easy peasy and oh so pretty! Now I need to paint the rest of my kitchen!
Resources for this project:
See all materials


Any price and availability information displayed on [relevant Amazon Site(s), as applicable] at the time of purchase will apply to the purchase of this product.
Hometalk may collect a small share of sales from the links on this page.More info
Comments
Join the conversation
2 of 157 comments
-
I like it and it looks great!
-
Love it!!


Frequently asked questions
Have a question about this project?
Was this a wood door (hollow core)? Thx
Doesn’t the chicken wire get bent? I would have to use frosted glass on mine. Grandkids are animals.
Aren't you afraid mice will invade your pantry through the chicken wire?