


How to Harvest at the Perfect Time & Cure It for Storage
1 Material
$5
1 Hour
Medium
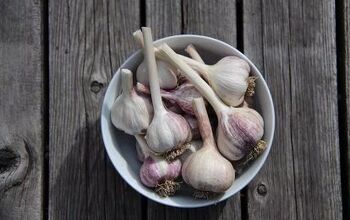
Garlic is easy to grow! Here are important tips to ensure you harvest and cure your garlic correctly, so it won’t spoil or sprout before you can use it.
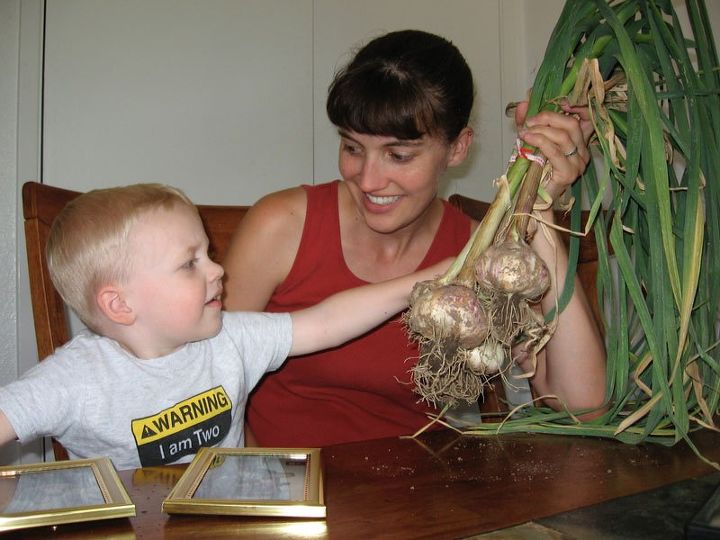
We've been growing garlic in our city backyard for many years, since J-man was a little sprout. It's super-easy to grow! (Learn my garlic planting tips here.)
BUT: knowing when to harvest garlic can be tricky unless you know what to look for. Unlike tomatoes, zucchini, or other garden vegetables, garlic bulbs grow completely underground.
You can’t tell if the garlic is ready to harvest by looking at the bulbs…but the plant will give you several clues. Let’s take a look at the garlic patch so you know what to look for.
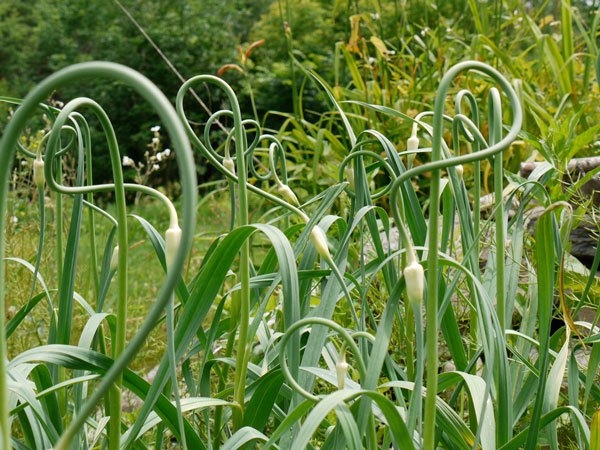
Your first clue are these little squiggles. These are garlic scapes, and will become flowers if allowed to grow. Since we want the garlic to keep all its energy in the bulb (and not spend time growing flowers), we’re going to cut off the scapes. Use them like chives to give a gentle garlic flavor to scrambled eggs or stir-fry.
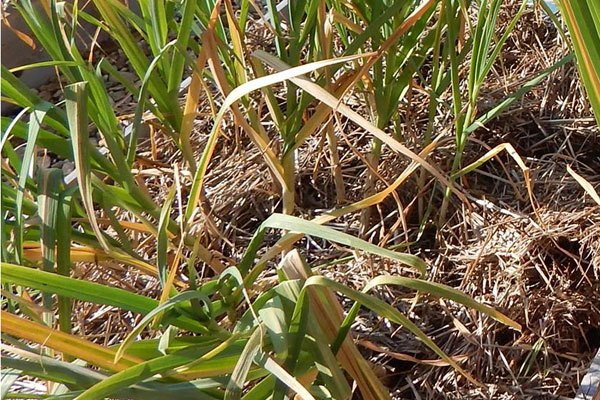
Next, you’re going to keep an eye on the leaves. When the bottom leaves start to turn brown, stop watering the garlic patch. This is usually 2-3 weeks after you’ve cut off the scapes. Your garlic will be ready to harvest about a week after that last watering. Here in Zone 9, my garlic is usually ready to harvest in early July.
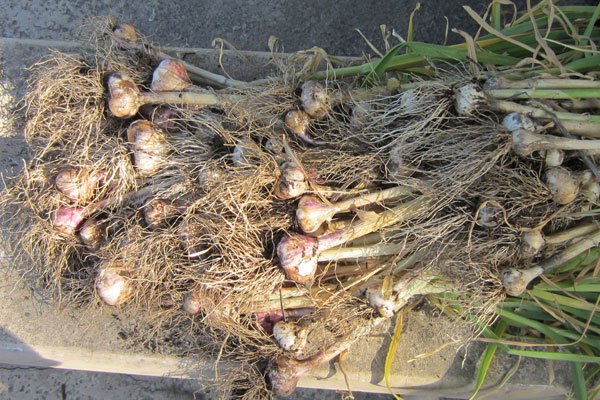
You might be tempted to harvest your garlic by pulling the leaves, like you do with carrots. However, I’ve found that this will just break the stems off and leave the bulbs underground. (FAIL) As you can see, garlic roots are deep and strong. They’ll hang on to the soil and the leaves will give way first, you can guarantee it. I’ve had the best success with using a shovel or fork and reaching down between the rows to lift the bulbs out gently. Shake off the large clumps of dirt but don’t disturb the outer wrappers. I leave them outside in the shade for one day (if it’s under 90F outside) and then bring them in to complete the curing. And for heaven’s sake, don’t wash them off! The moisture will make it much easier for fungus to get into the garlic and your crop will be ruined. Click the blog link below to see my repurposing trick for curing your garlic!

Want more details about this and other DIY projects? Check out my blog post!


Frequently asked questions
Have a question about this project?