


How to Create Your Own Lighted Tree Stump Planter in 5 Easy Steps

by
Cassondra
5 Materials
$45
6 Hours
Medium
Have you seen all of those amazing tree stump planter pictures on Pinterest? Do you have a stump laying around that you just don’t want to throw away? This is a fun one! We have had this stump sitting in our backyard for about three years now, and I finally took the plunge and hollowed it out to make it into a lighted tree stump planter. This really looks harder than it is. Once you get started, you will end up with your own professional tree stump planter in no time! Mine even ended up with some crack lights!
Step One: Hollow out the top to create a plant hole. I used a chisel and a hammer to do this. Our stump was a little rotted so the pieces came out easier than normal. If your wood is in good condition, you may need to use a wide drill bit and drill some holes in the center to start the wood pulling process.
Step Two: Stain all surfaces of the stump with a weather proofing stain. I used Behr deck stain and I added some dry brushing with grey and yellow chalk paint to give it back a weathered look. This step is optional, but I would recommend going over your stump with some kind of protect-ant (even if its clear) to keep out the weather and the bugs, after all, you want this to last forever right? My stump was already starting to rot, so it was pretty much mandatory for me to do this.
Step Three: Add lighting in the cracks of the planter. This is another optional step but it does add a lot of charm to the planter if you decide to give it go.
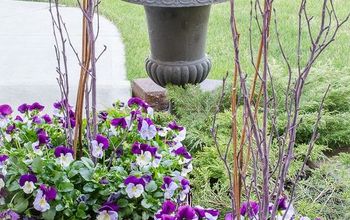
Step Four: Add some dirt and plants. I also added a diaper to the bottom to absorb excess water and protect the planter a bit.
Step 5: Enjoy! Sit back and marvel in the beautiful lighted tree stump planter you created! Take some pictures of what you did and tag us on our Facebook or Instagram @bathtubringsandartsythings pages with the hashtag We can’t wait to see the posts, so don’t just Pin this… Do it!! You never know what you do until you do it!
I will post the first video here of how to hollow out the stump, but there are 3 more videos on this from staining to the lighting if you would like to check them out on our YouTube page. We are still working on getting a shorter consolidated video up!
If you like this, you will love our easy DIY Arch project.
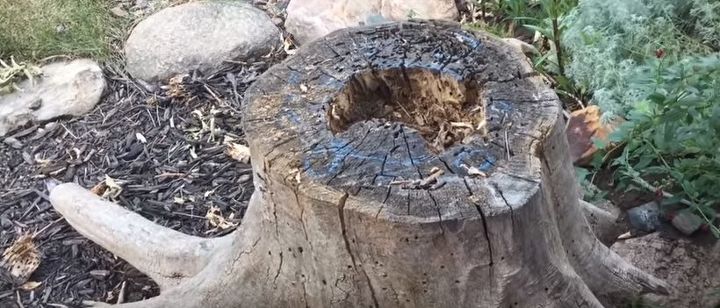
First, draw a line in chalk where you would like to hollow out the stump. Drill a few holes in the stump to get the process started and then slowly chisel away pieces until the stump is hollowed out to your liking.
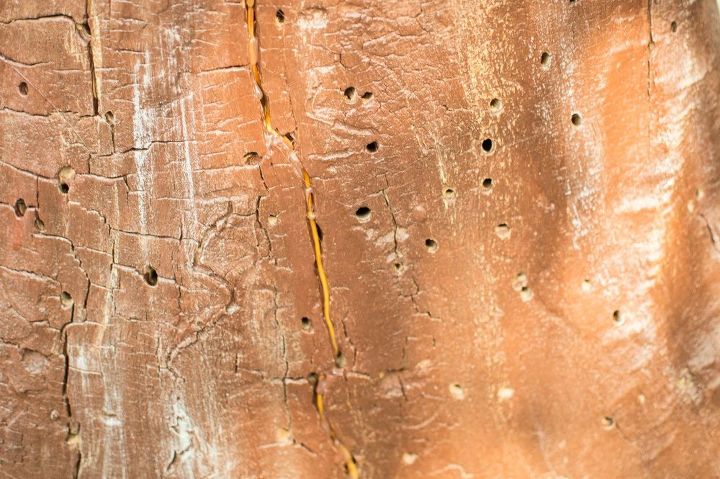
Stain the stump to seal it and protect it from rotting.
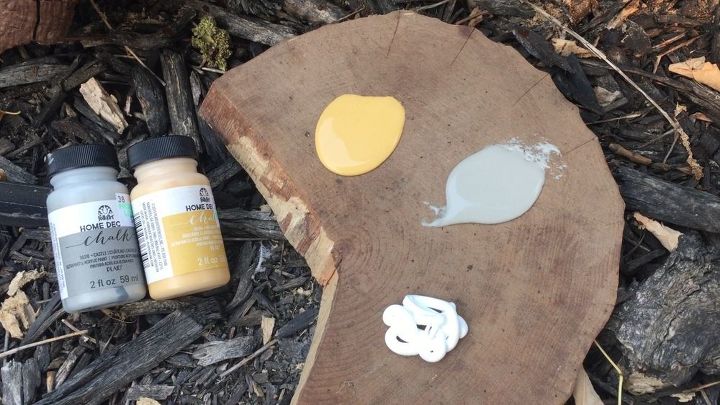
Dry brush some accents onto the wood. I used yellow and grey chalk paint.
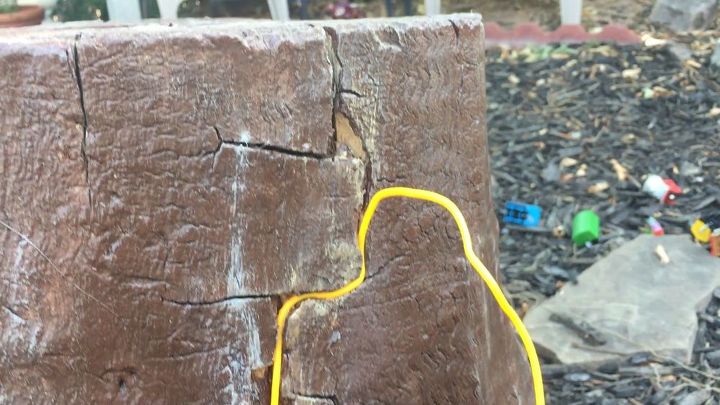
Add some strip lights into the cracks. Push it in as deep as it will go using a chisel and then paint over with semi-transparent stain.
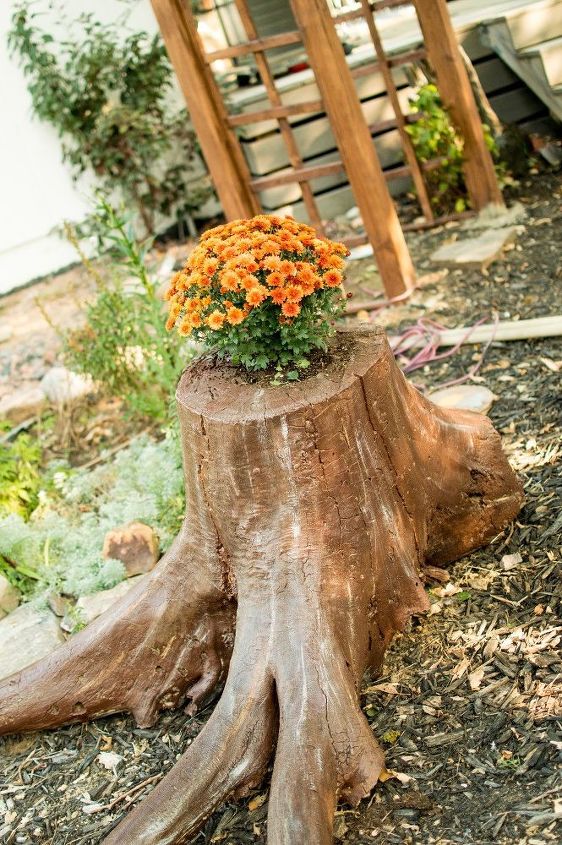
Add flowers and enjoy!
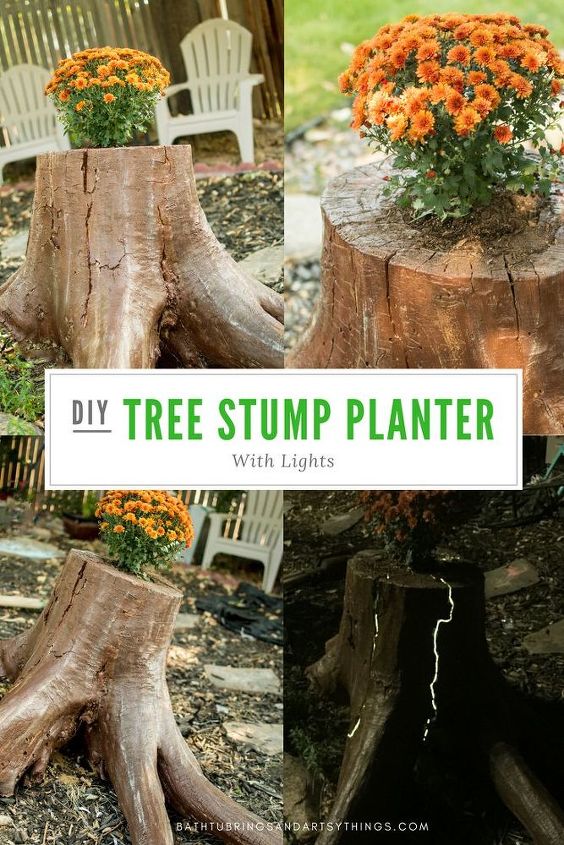
Check out the night shot!
{
"id": "4390773",
"alt": "",
"title": "",
"video_link": "https://www.youtube.com/embed/x9tGghiep4s",
"youtube_video_id": "x9tGghiep4s"
}
{
"width": 634,
"height": 357,
"showRelated": true
}
Video on how I hollowed out the stump.
Want more details about this and other DIY projects? Check out my blog post!
Comments
Join the conversation
3 comments
-
This is a brilliant idea. I love repurposing natural material. Have you ever tried doing this with a section of a tree that doesn’t have the stump? That’s all I am able to access.
thank you for sharing this creative gem!
Thank you so much for sharing
-
This stump shows class.......it did before, but now it just blooms with beauty!!


Frequently asked questions
Have a question about this project?