


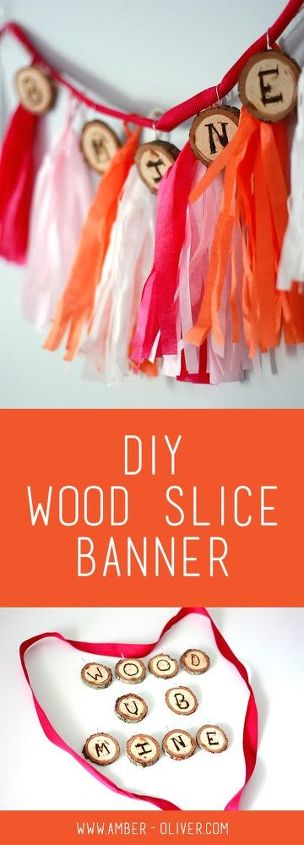
WOOD U Be Mine?

by
Amber Oliver
2 Materials
$5
20 Minutes
Easy
Get ready for Valentine's Day with this adorable, natural wood banner. You can easily customize with a wood burner!
Materials Needed:
Cutting board
Pencil
Ribbon
Ornament Hooks
Hot Glue Gun/Glue
Tools Needed:
Miter Saw
Drill (optional)
Safety Goggles (Not optional)

1. First step is to cut the wood slices from the tree branch using the Miter saw. While wearing your safety goggles, place a 12 inch section of tree branch on the saw and slice 1/2 inch – 1/4 inch slices. This works best with a straight branch.
2. At this point you can drill 2 parallel holes towards the top of the slice to thread the ribbon through for the banner. The wood I was using was a bit dry and I was afraid it would crack, so I skipped this step.
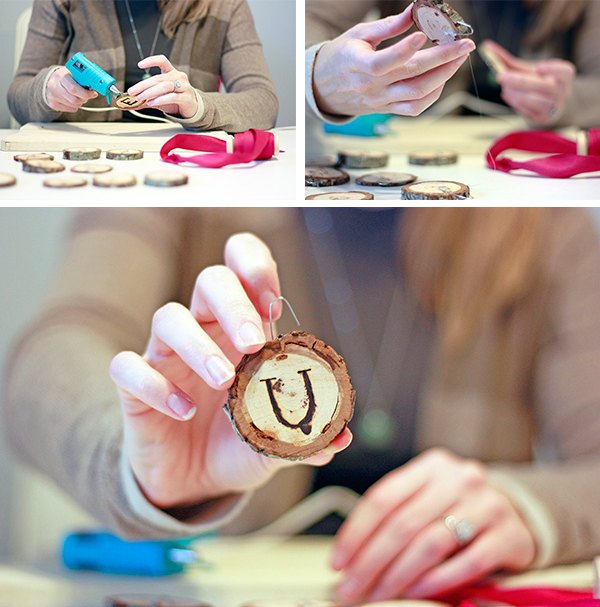
3. Plug your wood burner in so it has time to heat up. Make sure the stand it rests on is secure so it doesn’t touch anything or move. THIS TOOL GETS EXTREMELY HOT. Be very careful!
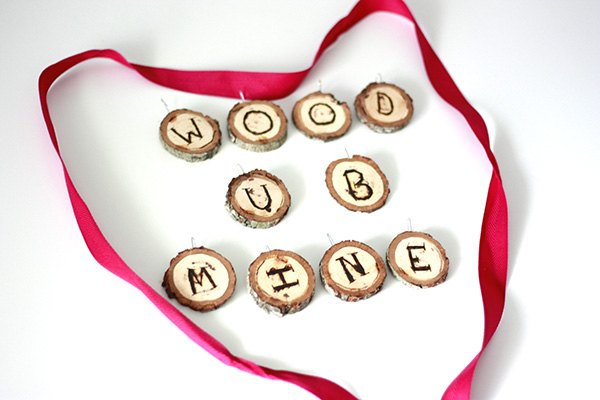
4. While your tool heats up, use a pencil to draw the letters you want on the wood slices. You could stencil the letters on or free hand it like I did. For Valentine’s day I put: WOOD U B MINE. See what I did there? 
5. I used a wooden cutting board to work on since I was sure the tool would melt my desk! Once the tool is hot, you use it basically like a pen to “write” on the wood. I recommend using a scrap piece first so you get the hang of it. Depending on which tip you are using, you get a different design using different pressure and angles. This was a really fun tool to play with!

6. Once you’re done with wood burning, it’s time to hang your pieces. I used a hot glue gun to secure ornament hooks to the back of each wood slice.
7. The last step is to hang your wood slices!
Since I used hooks I simply hung them off the ribbon I put on the wall (in front of my tassel garland!). If you drilled holes in step two, you can string the ribbon through the holes and hang that way. (This way would definitely be more secure but either will work.)
Want more details about this and other DIY projects? Check out my blog post!


Frequently asked questions
Have a question about this project?