


Peel and Stick Wallpaper Makeover

Wallpaper is making a comeback but the process of hanging wallpaper is a daunting task. That’s where peel-and-stick wallpaper comes in. You can update something big like a wall or something small like a piece of furniture.
As always, I went big and today I am going to show you how to apply peel and stick wallpaper!
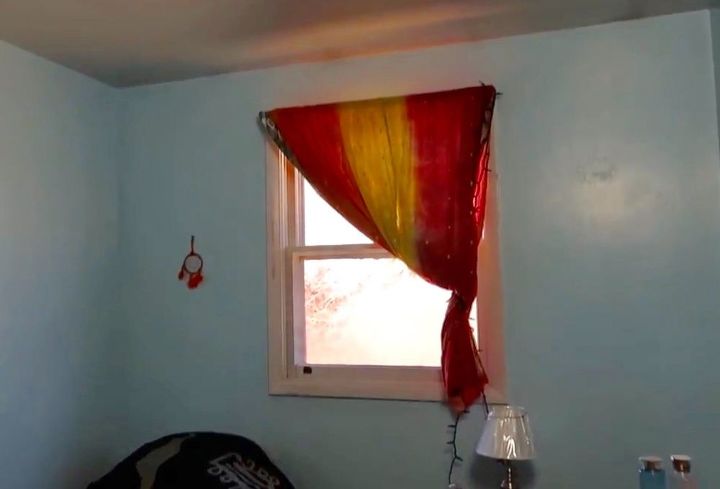
This is my nieces bedroom. It needed to be updated in a big way and I thought a accent wall would be perfect.
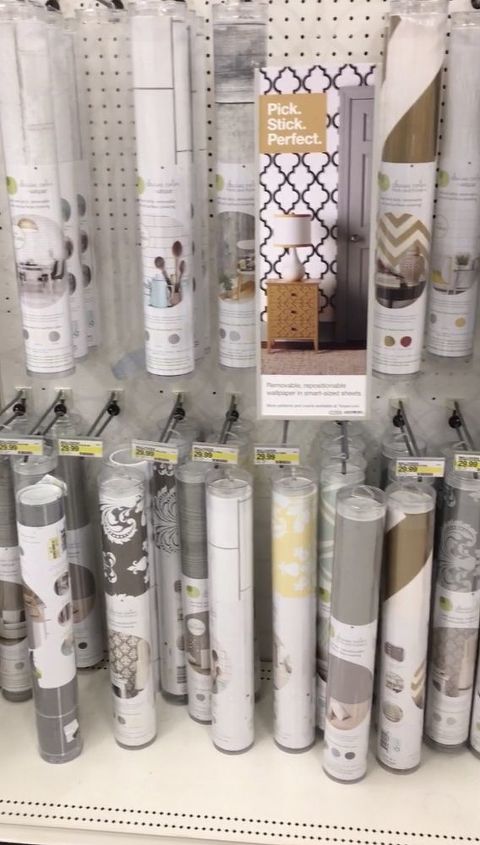
You can purchase peel and stick wallpaper at several stores and I found mine at Target. They had a wide variety of designs to choose from. I decided on shiplap.
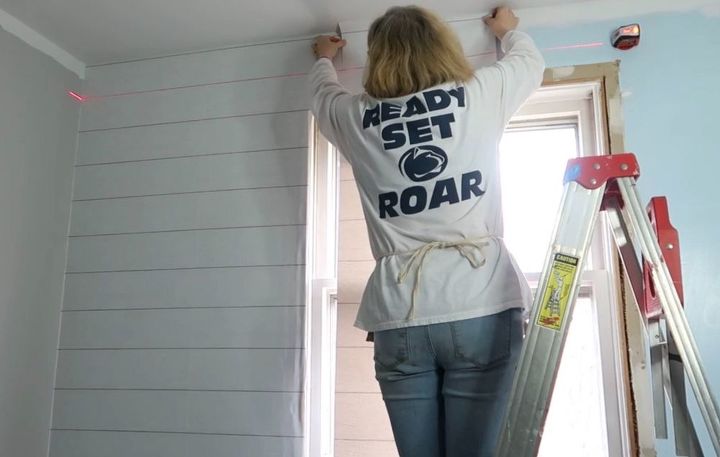
I began by placing a laser level on the wall using it to ensure that my paper was perfectly straight.
I hung the first piece overlapping onto the opposite wall about a 1/4”.
The second piece covered part of the window. I applied the paper to the wall aligning it to the first piece.
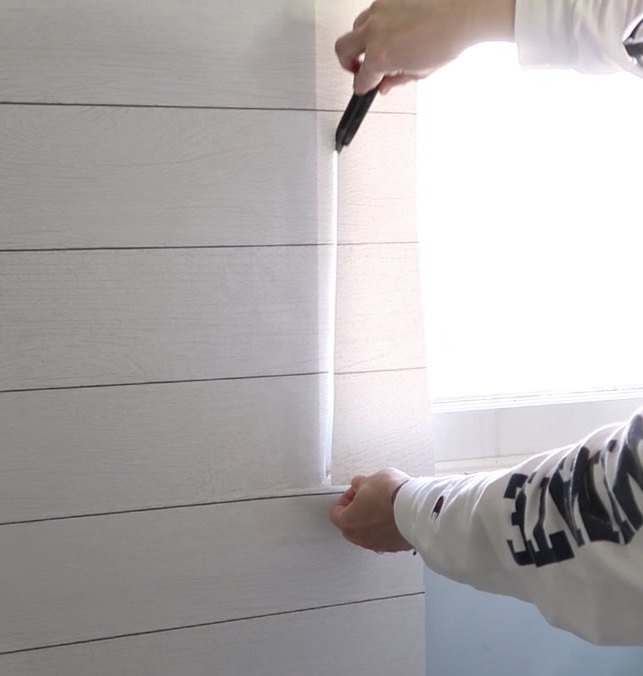
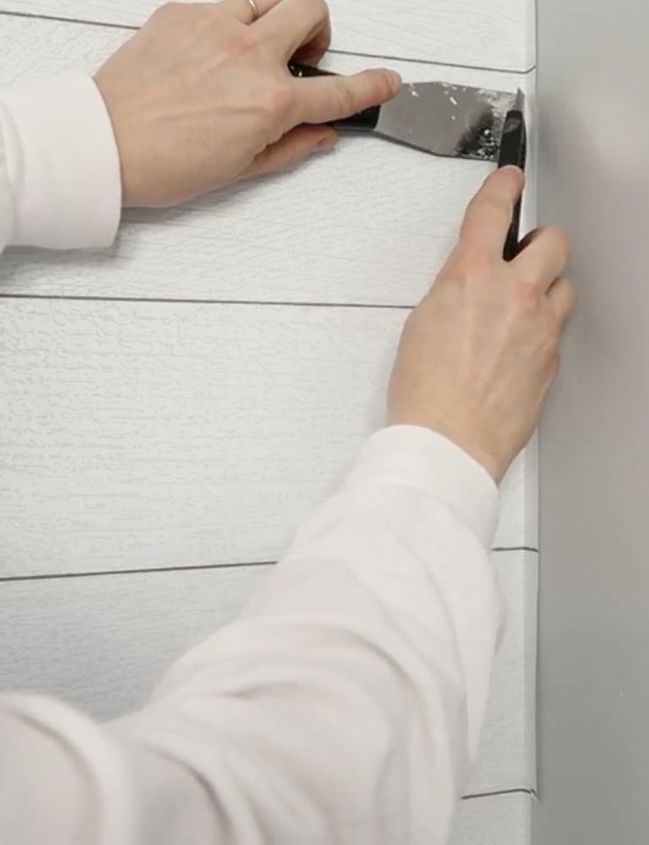
Once the paper was in place, I used a utility knife to cut away the paper that overhung the window. I didn’t need to be neat as I was going to replace the casing around the window.
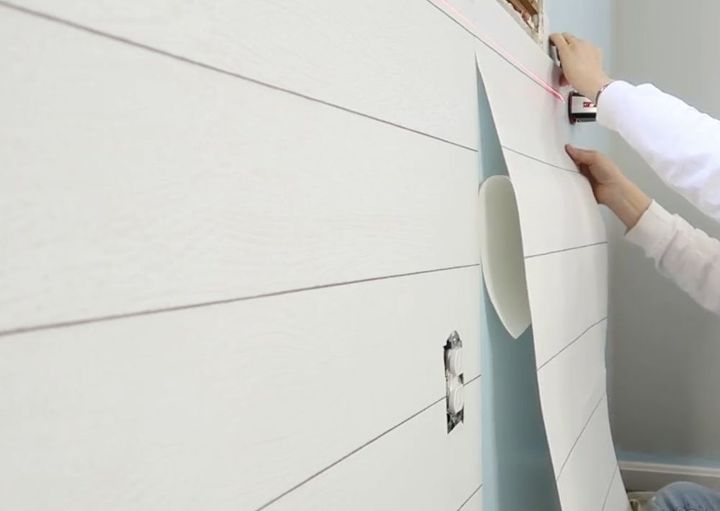
As I applied the wallpaper to the wall, I only removed about one foot of the paper backing as I smoothed the paper onto the wall. This helps to handle the paper so it’s not sticking where you don’t want it.
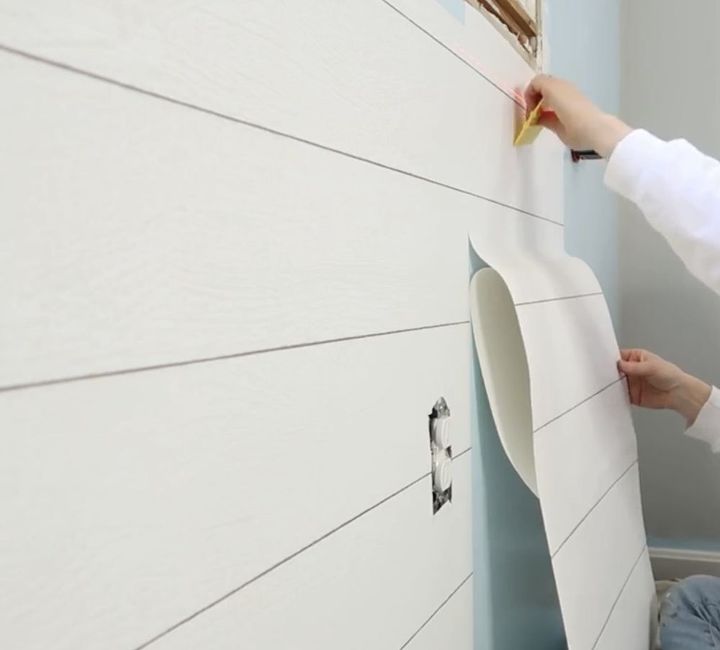
To smooth the wallpaper against the wall I used a wallpaper smoothing tool - yup, that’s what it’s called.
You’ll notice the outlet on the wall. I applied the paper over the outlet and then carefully cut it out.
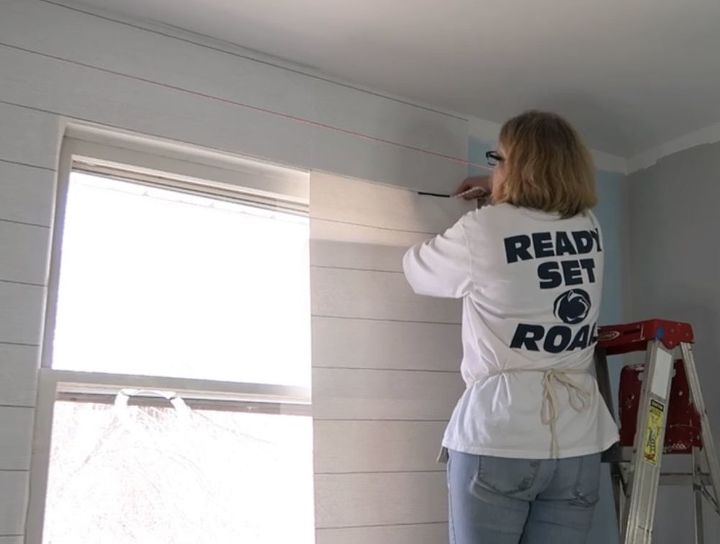
On the other side of the window, a larger piece of wallpaper would cover the window and I didn’t want to waste that much paper so I cut it inline with the top of the window. I then moved to the bottom of the window and did the same thing.
Once that was done, I started again at the top with a full piece of paper.
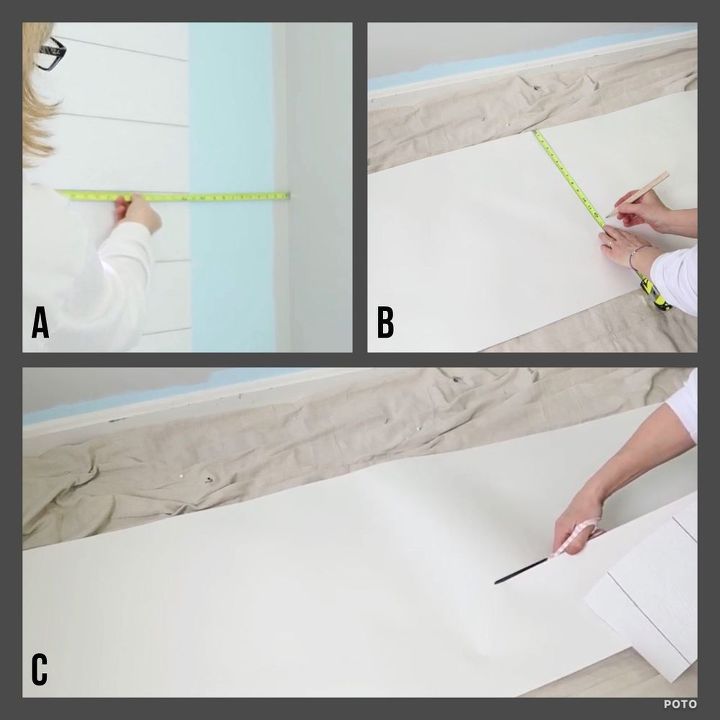
For the last piece of wallpaper,
A-I measured from the edge of the paper to the corner of the wall and added 1/4” to that measurement.
B-I transferred the measurements onto the paper
C-And cut it out on a work surface.
I added a 1/4” to the measurements so the paper would overlap past the corner.
I cut the wallpaper perfectly straight using a puddy knife as a guide for my utility knife.
If you remember, when I started, I overlapped the first piece a 1/4” onto the opposite wall. I also cut the overlapping paper on that side too.
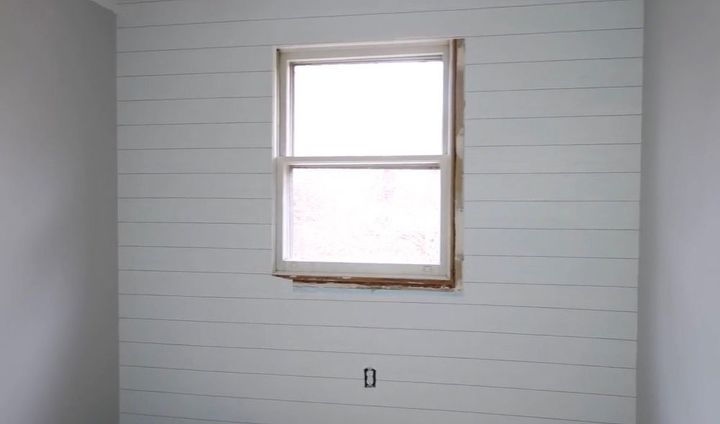
Here is the finished wall. What a difference! It looks like real shiplap and because the paper is textured, it feels like it too.
Check back to see the reveal of my niece’s updated bedroom.
Comments
Join the conversation
-
It really turned out lovely. Thanks for sharing....
-
I love it !! Thank you for sharing !


Frequently asked questions
Have a question about this project?
How is this wallpaper holding up?
With the paper peel and stick how well did it stay stuck to the wall with moisture in bathroom. Thank you.
Did you apply any additional adhesive? Some videos show doing this. If so, what did you use? Does the wall need to be sanded completely smooth? Have paper but still hesitant to start. Thank you