


Bedroom Furniture Update

by
Missy Burch
5 Materials
$20
2 Days
Medium
I've been updating all my furniture so that it matches. Here is how I painted my bed. It wasn't an easy task. I have a sleep number bed, so you can't just remove the mattress to paint the bed frame. You basically just have to take the sheets off, deflate it as much as possible & work around it- which isn't at all convenient. But I did the best I could. Whenever we replace it, I'll paint the rest of the bed frame I couldn't get to. But for now, no one will see what I couldn't paint & it looks awesome!
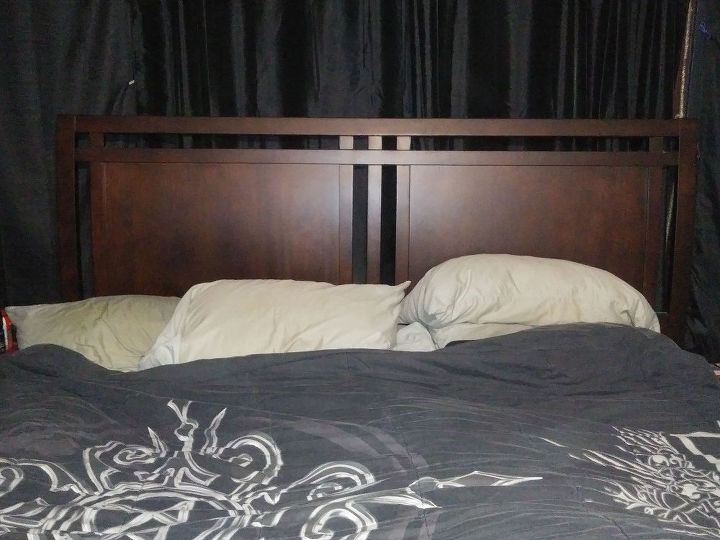
Here is the bed before- blah chocolate brown.
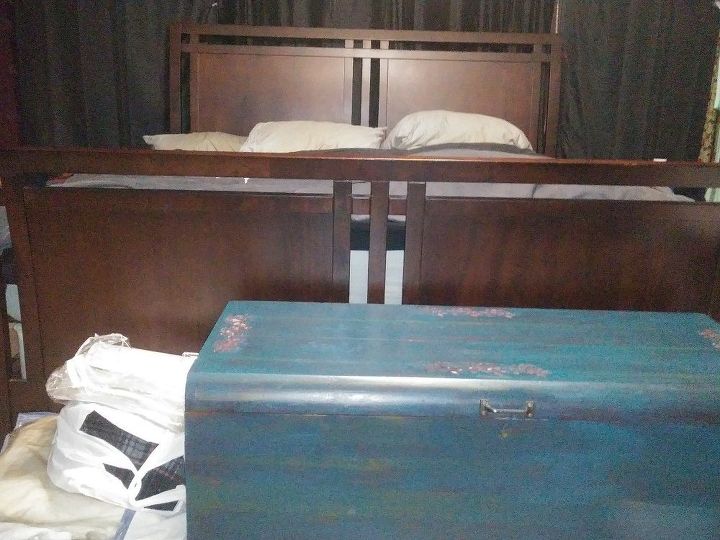
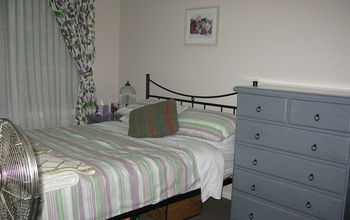
Here is the full view with my lovely blue chest at the foot.
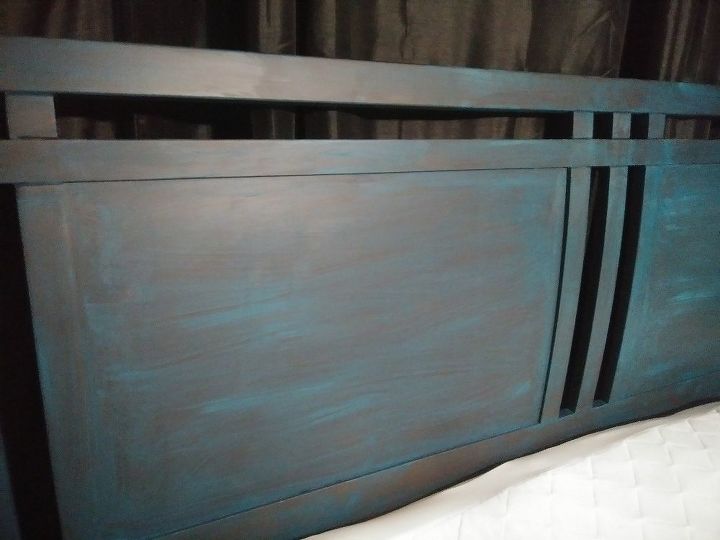
Here it is painted.
Footboard painted
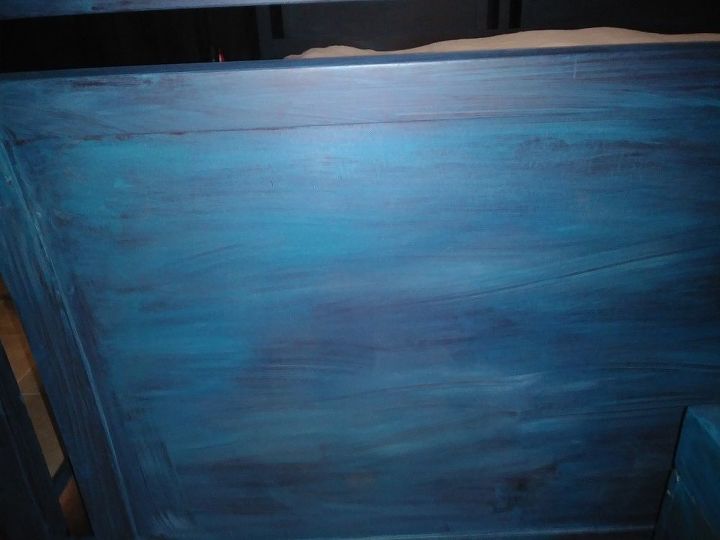
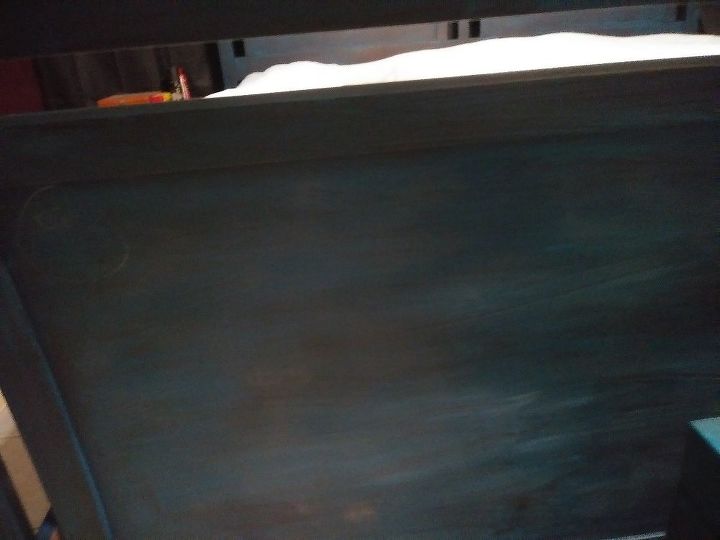
Inside of the footboard painted

Next I applied wax for some added effect, as I did on all the other pieces.
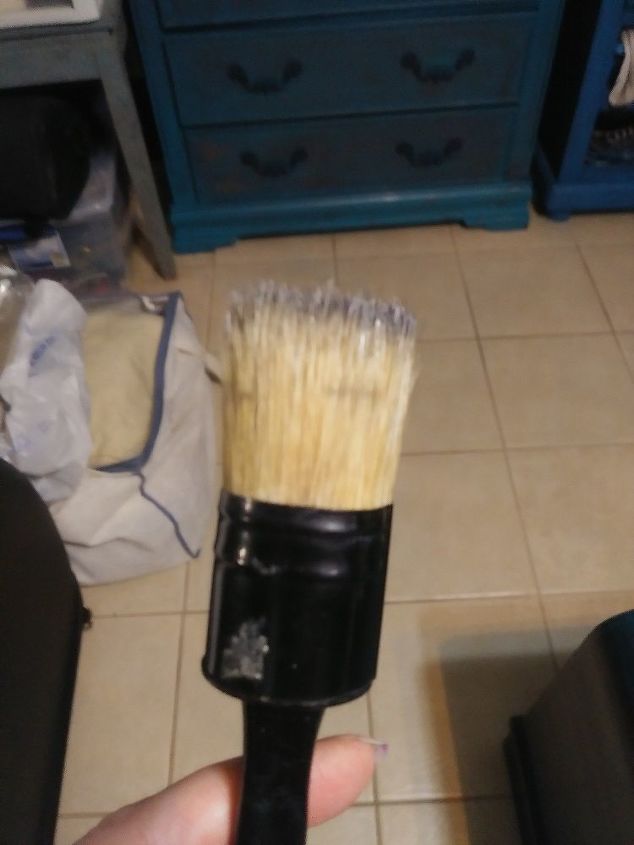
The brush for applying the wax.
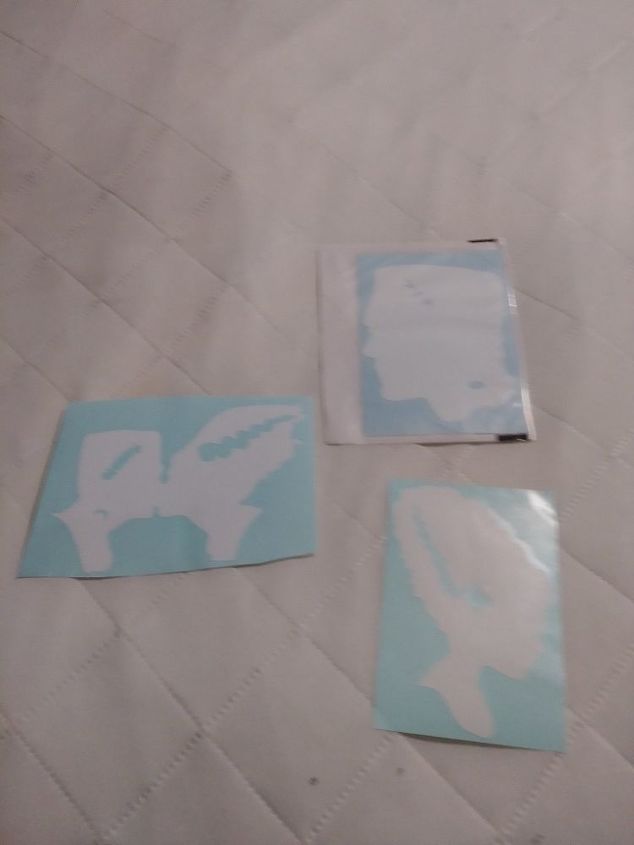
I added these decals as well- to go with my goth theme in my bathroom & general whole house. You'd have to see my house to understand. LOL
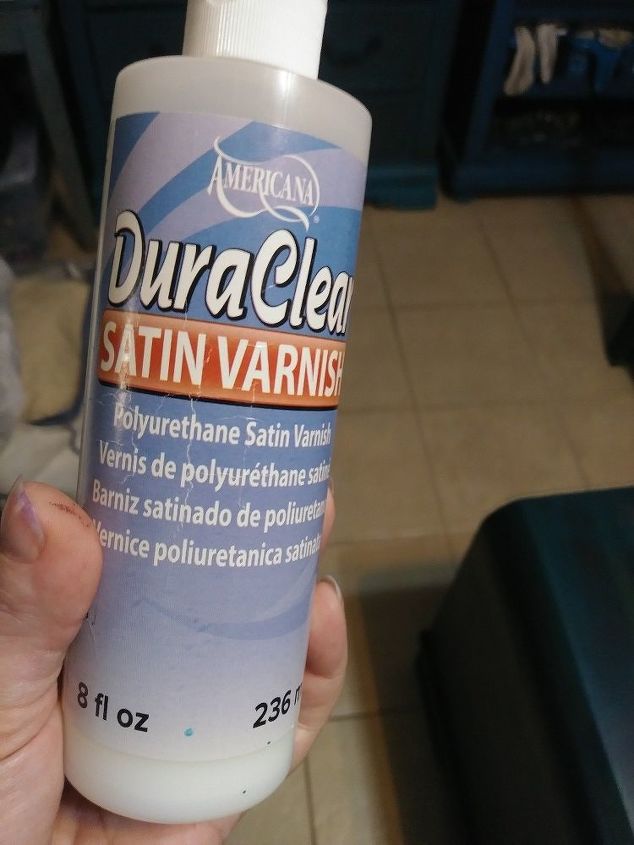
I sealed the decals with this.
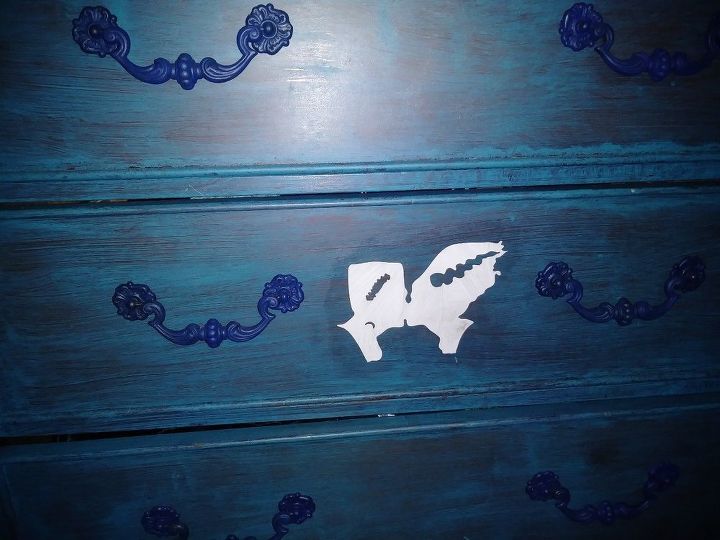
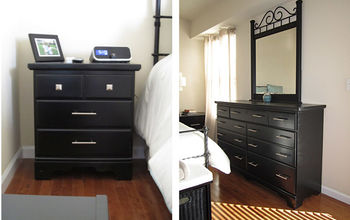
I added the extra decal to one of my dressers.
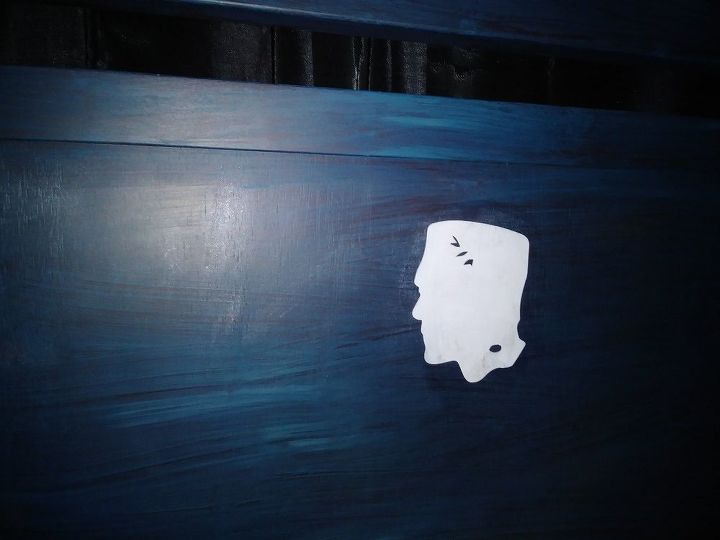
This is on my husband's side.
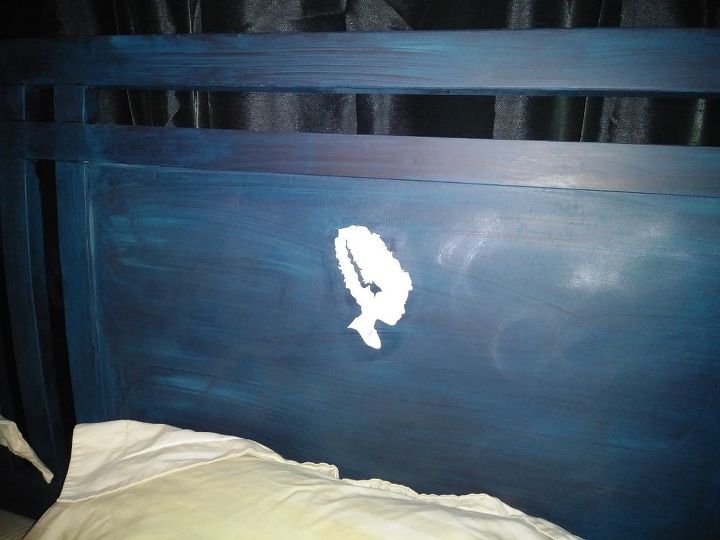
This one on my side, obviously!
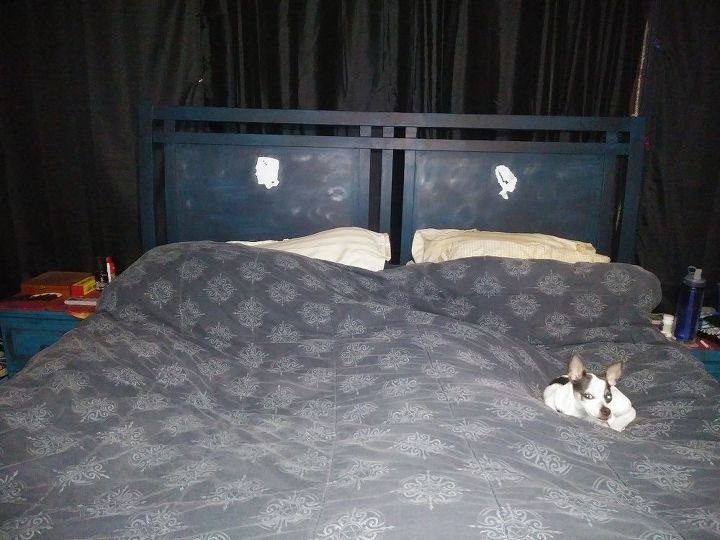
Yes, our dog gets to sleep in the bed! That's Oreo.
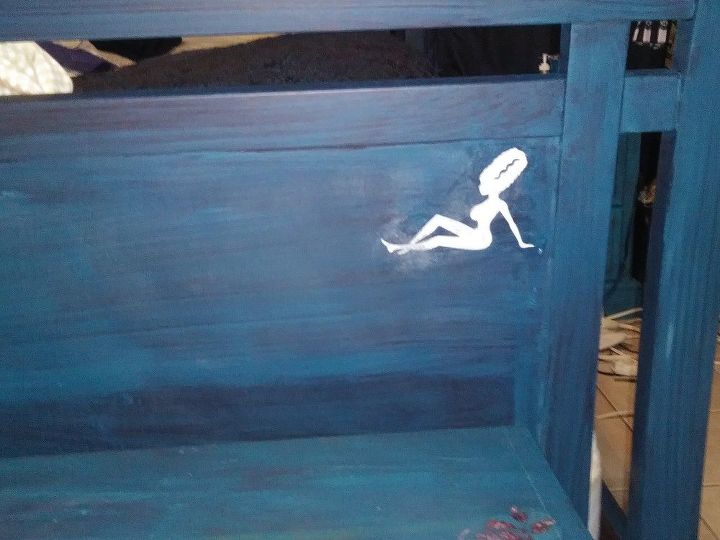
These are on the footboard, on each end.
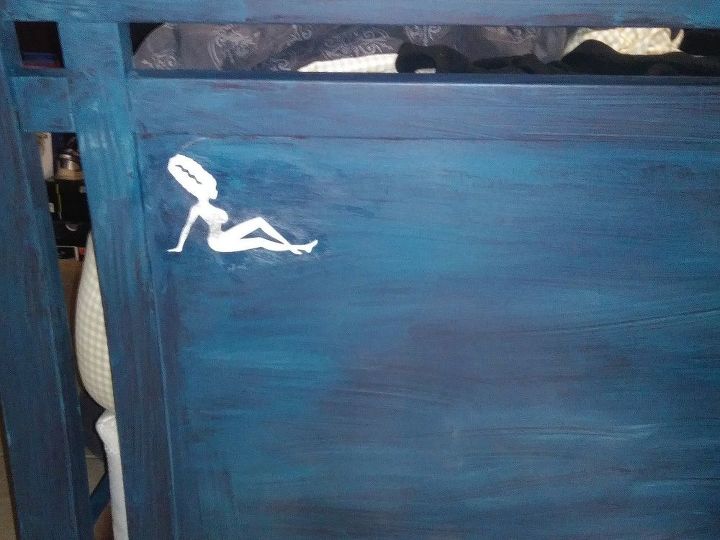
These are on the footboard, on each end.
Comments
Join the conversation
3 of 4 comments
-
I'm glad you like it! Our master bath is Frankenstein & the bride-hence the inspiration!
-
Looks like it was a challenge. Getting the paint right on larger flat pieces isn't easy. Cute Franfenstien and Bride. Made me smile.


Frequently asked questions
Have a question about this project?